The Ultimate Guide to Discbound Planners
A few years ago, I ran across a blog post where someone shared their discbound planner (and that was before complete discbound planners really even existed – they had printed and compiled their own), and my life was changed forever! Yes, I know that sounds a little dramatic, but I absolutely love the disc binding system. I get lots of emails and comments from people who also fell in love with the system after I shared it with them.
I get loads of question about what a discbound planner is, how it works, and how to get set up, so I thought I would compile the ultimate guide to discbound planning here.
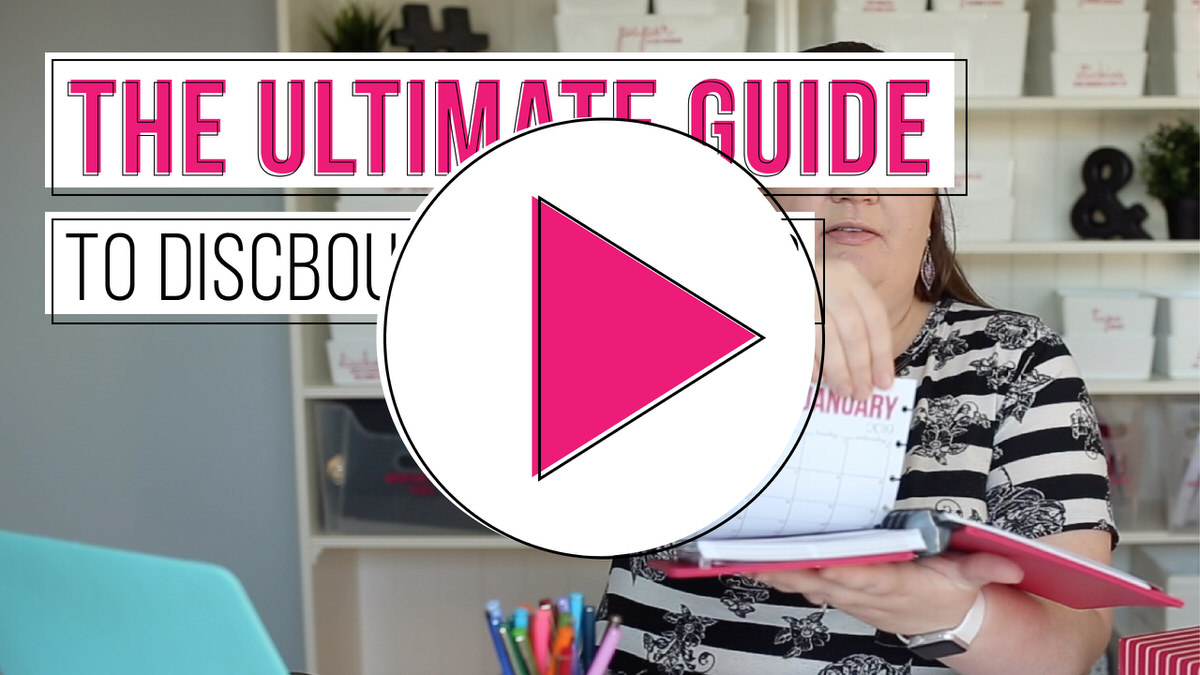
If you’d like to watch me explain and demonstrate how this discbound planning thing works via video, click the image below. If video is not your thing, just keep reading.
Why I Love the Discbound System
First, what’s so great about disc binding anyway? It basically combines the best of a 3 ring binder with a spiral bound book.
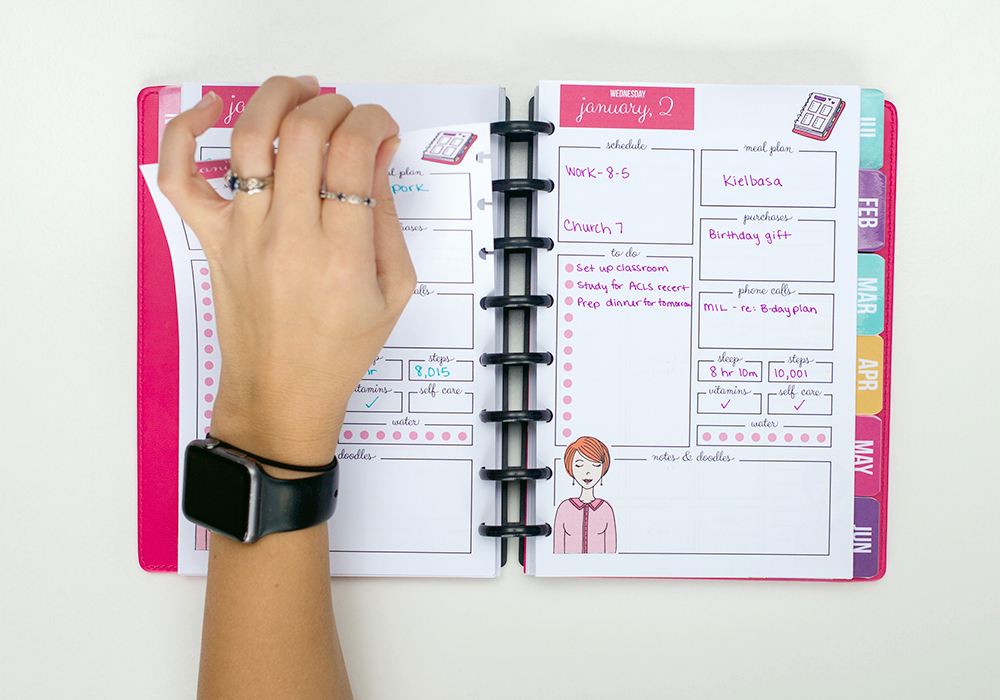
You can easily remove, add, and rearrange pages to your heart’s content (just like you could in a 3 ring binding system). I like how easy it is because there are no rings to open – you can just lift a page right out or place it right back in.
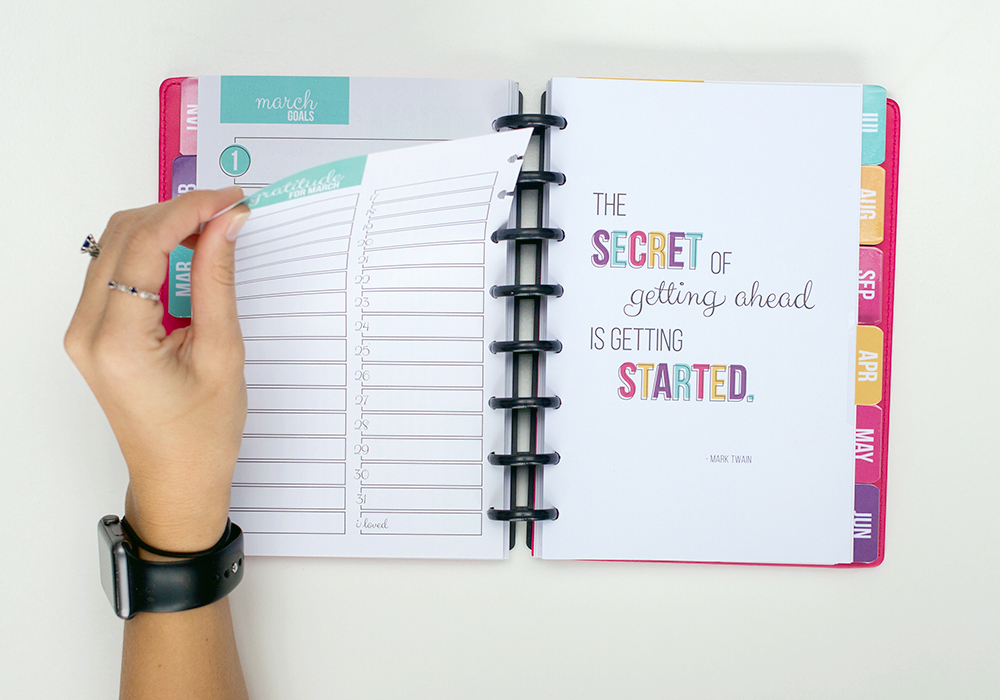
However, it doesn’t have the extra bulk of a traditional ring bound system. The discs take up very little space, so it doesn’t have to open as wide on a desk. Also, discs get less in my way when I’m writing than traditional rings would. Also, you can fold the notebook back completely on itself like you could with a spiral bound notebook.
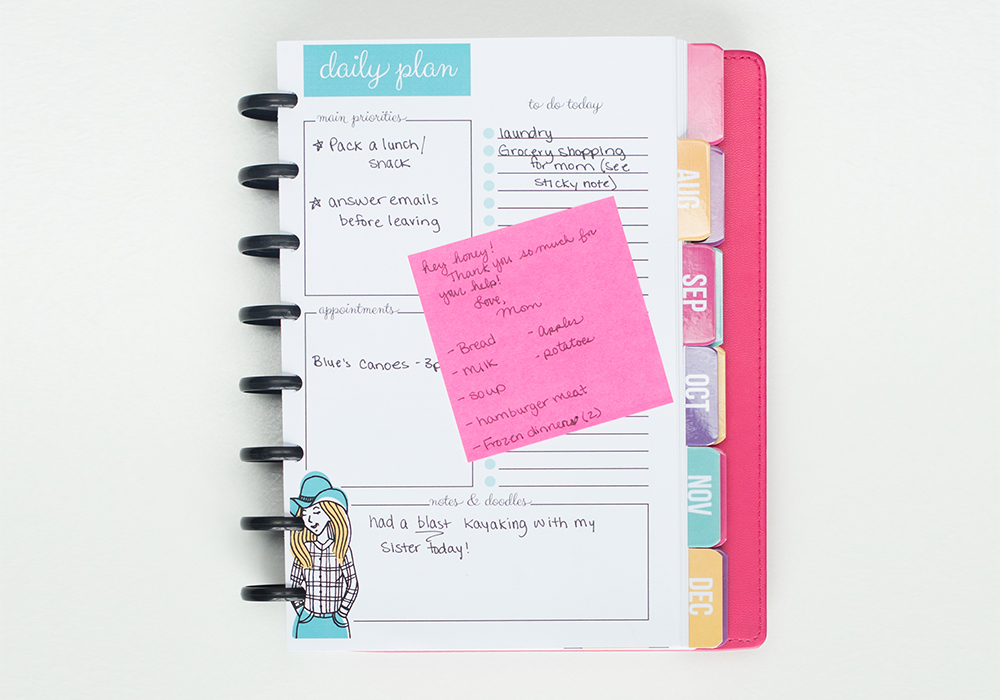
The other big advantage of disc binding over ring binding is that the punch does not eat very far into the page. That way you get to use more of the page!
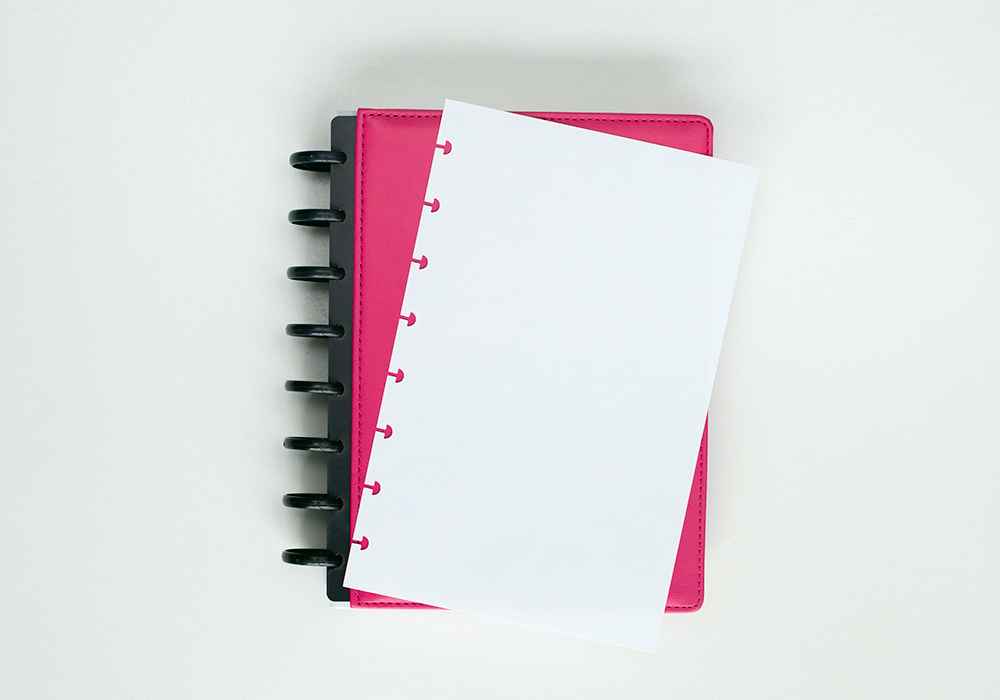
One more unique advantage of discbound is that you can punch a piece of paper of any size into your discbound planner. Think sticky notes, index cards, random notes, or invitations. Just punch it and stick it right in!
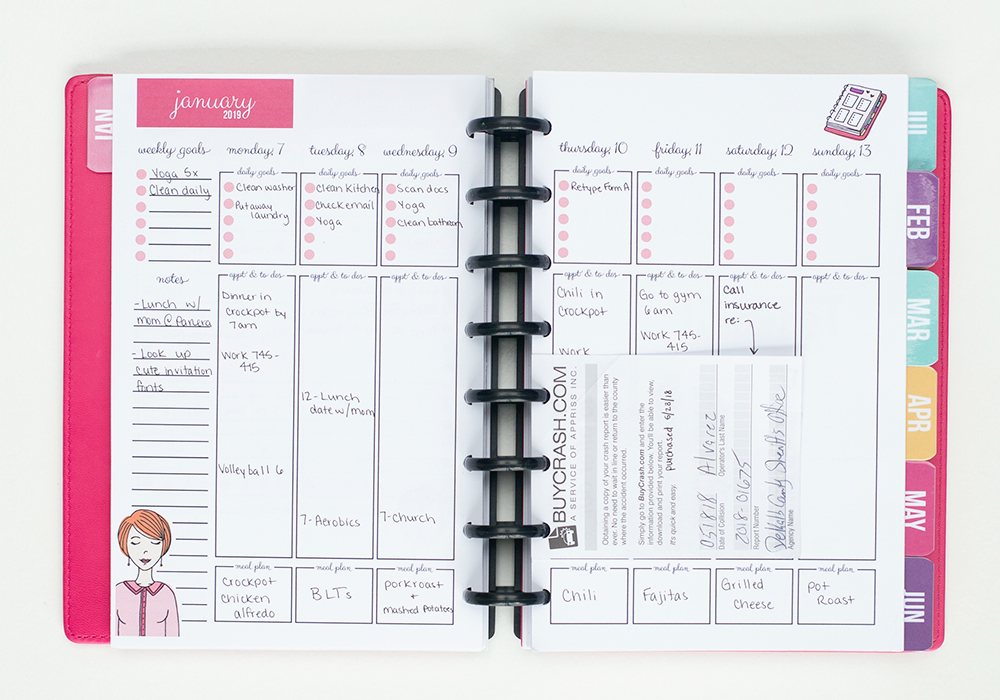
How a Discbound Planner Works
This system works by using round discs with a little lip on the edge to hold the pages together. The pages are punched in a unique way so that they hang onto the discs. That’s it in a nutshell. If you want to see me take pages in and out in a video, click here to watch it.
Supplies You Need to Create a Discbound Planner
First, you’ll need discs (or “rings”). These are the circles that hold the planner or notebook together. They are made of either plastic or metal and have a little lip around the edge to hold the pages together (and prevent them from falling out).
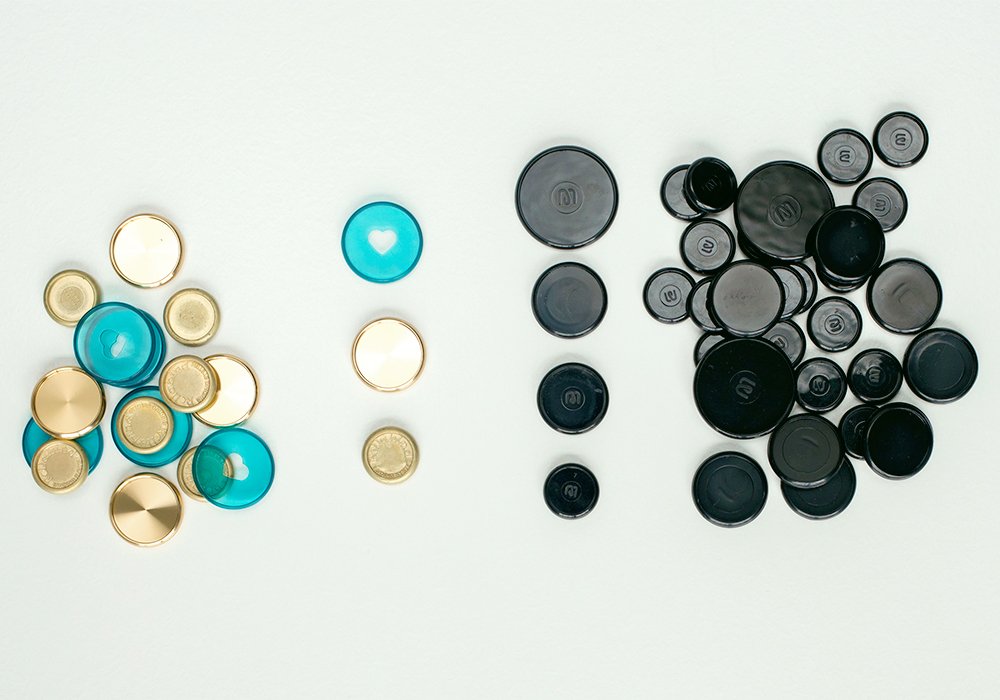
The first thing to consider when choosing discs is the disc size (or diameter). Obviously, larger discs will hold a lot more pages. You want to choose the smallest disc size that will still hold the number of pages you need. Discs that are too big will get in the way more when you’re trying to write and if not full it will cause the planner to feel floppy or wobbly. I’ve seen discs ranging from half an inch to two inches.
They also make discs in lots of different colors, and some even have little circles or hearts in the middle.
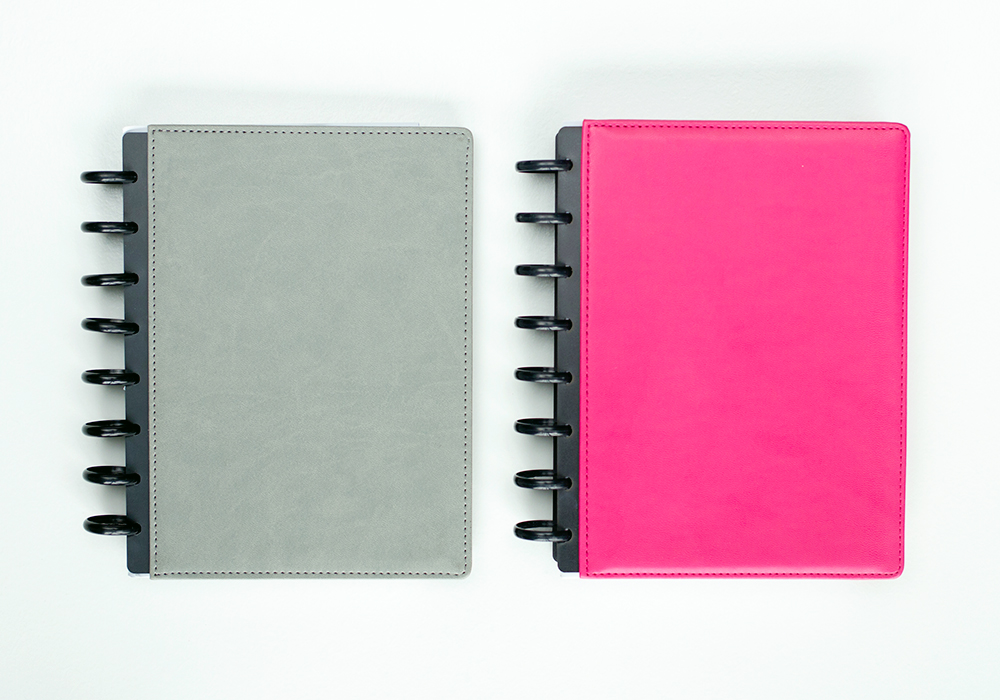
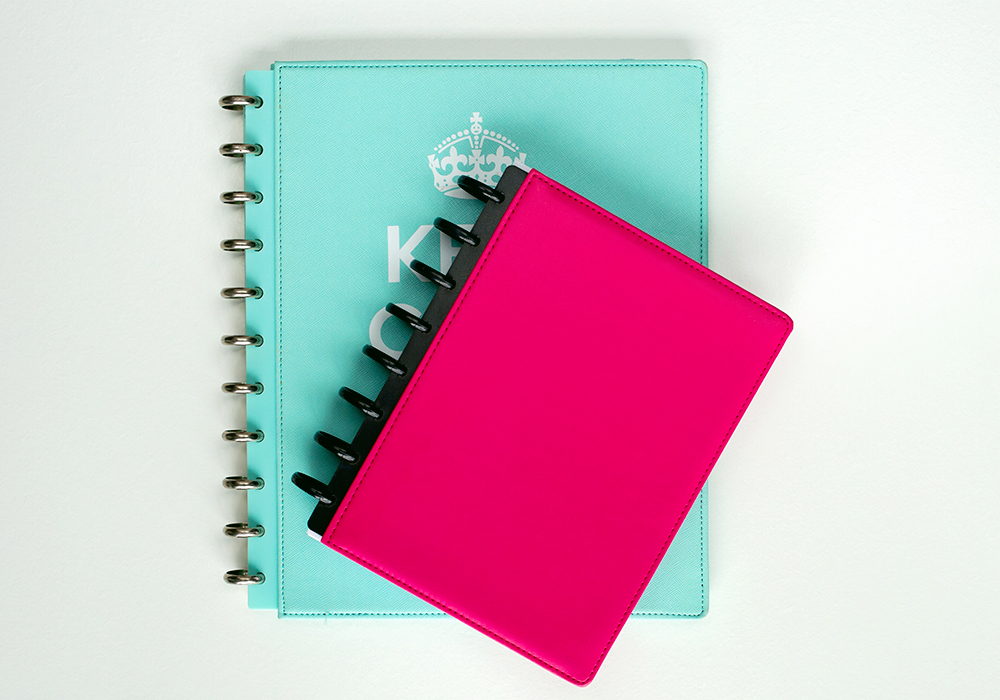
Next, you’ll need a discbound cover. This is just the outer cover of your planner or notebook. Again, there is a range of available covers. My favorite type is a vegan leather cover, like the ones we use in the Sweet Life Planner. These are pretty, durable, and wipeable. They can be removed and interchanged. However, they don’t come off the discs super easily like the pages, so I wouldn’t change my cover very often.
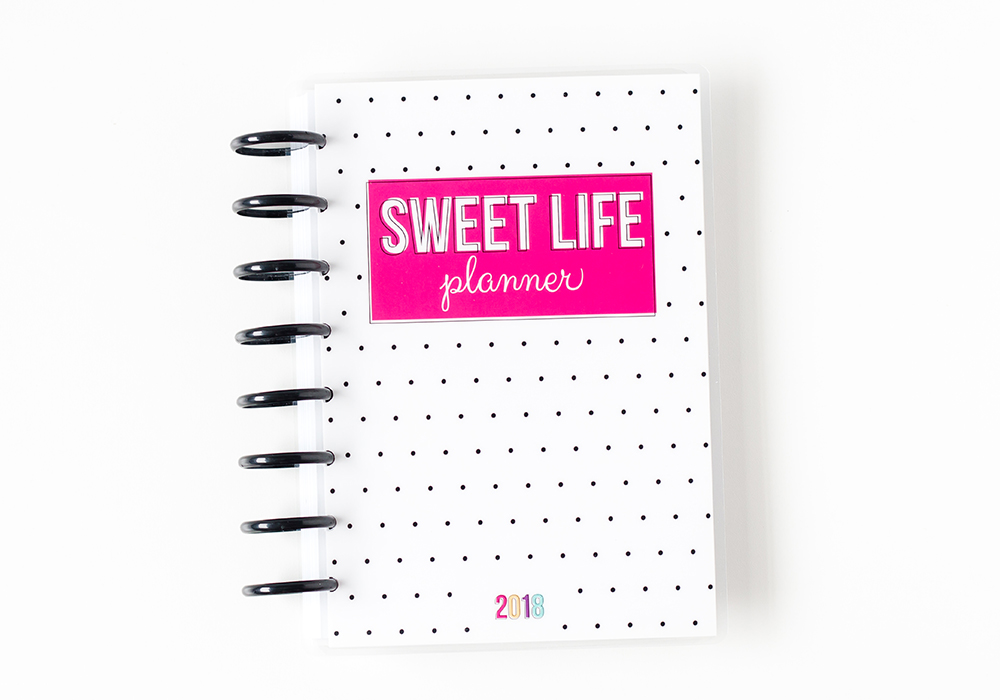
Another option is a thick, laminated cover like we had in the 2018 version of the Sweet Life Planner. The thicker the lamination, the better. (Our 2018 covers used 10 mil lamination.) If you want this cover, it is possible to DIY it which is really fun!!! You can print out anything you want, trim it to size, laminate, trim the lamination to size, and then punch it. That’s all there is to it.
Next, you’ll need your planner pages or paper to go in the planner. The most common sizes are full size (regular US letter) and half size (half of a US letter, sometimes called junior size). You can either buy pages that are already printed for you (something like this) or print them yourself. If you choose to print them yourself, I love having these already cut to size and punched pages ready to go. I just stick them in my printer and hit print.
You can also use your discbound more like just a notebook, by using just blank pages, just notes pages, or just dot grid pages. Or create any combination you like – that’s the beauty of the discbound system. I use the Sweet Life Planner as my base but add in several notes pages, menu planners, and printables from the Sweet Life Society.
Next, you may need a discbound punch. You will need this if you are planning to put together your own planner or want to add pages without buying a pre punched pack of blank pages.
Before I talk about my favorite punches, you should know that pretty much all punches are compatible with each other. That means that the holes are spaced the same distance apart so you can buy a cover from one brand but use a punch from another brand. There is some slight variation among brands when it comes to how deep into the pages it punches and the exact shape of the “holes.” Most people probably wouldn’t even notice this unless you’re a crazy planner girl like myself.
There are several different punches available, but my absolute favorite is the Arc punch. You can get it at Staples or Amazon, but it’s usually cheaper on Amazon. I’ve had this punch for over 4 years, I use it frequently, and it’s still working great! It punches up to 8 pages at a time, and it is easily adjustable for different sizes of paper. There’s a little arm you can adjust easily to line up the pages correctly.
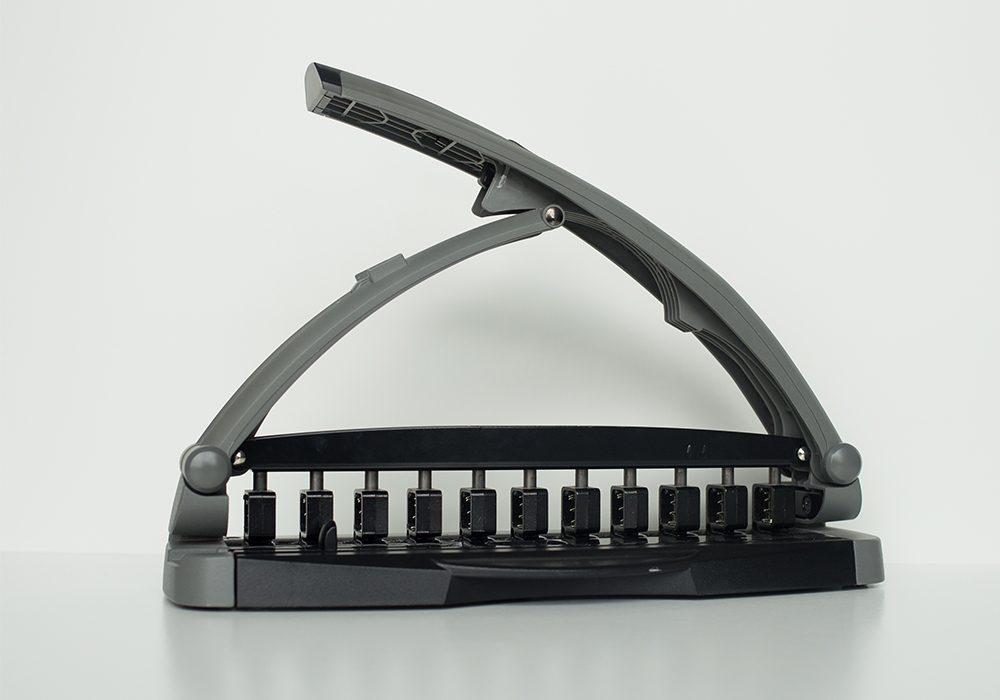
My second favorite punch is the Levenger punch. This thing is no joke – it’s super powerful! It will punch many sheets at once. The reason I like having this punch is that it’s easier to punch through laminated items (if you make your own cover or laminated dividers). I don’t use it for simply punching pages.
What I don’t love about this punch is the price (most expensive one), how loud it is, and that I feel like I could get my fingers hurt if they were under the arm (although this has never actually happened – even when we used it literally 3,000 times on our 2018 Sweet Life Planner to punch through our 10 mil laminated covers). Also, it punches just a little bit deeper than the Arc punch which I consider a negative when punching pages but a positive when punching a cover (because I like it to cover a bit more on the left side of the planner).
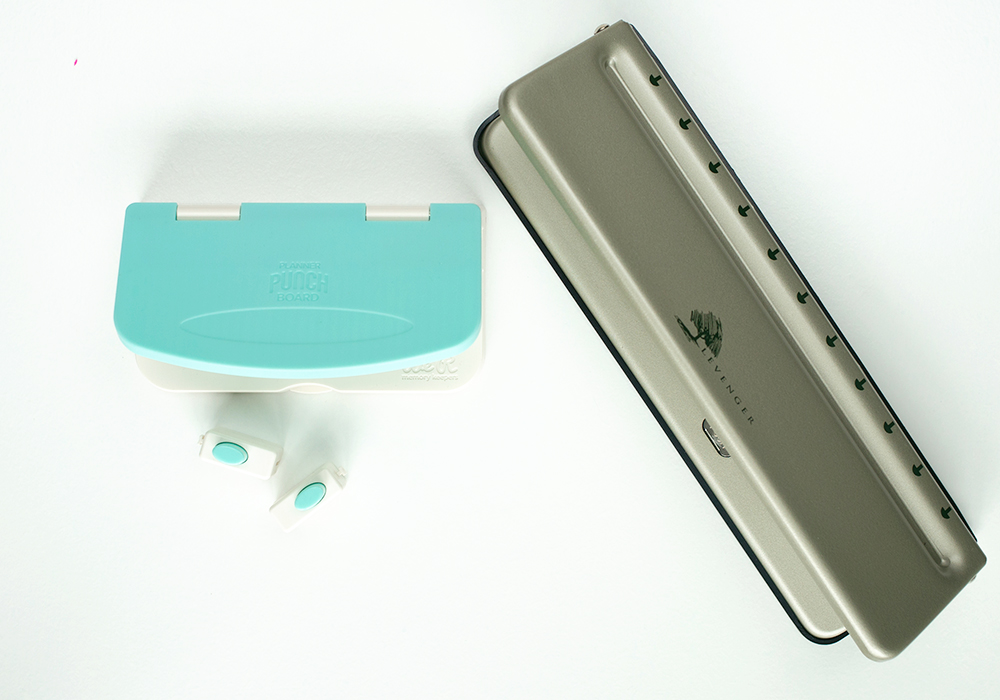
Here I’ll include some honorable (or not so honorable mentions). I have tried the planner punch board that I bought on Blitsy. I absolutely love this idea, and I wanted really wanted to love it. It’s super clever. It’s a punch that includes many different inserts, so you can punch pages to go in literally any planner (6 ring, 7 ring, 3 ring, different sizes, discbound, etc.) It’s so brilliant!! The problem is the disc punches don’t line up properly, so it’s a major pain to punch even one page. Therefore, I recommend saving your money on this one – although I really hope they improve that in the future.
Next, you may want to add some fun extras and accessories to your discbound planner. This includes things like a bookmark, extra inserts, stickers, or dividers.
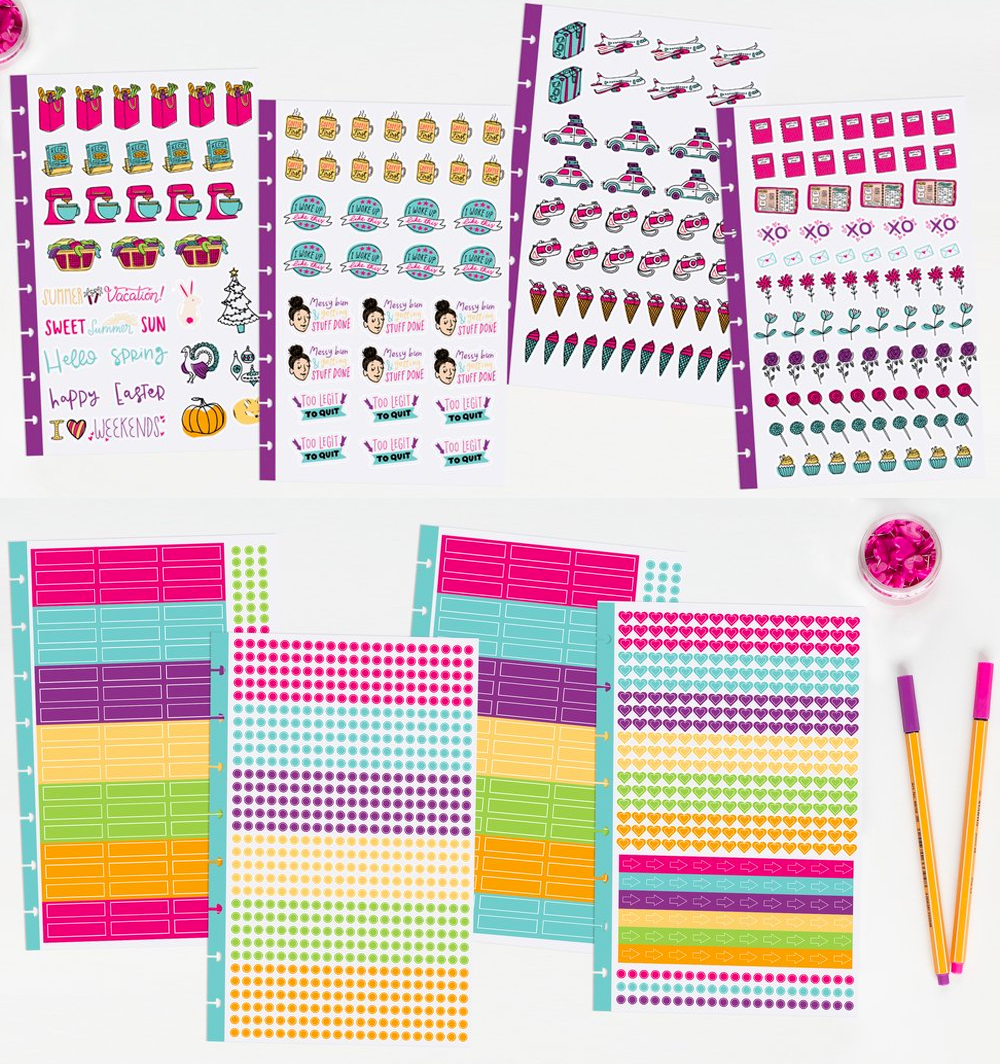
My personal favorite are these decorative stickers that are already sized and punch to fit a half size discbound planner.
Discbound Planning FAQs
Here are some of the most common questions I get asked about discbound planners and notebooks:
Q: Do the pages fall out?
A: This is by far the most frequently asked question, and I wondered the exact same thing when I first heard about the discbound system. The great news is that the pages do not fall out. I can pick up my planner by one disc, shake it hard, and nothing comes out. (I even demonstrate this in the video if you want to see it for yourself.) I’ve used discbound systems for 4 years, and have never had anything fall out. If you put too many pages on the discs, the pages will start to pop out as you turn the planner, but even then they won’t just randomly fall out.
Q: Is it expensive to get started?
A: It’s not any more expensive than other planning systems plus many parts are reusable from year to year (the discs and the covers). When 2019 ends, I’ll probably remove all the 2019 inserts from my planner, add in some dot grid pages and use it as a general notebook. The punch can also be used for a long time.
Q: How do I print my own pages affordably?
A: I get this question all the time, and I have great news. I use the HP Instant Ink system to print super affordably. Here’s an entire post all about it.
Q: Where do I buy discbound planners or supplies?
A: If you want a done for you system that you don’t have to think about, of course I recommend the Sweet Life Planner. If you want to DIY a planner or find other options, my favorite place is Staples or Blitsy.com. Staples has the Arc system with several cover and disc options, and Blitsy also has several options.
Q: Are the punches, pages, and covers from different brands interchangeable? Can I buy a cover from one brand and pages from another brand and have them all work together?
A: I have found that every discbound product I have purchased in the US (and that is a lot) is interchangeable! There are some minor differences – like the depth of the punch on the page or the exact shape of the “hole,” but nothing that makes them incompatible.
Q: Do the discs get in your way when you write?
A: Yes, they can get in my way, just like the rings of a typical ring binder would get in the way – or the spiral on a spiral bound planner. I’m right-handed, so if I’m writing really close to the right side of a page on the left side of the layout (say that five times fast), then the discs will make it harder. My solution is to quickly pop the page out, write what I need to, and then place it back in. It’s so quick and easy to pop a page out (much easier than with a traditional ring bound system). Also, the vast majority of the time, I’m not writing close enough to the discs for this to be an issue, and I almost always take my daily planning page out anyway. I like to use it outside the planner so I can easily refer to other parts of my planner. It’s also worth noting that this problem is worse if your discs are not very full.
I hope this ultimate guide helps you. If you loved it be sure to share it with your friends, and check out the Sweet Life Planner.
Affiliate or referral links may be used in this e-mail. I only recommend things that I have used, love, and would recommend to my best friend. Thanks so much for supporting my blog! I truly appreciate you.





 Copyright 2026, Get Organized HQ.
Pingback: How to Use Discbound Binders and Planners - I Heart Planners
Baby Advisor Says
Happy Sunday! Your blog is awesome! I too am an regular user of diary and love my life organized and tidy! Thank you for the great tips! Thanks!!
Pingback: Top 10 Blog Posts of 2018 - I Heart Planners
Pam Says
Thanks for this really informative post! I’m new to the discbound system and have purchased a TUL notebook which I love (although, had I seen our pretty pink one, I might have gone with it instead), and I just bought a really pretty laminated cover for another notebook. You answered a few of my questions, both here and at the video. Thank you! I’m glad to have found your site and am happy to know you have refills for my notebooks.
Donna Says
Which puncher is best for 140# watercolor paper. In not so interested in how many sheets I can punch at one time. I’m more interested in a non jamming punch that will reliably and accurately cut heavy paper. And if, there is a jam or an issue, a pinch that is easy to unjam or fix and not waste that expensive piece of cotton or cellulose watercolor paper
Tasha Whitsitt Says
Here is a link to the punch I recommend: https://www.amazon.com/Staples-Desktop-Paper-8-Sheet-Capacity/dp/B00BJH0M3I/ref=as_li_ss_tl?s=office-products&ie=UTF8&qid=1511131034&sr=1-1-spons&keywords=arc+punch&psc=1&linkCode=sl1&tag=iheartplanner-20&linkId=3717baa64b901729918fad02ad0562c4
Vicki Says
Thank you for your look at disk systems. I think I may convert over to one. I have some pages that are already three hol punched for a regular 3 ring binder. Can they be punched with a disk punch and work with disks?
Tasha Whitsitt Says
It would probably work, but it would look a little weird.
Rus Gru Says
Has anyone designed a “D” shaped “disc”? I hate round binders and only use d-ring, wonder if it’s possible in these style planners?
Lori Says
Oh my gosh, what a wonderful guide! Thank you so much for sharing, I am in love with my disc bound and this just confirms it!
Angie Says
I love my disc binder but I’m wondering if there is a recommended way to keep your pages once you have filled your book. (Yes I know I could just leave them in the cover and buy another) But I would like to keep using the same binder and with just fresh paper and store the past notes. I didn’t know if there was a recommended way to keep them together (my stapler won’t go through all the pages.)
Tasha Whitsitt Says
We like to use the keepsake box that our Sweet Life Planner comes in to storage pages.
Lisa Says
I loved the Staples ARC weekly / monthly calendar but they don’t make the refills. I can’t find them anywhere. Any suggestions to get a refill similar to ARC calendars. I tried Happy Calendar but I hate it. Feels cheap and the discs are too big.