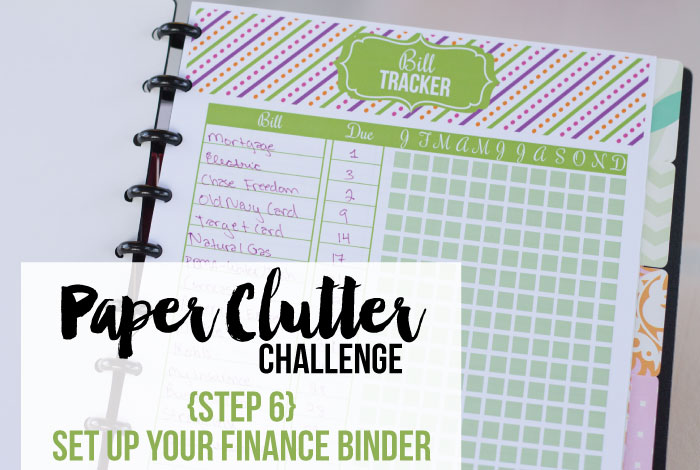
{Step 6} Set Up a Finance Binder
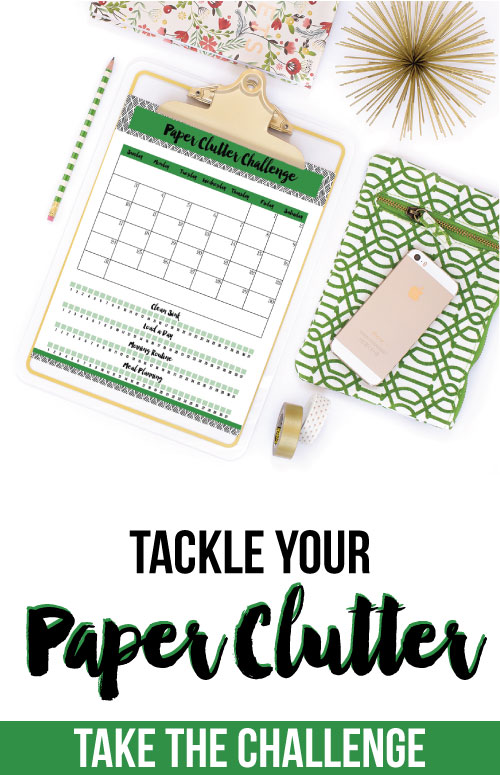
It’s time for the next step in the paper clutter challenge. If you missed step 1 and the introduction, read about the paper clutter challenge here.
I also want to encourage you to celebrate your accomplishments, so once you’ve finished a step, come to the Facebook group and let us know how it went. Or take a photo and post on Instagram with hashtag #paperchallenge.
How did you do with the last task? It was a little more involved, so don't worry if it's not complete yet. You can totally do this at your own pace. Today we're going to organize our bill payment system.
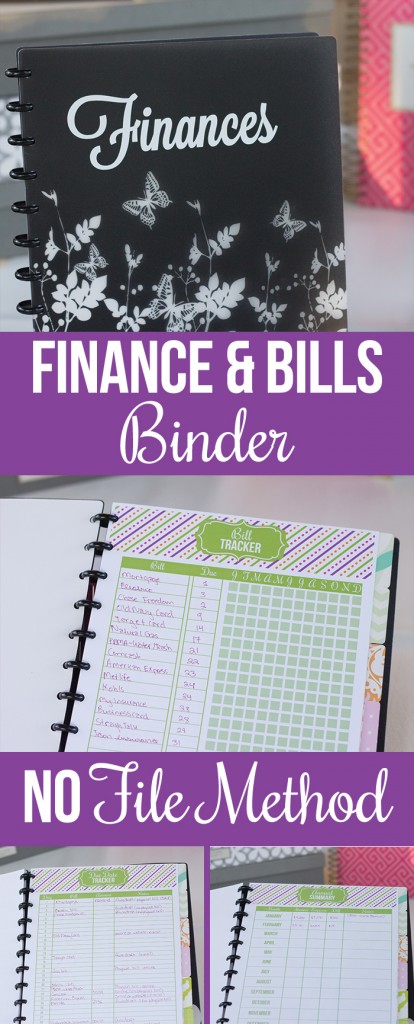
I like to organize my bills in a binder, because it requires no filing, and everything is organized and easy to access. I've used this method for the past 2 years, and it worked great. Rather than explain it all again, I'll direct you to last year's blog post where I explain exactly how I set it up.
You can use this method or another that you prefer, but today you should get your bill filing system set up.
Stop by the Facebook group or post on Instagram with hashtag #paperchallenge and let us know how you did with today’s challenge!
Also, if you missed the previous steps in the challenge, you can see them here:
Step 1 – Intro and set up inbox
Step 3 – Decide whether to go paperless and gather supplies
Step 4 – Process your paper inbox weekly


 Copyright 2024, Get Organized HQ.
Pingback: Organize Your Coupons {Step 8} - I Heart Planners
Pingback: It's Time to Celebrate - Your Paper Clutter is Gone! {Step 12} - I Heart Planners
Pingback: How to Organize Your Child's Paperwork - I Heart Planners