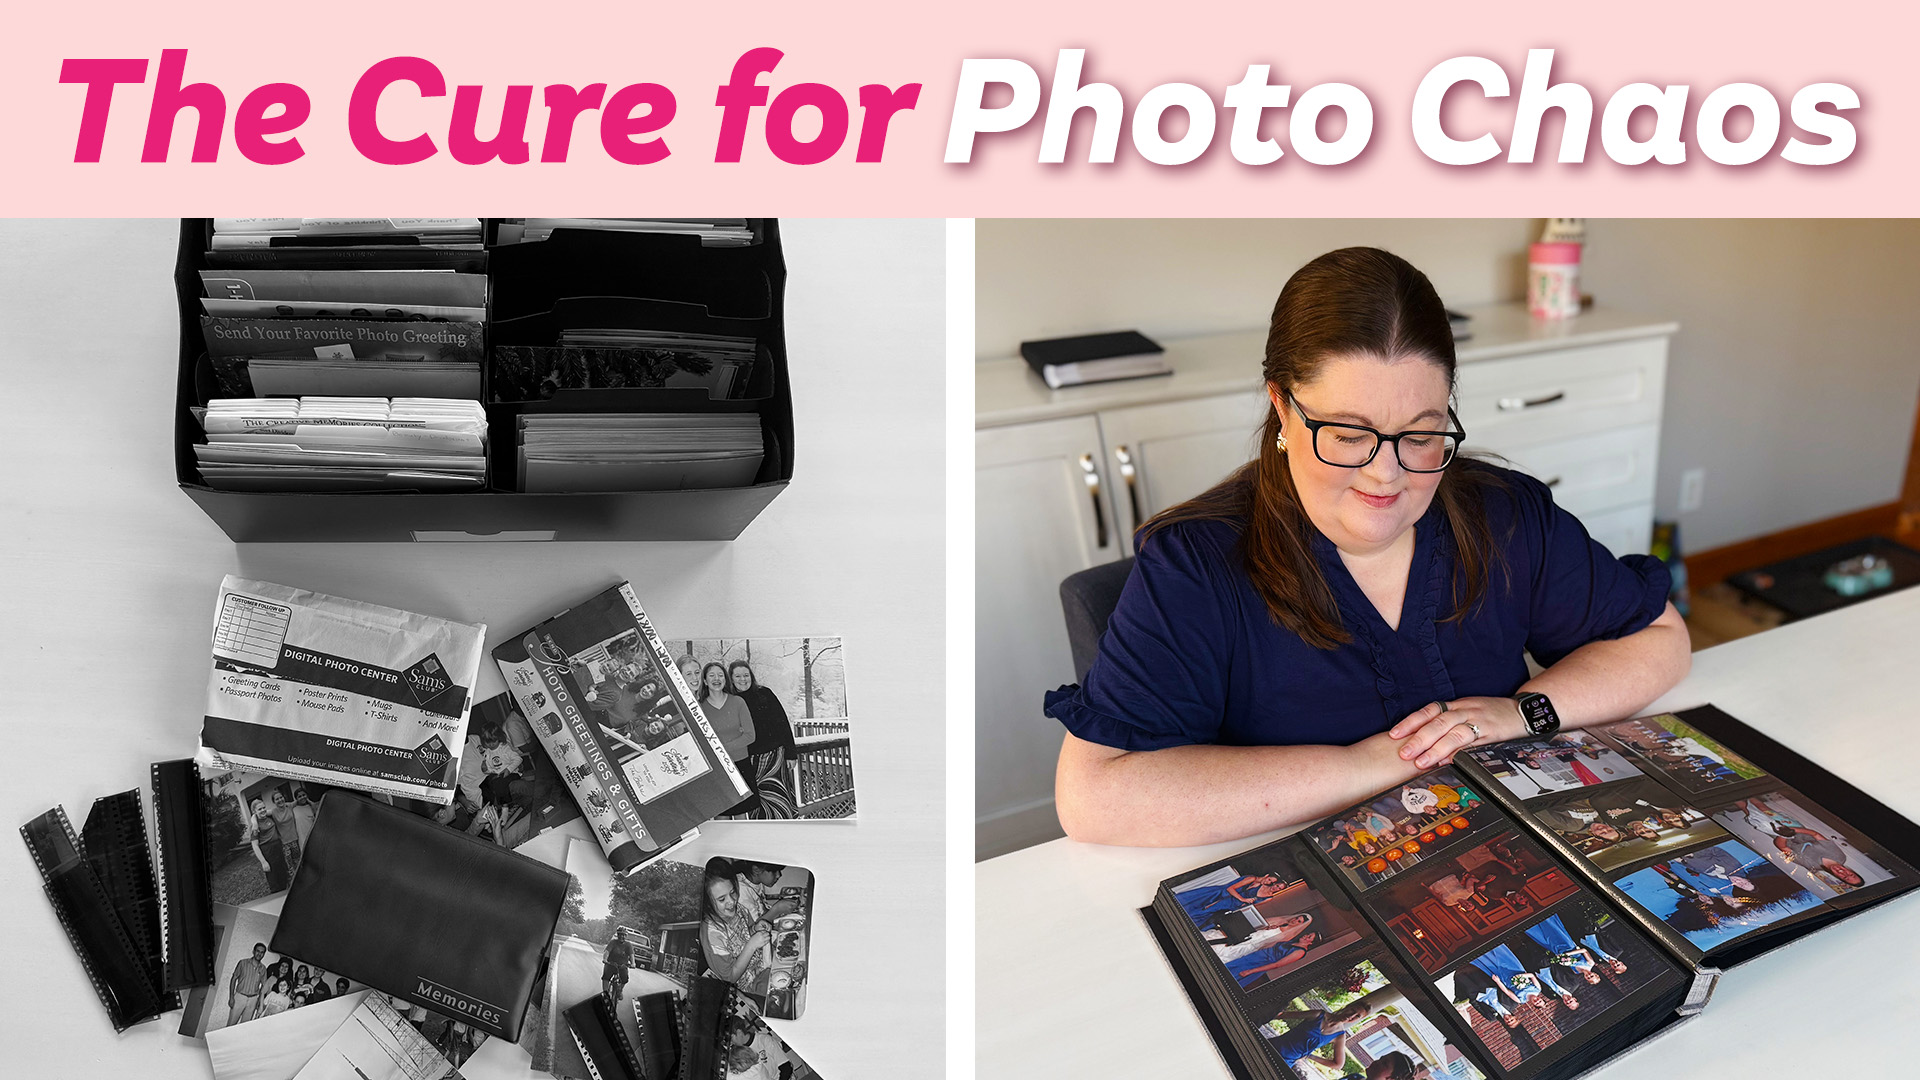
The Fastest Way to Organize 1000+ Physical Photos!
I’m finally ready to share my secret for organizing 30 years worth of physical photos. And yes, I know– This method might sound a little unhinged at first! But hear me out, because I’m about halfway done in less than four hours, and no one is talking about this approach even though it actually works!
Keep reading, or check out the video here to learn my method! If you’ve got bins of photos sitting in your garage, closet, or basement that you haven’t touched in years, this is for you.
My Photo Situation (So You Know I’m Not Judging You)
Before we get into the how, you need to understand where I was starting from.
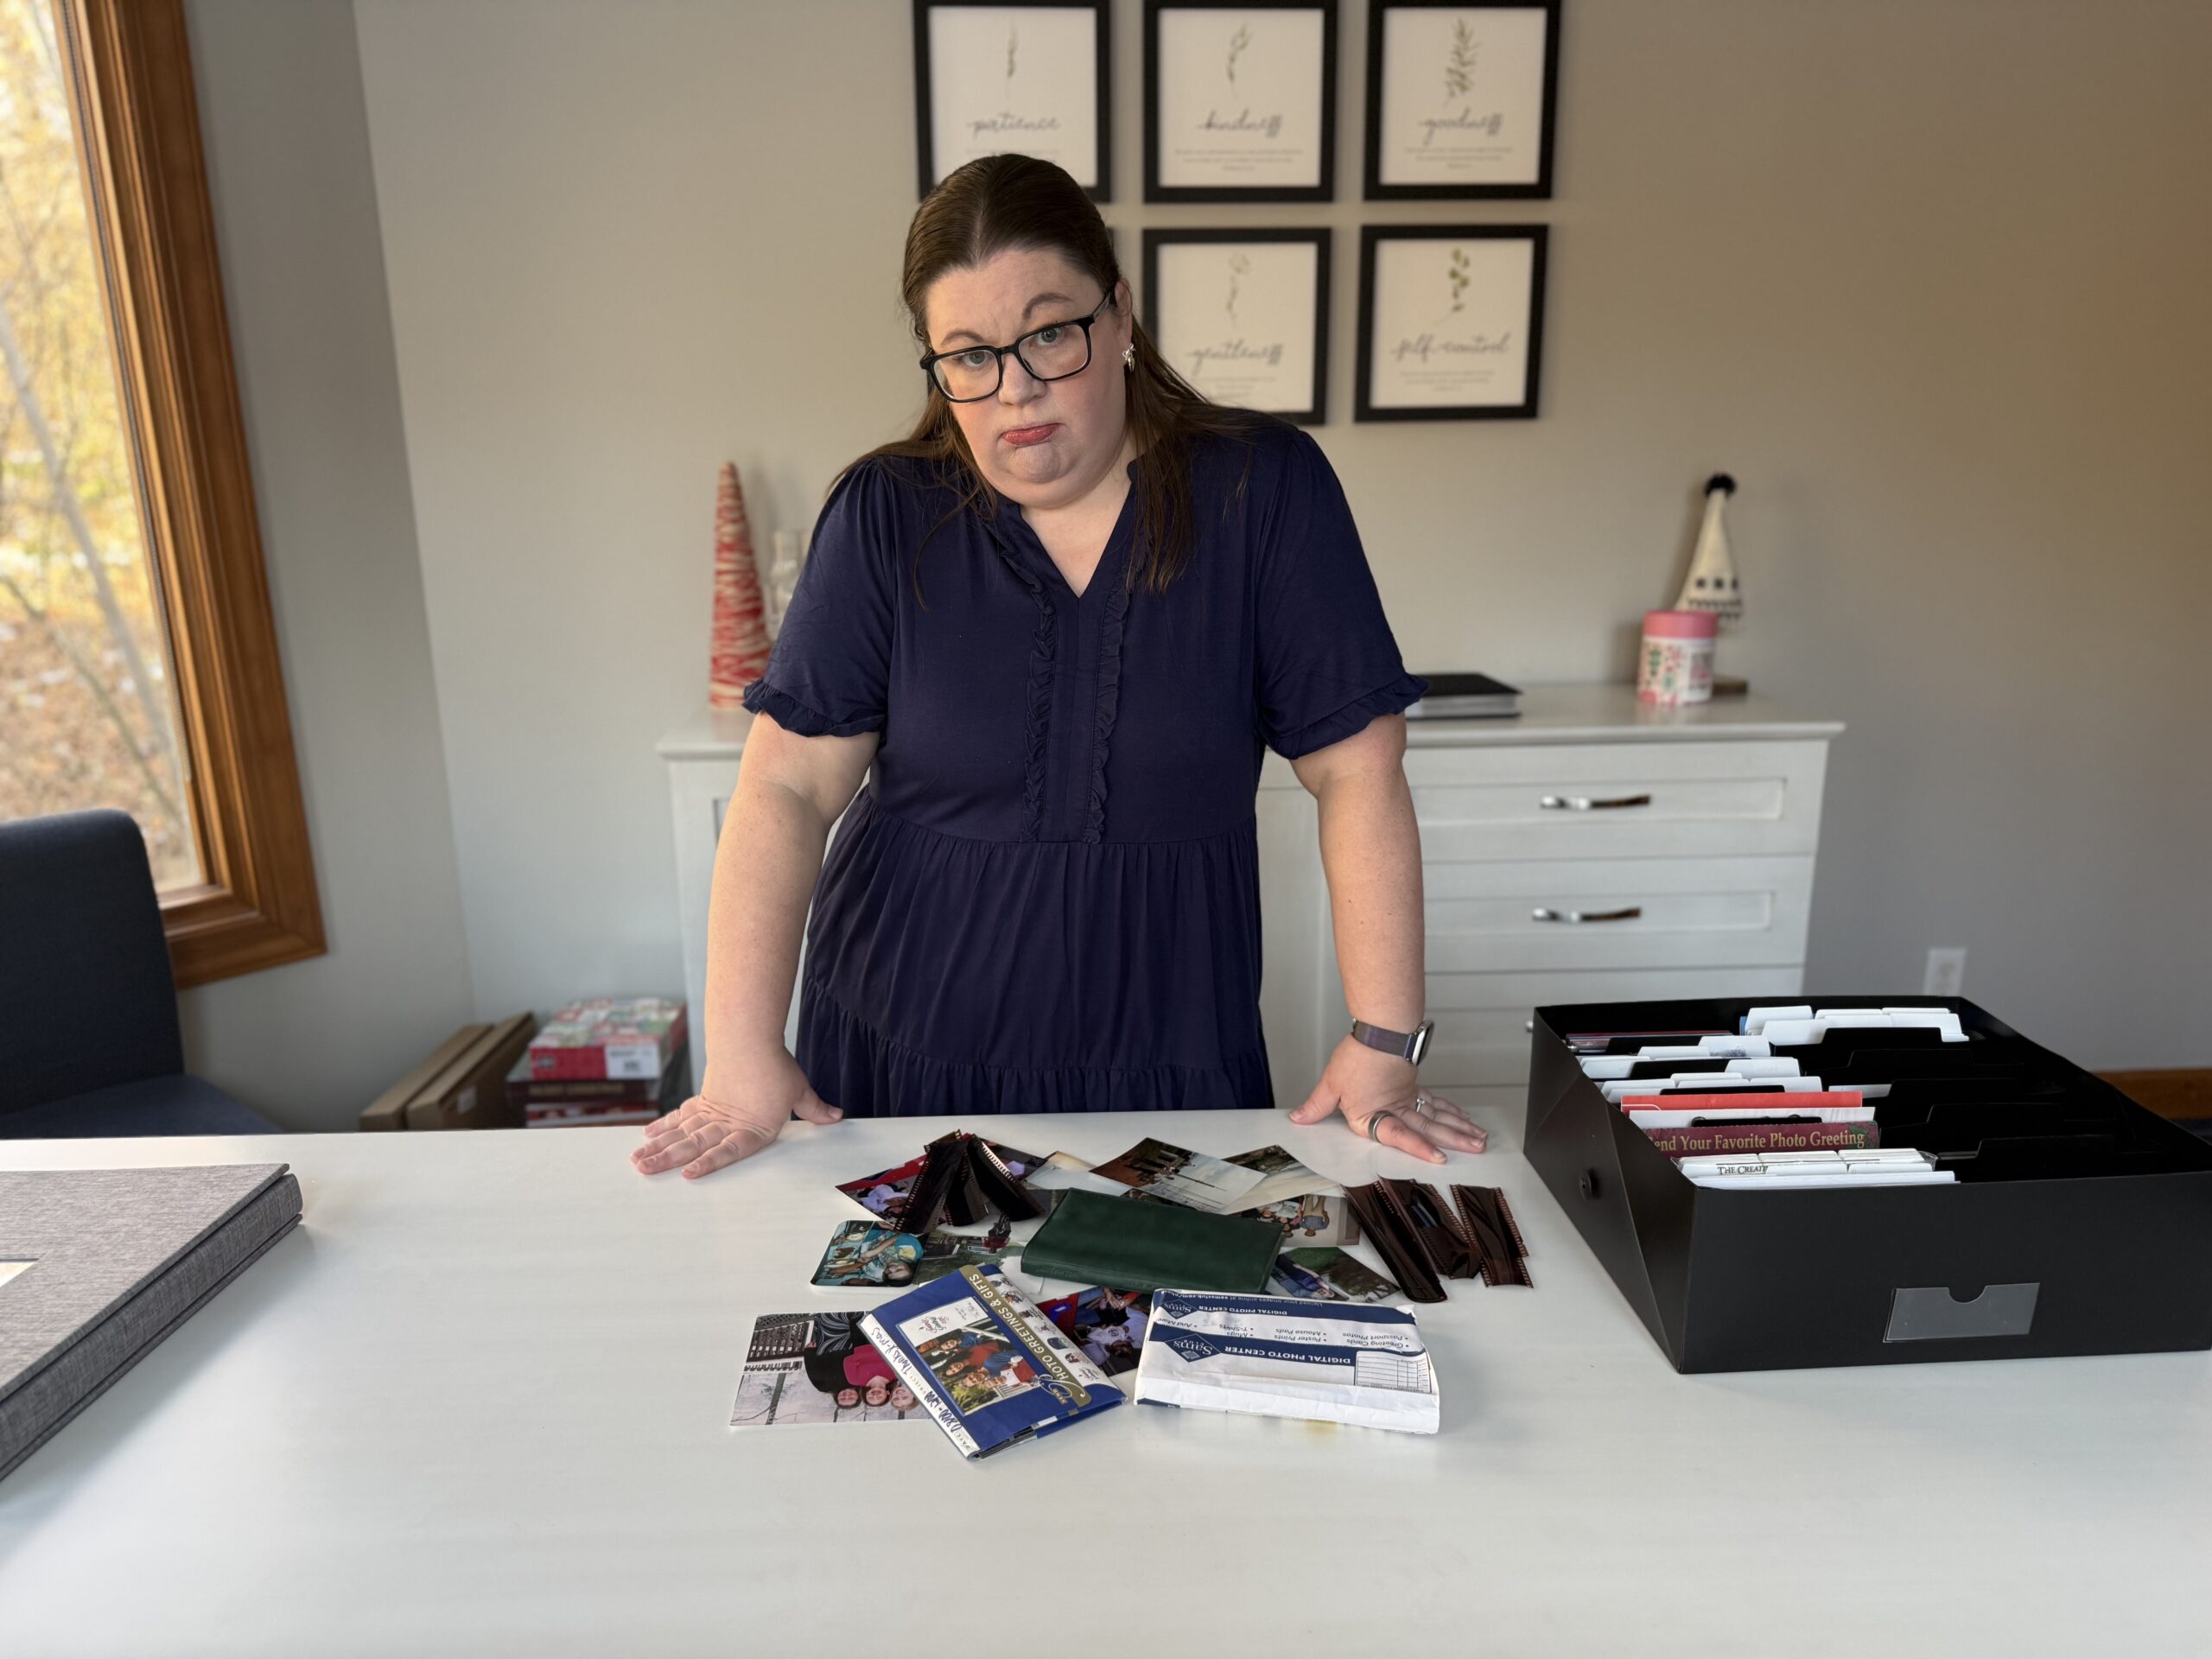
I had about 30 years of photos. Thousands of loose prints. No organization at all. Everything lived in one big Rubbermaid tote that had followed us through three moves and had never been opened once during any of them. While the bin itself looked tidy, the contents were pure chaos. Different decades, different sizes, different events, all mixed together.
No one was enjoying these photos. They weren’t being looked at, shared, or talked about. They were just waiting. And eventually, they were going to become my kids’ problem.
I also knew something important about myself. I was never going to sort these chronologically. That method requires full concentration, no distractions, and a level of patience I simply do not have. Trying to decide whether a photo was from 1994 or 1995 sounds miserable. I’d honestly rather reorganize my pantry twelve times than do that.
So I needed a method that didn’t require perfection, endless focus, or giant blocks of time.
The Core Idea (This Is the “Unhinged” Part)
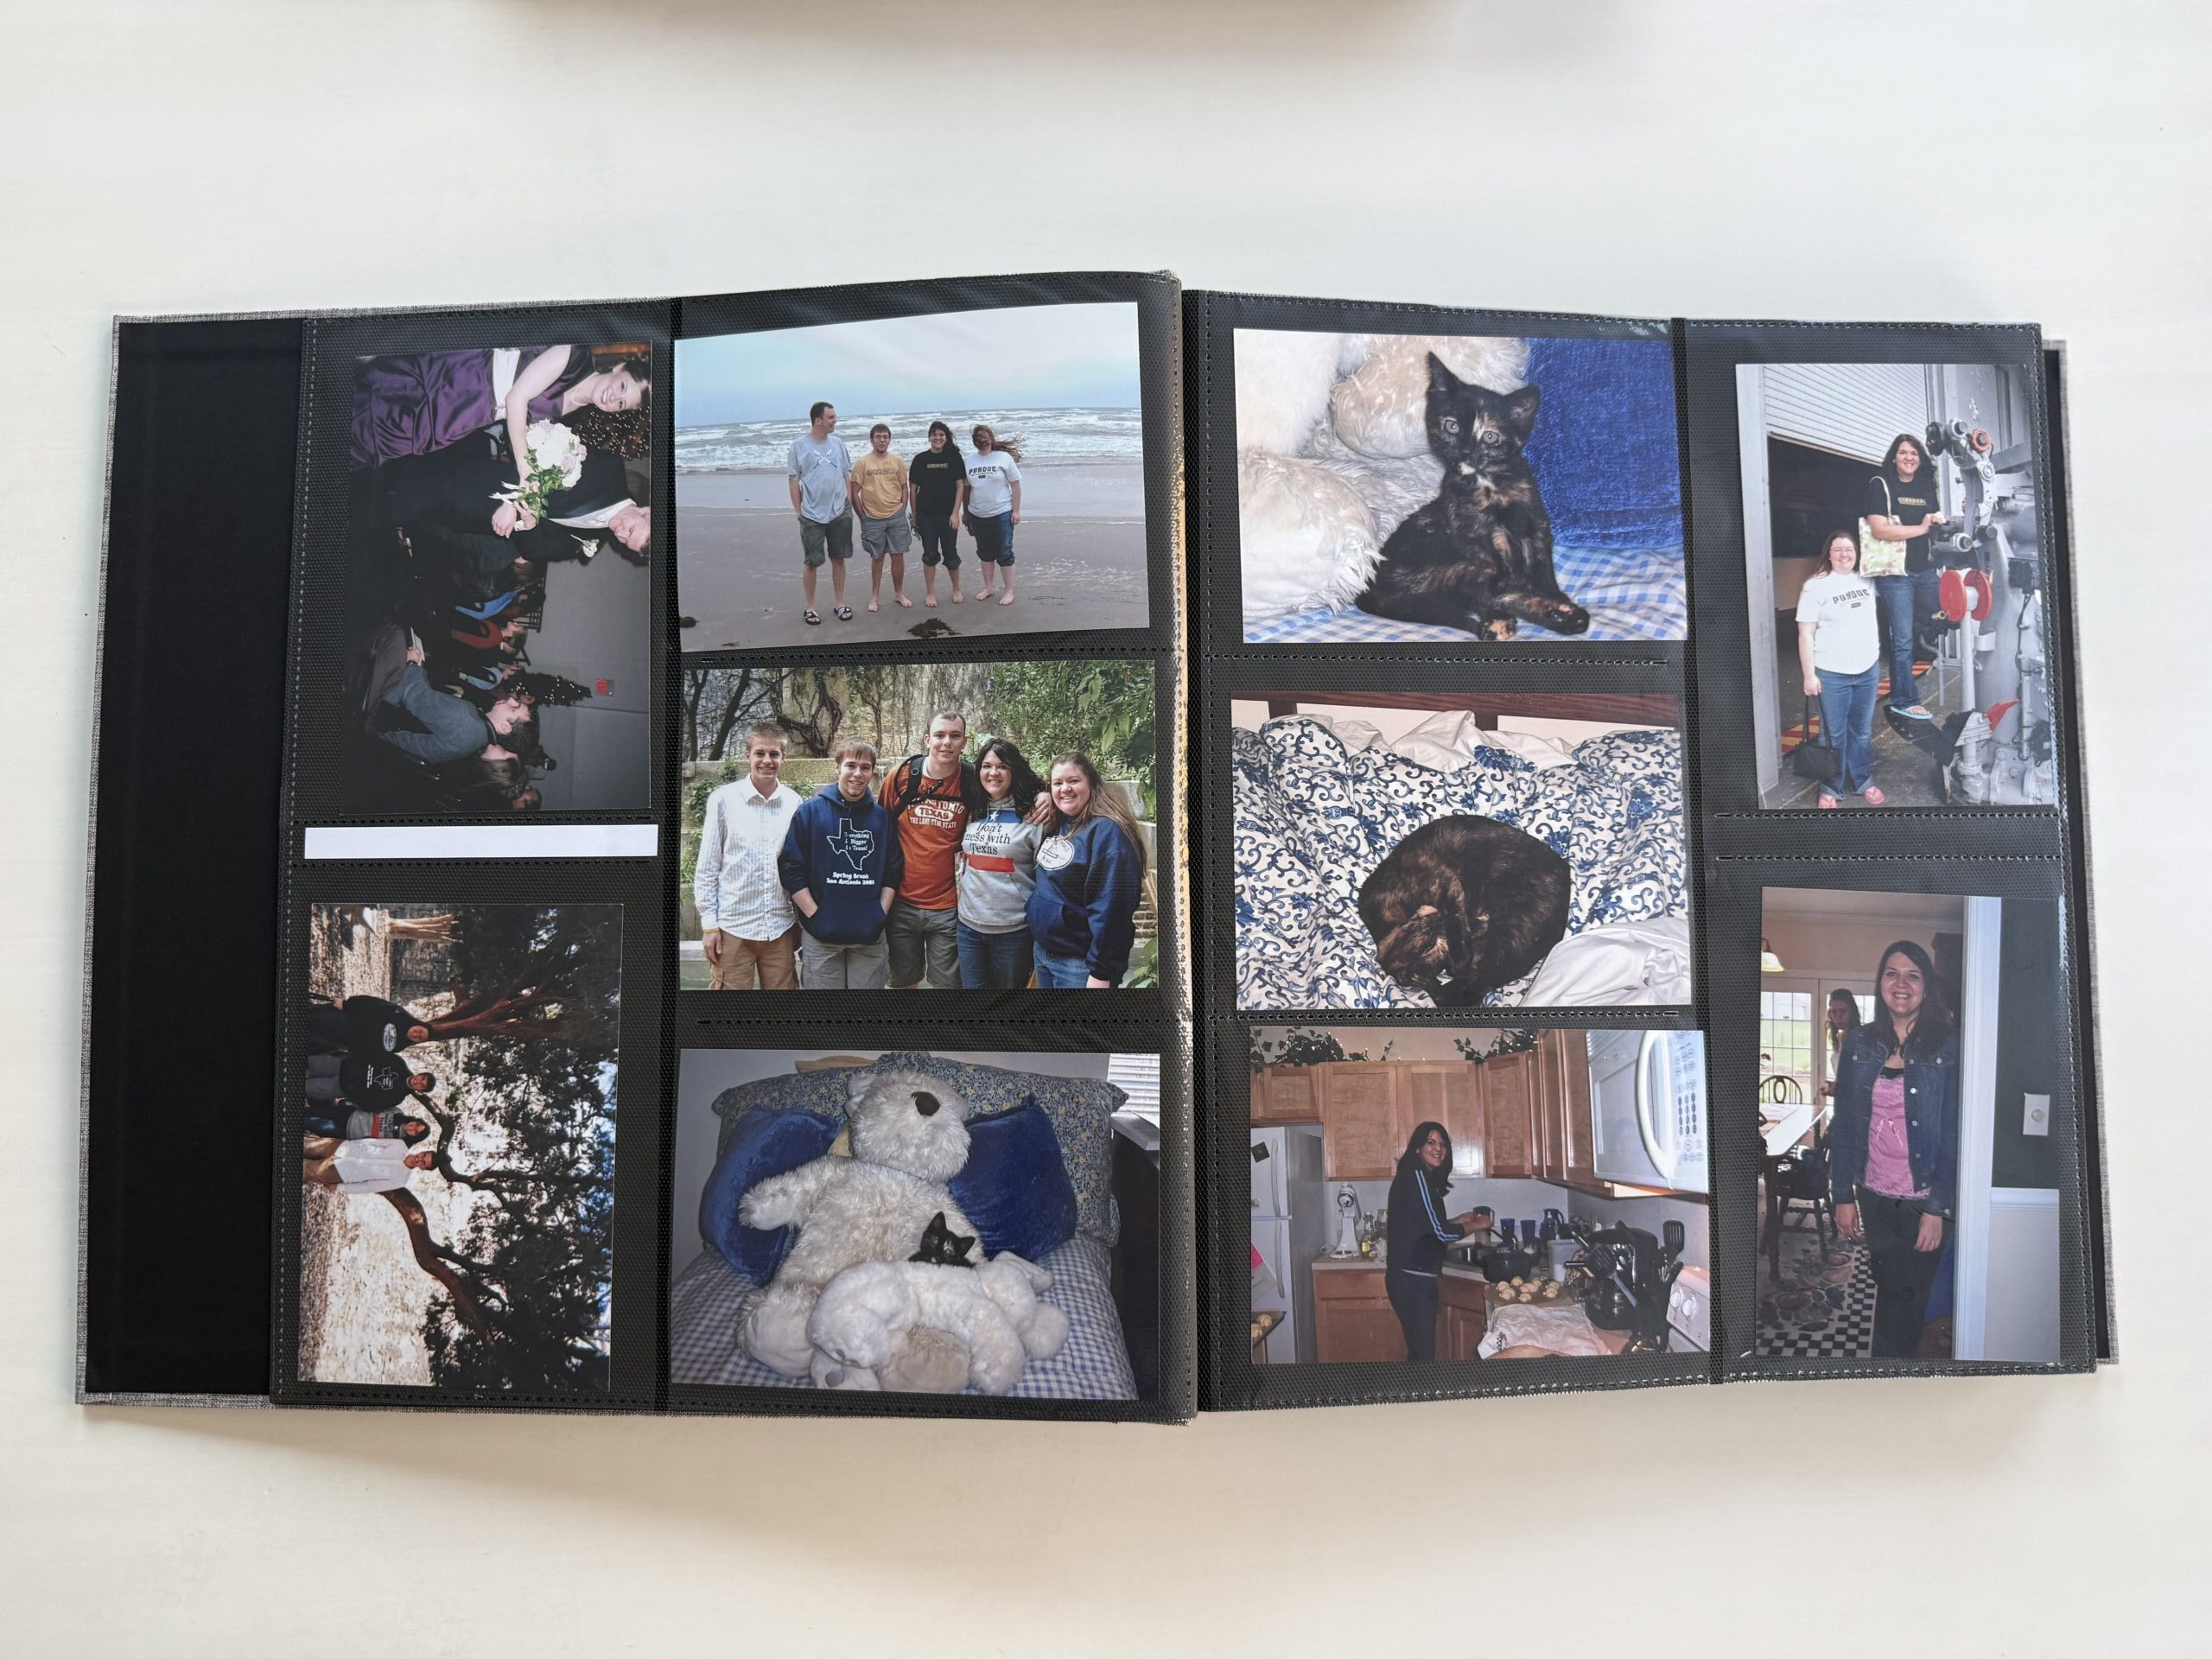
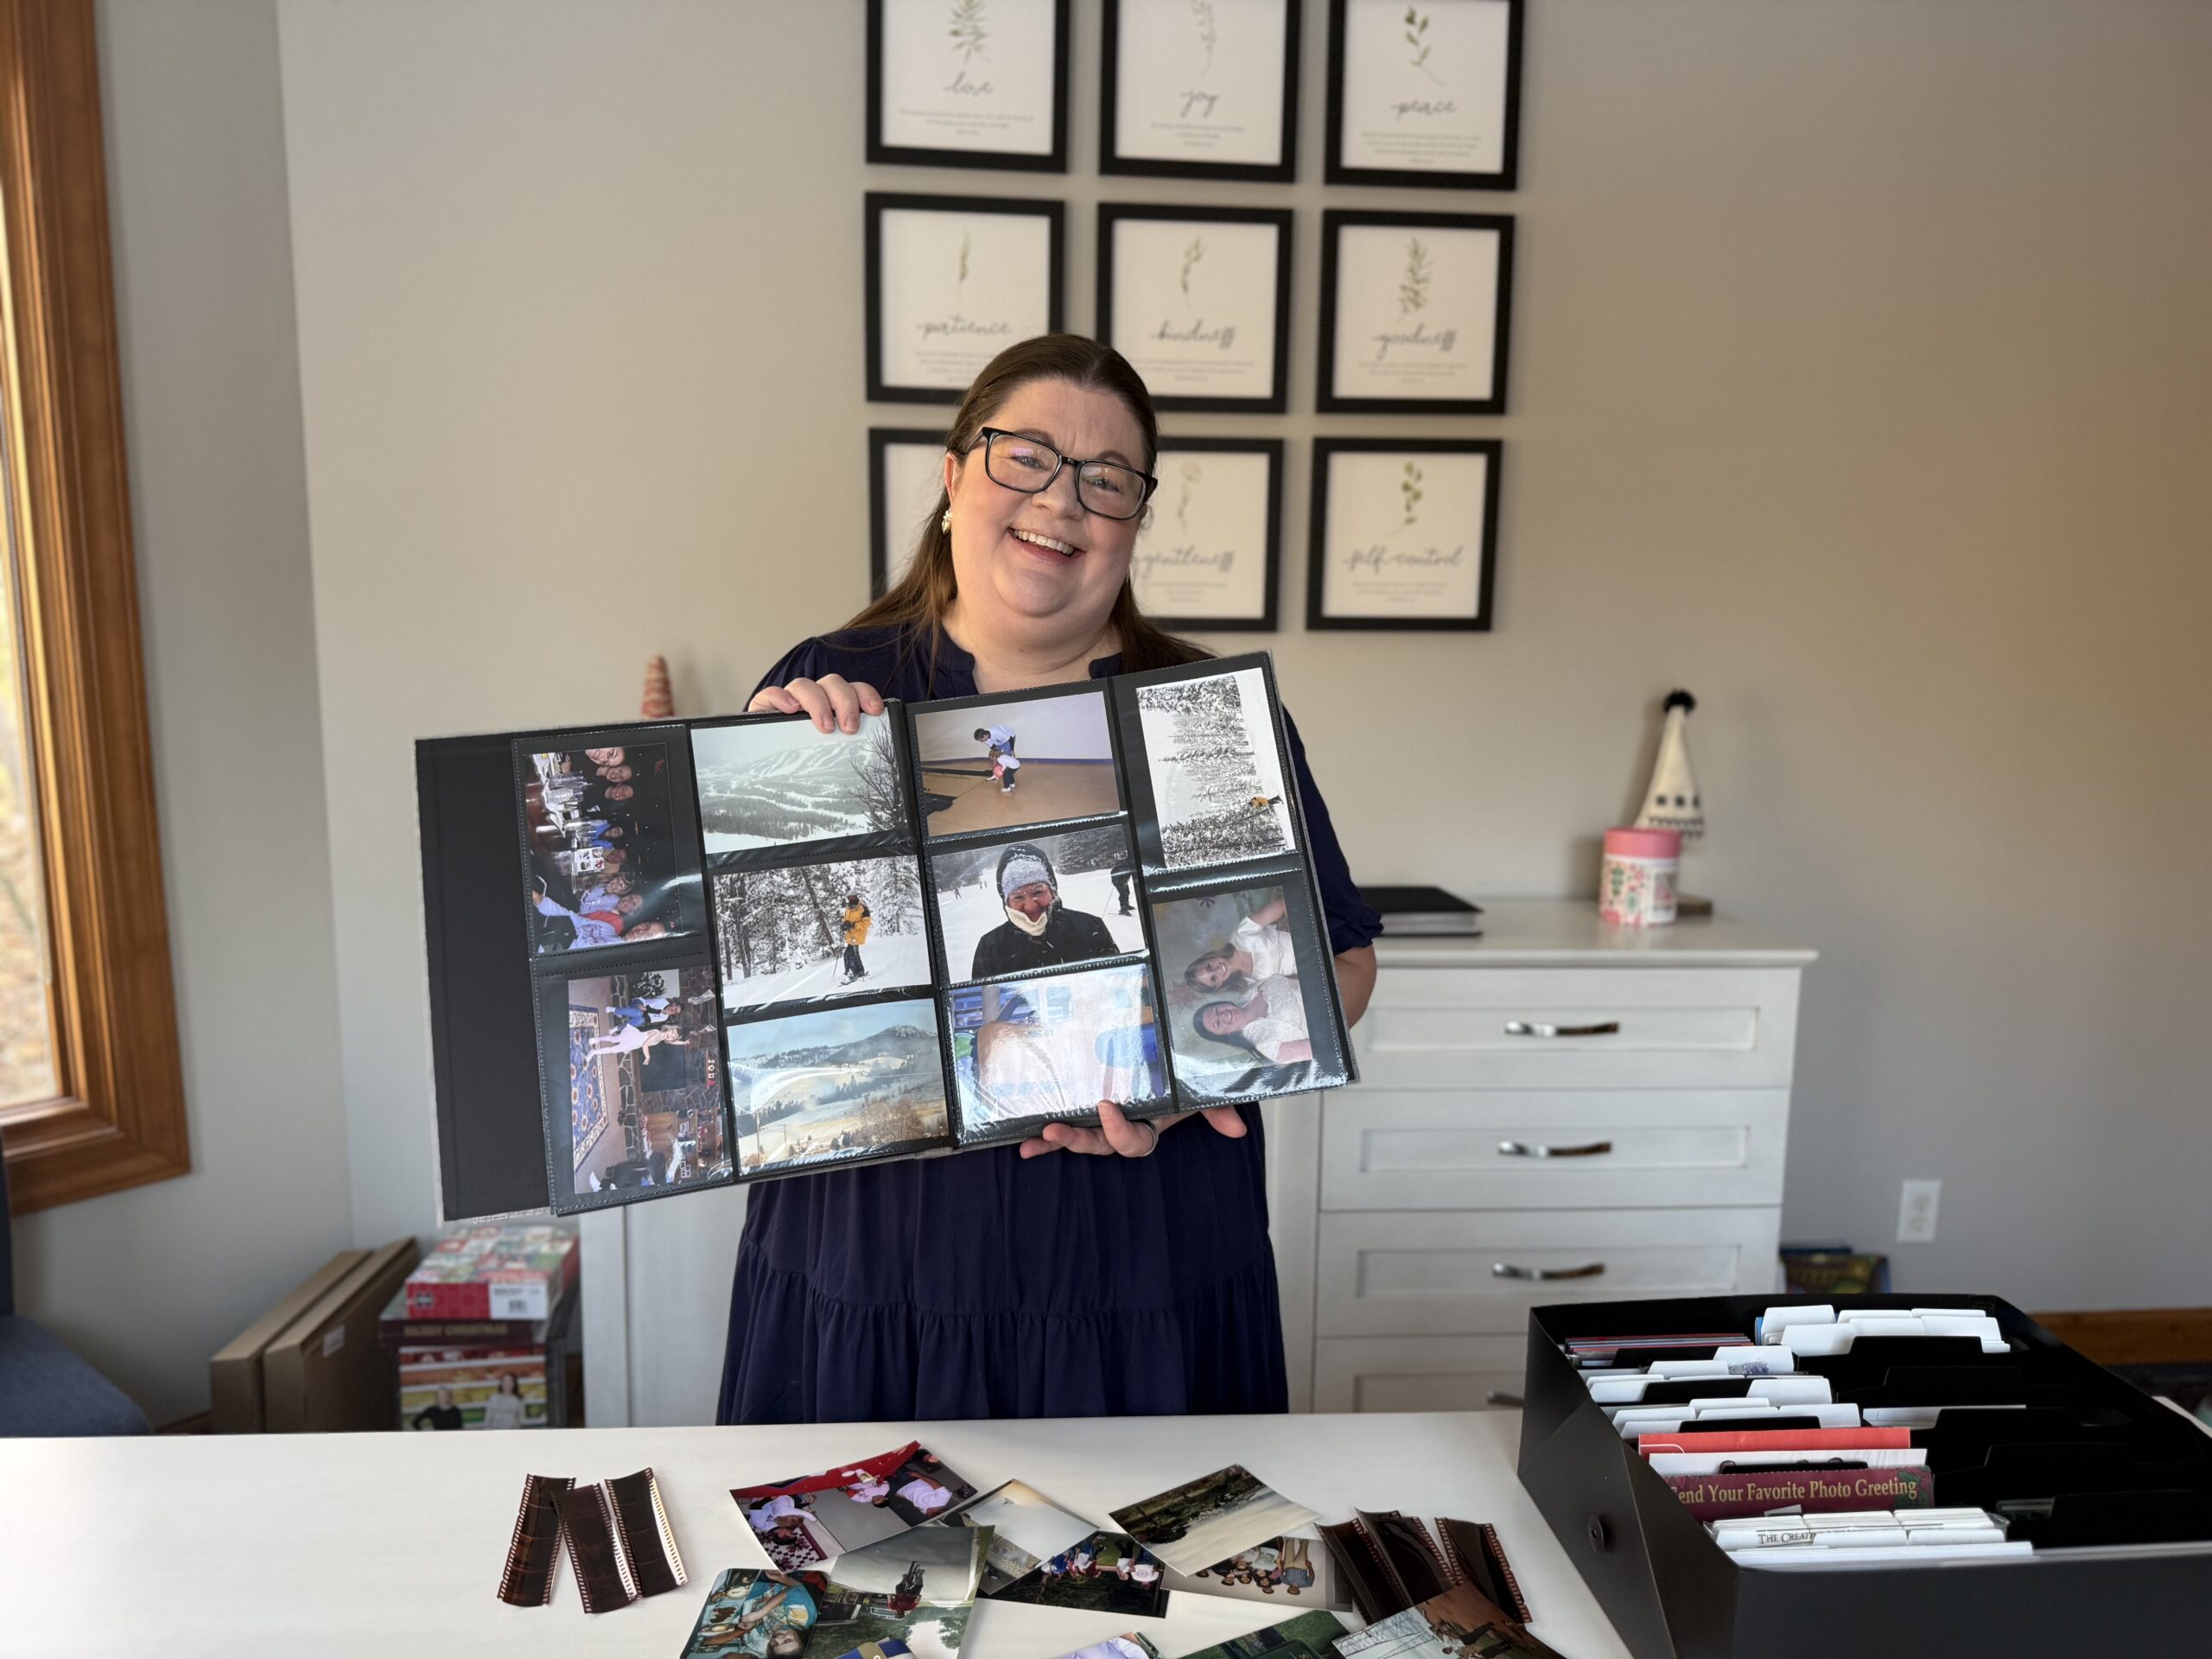
Instead of sorting first, I’m putting the photos straight into albums with zero organization.
No years.
No events.
No labels.
Just progress.
And surprisingly, that’s exactly why this works.
Step 1: Get a Simple 4×6 Photo Album
You want a standard 4×6 photo album with slide-in pockets. This is the one I used, but anything will work.
A few things to look for:
-
Holds a lot of photos
-
Easy-to-slide pockets
-
Decent quality, but nothing fancy
Most people’s photos are 4×6, which makes this size the easiest place to start. I researched craft stores, Amazon, and big-box stores and landed on something affordable that holds a lot. You don’t need the exact same album I used. Any 4×6 album will work.
Step 2: No Sorting. Just Grab and Insert.
This is the rule that makes everything faster.
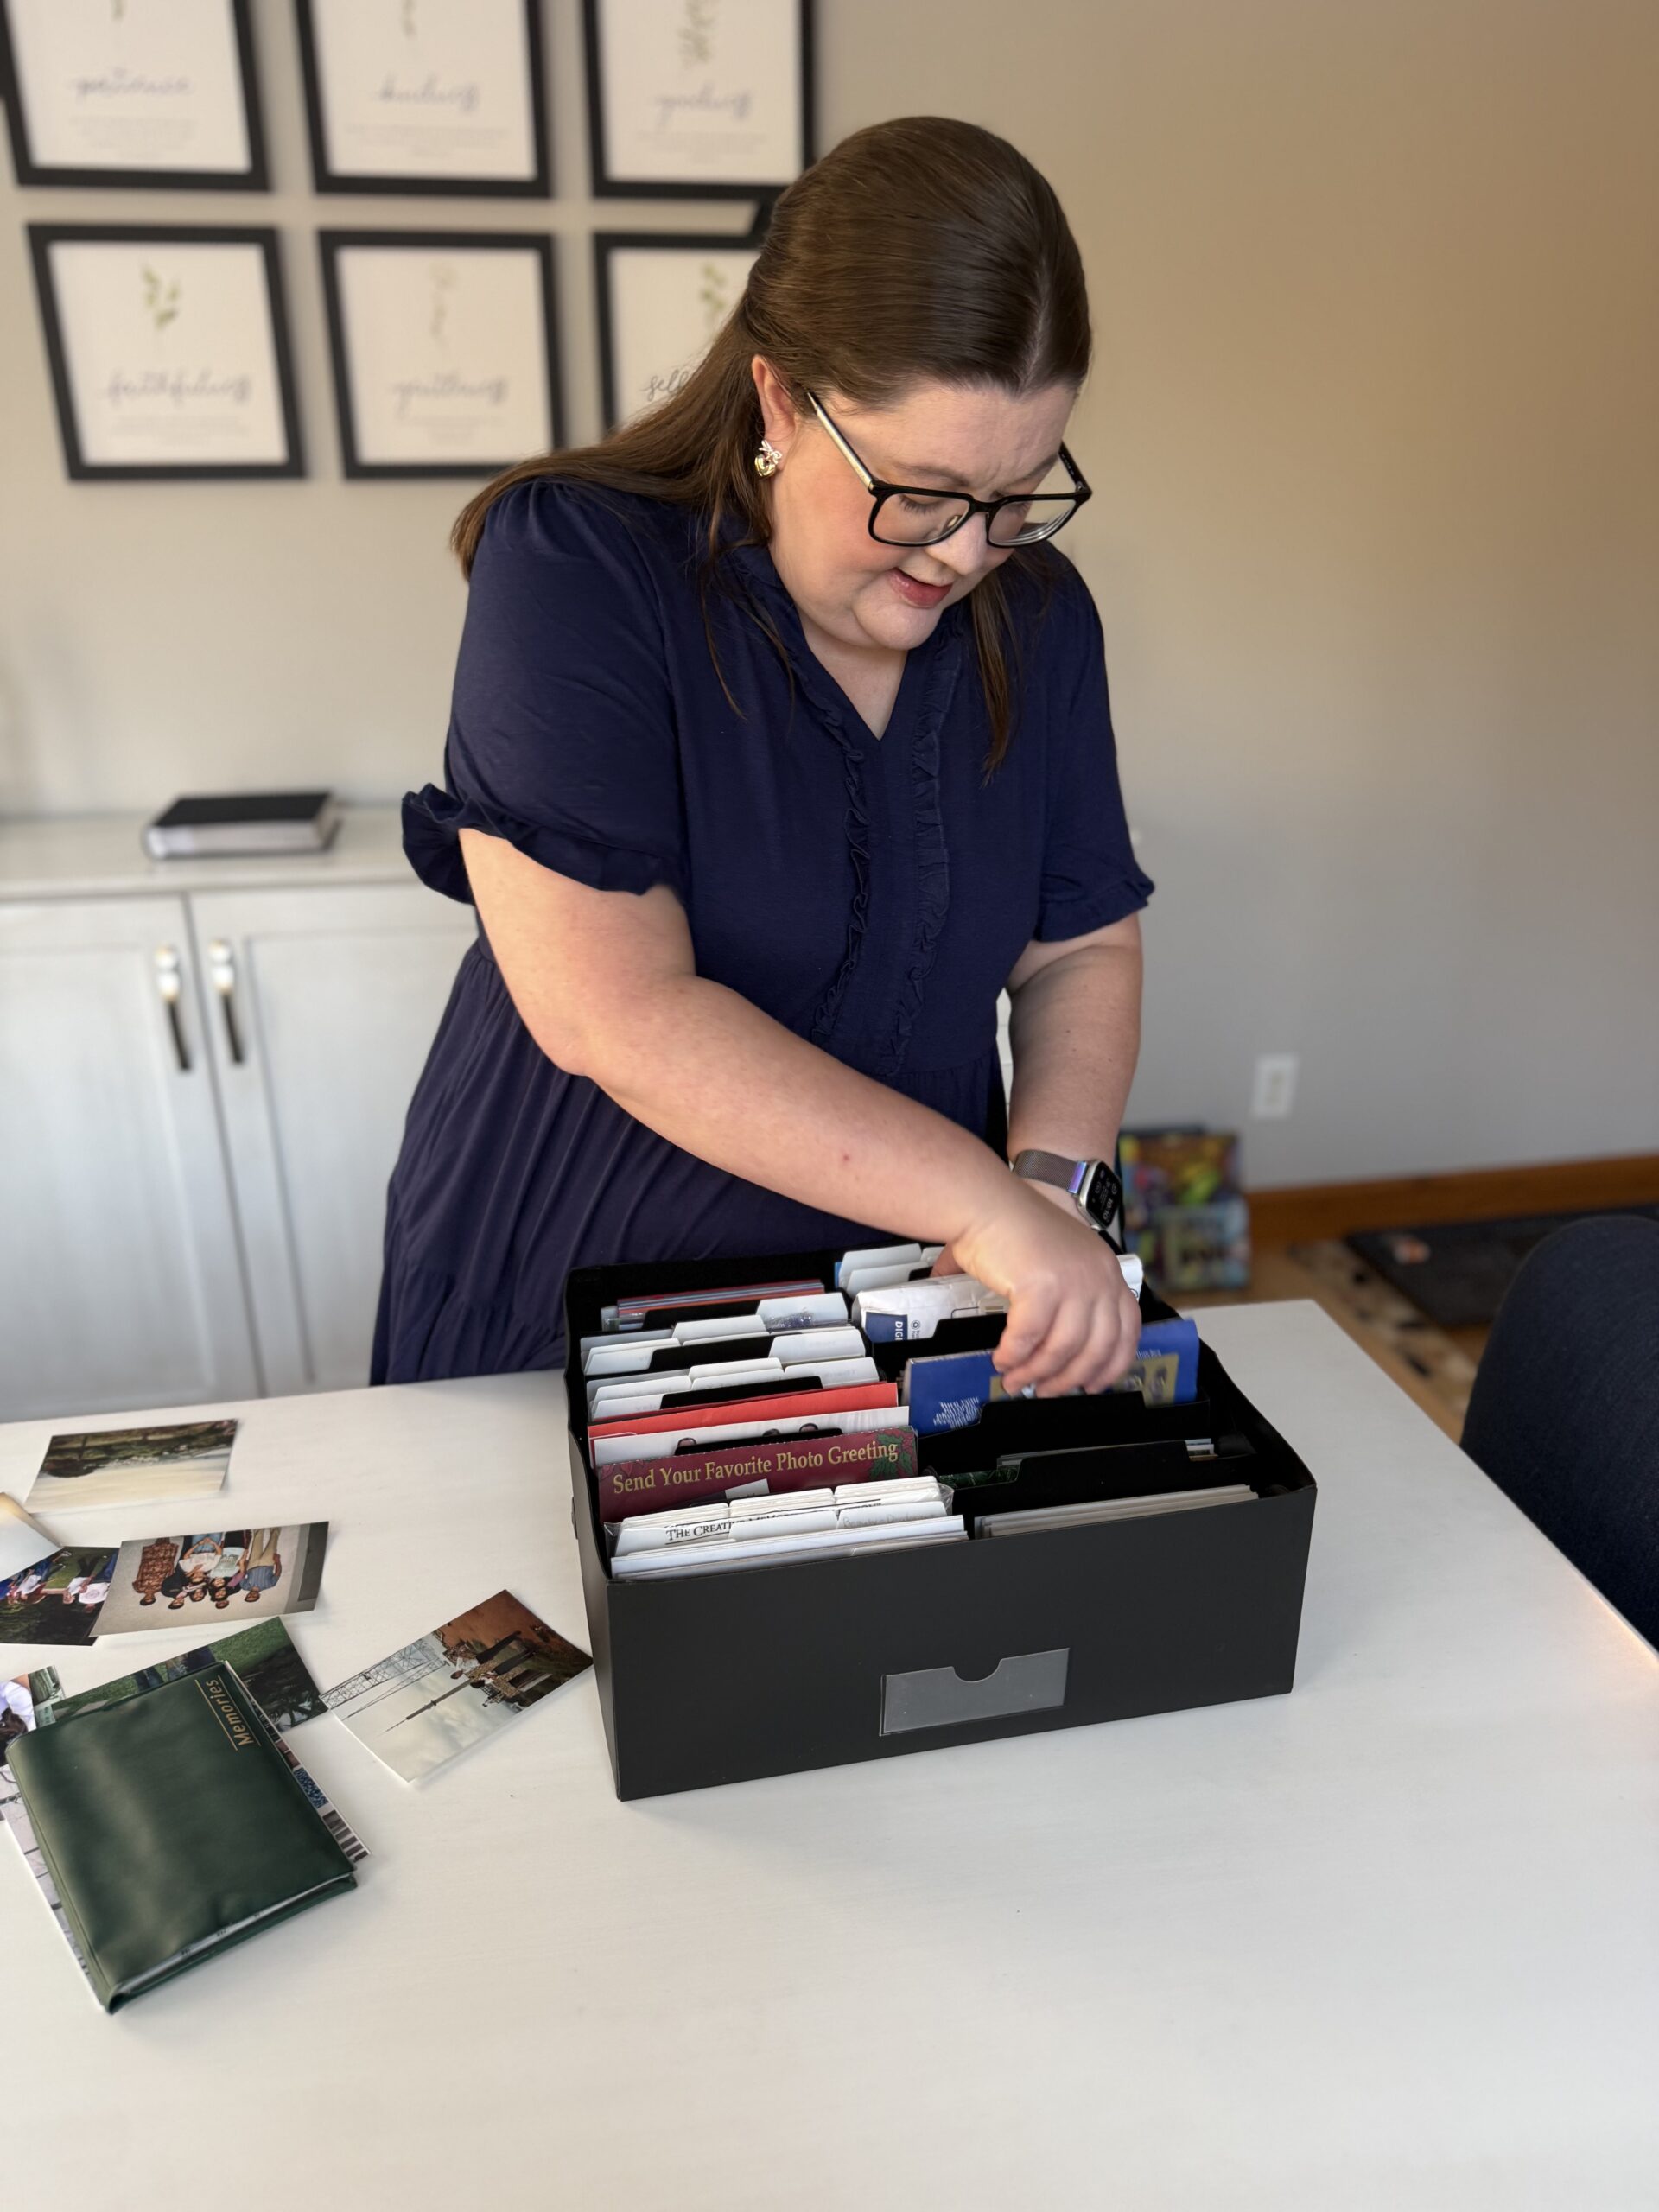
You reach into the bin, grab whatever photo is next, and slide it into the album. No sorting. No creating piles. No rearranging.
If a group of photos came together in a sleeve from when they were developed, I keep those together. Otherwise, the order is completely random. One photo might be from 1985, the next from 2002, and that is totally fine.
This is also why the process feels light. I can talk to my family, listen to an audiobook, or watch a cozy movie while I’m doing it. It doesn’t require my full attention, which means I actually want to keep going.
The 10-Second Rule (Your Only Decision Point)
You are allowed to toss photos, but only under one condition.
If you can decide in under 10 seconds, you can get rid of it.
Examples include:
-
Blurry photos
-
Obvious duplicates
-
Shots where no one is looking at the camera
-
Nearly identical photos right next to each other
If it takes longer than 10 seconds to decide, it goes straight into the album. No debating. No emotional spirals.
A Few “Let It Be Messy” Details
This method works because I refuse to get hung up on small things.
Most of my photos are horizontal, but the album pockets are vertical. I don’t care. They’re still easy to flip through and see. If that would really bother you, you can buy a horizontal-only album, but I needed capacity more than perfection.
I’m also not stopping to write dates, captions, or labels. The album came with little label cards, but I’m not using them right now. If someday I want to add notes while flipping through the album, I can. During this phase, writing is off-limits.
Why This Works (And Why I Chose This Method)
I really only had three options.
I could use this method, get it done quickly, and actually enjoy the photos with my family. I could wait until I magically had endless time and motivation to do it “the right way.” Or I could leave the photos in a bin for another 20 or 30 years until my kids eventually tossed them.
This method gets the photos out of hiding and into our lives now. And if someday I want to reorganize them more carefully, I can. Nothing about this approach is permanent or irreversible.
Common Questions (Because I Had Them Too)
What if my photos aren’t all 4×6?
That’s totally fine. Smaller photos like 3×5 still fit inside a 4×6 pocket. They won’t be perfect, but they’ll be protected and visible. You can mix sizes in the same album without any issues.
If buying a separate album for smaller sizes makes you feel better, you can do that. Personally, I’m just putting them right in with everything else. Here's a good 3×5 photo album option I found.
What about negatives?
Yes, negatives still exist, and yes, they’re a bit annoying.
As I go through photos, I’m putting all the negatives into one bin. Once the whole project is done, I plan to spend an hour or two at a library that has a negative scanner and scan as many as I can.
You have options here:
-
Let the negatives go entirely
-
Mail them to a scanning service
-
Use a library scanner
Once scanned, those digital files will live in one folder on my computer and one backup in the cloud. I’m not organizing them. I just need to know they exist and where to find them.

What about duplicates?
If it’s obvious that a photo is a duplicate, I toss it immediately.
If I’m not sure whether I have another copy somewhere, I don’t worry about it. Worst case, I end up with two of the same photo in an album. That’s not a problem worth slowing down for.
What about postcards, maps, and memorabilia?
If it fits in the photo album, it goes in the photo album. Postcards, small maps, cards from friends, and similar items slide right in and stay with the photos from that time period.
For items that are too big, I set them aside. Later, I’ll put them into a simple 12×12 scrapbook. No fancy layouts, no heavy journaling, just a low-stress way to keep them together.
What about digital photos?
Digital photos are a separate project, and honestly, they’re easier.
I already have a simple system for handling digital photos quickly, and I’ll link that for you. Physical photos feel heavier emotionally, but this method makes them manageable.
The Big Takeaway
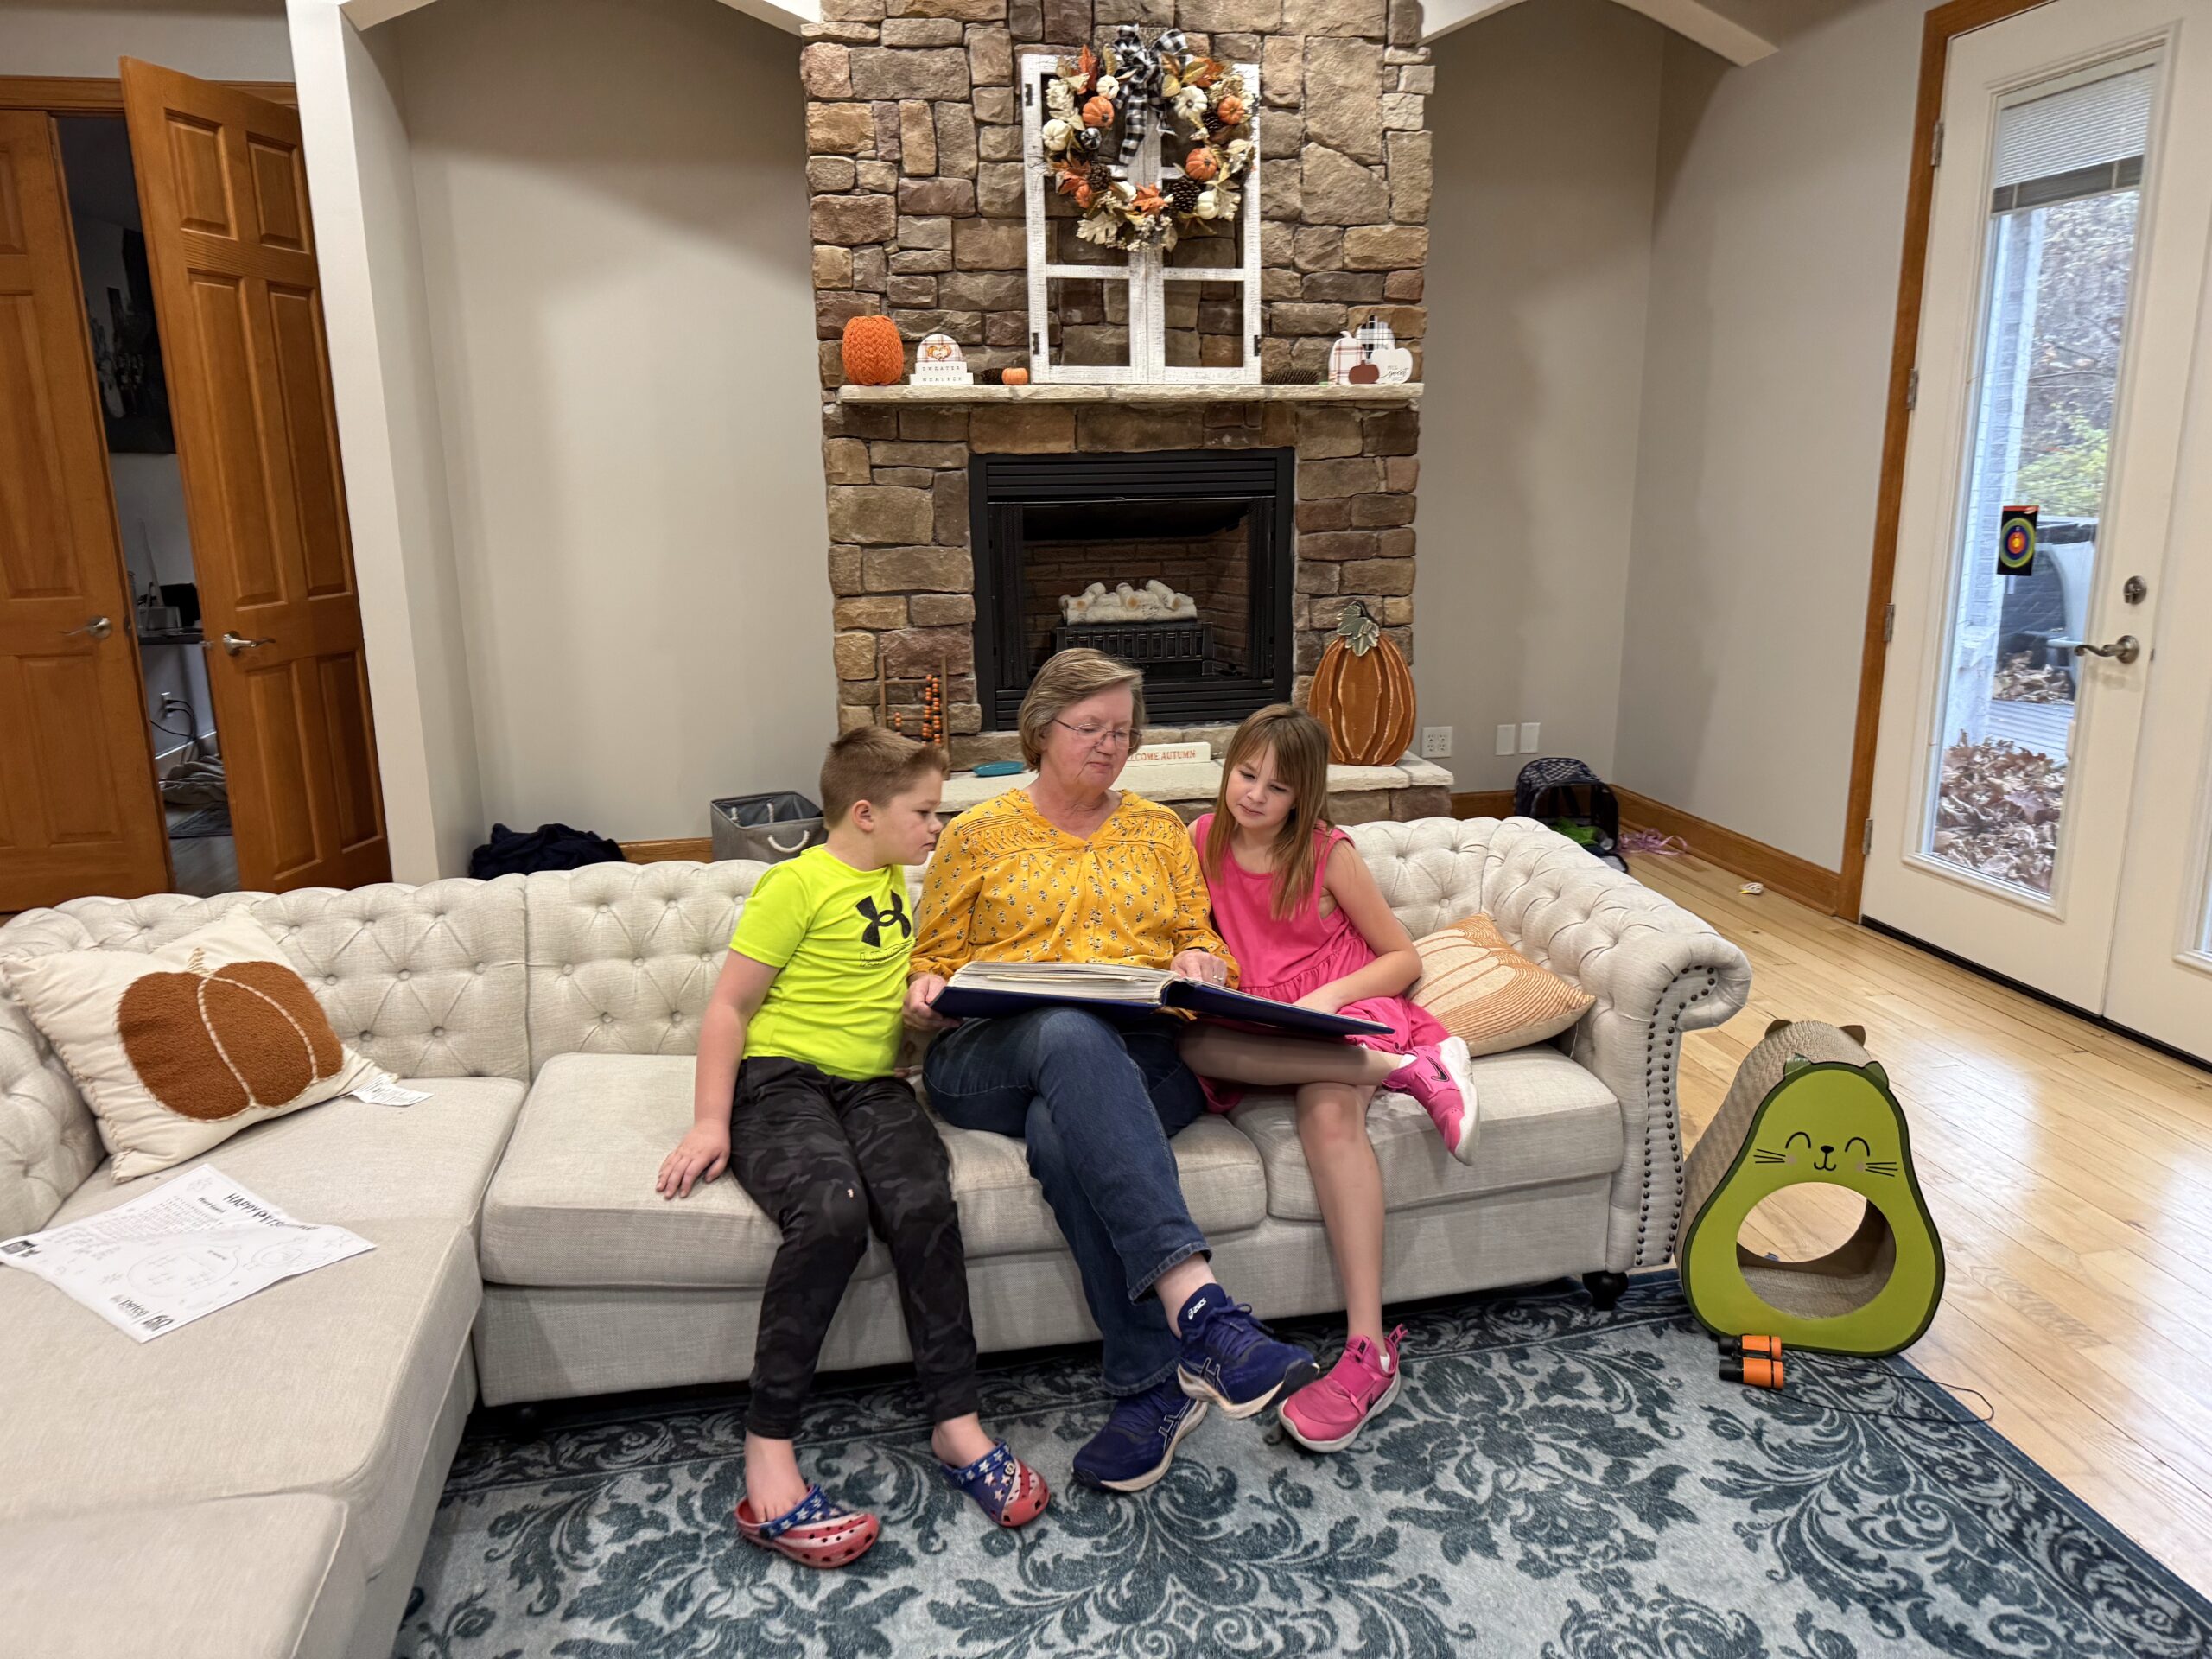
Your photos don’t need to be perfectly organized to be meaningful.
They just need to be:
-
Out of the bin
-
Easy to flip through
-
Part of your everyday life
If this method feels a little chaotic, that’s okay. Sometimes the slightly unhinged way is the only way that actually gets done. And done is always better than dusty and forgotten.


 Copyright 2026, Get Organized HQ.
Andrea S. Says
This is such a brilliant way to deal with decades of photographs! It’s easy and has an immediate impact. I’d like to think that I would have eventually figured this out on my own, but probably not, so thank you! Also, thank you for linking to the high capacity album, I appreciate you doing the leg work and sharing.
Robin Says
you forgot to link to digital photo organization as you stated in the post. so here is the link https://getorganizedhq.com/digital-photo-organization/
Cindy Says
THANK YOU SO MUCH!! This post makes so much sense to me! I was making this process harder than it needed to be! Have a great day!
Shawna Says
Thank you! I didn’t think I could ever do an approach like this, but seeing it written down … I’m going to try this!!
Cheryl Says
I don’t have all of my digital photos printed. My problem is who to use to print them? Most of the companies I’ve used don’t do the greatest job.
Lynne Says
Thank you! I am going to start working on this today. I have so many photos that are completely disorganized. This is a brilliant way to display them.
Amelia Rose Says
I also have lots of school pictures and photos that I have in frames but don’t have enough walls in my house to hang them all. It has bothered me for a while and I think I will put them in 12×12 albums so that they can be enjoyed!!!
Denise Says
I love how you just made it easy for me to sort my photos out, just get them in an album!!!!! thank you!! I stress about trying to chronologically sort them out! They have sat in a box for 10 years now I feel free to just get them in the album’s .. Thank you