How to Print on Post-it Notes
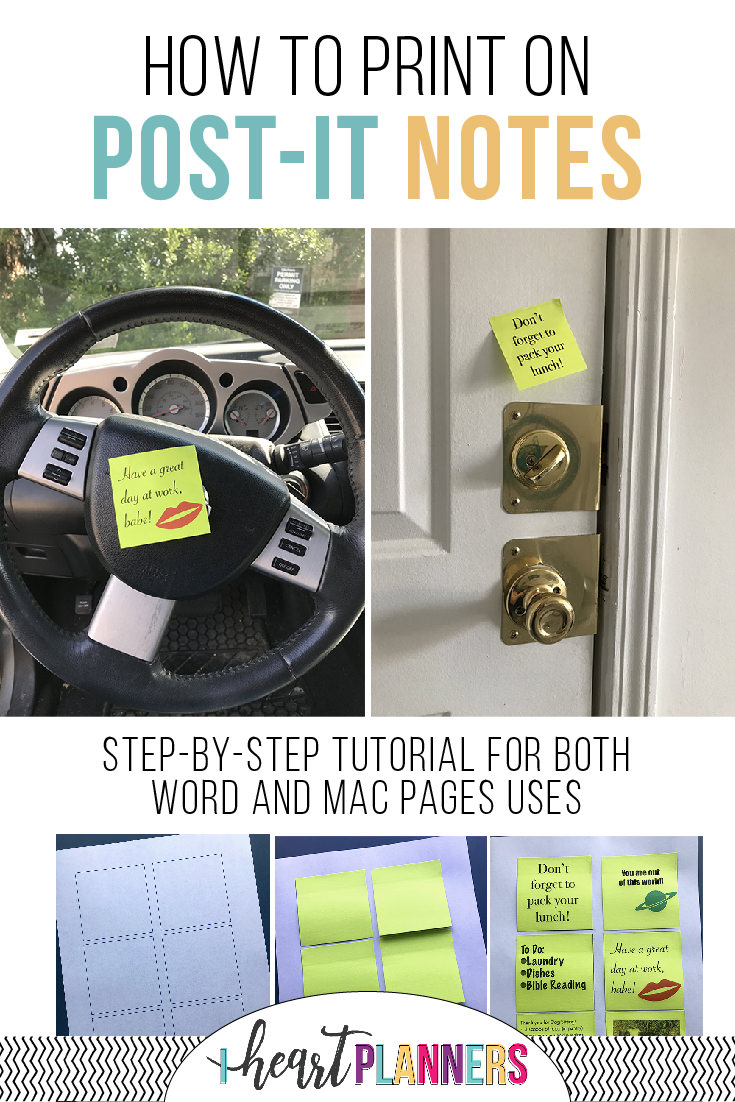
Printing on sticky notes is actually incredibly simple! I’ll walk you through step-by-step how to create your own sticky note template – for any size sticky notes!
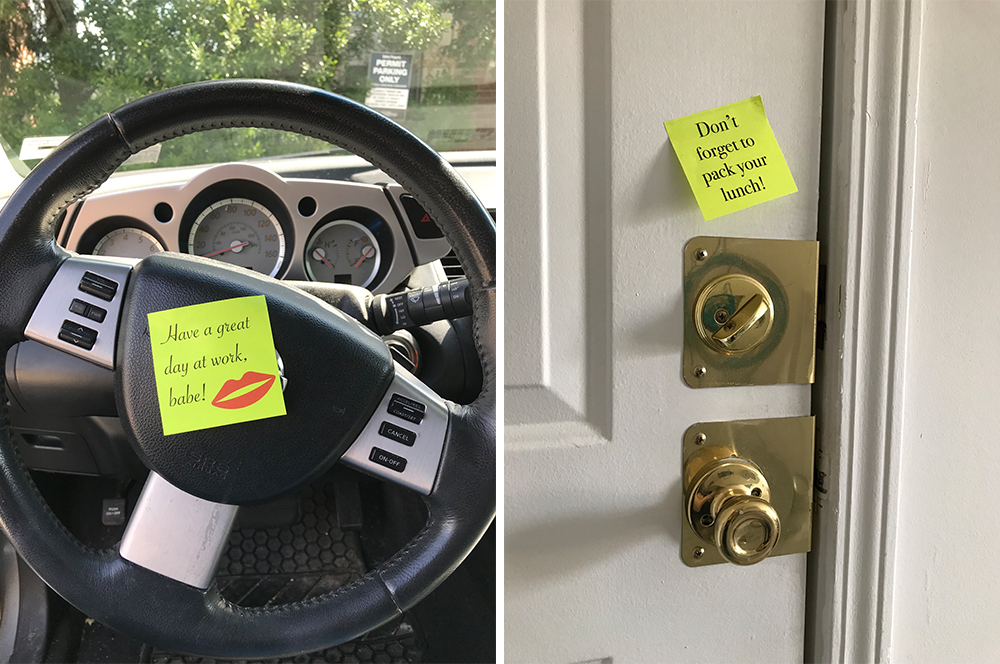
Using Microsoft Word
(scroll down if you are using Pages)
Start by opening a new Microsoft Word.
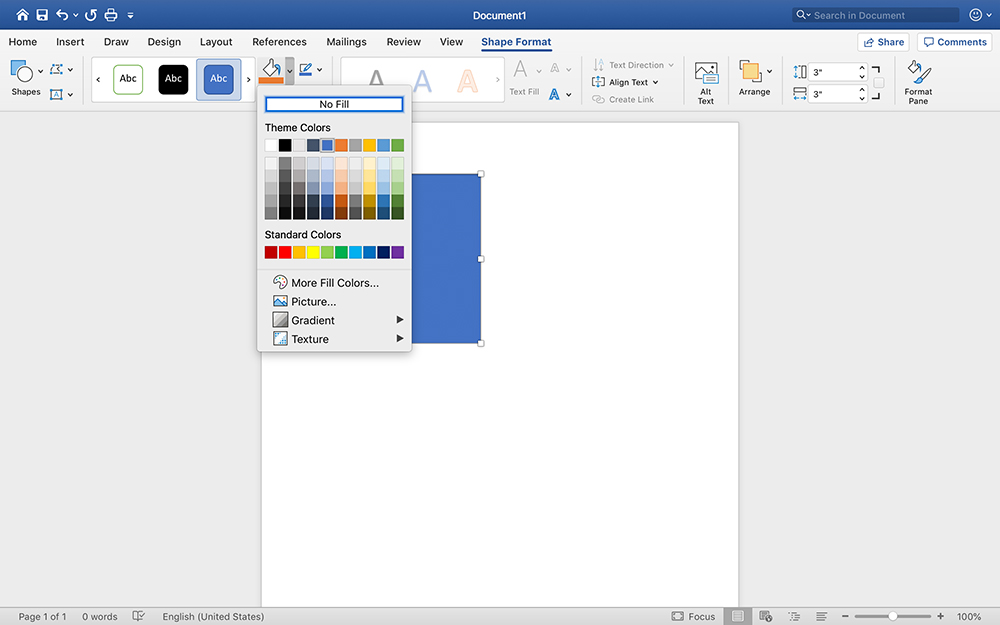
Next, check the size of sticky notes you want to print on. The package should tell you, but the standard square sticky note size is 3×3. You’re going to use the shapes tool to draw boxes on your document that are 3×3.
To change the size of the shape, click on “Shape Format” along the top menu, and change the width and height of the square accordingly.
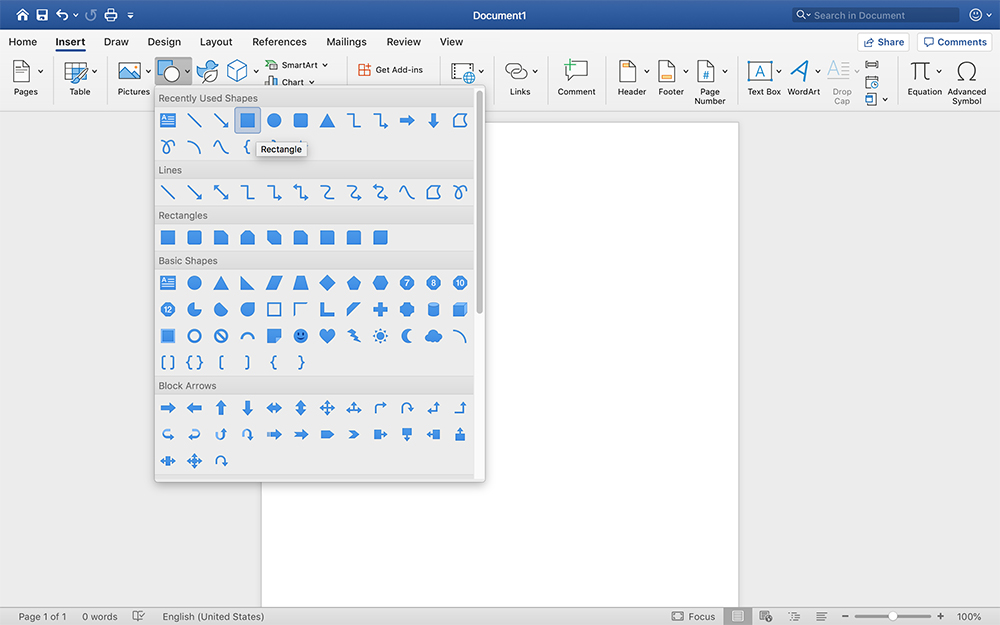
Next click on “Shape Fill” in that same “Shape Format” menu, and change the “Fill” to “No fill”.
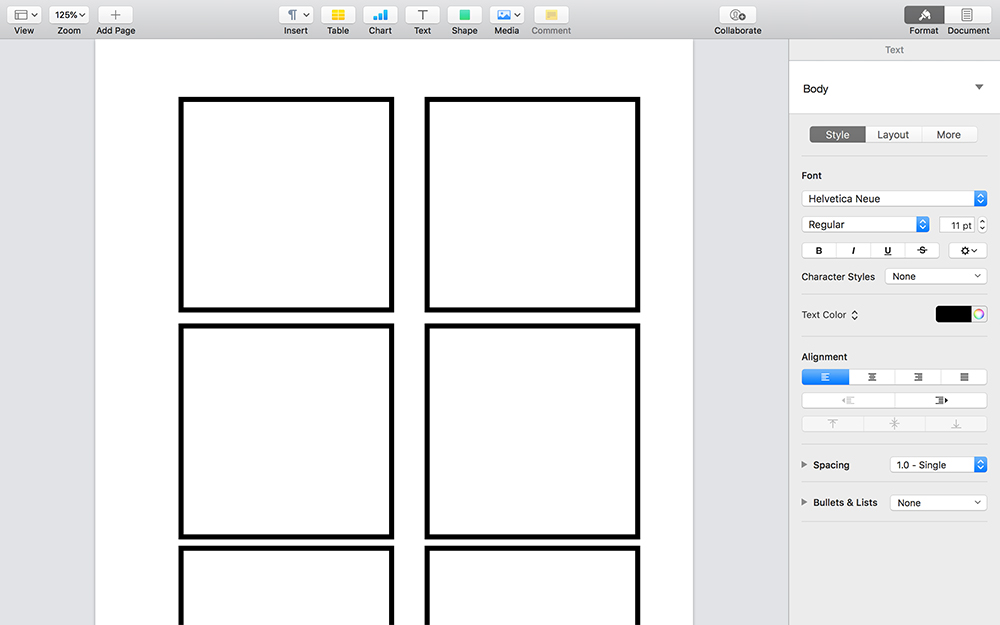
Now copy and paste the shape you have made – if you are doing a standard 3 x 3 sticky note, one page should fit 6 sticky notes.
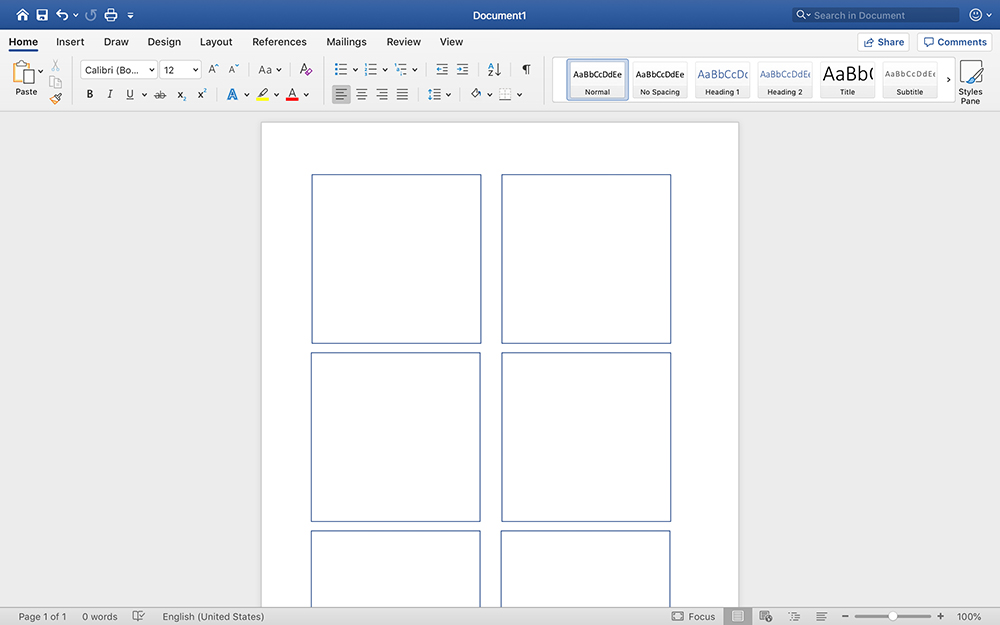
You’ll want to go ahead and print out a copy of your template now.
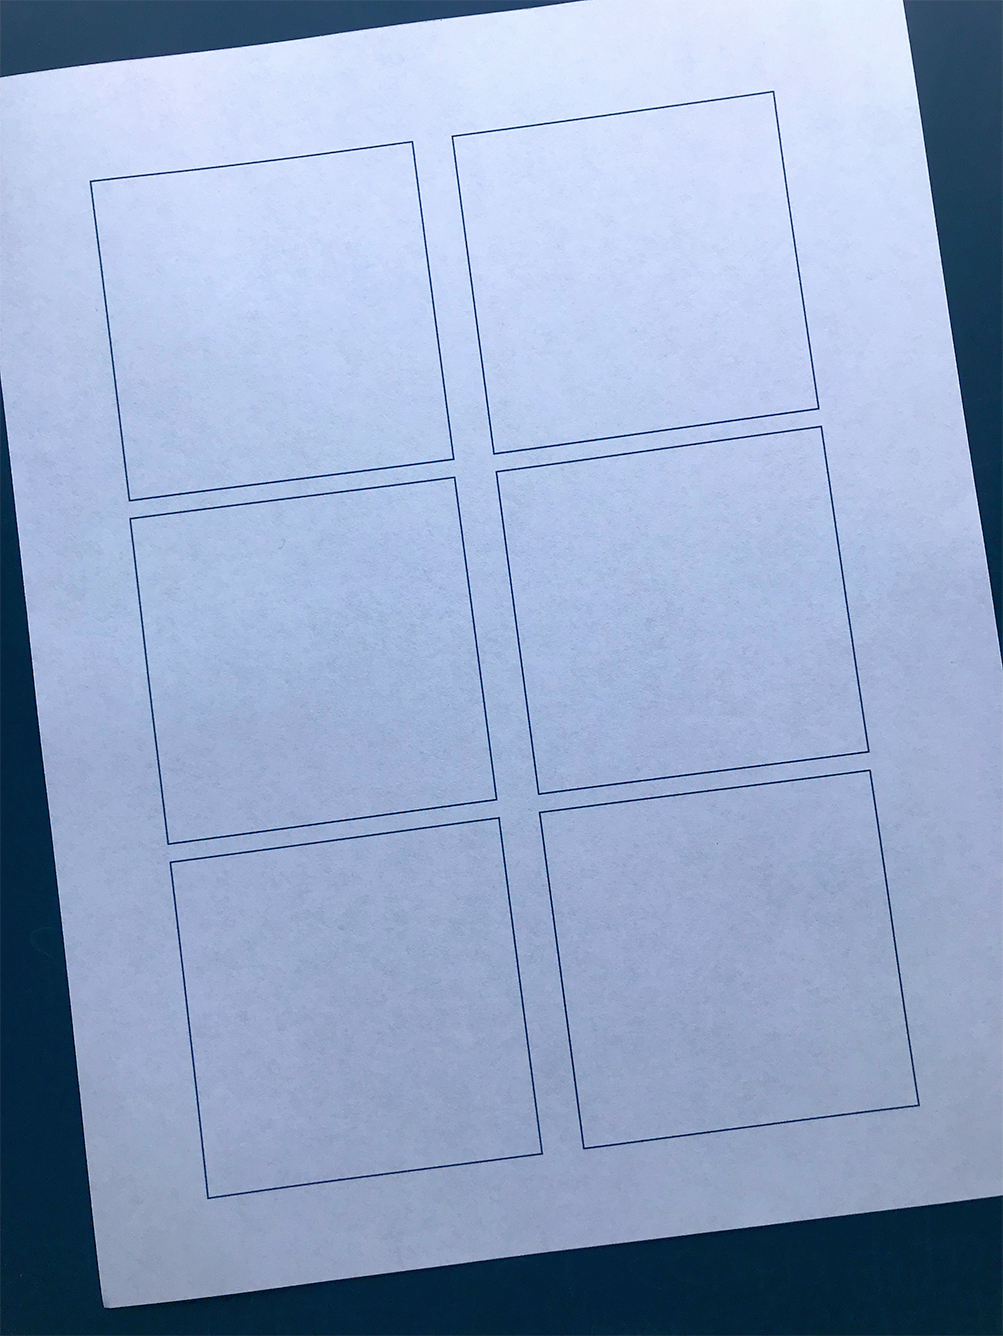
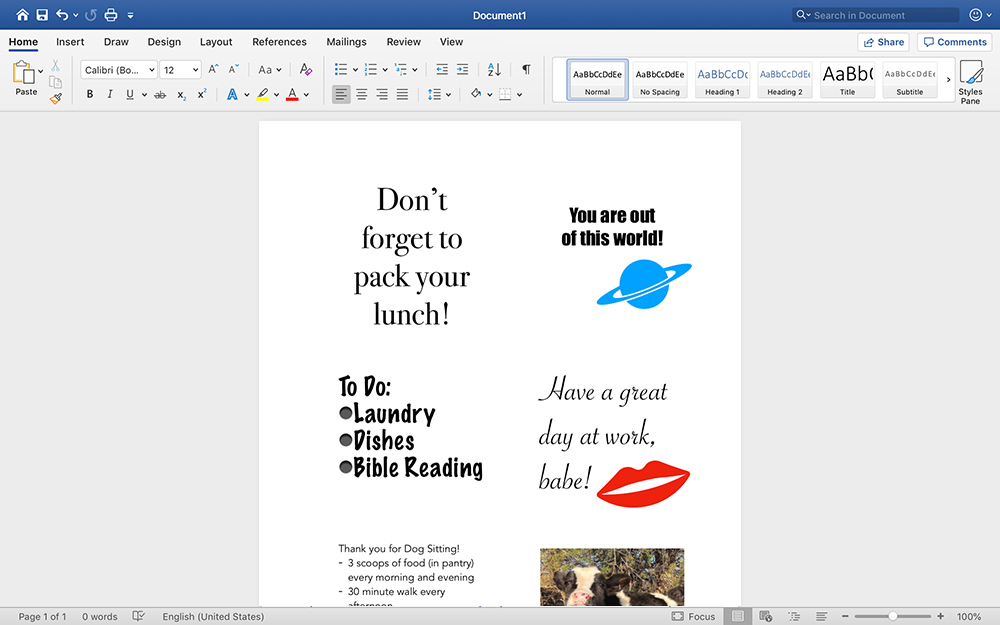
Once you have printed a blank copy of your template, you can go ahead and add text, shapes, and images inside the squares on your pages document – whatever you want to be printed on the sticky note! Once you have filled the boxes in the document, delete the outer box.
Now put the sticky notes over the template that you printed out, load the sheet into your printer, and click print on the document!
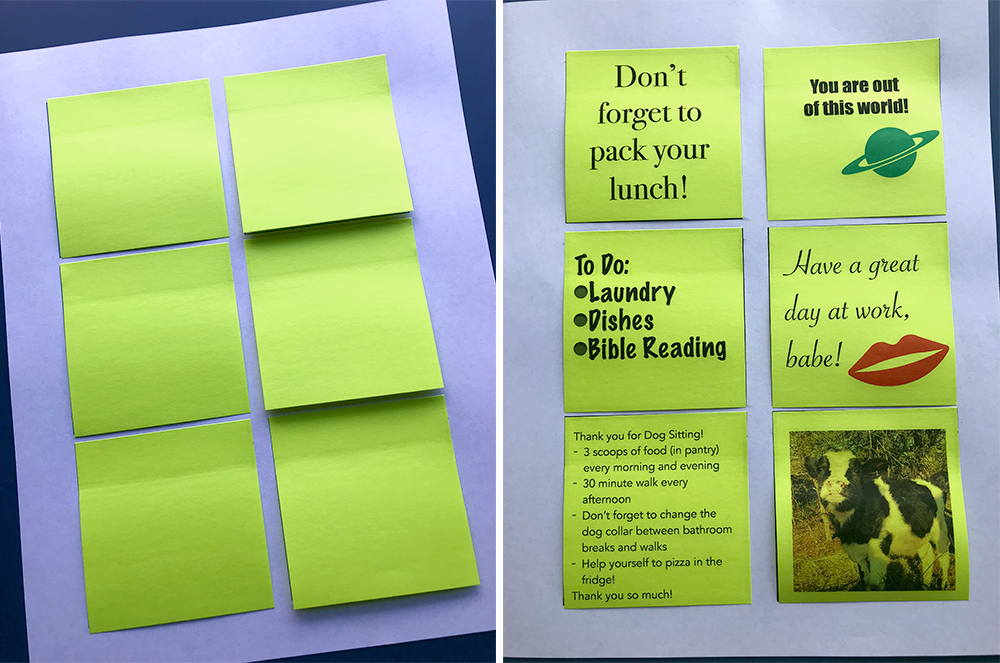
There you go! You now have personalized, printed sticky notes!
Use them to leave yourself a friendly reminder, keep a to-do list, or surprise a special someone!
Using Pages (on a Mac)
Start by opening a new Pages document.
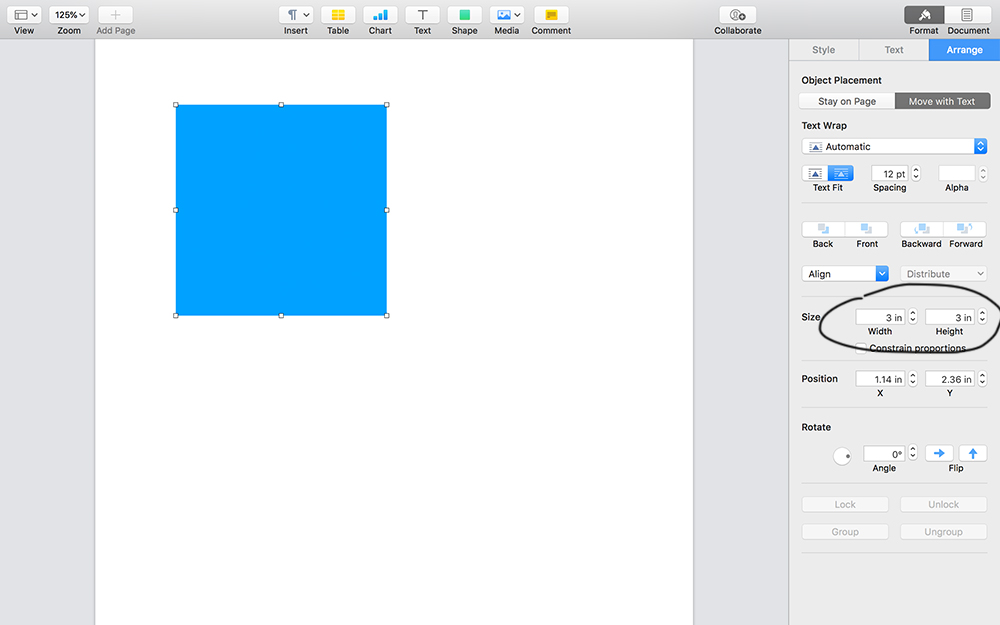
Next, check the size of sticky notes you want to print on. The package should tell you, but the standard square sticky note size is 3×3. You’re going to use the shapes tool to draw boxes on your document that are 3×3.
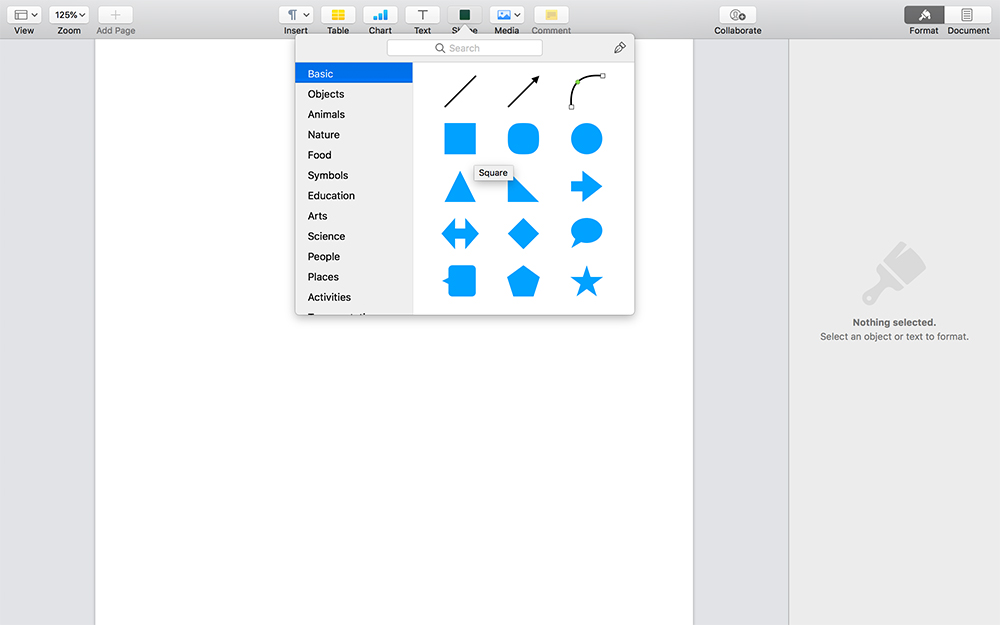
To change the size of the shape, click on “Arrange” on the lefthand menu, and change the width and height of the square accordingly.
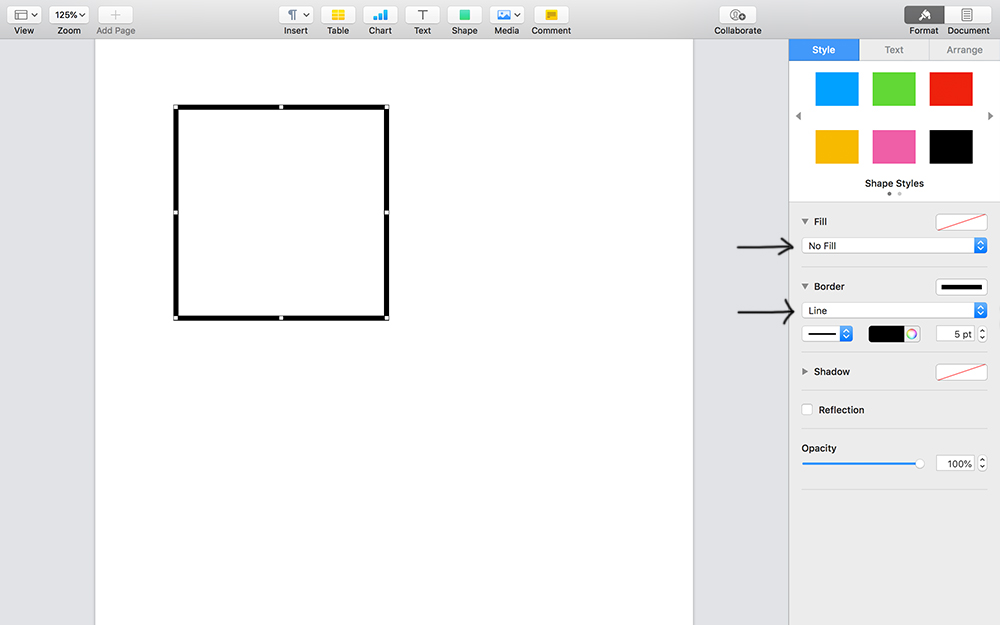
Next click on “Style” also on the lefthand menu, and change the “Fill” to “No fill”. Then right below, click on “Border” and select “Line”.
Now copy and paste the shape you have made – if you are doing a standard 3 x 3 sticky note, one page should fit 6 sticky notes.
You’ll want to go ahead and print out a copy of your template now.

Once you have printed a blank copy of your template, you can go ahead and add text, shapes, and images inside the squares on your pages document – whatever you want to be printed on the sticky note! Once you have filled the boxes in the document, delete the outer box.
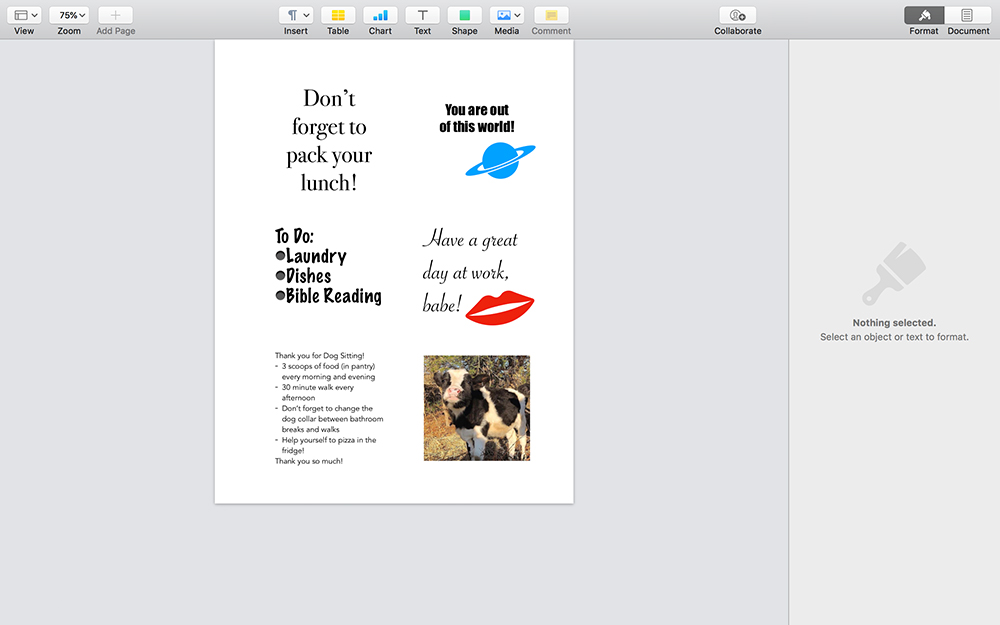
Now put the sticky notes over the template that you printed out, load the sheet into your printer, and click print on the document!

There you go! You now have personalized, printed sticky notes!
Use them to leave yourself a friendly reminder, keep a to-do list, or surprise a special someone.




 Copyright 2025, Get Organized HQ.
Leslie Says
Genius!
Shawn Says
This was awesome and easy to follow! Thank you!
Ann Adams Says
I found your web site and love the idea. Rather than using SHAPES to make the sticky note template, I used a table (in WORD). It was very quick. Just print the template (on card stock) and hide the lines when printing the sticky notes.
I made a template for 1 1/2″ by 2″ sticky notes and got 28 on a page (no overlapping)!
Thank you!
Georgiann Mimler Says
What version of word are you using?
Tasha Whitsitt Says
It should work on any version of Word
Crystal McKinley Says
Have you never had them jam with all those curled up edges?
I’m not trying to imply anyone isn’t smart enough to know you should, but I know I would be one of those, (I hope not the only one), who would forget to save the template clearly named to find again in my files. I know you can get around that but it makes it so much easier to have a blank template each time. That means you have to rename a copy of the ones you use often etc.
Cathie Says
Label your template and save for future use. Open, compose message, delete outline, print. Now, when you go to close the doc, it should ask you do you want to save changes. Click no. Your original template will be waiting for your next post note session.
Jayne Says
This is so cool, thank you! I can’t wait to try it as I’m obsessed with Post-its 😀
Josie Says
So fun!! I can’t wait to do this!
lisa fore Says
I love being able to make my own pre-printed sticky notes! I use them for work and for home.
Helen Roberts Says
I was very happy to see this. Personalizing post its for the kids’ lunches will be fun and exciting. Thank you for sharing this.
Tasha Whitsitt Says
Oh yes- great idea! I always sent notes in my kids’ lunches!
Lori Says
How are you loading/running the page with sticky notes in the printer?
Tasha Whitsitt Says
We would suggest take a piece of paper, draw an arrow on it and print a blank page to see which direction your printer prints. Printers load differently
Kelly Rosario Says
This is way too cool! Loved it! Thank you for sharing!
Richard Says
I LOVE YOUR WEBPAGE (regarding Printable Post-it Notes).
Your webpage is very well made — easy to follow and wonderful photos.
Thank you for all the “organized” work you put into this page!
Your information is extremely useful and very helpful.
THANKS AGAIN!
Suzi Whitford Says
EEK! I’m obsessed with Post-its and love this post so much! Thanks for the tips 🙂
Christal Says
very helpful.
sandra Says
This is a great idea. Thanks for the very well explained tutorial.
Maria Says
We use 2×3 Postits to keep track of my son’s “specials”. I printed 2 of each (art, music…) We place them on the calendar and can easily move them if we have a snow day.
Susan Says
WTH, OMG. You are either brilliant or crazy
? I can’t decide which as I love it.
Rebecca Says
YOU are a genius! This is awesome! 🙂
Tricia Murdock Says
I started doing this about a year ago! I found some white sticky notes on amazon. Works great! Inside one of the squares, I put an arrow aiming towards the top so I knew which way to load the paper so I can use the template over and over again.
debi Says
don’t forget that when removing sticky notes from your ‘stack’ to peel them off from the top left corner to right top corner (or right to left if left handed) , and NOT BOTTOM TO TOP which causes the sticky note to curl.
Diane Says
Amazing fun! TIP: After creating all 6 squares on the page, make sure they are spaced (distributed) evenly, and then group them. Make sure the grouped item (of all the boxes) is aligned in the CENTER of the page, both vertically and horizontally. Then you won’t have to remember which is the top of the page to put into the printer. Obviously, I printed off-kilter the first time and had to figure out how to avoid that! Thanks so much!!
Sally Salberg Says
I tried this today and made “love notes” for my family. I did one thing different which worked well for me. When I made the boxes I made them 2.9″ x 2.9″ instead of 3″ x 3″ and made the lines to the boxes a very faint grey color. That way I don’t have to remove the boxes each time. They are slightly smaller than the sticky note and they are so faint that I can see them to place the notes but they don’t show through the sticky notes. Thanks for the neat idea to print them out!
sandra Says
Why didn’t I ever think of this? Genius!
Steven Rolf Says
Great idea!
What type of printer can be used? That is:
– Does this work for Ink Jet printers only?
– Does this work for Laser Jet printers only?
= or will this work for both types of printers?
Tasha Whitsitt Says
I believe it will work on any type of printer.
Ole Says
Honestly thank you. Such a brilliant idea
Nik Says
thank youuuu, this thing finally clicked with your explanation! You’re the cat’s meow for putting the instructions the way you did, yours works out to being THE best tute out there and I had to look at tons. No-one else shows you how to do this for other sizes besides the classic 3″sq, or using Pages, some even use photoshop (great ‘n’ all, but too pricey for casual users) or obscure stuff you have to download specially, AND you give just-enough instructions: covers everything but doesn’t give so much detail you end up second-guessing yourself like ‘wait am I missing something and this is more complicated than I think??’. Perfect job of setting people up for success!! Ngl I not only bookmarked this I straight-up saved it as PDF in case you decide to take it off-line at some point lol.