Organizing Your Most Used Closet
If you have young, budding artists in your home, you can probably relate to the nightmare of trying to keep all of the craft supplies organized! Broken crayons strewn about, wrinkled construction paper shoved into tight spaces, or an explosion of pom poms, beads, and buttons all over the floor! I have certainly been there.
But I am happy to report that I finally found a system that works well for our family! Using nothing more than simple shelves and bins, I have tamed the mass of crafting tools, supplies, and accessories, and they are staying nicely sorted in what I can honestly say is the most used closet in our home. Check out the video below to see it in detail, or keep reading for tips and ideas for your craft closet organization.
Choose a Space
One of the first rules of organizing is that you will never put things away unless they have a place! So before I could even start getting organized, I had to choose a location for all of the craft supplies. Since my kids always craft at the dining room table, the dining room closet made the most sense.
This closet was technically meant to be a coat closet, but since our coats are stored elsewhere, it was really a no-brainer to fill it with materials we use regularly in the dining room. Think outside the box! Maybe a fantastic storage solution is sitting right under your nose and you just need to view it from a different angle.
Choose Your Organizing Tools
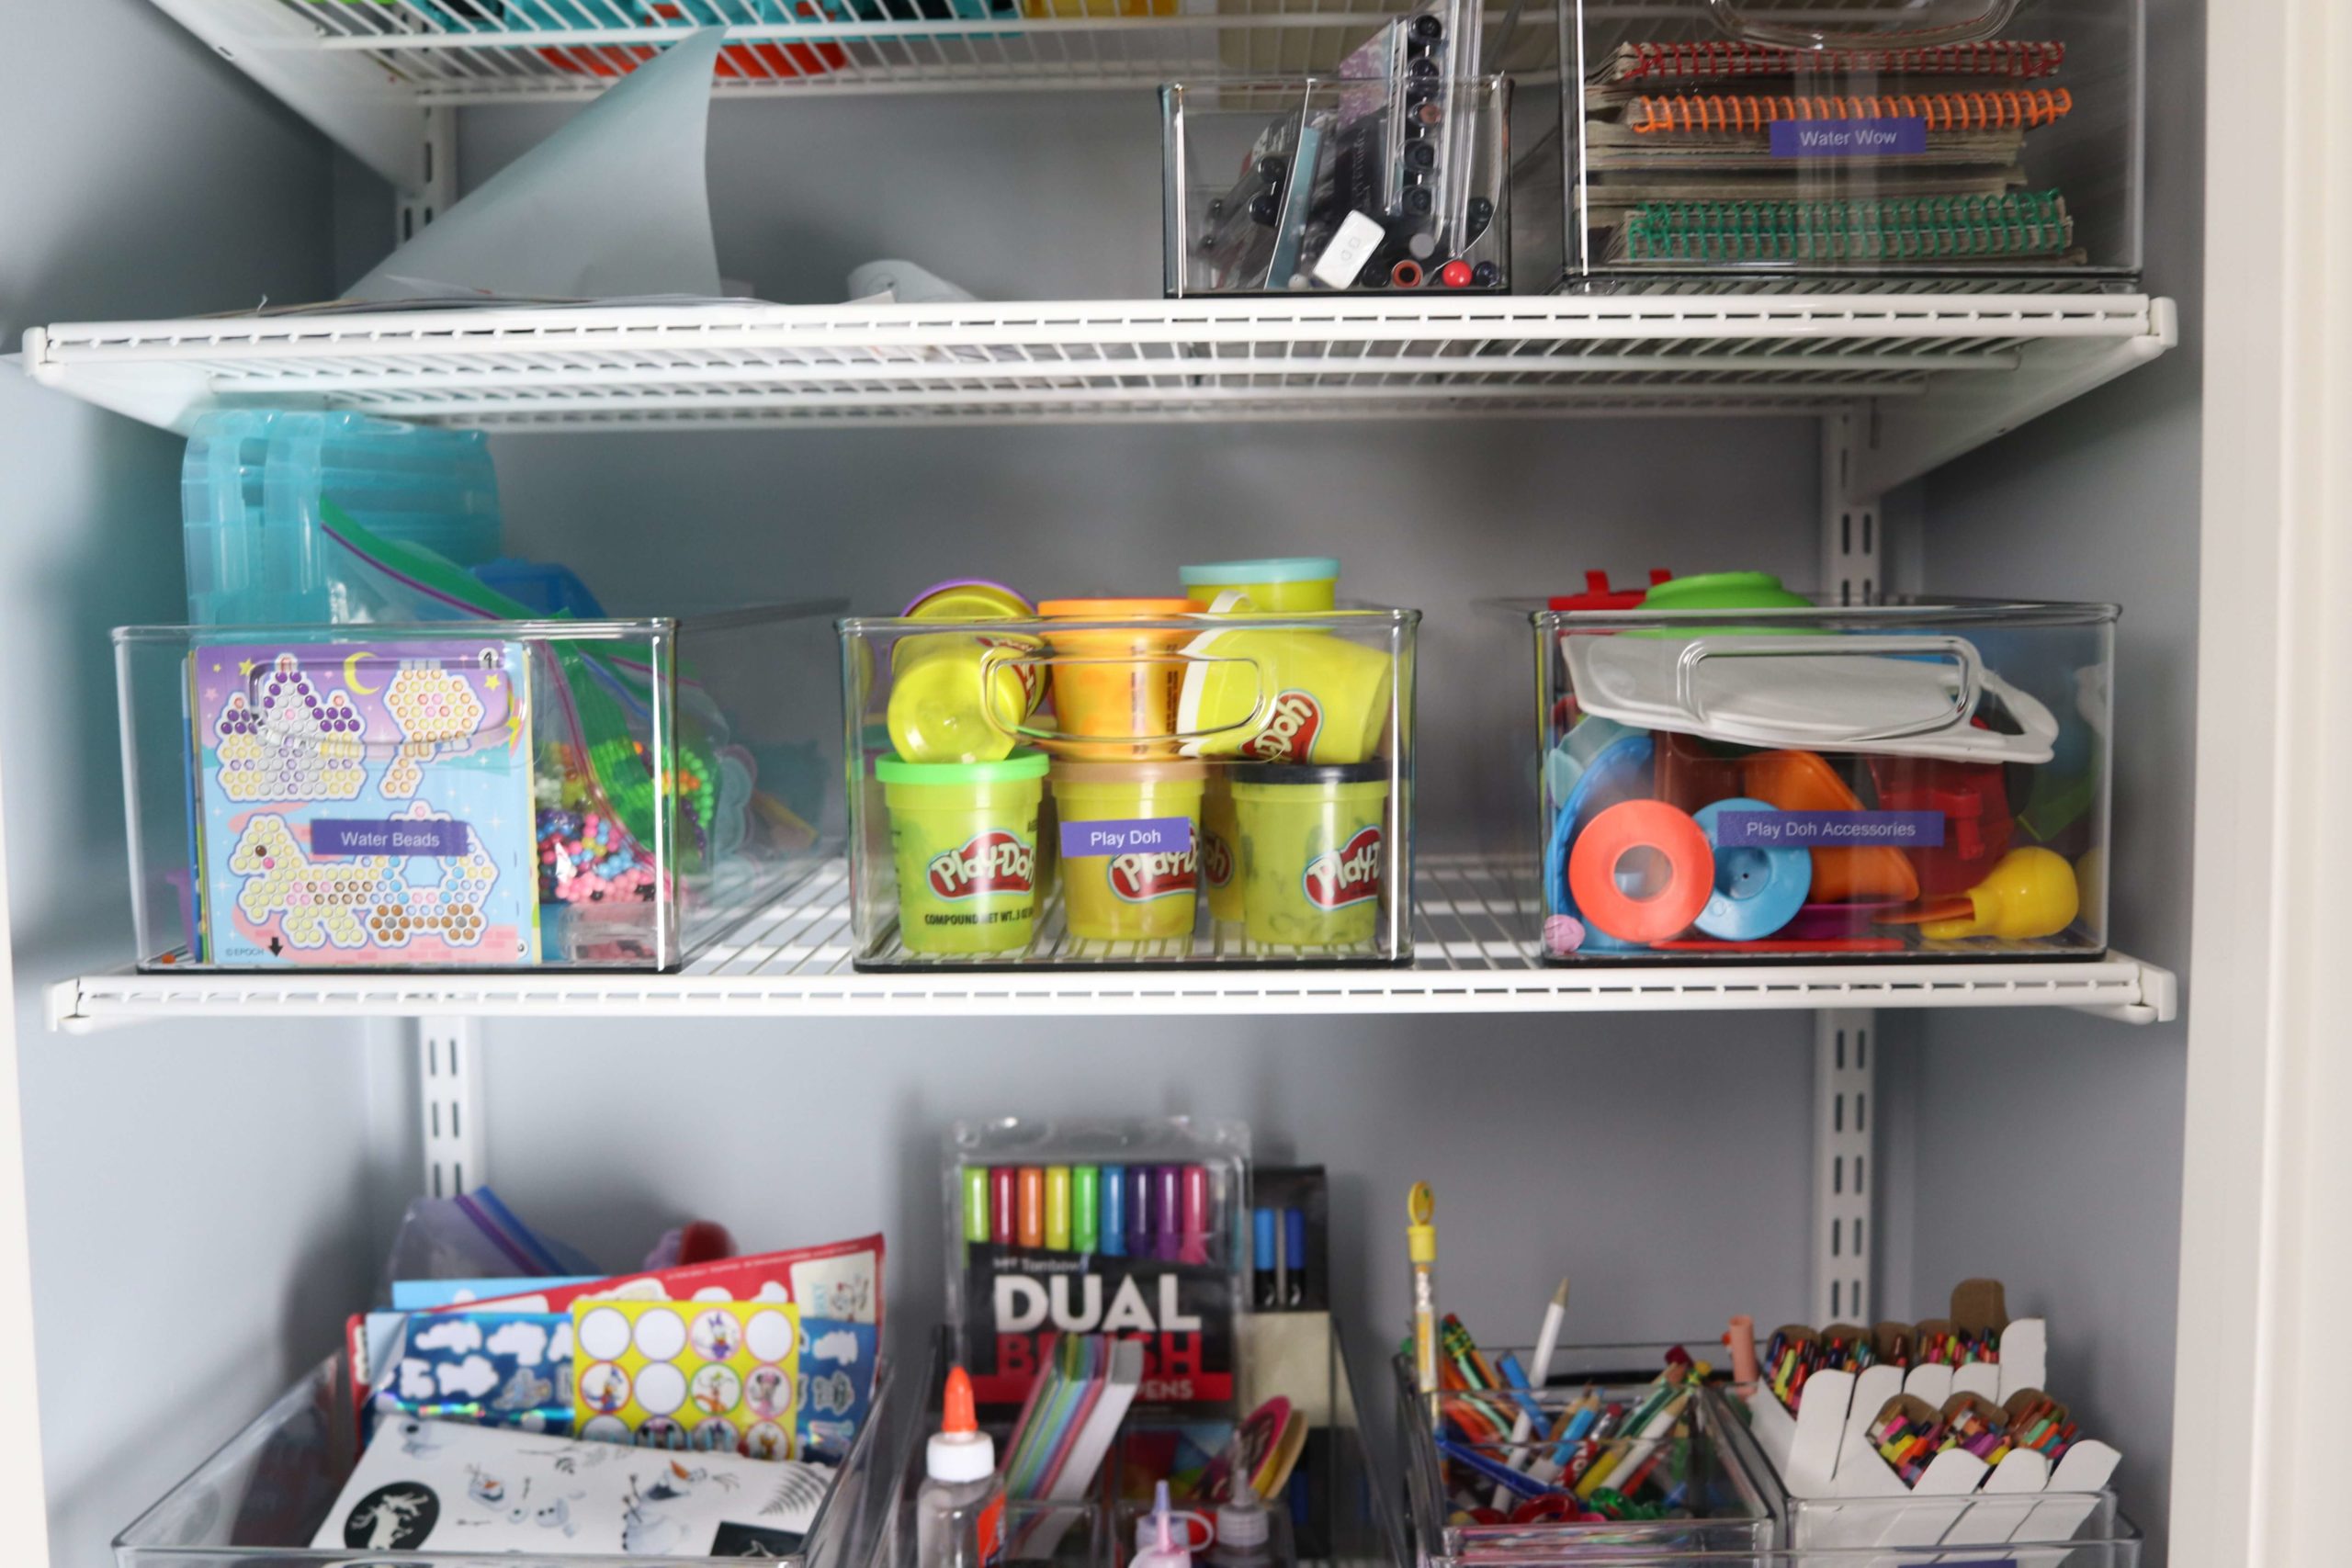
After choosing a closet, it was time to set up the space with the right organizational tools. Of course I went straight to The Container Store for this part! (You knew I couldn’t help using one of my very favorite stores!) I went with the Elfa custom closet system for the shelving. Since it is custom built, it is so easy to maximize space in the way that makes the most sense. Vertical storage is definitely the way to go when it comes to organizing in a closet. Once the shelves were in place, I filled them up with various bins that work for our needs (also from The Container Store). Some of my favorites are the Home Edit Bins, the 16” deep acrylic bins, and the multi-purpose bins. In the video I explain more about what I store in each bin.
Designate a Place for Everything
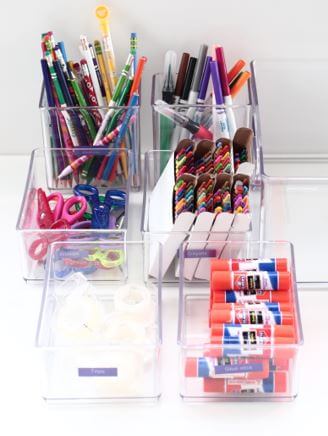
Despite my great intentions in the past, our art supplies just weren’t staying neat and tidy. You would think all of the everyday art essentials need to be stored together, right? Glue, scissors, crayons, etc. are the most basic supplies that get used every time there’s a crafting project going on. But throwing them all together in a bin just resulted in a mess for the kids to dig through whenever they wanted to find something. Enter the Home Edit bins from The Container Store. Using one large square bin and several smaller bins that stack right inside the large bin, I was able to eliminate this problem altogether.
Now the scissors have their own miniature bin, crayons go in another, and glue sticks in yet another. And they all stack nicely into a larger bin that can be pulled out of the closet all at once so the kids can get right to crafting! Not only does this keep things organized, it lets you see what you have so you can avoid a crisis like running out of glue sticks when your child is in the middle of a masterpiece!
Keep it Maintainable
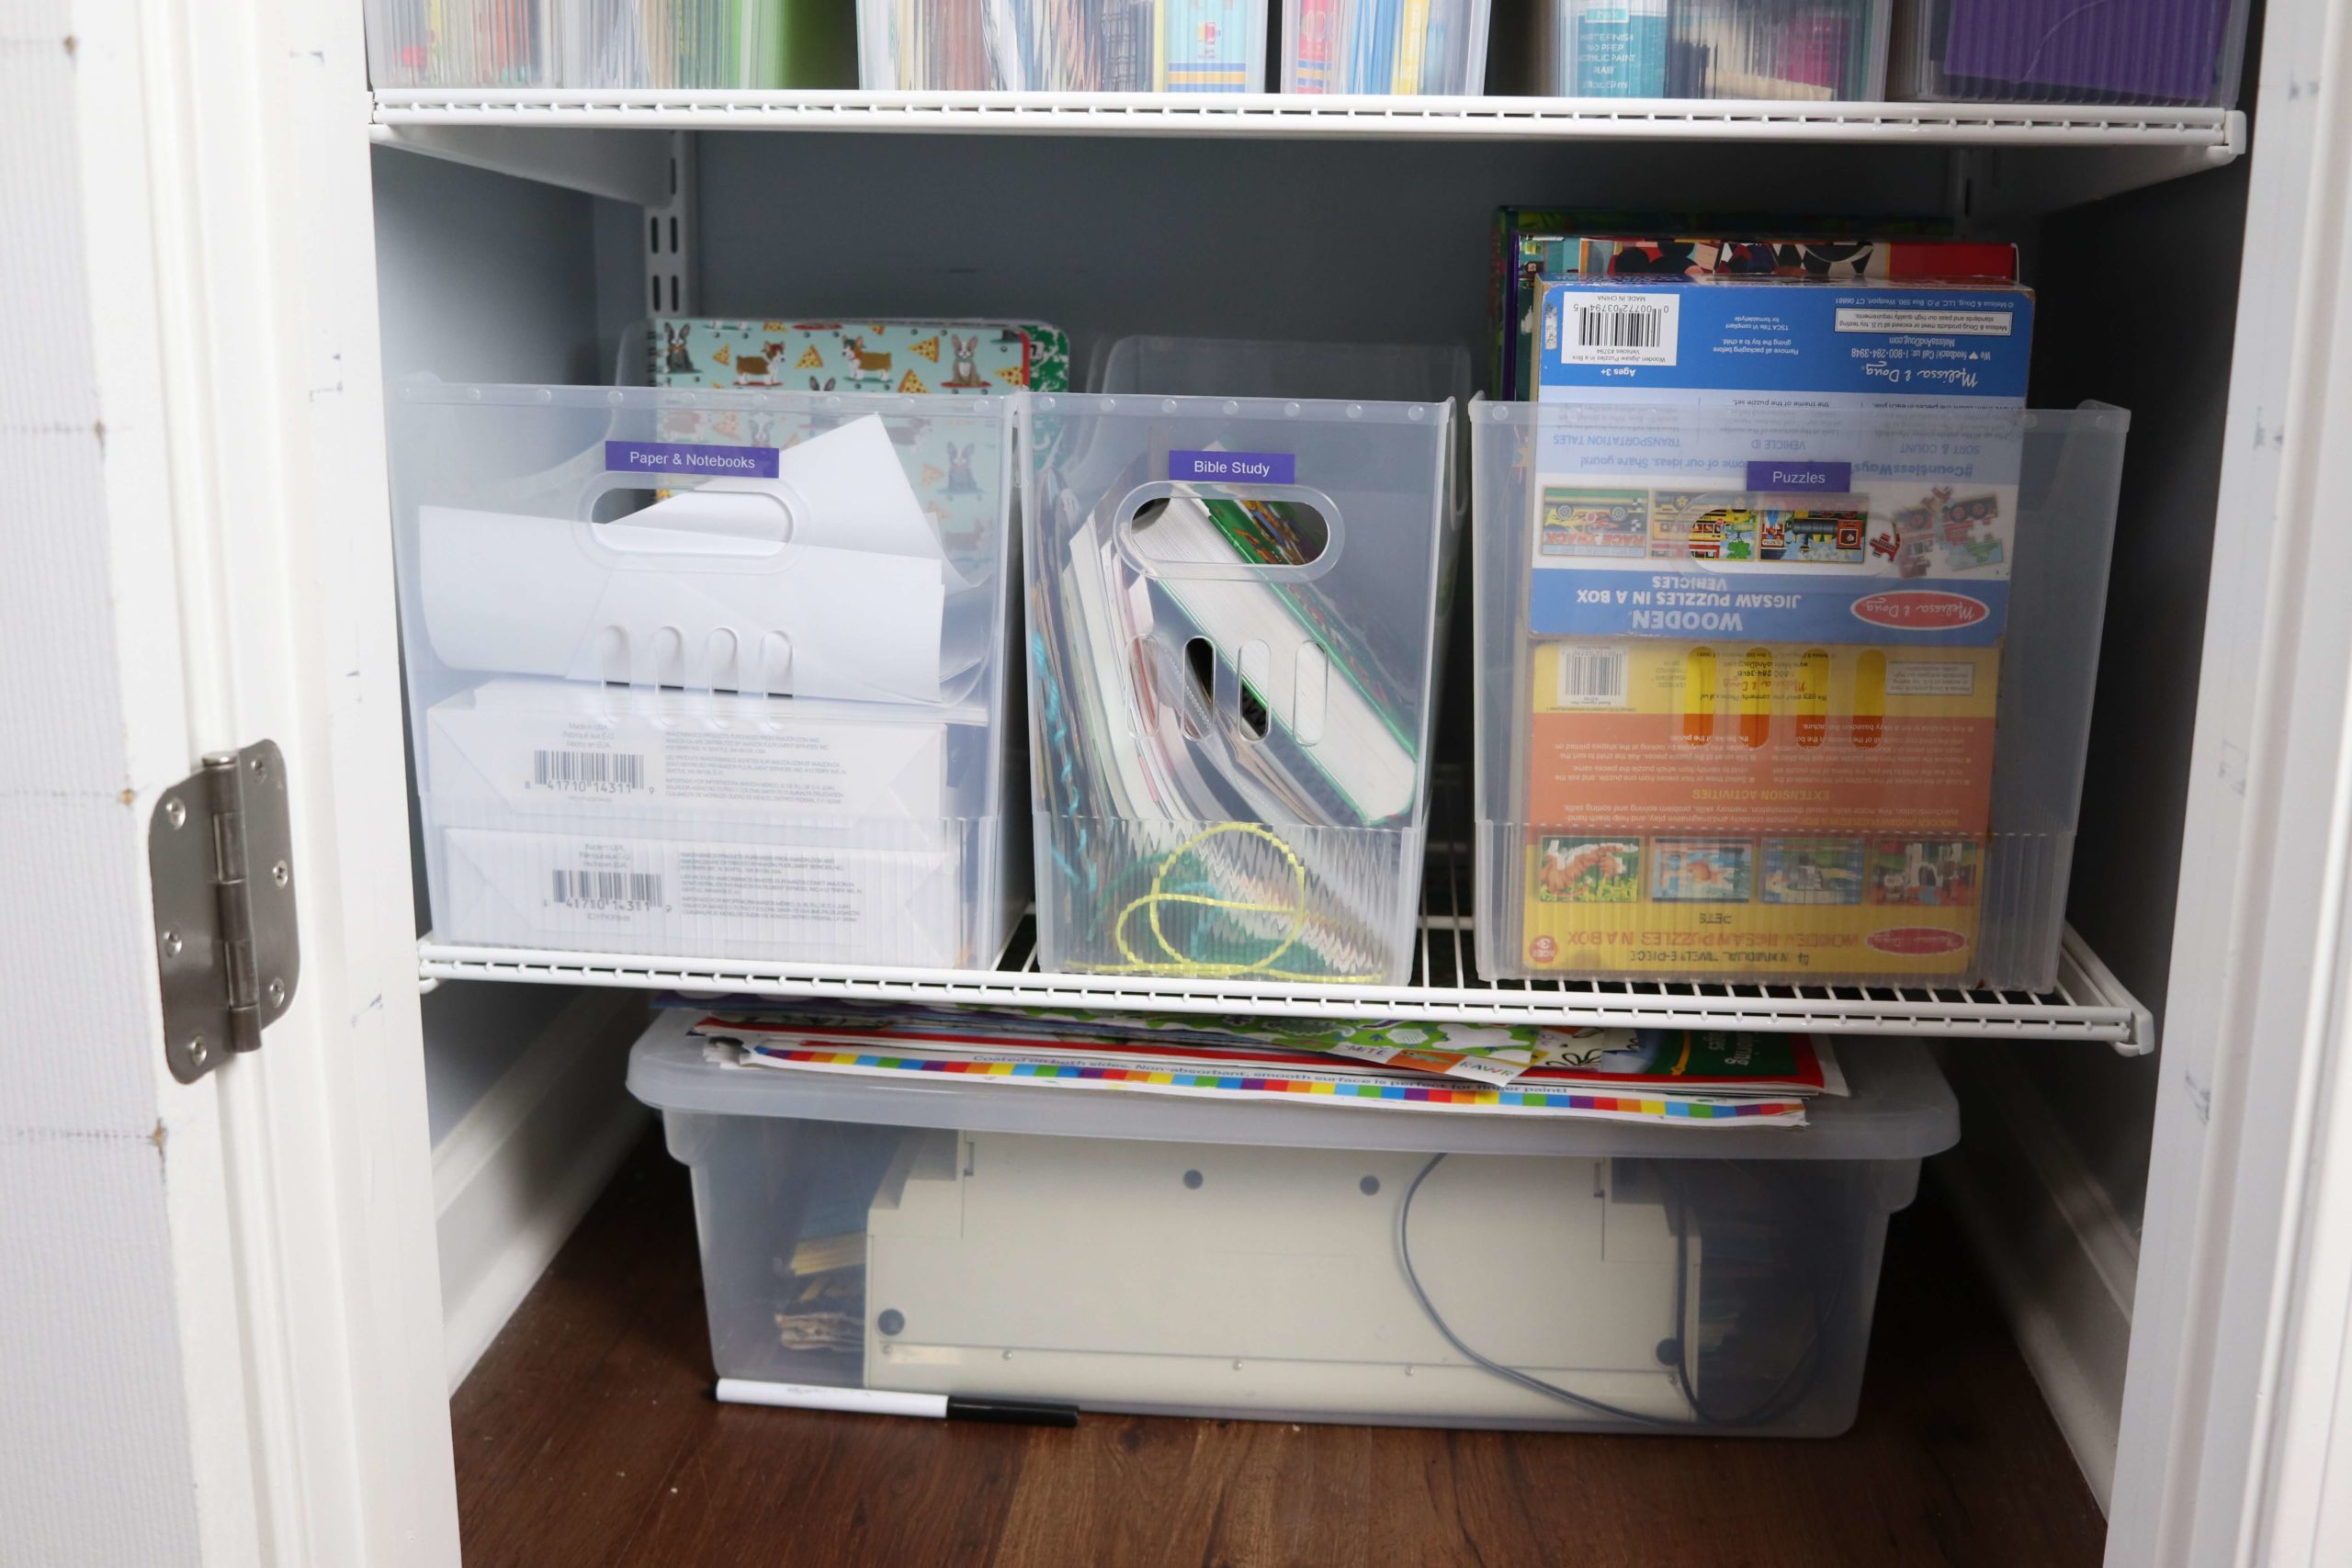
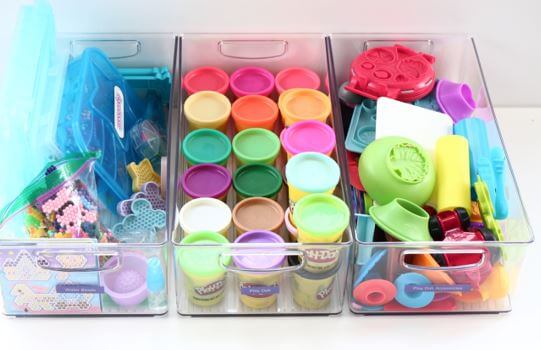
There’s nothing I love more than a neat, tidy, well-labeled and organized space. On the other hand, there’s nothing worse than the same space in complete disarray, things thrown willy-nilly into the wrong places! That’s why your system must be maintainable. Since this craft closet is for my kids, it needs to be an area that they can clean up. Keeping everything in its own bin is the best way to do that. Water beads, Bible time materials, stickers, copy paper, sewing supplies (and the list goes on) each have their own separate container. There’s a home for everything, and we only have to get out the bin(s) that we need instead of pulling everything out of the closet. Then the items go right back into their bin and into the closet when we’re finished. I even have a designated area for finished artwork that we want to save (at least temporarily). My daughter can put her drawings and paintings away on this shelf so they don’t get strewn about. It’s a win-win!
Set Limits
Kids’ stuff has a tendency to grow until it is overflowing. I know I’m not the only one with this experience! That’s why I set boundaries for our stuff. For example, we have one tub of Play-doh accessories. If we get more than that, something has to go so that it all fits in one bin. When it comes time to pare down, get your kids involved! Work through the items together, deciding what they most want to keep and what can be passed on to somebody else.
Leave Room to Grow
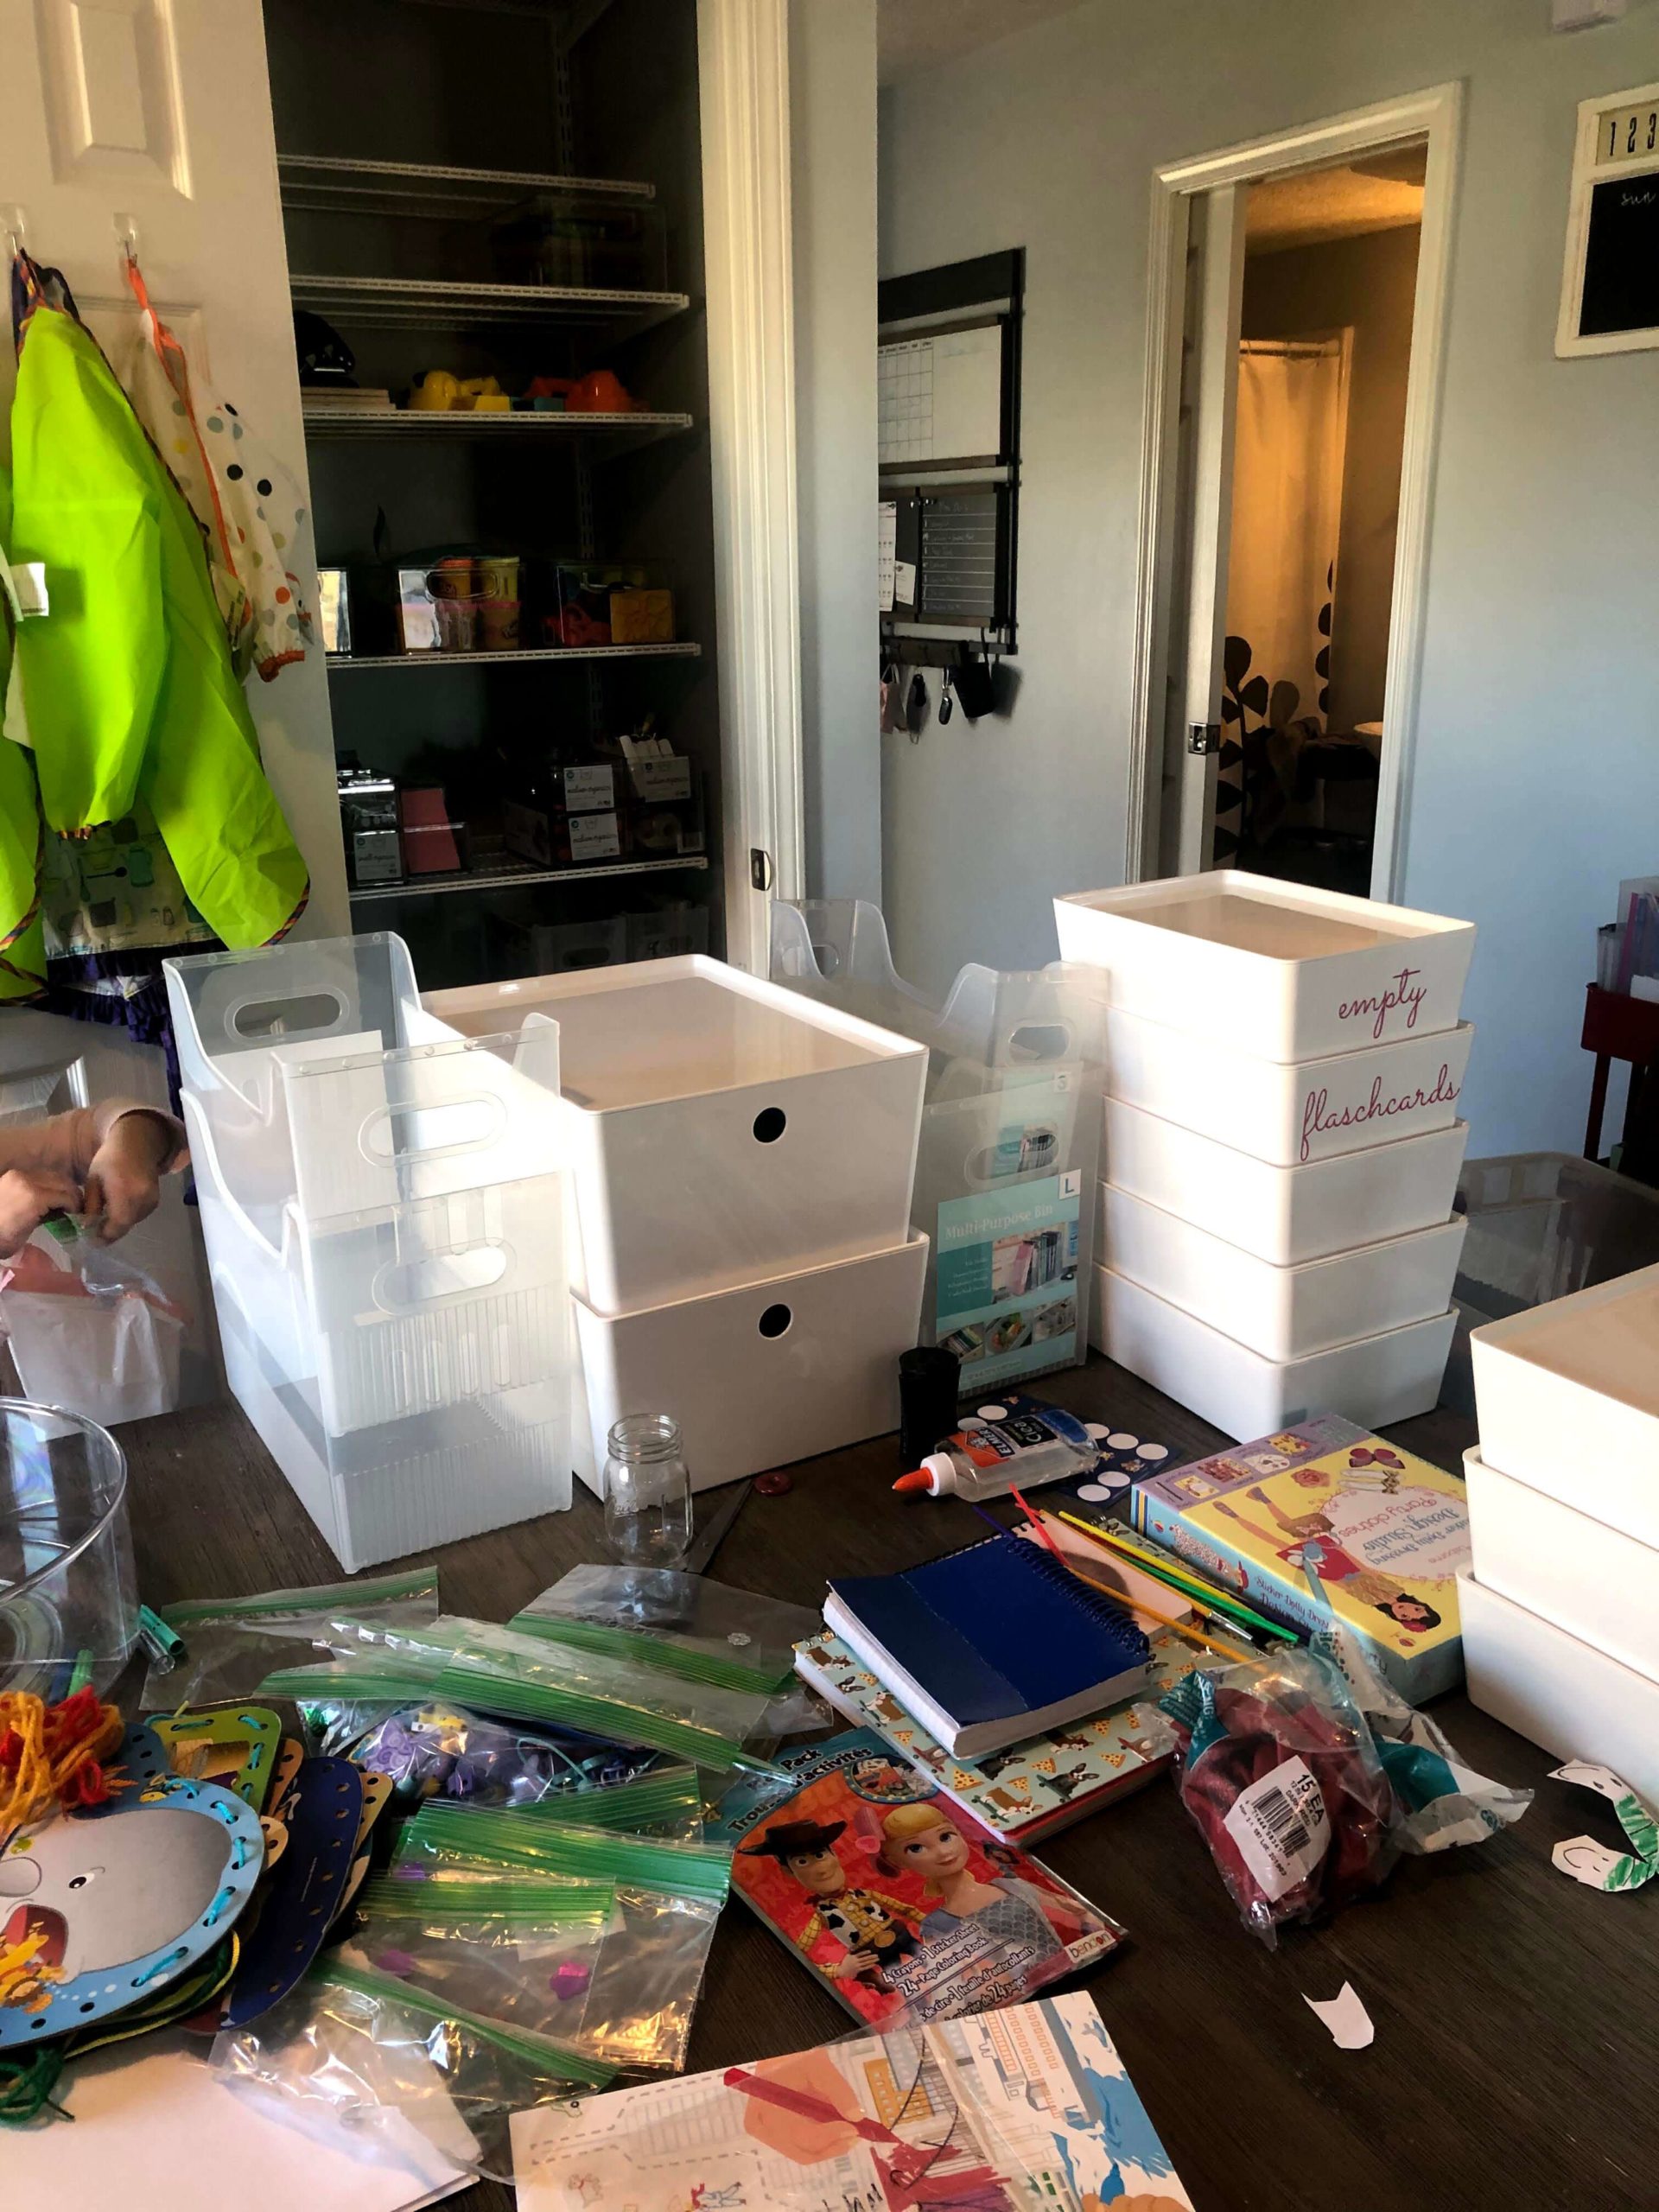
One of the perks of using uniform bins is that you can purchase as many as you need to fill your space, even if you don’t have enough stuff to fill them all yet. They’ll look nice and neat on your shelves, patiently waiting until they’re needed! It’s always a good idea to leave room to grow or you’ll be up a creek when you find something else you want to add to your craft closet or whatever area you’re organizing. I know I have at least one empty container in our craft closet right now. It matches all the surrounding bins, and I know I’ll find a good use for it at some point.
Keep it Practical
I know, I know, I am the first one to say you ought to maximize your space, but there are some areas that are just plain impractical to use. In my craft closet, that’s the very upper shelves. I would have to stand on a step-stool in order to reach them. So rather than frustrate myself by putting something up there, I leave those shelves completely empty. And that’s ok! There’s no rule that says you have to use every shelf in a closet or cabinet. We want our system to be usable or else we won’t keep it organized.
I hope you’ve found some helpful ideas for your own craft supply storage. It has been so refreshing to finally have a craft closet that is staying organized! What are some of your best craft storage solutions? Let me know in the comments!





 Copyright 2025, Get Organized HQ.
Sherri Says
Laura can you tell me what is the best label maker? I have tried many and they don’t last.
Tasha Whitsitt Says
Post authorLaura uses a Dymo Label Maker or she uses her Cricut or Silhouette to make labels
Leaking Ink Says
I am an avid organizer, and a huge fan of The Container Store. I especially love (almost exclusively) clear, acrylic containers. I’ve been buying from The Container Store for years—since they first opened their doors. Don’t tell them, but I recently discovered and bought a bunch of of white Flex Baskets from Home Depot to organize bedroom dresser drawers and linen closet and pantry shelves with. They were $1.98 each, and look great. I’m quite pleased with them. Starplast Flex Baskets Size: 14.2 x 10.8 x H6.3 inches. Made in Israel. The UPC #: 0 78652 32761 5. They come in different colors, but I chose white. I have two Home Depots near my home. One of them carried zillions of them. The other Home Depot had none.