Which Organizing Bin is Right for You?
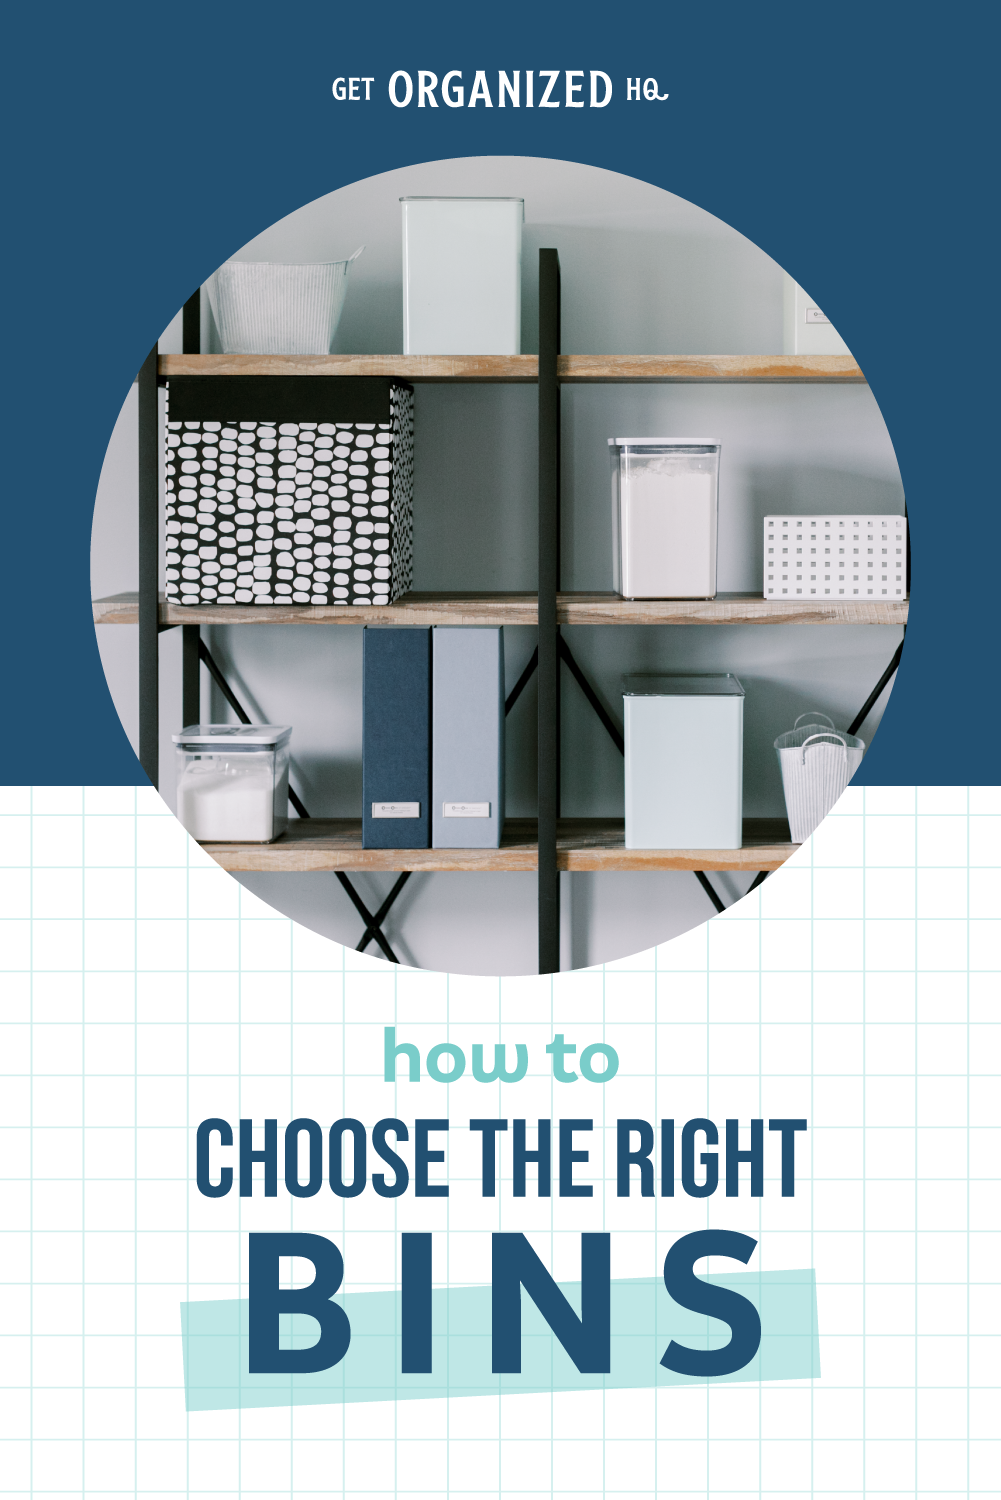
When it comes to picking bins for an organizing project, it’s important to set realistic expectations.
I wish I could tell you that you will ALWAYS get the perfect bins and never get more bins that you need.
But that’s simply not true.
When I organize spaces I go through a lot of trial and error. I get way more bins that I need, I try several out, and then I send back what I don’t need.
The way to find the perfect bins is to try a lot of options, and to not be ashamed to take back what you don’t like. The Container Store, Amazon, and Target are all great about taking returns.
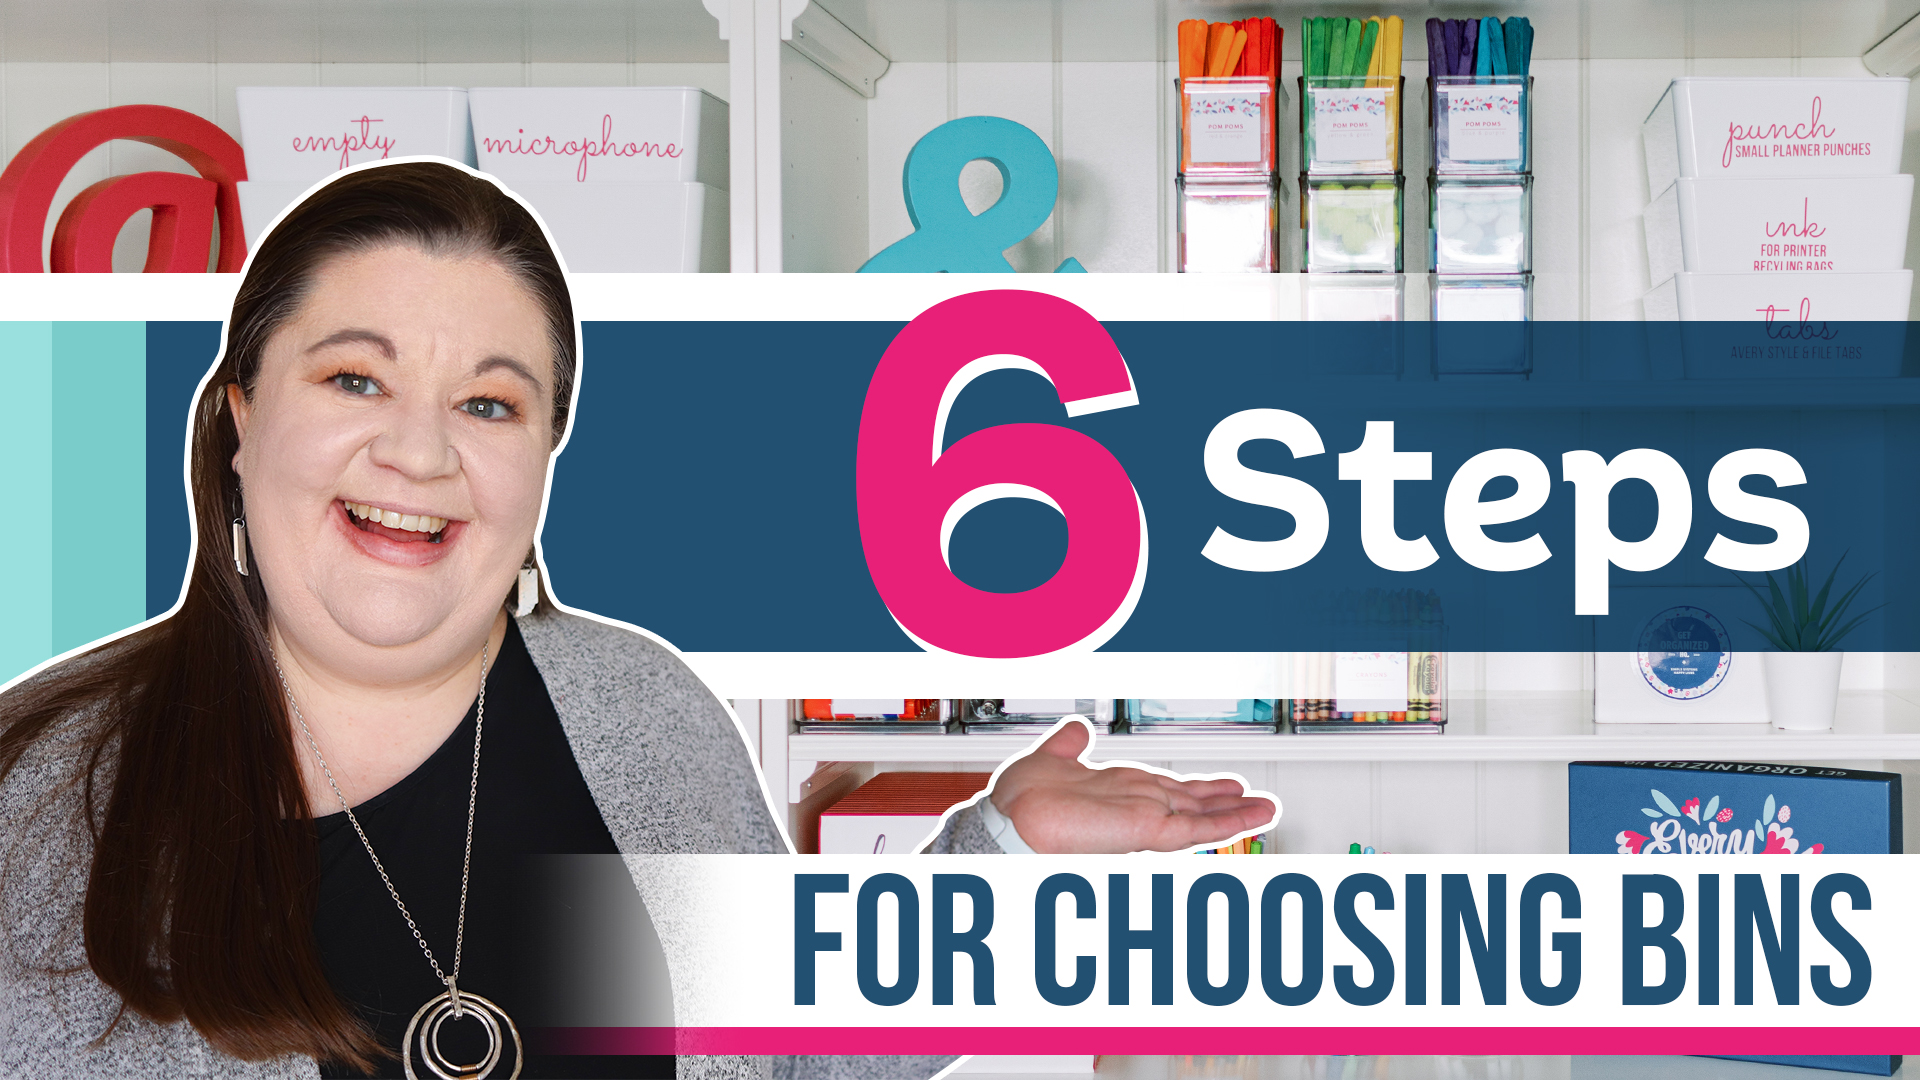
That said, there are some tips you can follow to make the process a bit easier. You can watch the video below, or keep reading to find out what they are:
Step #1: Size
Size is probably the most important consideration when it comes to organizing a space. You want the bins you choose to fit both the items inside and the shelf they will be placed on. For example, if you’re going to store a lot of paper, you probably don’t want to get an 8”x10” bin, because the paper won’t be able to lay flat inside. However, a 12”x15” bin would have a lot of wasted space. The moral of the story is that the perfect bin is a bin that fits your items with as little extra space as possible. Also, be sure to pay attention to how the bins you choose fit on the shelf, because if there’s a lot of extra shelf space, then you aren’t maximizing the space you have.
Step #2: Uniformity
Having the same types of bins is going to make your space look cohesive and inherently more organized. Uniformity may mean using the exact same bin over and over, or it may mean using the exact same style. For example, you might organize using acrylics, but use multiple sizes of acrylics. If you can find bins that come in multiple sizes, that’s a huge win because you can keep that uniform look while also using the sizes that work best for your space. (And, pro tip, I LOVE modular stacking bins!) It’s also a huge win if you can use the same containers throughout your home, because then any time you need to change something up, you can rearrange the bins you already use and have. If it doesn’t make sense to get the same types of bins, I do my best to make them cohesive in color palette, and also cohesive in labeling.
Step #3: Open or Closed Storage
It’s also important to consider if you want open or closed storage. Open means you can just reach in and grab what you need, while closed means you’ll have to exert a bit more effort to get your items out (and to put them away!) Also remember that if these bins are going to be out in the open you’re probably going to want them to be a bit more on the decorative side than you would if they’re going to be hidden away in a closet.
Step #4: Micro or Macro Organizing
Macro organizing is when you throw everything into one big bin, but don’t really organize inside the bin. This is what I do with my kid’s toys. The toys get thrown in the bin, but we’re not concerned about every item having a spot in the bin. Micro organizing means that you organize within the bin. For example, flash cards or puzzle pieces probably need to be micro organized so they don’t all get jumbled together. Both types of organization have a time and place, but it’s good to be thoughtful of which will be most useful for you and your space when purchasing bins.
Step #5: Visible or Hidden
Pay attention to if the items you’re organizing. Are they things that you want to be seen by those passing by, or are they items you want to keep tucked away? If you’re using visible storage (like an acrylic bin) it’s going to take more effort to put the items away and keep them looking nice. But if you use a basket that you can’t see through you can just toss things inside and it doesn’t matter how they look.
If you’re not sure if you want macro or micro, or visible or hidden storage, it might be helpful to consider who is going to be putting the items away. Make sure that the way you organize the items is really going to be functional for the family members who will be using and putting away the items. Some kinds of micro organizing are just too much for small children to keep up with.
Step #6: Budget
Of course, it’s important to keep your budget in mind when you’re picking containers. I like to splurge where it really matters, and go with cheaper alternatives where it doesn't really make a difference. Definitely shop your house first to see if there’s something else you can use that will make you just as happy. Save your budget for the items that are most important to you and will make you the happiest.
Hopefully these tips will help you pick the perfect organizing bins for your project! But if the bins you choose aren’t perfect on the first try, don’t worry about it! Take them back and try again, because truth is, that’s what all the professional organizers are doing too!
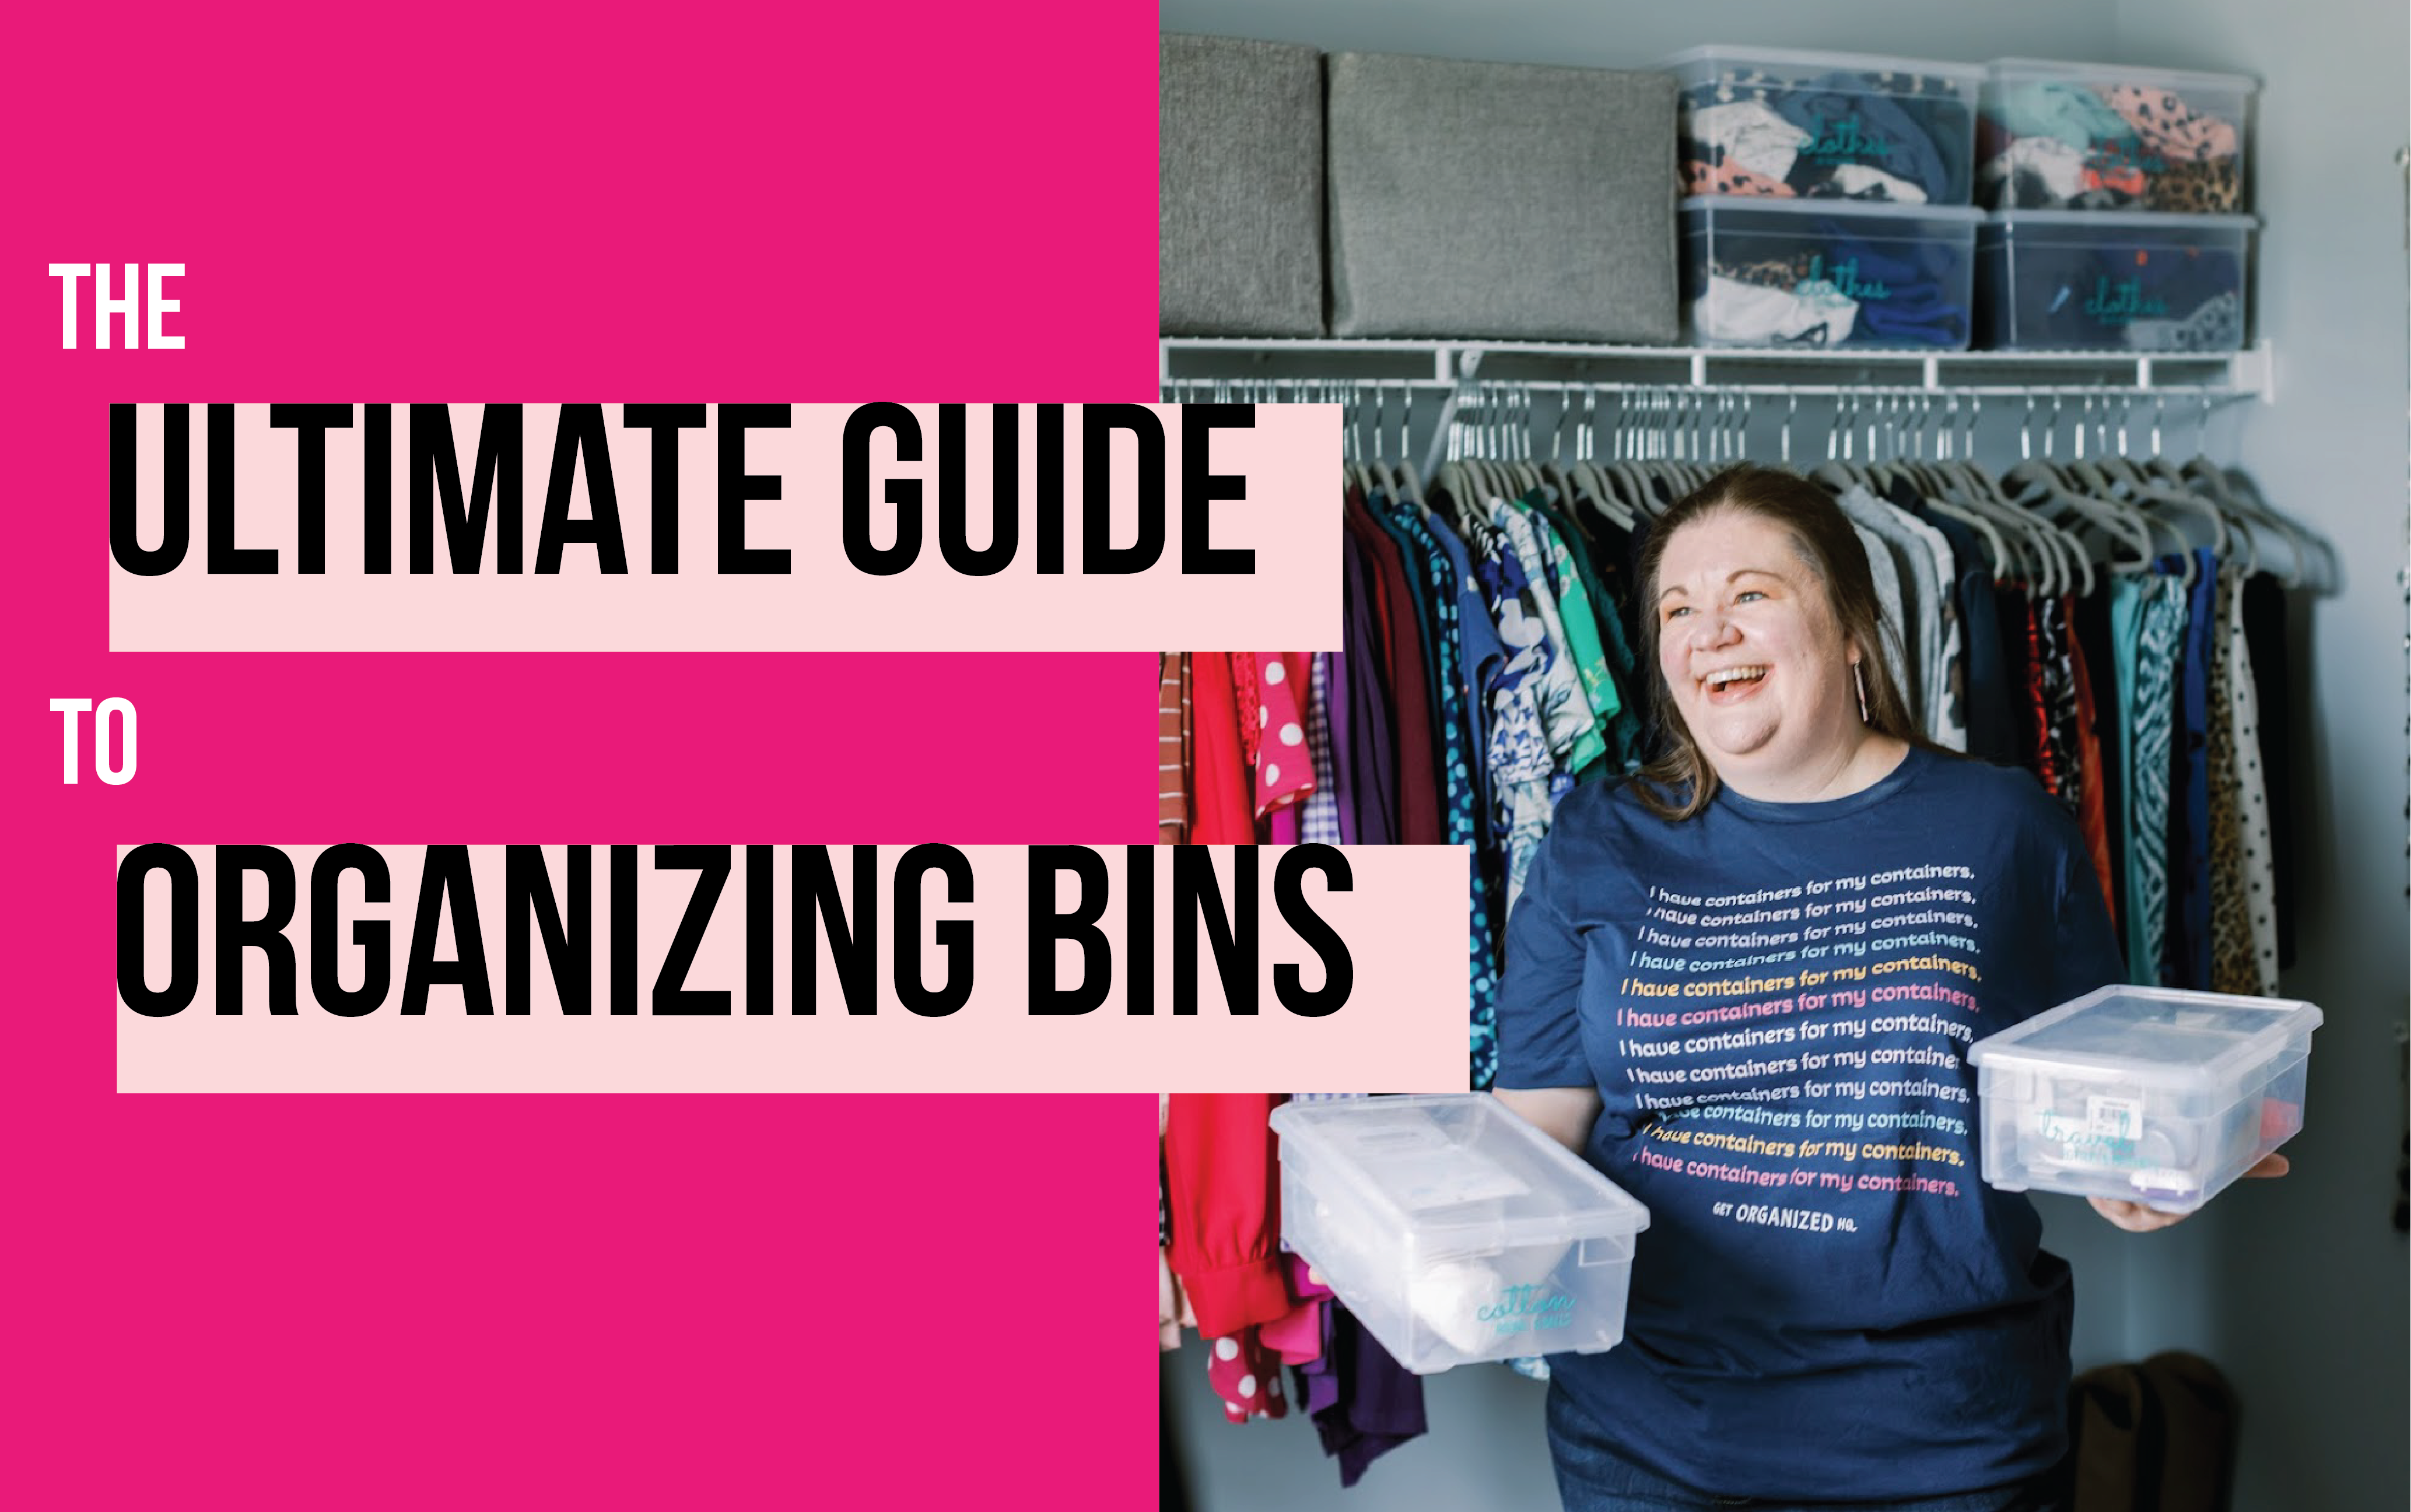
If you’d like some inspiration from my list of favorite bins, click the video below to watch the Ultimate Guide to Organization Bins.
Organization that actually sticks for busy, happy lives.





 Copyright 2026, Get Organized HQ.
Donna Marie Says
You look really good in the photo “The Ulimate Guide To Organizing Bins (With the blue t-shirt).) Just thought I’d let you know!!!
Maureen Says
Costco has a great set of six clear project boxes that I could not resist, but now am seeking ideas for use. They are 16X16 square and made really well.
Marie-France Lamothe Says
I use the shoe-size clear bins (like the ones you’re holding in the picture) A LOT around our home. I use them to organize supplies in my laundry room, for toys + kids’ art supplies. I also have a lot of them in my craft room!
Thank you for the tips in this post. I’ve been looking for ideas for storing ephemera I use in my mixed media art and your ideas will come in handy!