I have a treat for you today. I've invited Jennifer from Wildflowers and Marbles to share a post with you. I stumbled across her post about her workspace set up using beautiful clipboards a few weeks ago, and I was hooked on her blog! I pretty much immediately ordered an Erin Condren clipboard so I could do the same. (If you're as excited about the clipboard idea as I am, you can click here to get $10 off your first Erin Condren purchase). Jennifer is going to tell you about how to make your plans reality, and she definitely knows what she's talking about. She stays organized while homeschooling 5 kids and living a full life.
Well hello from down south! My name is Jennifer Mackintosh and I blog about planning, organizing, homeschooling (we have 5 kids with one graduate), and home making for our family of 7 at my blog, www.wildflowersandmarbles.com. I'm excited to be here and share a little something with all of you on a topic I’m passionate about – planning – and in particular, how to consider your planning from the big picture down to the daily lists. So that it works for you!
I’m a busy mom and life is full! I’ve got several plates balanced and spinning – from wedding planning with my oldest daughter, to homeschooling our other four children, to sports activities and new drivers and speaking engagements – and a hundred little to-do’s in between! My schedule isn’t always as packed as it is right now, but life always seems to be full – whether it’s a family event, an appointment, or just the daily stuff! And my bet is that you can identify with that, too!
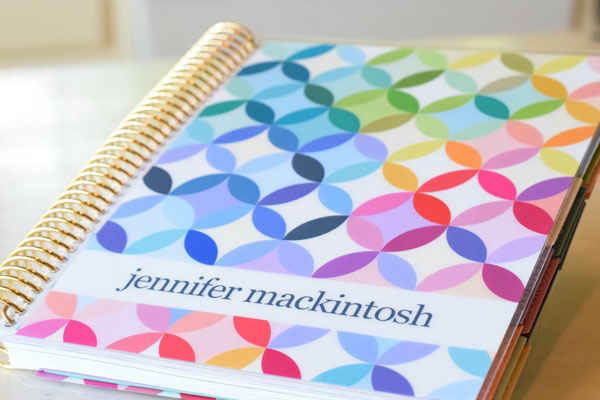
Before I share my three strategies for walking my plans from the big picture to reality, there is another idea that really helps me plan with an eye toward reality! Did you know that there is a difference between “busy” and “full” on your planner?
Busy = reacting. If you’re feeling overwhelmed and too busy you’ve probably been reacting to everything that lands in front of you, and just penciling it in and doing-doing-doing-going-going-going. But did you know that you can say, “no thank-you” to some of that? If you feel like all you do is react to the million things that come at you each day, it could be time to evaluate how you consider the things you do and what lands on your planner!
Full = considered. Both a full planner page and a busy planner page could look exactly the same, but the person who considers plans has considered the people, places and time involved and decided an activity is worthwhile…worth doing…worth planning for. So instead of feeling overwhelmed, there is contentment that what lands on your planner really needs to be there.
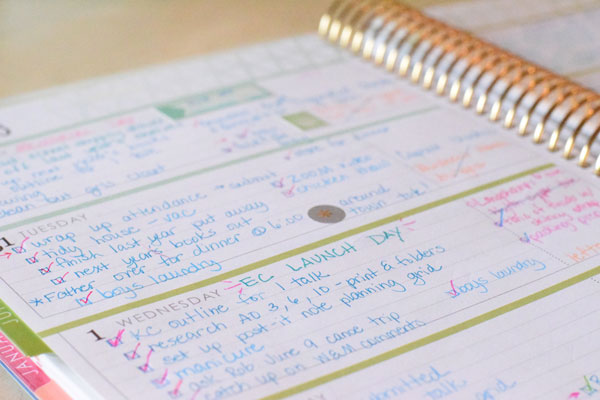
Have you ever gotten lost walking your plans forward from idea to reality? I know I have! And then I started working with the idea of a planning funnel – starting at the top where the funnel is wide and I can see a big picture of all the things that need to land on my planner and working my way down, to the narrow part of the funnel where the week and the daily plans live. When I began to consider planning in this way it became intuitive and workable. My plans began to really assist our family so that we were pointed in the right direction and managing our time rather than constantly reacting to whatever the next thing happened to be on a list. Life always seems to be full, but a planning funnel helped me consider items so that I was reacting less and considering more.
Whatever planning tool you find most intuitive (I love my Erin Condren Life Planner), consider your time wisely, be reasonable about how you “spend” time (especially if you have young children!!), and walk your plans from paper to reality with a few simple steps!
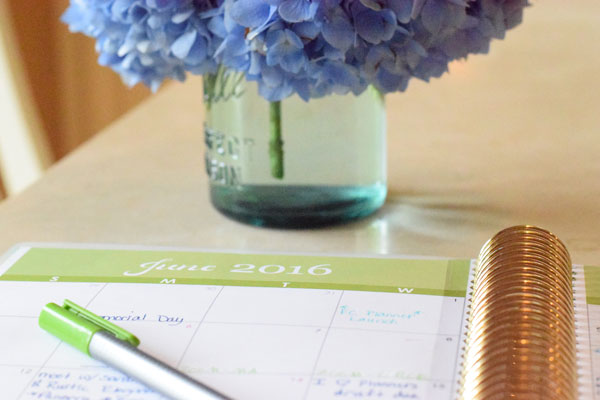
1) MONTHLY – sit down and consider the month ahead. This is probably the most useful planning time to me and I like to do this on a Sunday afternoon, looking toward the upcoming month. Time investment: 1-2 hours/month. If you’ve got teens or adult children at home, this is the time to catch up with them and see what they’ve got going on for the month that might affect you. Things to note in monthly planning:
• Recurring events like birthdays and anniversaries
• Appointments
• Classes and activities that are already scheduled
• Paydays
• Date nights! This should be a priority on your planner – peg it to a day before your plans get away from you!
• Travel plans
• Sports schedule if you know it
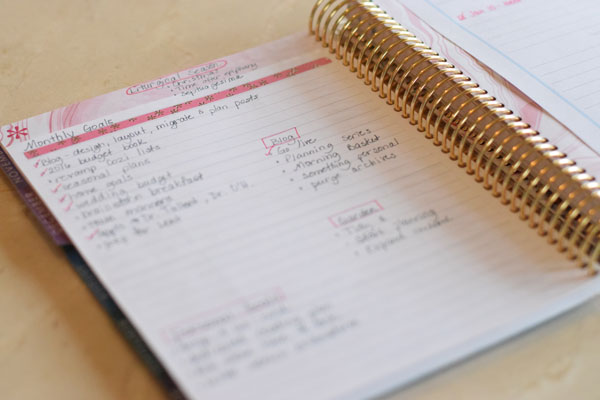
Remember, you’re at the top of your planning funnel – at the widest part – so you’re not looking to list details or break down plans for activities just yet. The goal for this part of the planning funnel is to anticipate as many events and activities as possible and give them a place to land on paper so that you can begin walking your plans toward success.
The amount of time you spend on this step considering the month ahead will depend on what you’ve got going on for a particular month as well as how much you like to decorate your planner. My planner is set up to be practical and functional because…I’ve got a lot going on and I need room for all of that to land. But…I do like a little pretty in my style – it’s inspiring! I’m probably a minimalist when it comes to decor like washi and stickers, but if you like those touches, factor that into your monthly planning time and whatever planning tools you enjoy, organize your supplies in something portable so you can grab planner and supplies and roll!
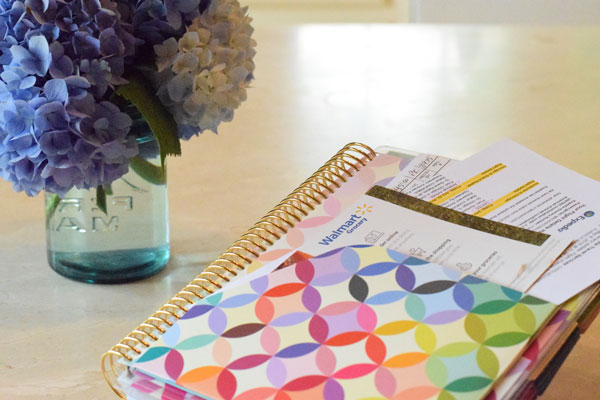
PRO TIP: To set this monthly planning time up for success, use a pouch or small folder that stays inside your planner to collect all of those little pieces of paper you collect regularly that list times, events, appointments, etc. If something pulls on our time, I collect it in a small pocket folder in my planner – it’s about giving things a place to land so you can manage them. This keeps me from running all over creation looking for the little piece of paper that details the times of the upcoming drivers ed class. When you’re ready to sit down and grab your planner you’ll know that you have everything you need right there to get started: all those little pieces of paper you’ve been collecting, your monthly inspirational stuff, and your planner supplies – time to sit down and start mapping it all out in your monthly spread.
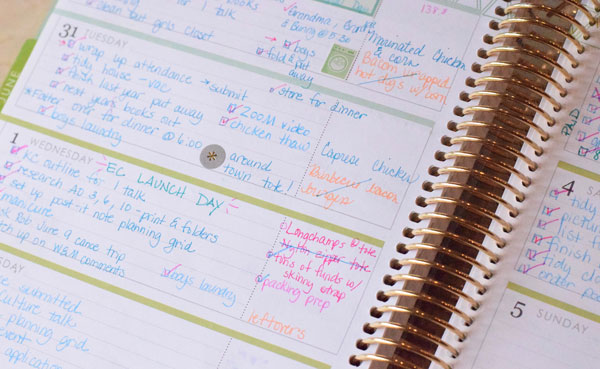
2) WEEKLY – open up your planner and take a look at the week ahead, referring back to your monthly spread that you’ve already invested your time in setting up. Again, I like to do my weekly planning on a Sunday afternoon because I have help with the little kids thus reducing the potential for planner-time-derailing. Time investment: 30 minutes. (You might spend more time on this step depending on the decorating you like to do.)
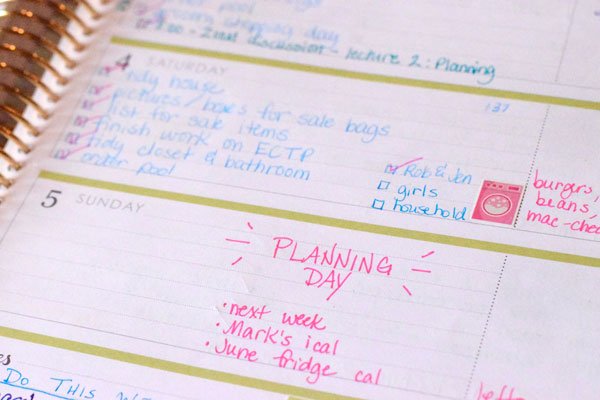
This step requires a little more detail. Transfer your big picture items from your monthly view over to your weekly spread. You’re at the middle of the funnel now, so review the week ahead, and jot down any cleaning/household goals for the week, any seasonal happenings, note anything special going on in school. I also jot down personal goals for myself because writing them down keeps me accountable – things like exercise, personal reading time, hydration goals. This is the time to think about your week as a whole – considering everything you've listed. If there is a birthday party on Friday, you probably need to do some prep work like buying the gift, finding the map to the party, etc. Whatever you might need to do to prep for something listed on your week – from menu & meal prep to event prep – walk it backwards through your week so that when you get to the event, you’re ready to go! It’s about considering ahead – not reacting!
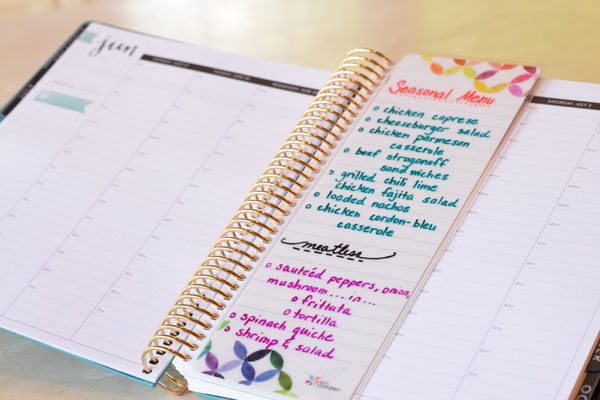
This is the step that I like to menu plan because I can plan my menus to fit my week. If everyone is running around on a given day then that’s probably the time for a crock-pot meal that cooks itself! I use the
Cozi app to note my grocery list for the week as I meal plan and since the Cozi app is synced across family members, I can ask my husband or a teen to pick up items on the grocery list anytime through the week. (I like how I can set up several lists in Cozi because my grocery list might take me to a few different stores.) I also anticipate if I need to take meat out to thaw, or marinate something, and note that on the appropriate day on my planner. This prevents that “deer-in-the-headlights” realization that you can’t make the meal you had planned because you didn’t prep it properly and now it’s going to be take-out!
This weekly planner step is absolutely crucial, and this is another good time to check in with your older kids/teens/young adults living at home. My adult daughter will grab her planner and coordinate with me at this time in case I need help retrieving a younger child from an event one day, or a babysitter another day, or a pinch hitter for grocery shopping. Get those older kids coordinated with you – modeling time management gives them skills and useful tools to bring to their own future vocation!
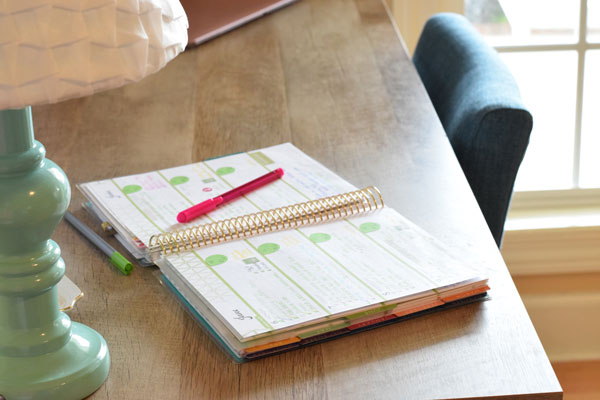
3) DAILY – At this point in the planning funnel, you’re at the narrowest part. You’re living it! I check in with my planner in the morning, throughout the day, and usually in the evening after the kids have gone to bed. These are check-in times, so my planner is open on my desk (keep your planner in a high traffic zone that you’ll pass by several times a day), and I may check something off, slide something to another day (I draw a little pink arrow next to an item on my planner if I need to slide it to another day), add something to the day, check in with my personal goals, check to see what my menu plans are and any prep work I might have noted.
Things come up during the day – for example…you run out of clean kitchen linens because of a massive ice cream explosion requiring immediate laundry reshuffling. Hopefully you left a little space to note those items, too!
Another thing that happens on a daily level is anticipating the next time your planning makes it full circle – back up to the wide part of your planning funnel at the beginning of a new month – so when a wedding invitation lands in your mailbox, immediately drop it in your monthly planner pocket. This step keeps your planning in an uninterrupted loop so that you’re always considering, planning and living.
Paper plans are terrific, but if we don’t consider how they reflect our family and family needs, they won’t meet us in our reality! Hopefully you found a few ideas here to walk through your own planning funnel, considering activities and to-do items carefully so your paper plans become joyful reality!
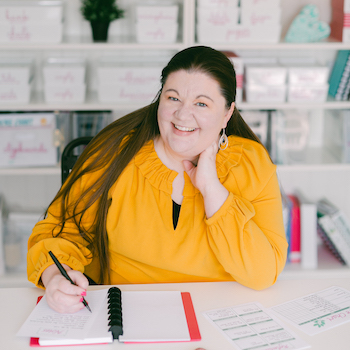
Jennifer Mackintosh lives with her husband Rob in the foothills of North Alabama. They have 5 children – all in various stages of homeschooling, from graduate down to the preschooler. Jennifer has been writing and sharing about all the ordinary little things that make up their full lives on her blog,
Wildflowers and Marbles, since 2007. Life is about finding the pretty in the practical, reading books, drinking wine, and great conversations.






 Copyright 2025, Get Organized HQ.
Ann Marie Says
This is such a great post! Very well laid out and very helpful. I love the EC planners for the colors and inspiration but I find that having a planner with an “end” date is difficult. What do you do when you are planning 3 or 4 months out and that month is not included in your current planner?
Jennifer Mackintosh Says
Hi Ann Marie,
I have encountered that before – my planner runs out but I need a place for future plans to land. I’ve come up with a few strategies for that:
1) I actually like purchasing an 18 month planner, but I only use it for 12 months. I’ve done this for the last two years and have really appreciated having the extra space in my planner for future events to land. It’s not a waste for me because I have lots going on and it’s a tool to give future events a place to land.
2) Add a simple future planning page at the end of your planner – you can build this yourself using a word processor and a table, or just draw something out with pretty pens and washi. With the Erin Condren planner, use coil clips to add it to the back of your planner. Now you have a place for future appointments to land and when you get your new planner, you can just transfer over! And actually, in the 2017 EC planners, for the first time, there IS a future planning page printed in the back of the planner and I LOVE THAT!
3) Clip a pocket of some kind at the back of your planner and keep future appointment cards, post-its with future event notes stored in your pocket. When you’re setting up your new planner each year, you’ll know right where to go to start adding events and plans!
Hope this helps, Ann Marie!
Jennifer Mackintosh Says
Hi Ann Marie,
This has happened to me, too – my planner runs out but I need a place for future plans to land. I’ve come up with a few strategies for that:
1) I actually like purchasing an 18 month planner, but I only use it for 12 months. I’ve done this for the last two years and have really appreciated having the extra space in my planner for future events to land. It’s not a waste for me because I have lots going on and it’s a tool to give future events a place to land.
2) Add a simple future planning page at the end of your planner – you can build this yourself using a word processor and a table, or just draw something out with pretty pens and washi. With the Erin Condren planner, use coil clips to add it to the back of your planner. Now you have a place for future appointments to land and when you get your new planner, you can just transfer over! And actually, in the 2017 EC planners, for the first time, there IS a future planning page printed in the back of the planner and I LOVE THAT!
3) Clip a pocket of some kind at the back of your planner and keep future appointment cards, post-its with future event notes stored in your pocket. When you’re setting up your new planner each year, you’ll know right where to go to start adding events and plans!
Hope this helps, Ann Marie!
Mercedes Says
thank you for the entry – I find a lot of people put everything into their phone – but I’m not sure how they’re able to look at things in advance or at a glance since – I appreciate a paper planner and enjoy reading your tutorial.
Jennifer Mackintosh Says
Thank you so much for your kind words, Mercedes! I do like digital planning tools for some things – but in the end…I’m a paper gal! 🙂
Stephannie Says
This is a great topic! I recently got back into planning and oh how I missed it. I had become the person who had fifty million post-it notes and scraps of paper listing things (to-do, to buy, to clean, etc). I really like the idea of the planning funnel! I think I’m going to try doing that. I also just picked up a smaller purse sized planner to collect all those misc. notes into one place to better organize my life and blog! Thanks for the additional tips, very helpful!!
Kerry Jordan Says
Great advice Jennifer, thank you! I’m always looking for new things to learn about planning my homeschool.