Set Up Your File System {Step 5}
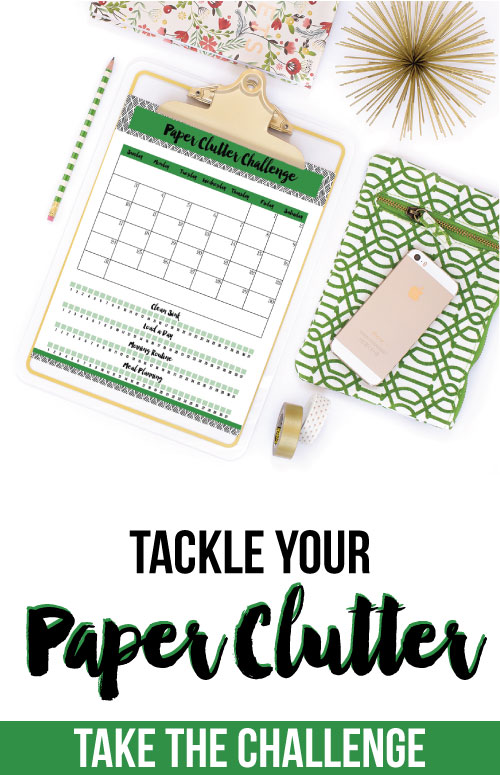
It’s time for the next step in the paper clutter challenge. If you missed step 1 and the introduction, read about the paper clutter challenge here.
I also want to encourage you to celebrate your accomplishments, so once you’ve finished a step, come to the Facebook group and let us know how it went. Or take a photo and post on Instagram with hashtag #paperchallenge.
Today's task is going to be a little more time consuming that the others, but you'll feel so good once you have this done. Also, we'll take a little longer to work on this task, so you won't get a new task for the next couple.
For this task, you either need to set up your file system or tweak and update your current system if you have one that is working well.
First, there are several things that we'll cover later that don't necessarily need to be included in your file system. I keep all my bills in my finance binder, and we'll have another task to set that up later in the challenge. We'll also be covering receipt organization, coupons, memorabilia, legal size documents, and kids papers. Those are all things I don't keep in my files. Also, remember that even if you are going paperless, you'll still need to keep some paper. Therefore, you'll still need a filing system, but it will likely be small.
Step One: Determine Your File Structure or Categories
This is by far the most difficult and painful part of the process for me, because it involves so many decisions. What file categories do I need? How should I organize them (all in alphabetical order or by some sort of sections)? How specific or general should I be? Should my car info file be filed under “car” or “vehicle” or “auto” or what? It’s important to realize that there are no right or wrong answers to this. There’s no perfect way to name your files, so I would advise not to get caught up in trying to make it perfect. This will just keep you stuck forever. An imperfect system is better than none at all!
Honestly, when I sat down to do this part two years ago when I last revamped my file structure, I just stared at my existing files for a few minutes. Then I opened an Excel sheet and saved the blank sheet with the title I wanted. Then I really “needed” a snack, so I ran off to get that. Then I “needed” a shower (even though I’d already had one that morning – yes I was truly that stressed about finding the perfect file structure), so I ran off to do that. Then I came back and stared at the files a little longer. Then I called my mom to complain about how hard this task was see if she had discovered the absolute perfect filing system since I last talked to her. Then I FINALLY told myself it wasn’t going to be perfect, and I just had to get something done!
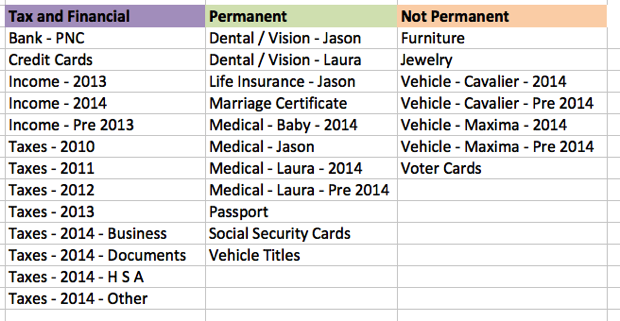
Here is exactly what I came up with which worked fairly well for my non paperless system, but I don’t think this would work for everyone. It’s important to find what works for you and the way you think. Also, it’s important to note that all my bills are already taken care of in my finance binder. You can see a detailed tour of my finance binder here.
The first category is Tax and Financial, and those labels are purple. This is pretty straight forward. For previous tax years, I’m lumping everything into one file folder (and this is how it is in my current files so it’s super easy to transfer). For the current tax year, I’m separating things out a little more. Once taxes are filed for this year, I will probably lump it all into one folder again and create more detailed folders for the current year. Also, all of my bank and credit card statements are online, so there’s not a lot that needs to go in those folders. Most of these folders will need to be kept for seven years, and then I can shred the contents.
My second category are items that need to be kept permanently or indefinitely. This includes our medical records, life insurance policy, marriage certificate, passports (although I realize I probably don’t need to keep my old passport once I get a new one but I do anyway), social security cards, and vehicle titles (although I realize these won’t be kept once the car is sold).
The third category is called “Not Permanent” which just means items that will be replaced when something new comes in. Furniture and jewelry are receipts and warranties only for nice jewelry and nice furniture. Most of my furniture is from IKEA or yard sales, so I don’t save those receipts for too long. I’ll throw out vehicle records when we sell the vehicle.
I should note that I'll be changing these categories up some this month since I'm going paperless.
Step Two: Create Your File Labels
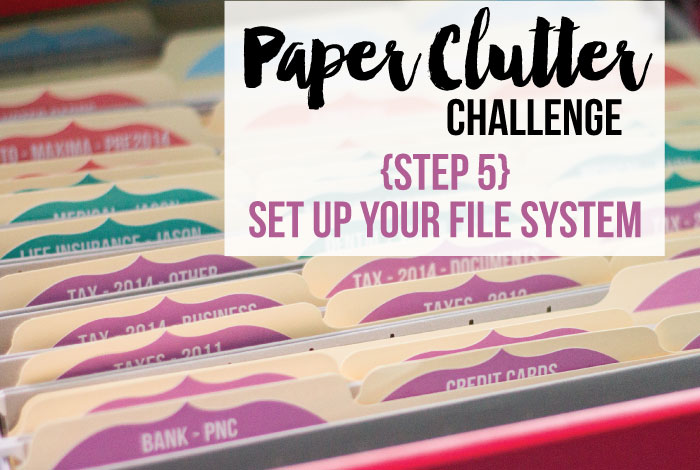
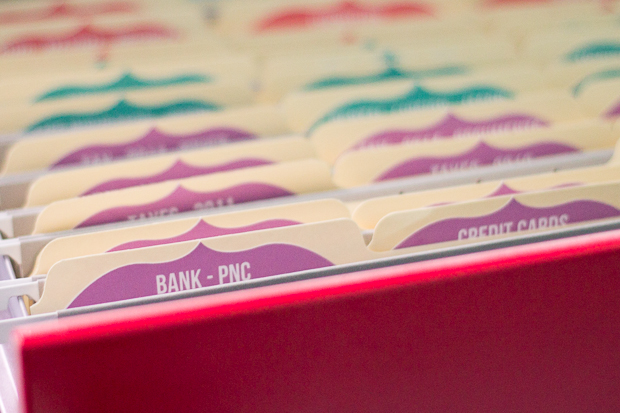
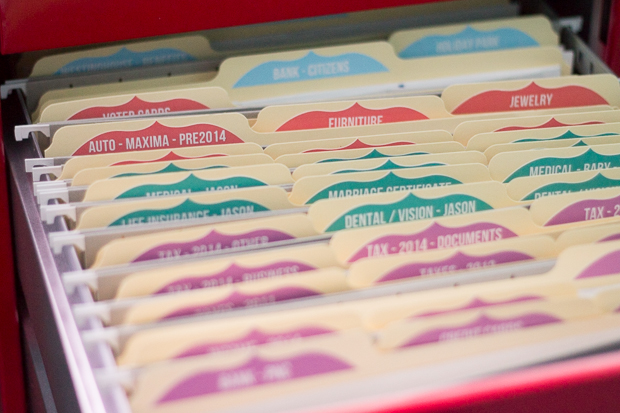
This is the fun part of the project especially for a label fanatic like myself!! I had a blast creating new file labels. I drew the design myself (on the computer – not on paper), printed it on an 8.5 by 11 sheet of Avery sticker paper, and then cut it with the Silhouette machine (using the print and cut feature). I'm definitely planning on posting a tutorial about how to make this. (I'll try to include a version for those of you who don't have cutting machines as well.)
I used the removable sticker paper, so that way I can just take the label off the folder and reuse the folder. Also, I like the removable adhesive because it’s a lot easier to apply. If it’s not on straight, you can just peel it off and stick it back on. I’ve used this kind of adhesive paper a lot and never had a problem with it coming off even though you can pull it off.
Step Three: Set Up Your Empty Files
Next, I took all the files out of my cabinet. Then I put the labels on new file folders and put them in the cabinet. From there, I took the old files and transferred over the contents to the new files. This only took about five minutes, since I kept a lot of the same files on purpose so I wouldn’t have to do much a shuffling around. Things I didn’t need I just stacked in a “to shred” pile.
We'll worry about filing the files with our backlog of paper later. For now, just replace any papers you took out of the files.
Stop by the Facebook group or post on Instagram with hashtag #paperchallenge and let us know how you did with today’s challenge!
Also, if you missed the previous steps in the challenge, you can see them here:
Step 1 – Intro and set up inbox
Step 3 – Decide whether to go paperless and gather supplies






 Copyright 2025, Get Organized HQ.
Pingback: Organize Your Receipts {Step 7} - I Heart Planners
Mimi Says
Hi there!
I am loving this paper challenge! I’m wondering if you’re able to post the printable for the file folder labels or if you can post a “how to make them”? They are so cute!
Thanks!
Mimi
LauraJane Says
Post authorI do hope to post a tutorial in the future.
Terry Eoff Says
I too was really hoping to be able to download the file labels. Or at leat show us how to do them. PLEASE???
Love everything so far that you have been sharing.