Save vs. Splurge: Craft Closet Organization
Everyone knows that organizing can quickly get expensive. I’ve done a comparison of Container Store and Dollar Tree products in the past, but in that comparison I simply looked at the attributes of each container. This time around I wanted to organize a space with the more expensive options, then take everything out and reorganize it with options that cost just $1.
Want to come along on the organizing journey with me? Click the video below to watch:
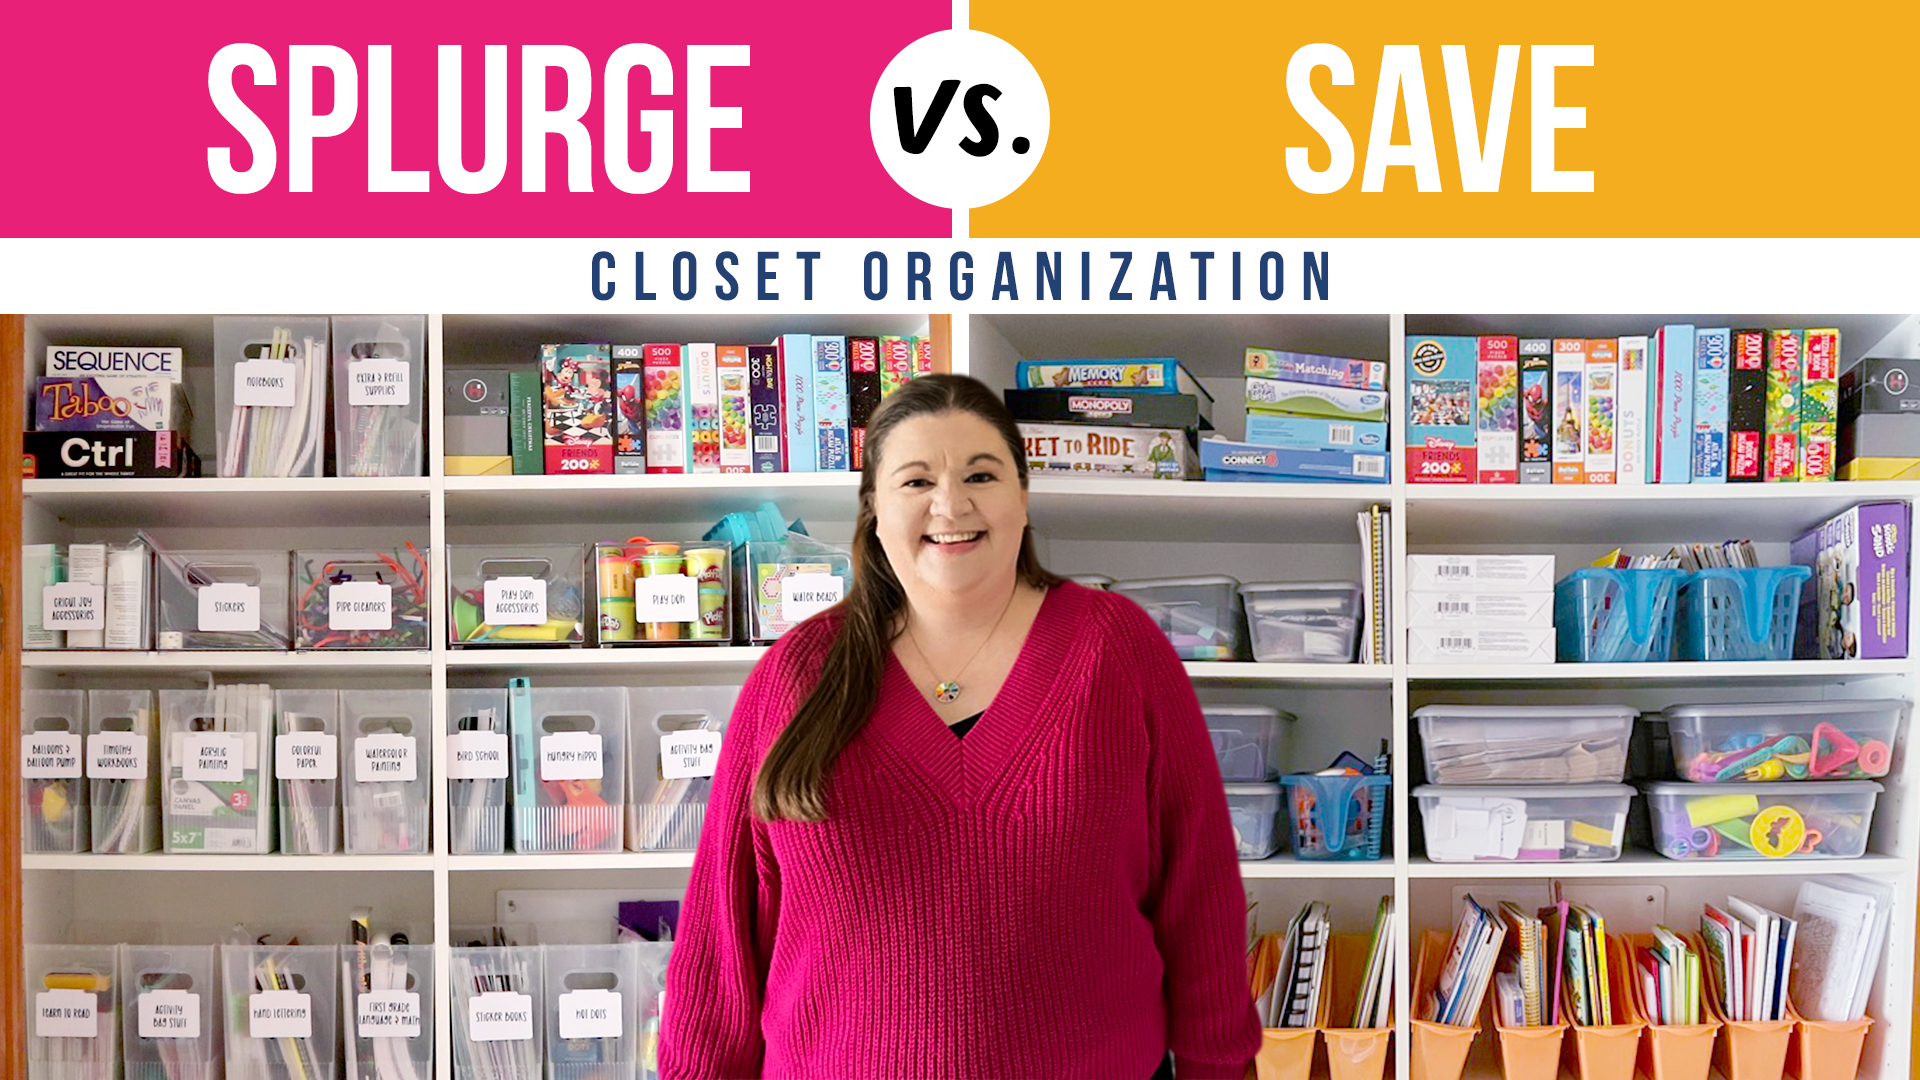
I decided my kids craft closet was the best place to test this experiment. Here is how we normally keep it:
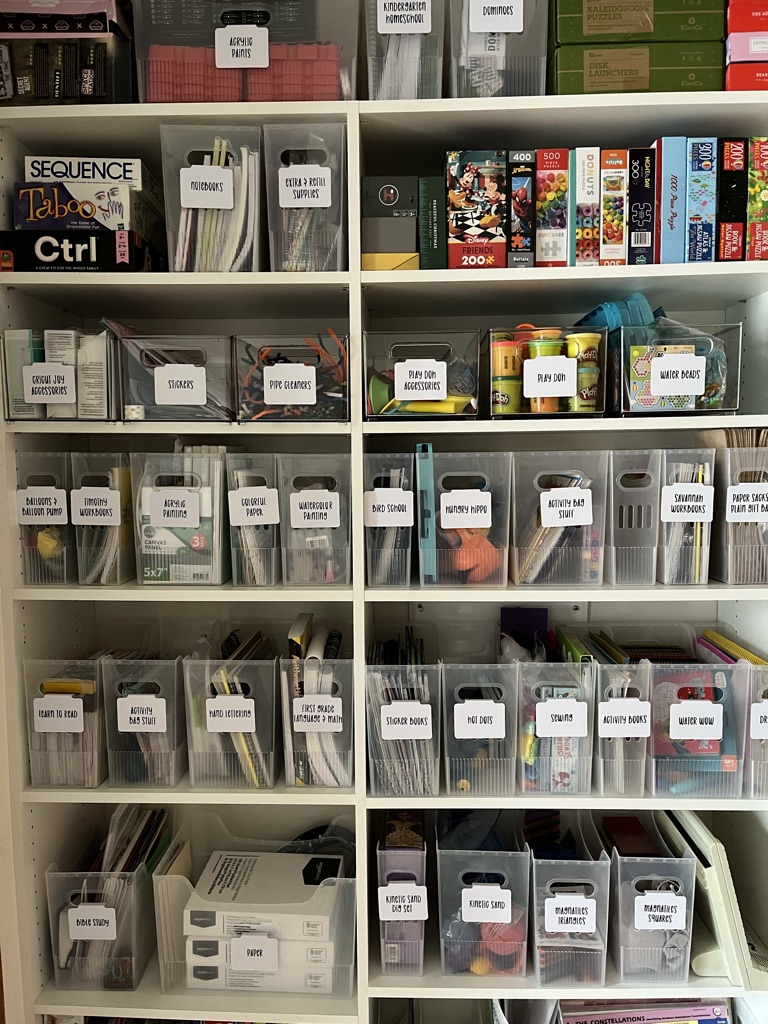
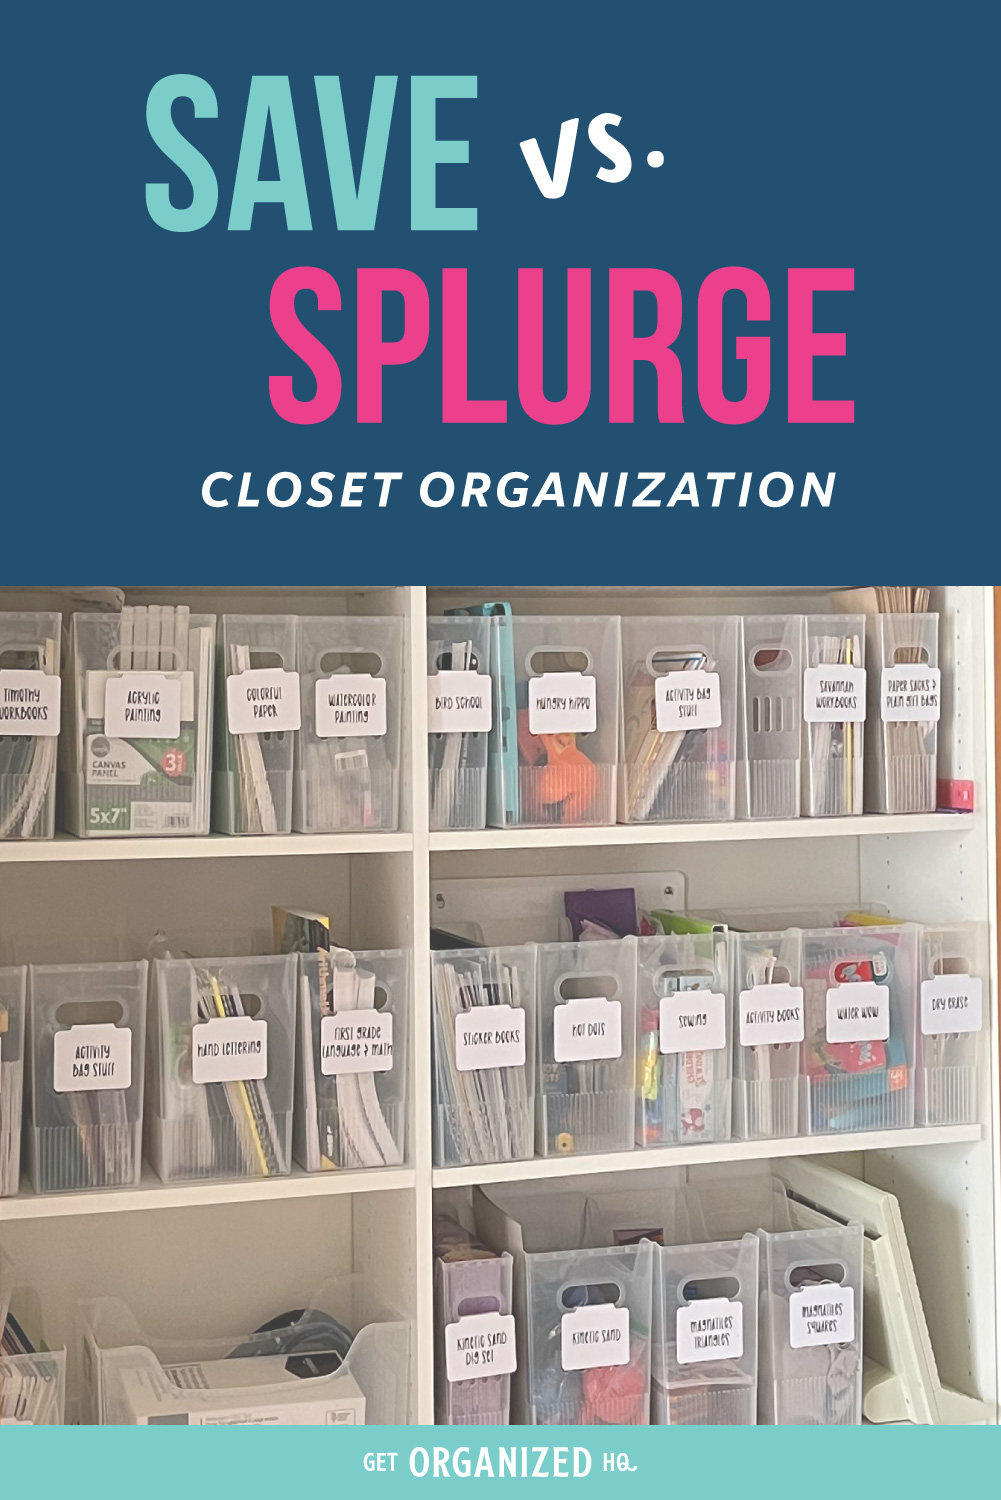
The primary bin that I used to organize my kids craft closet is the Multi Purpose Bin from The Container Store – and anyone who knows me isn’t surprised at all by that, because it’s a known fact that I L-O-V-E these bins.
They are so versatile, they maximize space, and they look great lined up next to each other. I could go on and on (and in fact, I did back here in this post) but there are more things to discuss about this craft closet.
For the labels I used these clip on bin labels.
They’re dry erase, but the truth is, I don’t love my own handwriting, and the dry erase marker smudges off super easily, so I cut out letters with vinyl and labeled the bin clips that way. It’s neat and there’s no more smudging!
I also used some acrylic bins to organize a few of the bigger, bulkier items (like our lifetime supply of Play-Dough!)
It’s worth noting that sometimes the best bin is no bin at all! That’s what I did for my kid’s puzzles. They’re already neatly in boxes, and putting a box in a bin just doesn’t make much sense, so I lined up all the boxes neatly on one shelf.
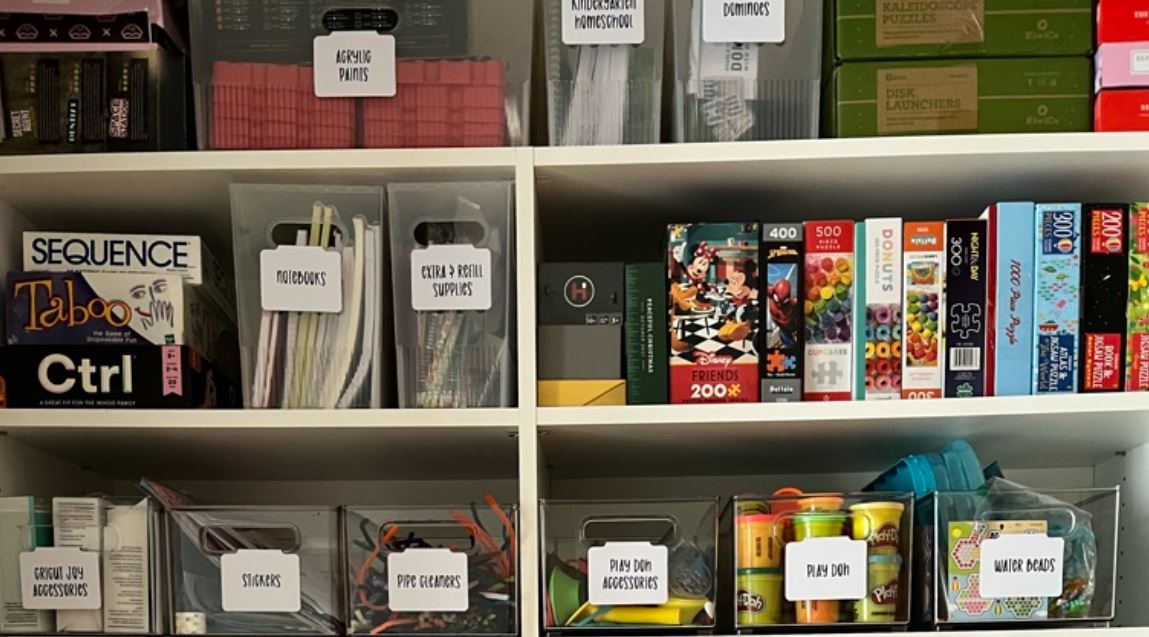
While I love the look and functionality of this set up, it comes in at an astounding $330! I know that’s just not in the budget for everyone, so I set out to reorganize the closet using items that just cost $1.
Here’s how it turned out:
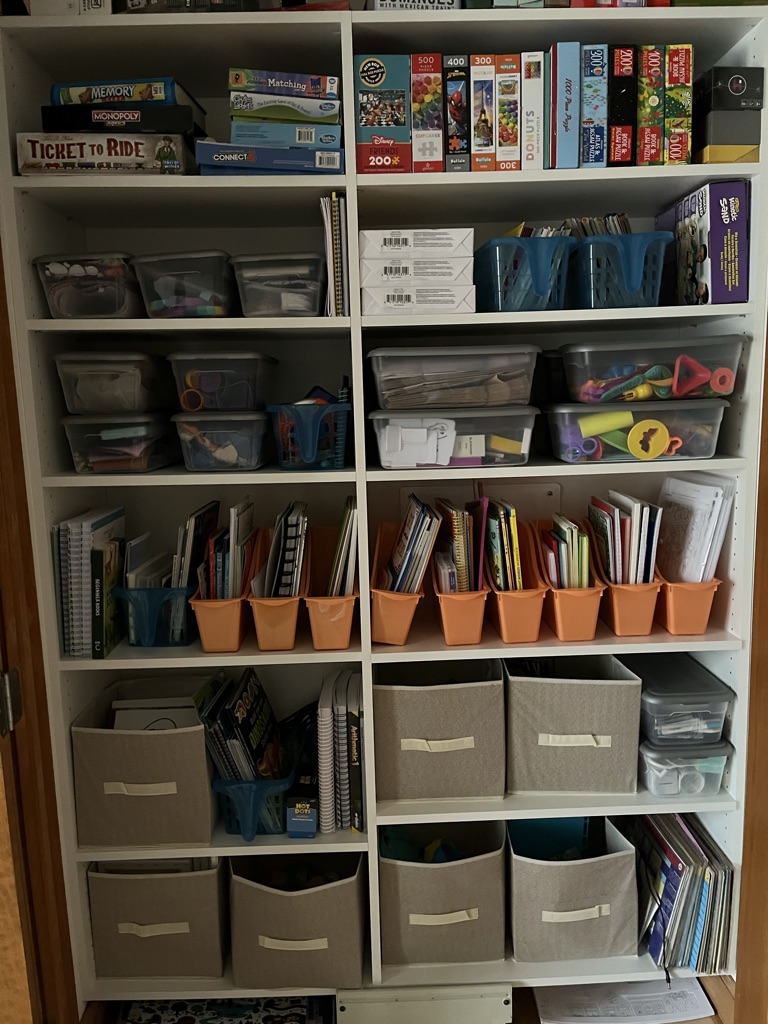
I ended up using a lot of different types of bins for this project. When you’re talking about items that are just $1 each, there’s not as much variety in size and shape, so you’re probably going to need several different kinds of bins to fit everything in.
Also, it’s very difficult to find a large bin for just $1, so that meant some bigger items (like reams of paper) simply didn’t get put in a bin at all, and merely got stacked on the shelf.
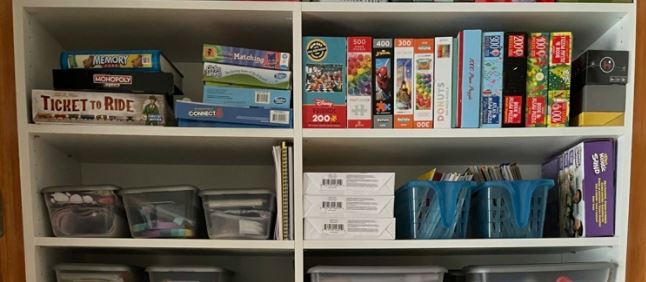
The closest I found to a multi purpose bin were these orange magazine files from the Dollar Tree.
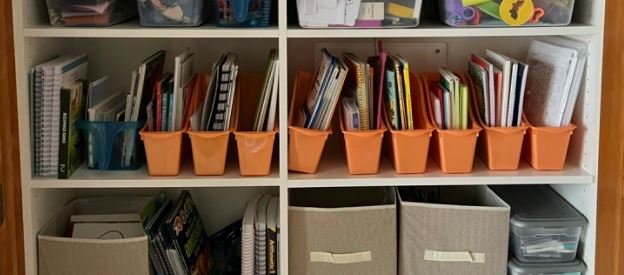
They don’t hold nearly as much, and the sides taper in which means there’s a large amount of dead space on the shelves, but they’re a good alternative for workbooks, drawing paper, and picture books.
I really liked the lidded Sterlite bins. These came from Walmart, and they held the most of all the bins I tried. In order to maximize space on the shelf (and believe me, we needed every inch we could get!) you do have to double up the bins, which means that you’ll have some containers you can’t see at all and you have to do a bit of digging to get to.

That said, if you have kids pulling these bins off the shelves often, the lids are nice because they can prevent the contents from spilling out everywhere. We used as many of these containers as we could!
Another similar (but not nearly as spacious) bin to the Multi Purpose Bin were these handled baskets.
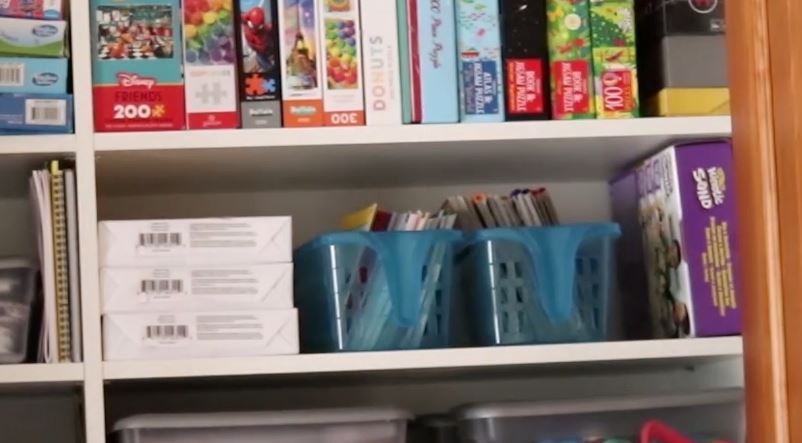
I do like the handle for easily pulling the basket off the shelf, but the plastic was so flimsy that if the basket was full, the handle definitely started to bend under the weight. These are also incredibly shallow, so it’s difficult to maximize space with these.
I said earlier that it’s hard to find a large bin for just $1. The biggest I could find were these fabric bins from the Dollar Tree.
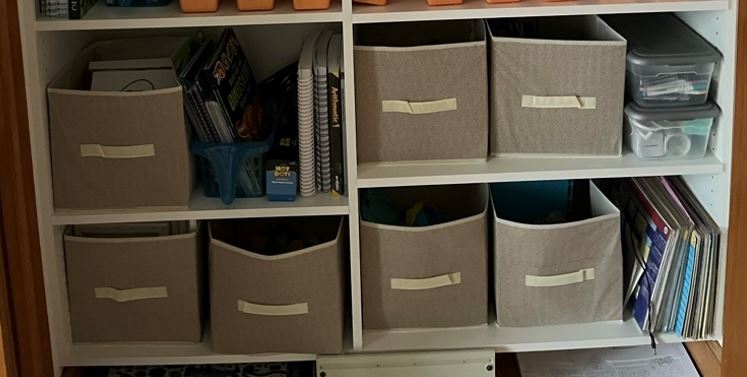
Now bear in mind, these are flimsy. They’re not going to hold up like the ones you see at IKEA or Target. But on a budget, they’re a decent option that provides a bit more storage space than most. I will say, I noticed that these in particular had a rather odd and strong smell. That could’ve just been the set I purchased, but do watch out for that!
It’s no surprise that the cheaper bins aren’t quite up to par with the more expensive options, but here’s the real question: how much do you save by going with the budget option?

You ready for this?
Almost $300!! The entire budget configuration cost $38, compared to the $330 that the original closet cost.
That is quite a lot of savings, and only you can decide if saving or splurging is the best choice for your family and space!
Organization that actually sticks for busy, happy lives.







 Copyright 2026, Get Organized HQ.
Susan Says
I organized my sewing materials with copy paper boxes, covered with contact paper. All the same size and uniform with the paper design. Boxes= free. Contact paper is way less than $10.per yard.
Samantha Lee Says
I loved this Laura. A very nice way to show us both sides of the coin! I’m
also skeptical about those odd smells on some of the less costly items.
Thank you for showing both options and the photos to go with it.
Corina | Frump Fighters Says
This was such a cool “experiment”! Thanks for the breakdown!
Mary D. Says
Thank you for putting this together. Nice to see the differneces.
Cindy Says
This was great! Containers are expensive but you gave a nic and honest alternative!!
Gabrielle Wolsfeld Says
Awesome post! Probably one of my favorites that I’ve read from you!! Thanks!
seekingserenity and harmony Says
I need to stick with the budget option. It is in my dreams that in the future mine can look more like your more expensive organized option. You don’t want to see my shelves righrt now 😉
Harriette Says
I love your expensive set up. However I live in an area that is dusty because of all the constant redevelopment so I need my storage to all be covered.
Any suggestions?
Frances D. Says
I, too, bought the fabric bins from Dollar Tree. Mine also had an odd smell, so I left them outside on the screened porch on a cold, breezy day! After that, they were fine. I’m using them on the top shelf of my closet to hold some clothes, so I really didn’t want the smell to linger!
Marie-France Lamothe Says
I love the more expensive setup (of course!), but it would not be where I would want to invest my money. What I really love about your article is the idea of a kid’s craft closet! Right now, I have random craft supplies thrown into a bin and it sits in our dining room. Honestly, it drives me crazy and the kids don’t really use it. Now, I need to find a space in our home to organize these supplies and your ideas will come in handy. Thank you!
jean remer Says
Great comparison but you sold the cheap (less expensive side short). Your photos were poorly lit compared to your stunning $300 plus version. Your cheapo version had no labels which would have made it appear way more cohesive on a tight budget. Going the cheapo way may be the best for the newbie who will see that there is a need to declutter along the way as opposed to investing $300 only to find 1/2 their stuff is crap – organized or not. And yes, color coordination is near impossible at Dollar Plus tree but at least get us started on the path. You did great but remember we all have to start somewhere.