Roll Away Disorganization with Rolling Carts
What if I told you there was a storage solution that was under $30, easy to put together, cute, and portable? Yes, that’s right – the complete package!
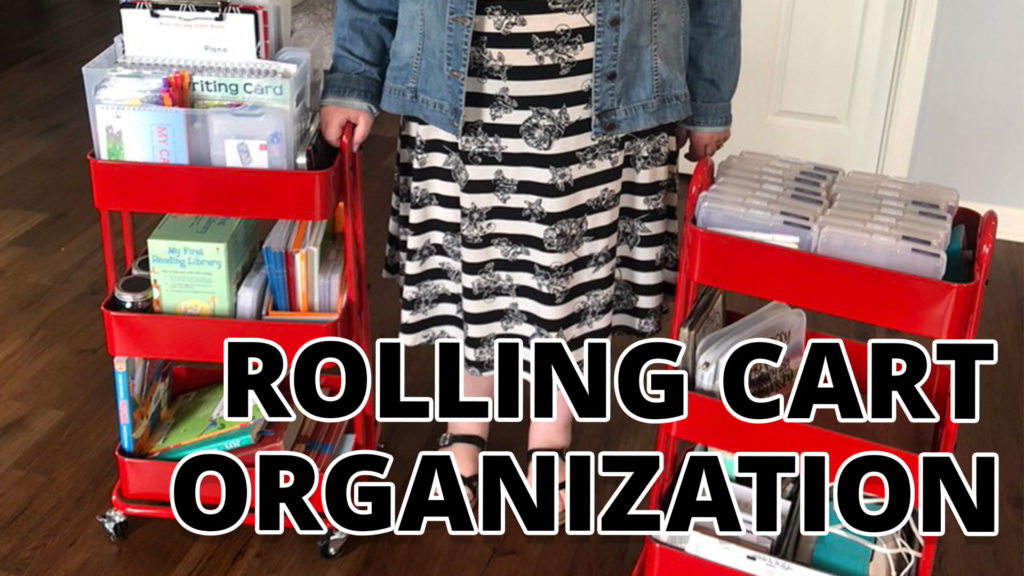
Rolling carts have been a game changing organizational hack in my day to day life. I love the flexibility that comes with being able to roll around supplies to wherever I’m working and then just as easily wheel them away when I’m done. If you want to see how I’ve organized my three tier rolling cart, check out the video!
These little carts have really become popular over the last couple of years and they may even have caught your eye when browsing the aisles at Target. One of the most used carts is the Raskog utility cart available at IKEA for $30. The carts I use are similar, but available on Amazon. You can get the same rolling cart on Amazon for a couple bucks less. If that price still seems a little steep, trust me when I say that these carts are one of the best organizing investments I have ever made!
I use these so much that I couldn’t have just one! I keep my two rolling carts in the small closet under my stairs, but honestly, a lot of the time I don’t even put these guys away! Mostly, I use them in the dining room and I simply roll them to the corner of the dining room or even leave them next to the table when I’m done. I’m not super diligent about where I store my carts, but I am diligent about keeping them nice and organized.
Speaking of organization, I want to walk through with you exactly how I use my rolling cart and how I have them organized.
ROLLING CART #1: TOP TIER
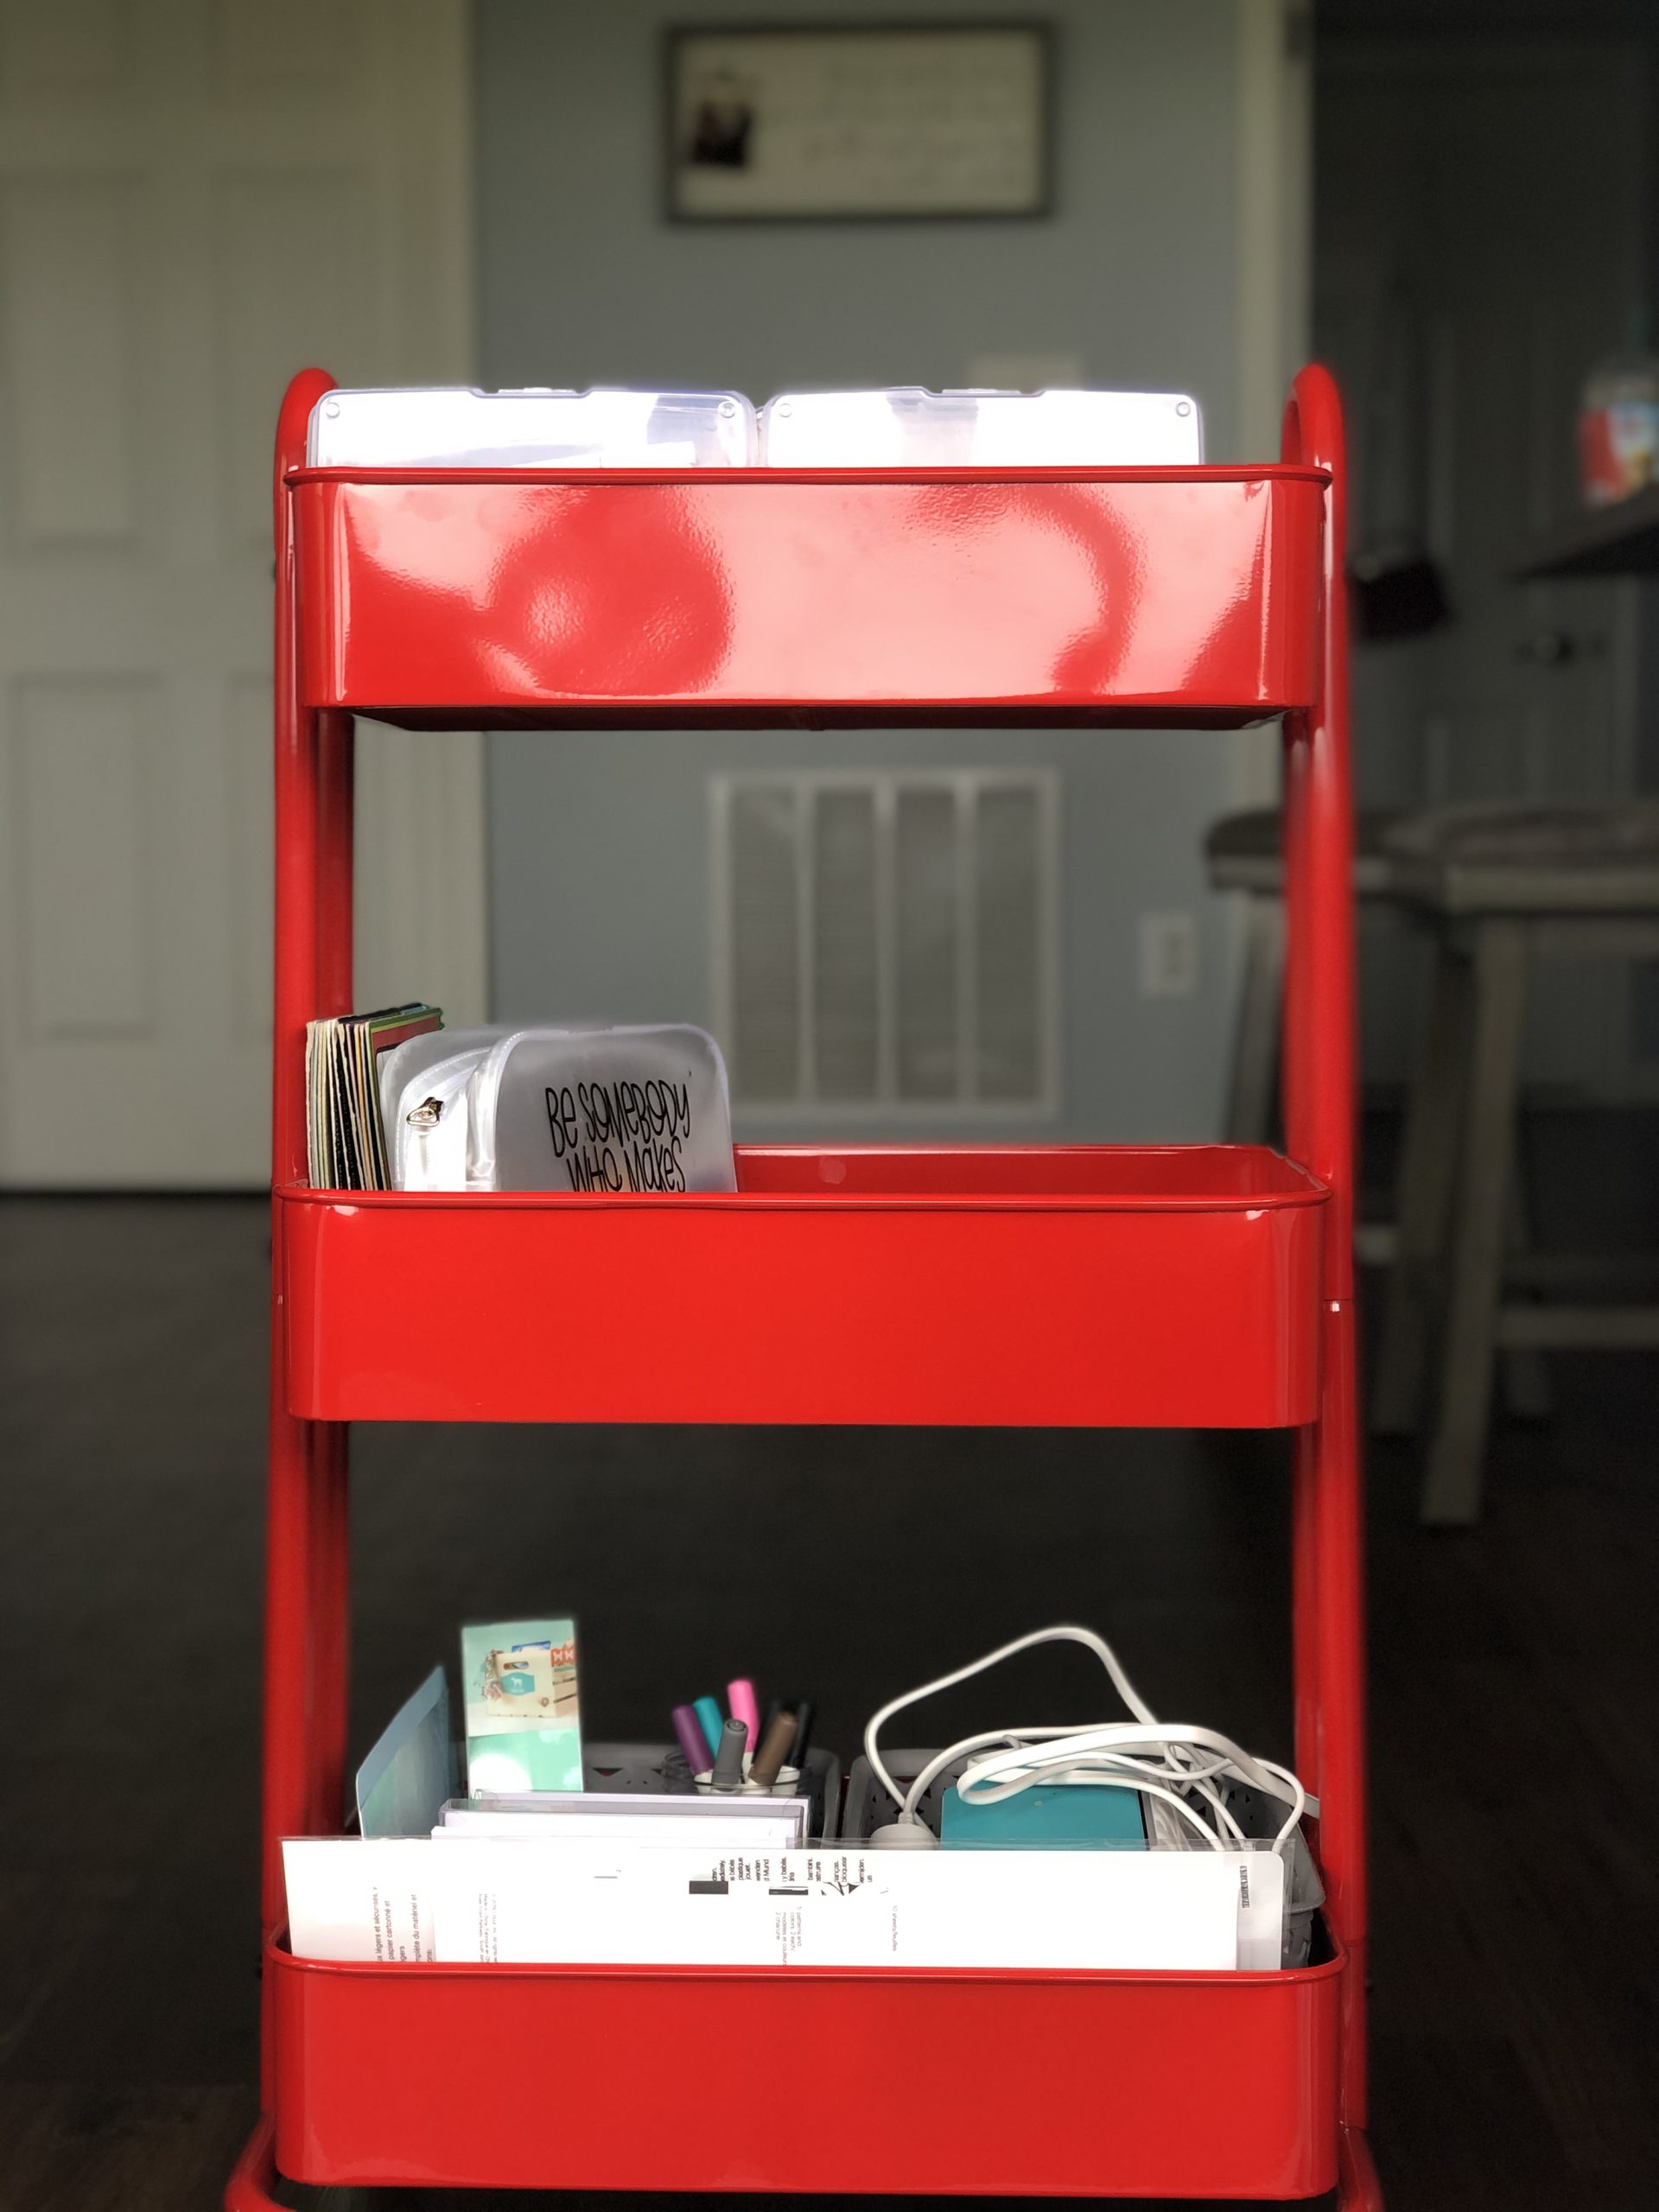
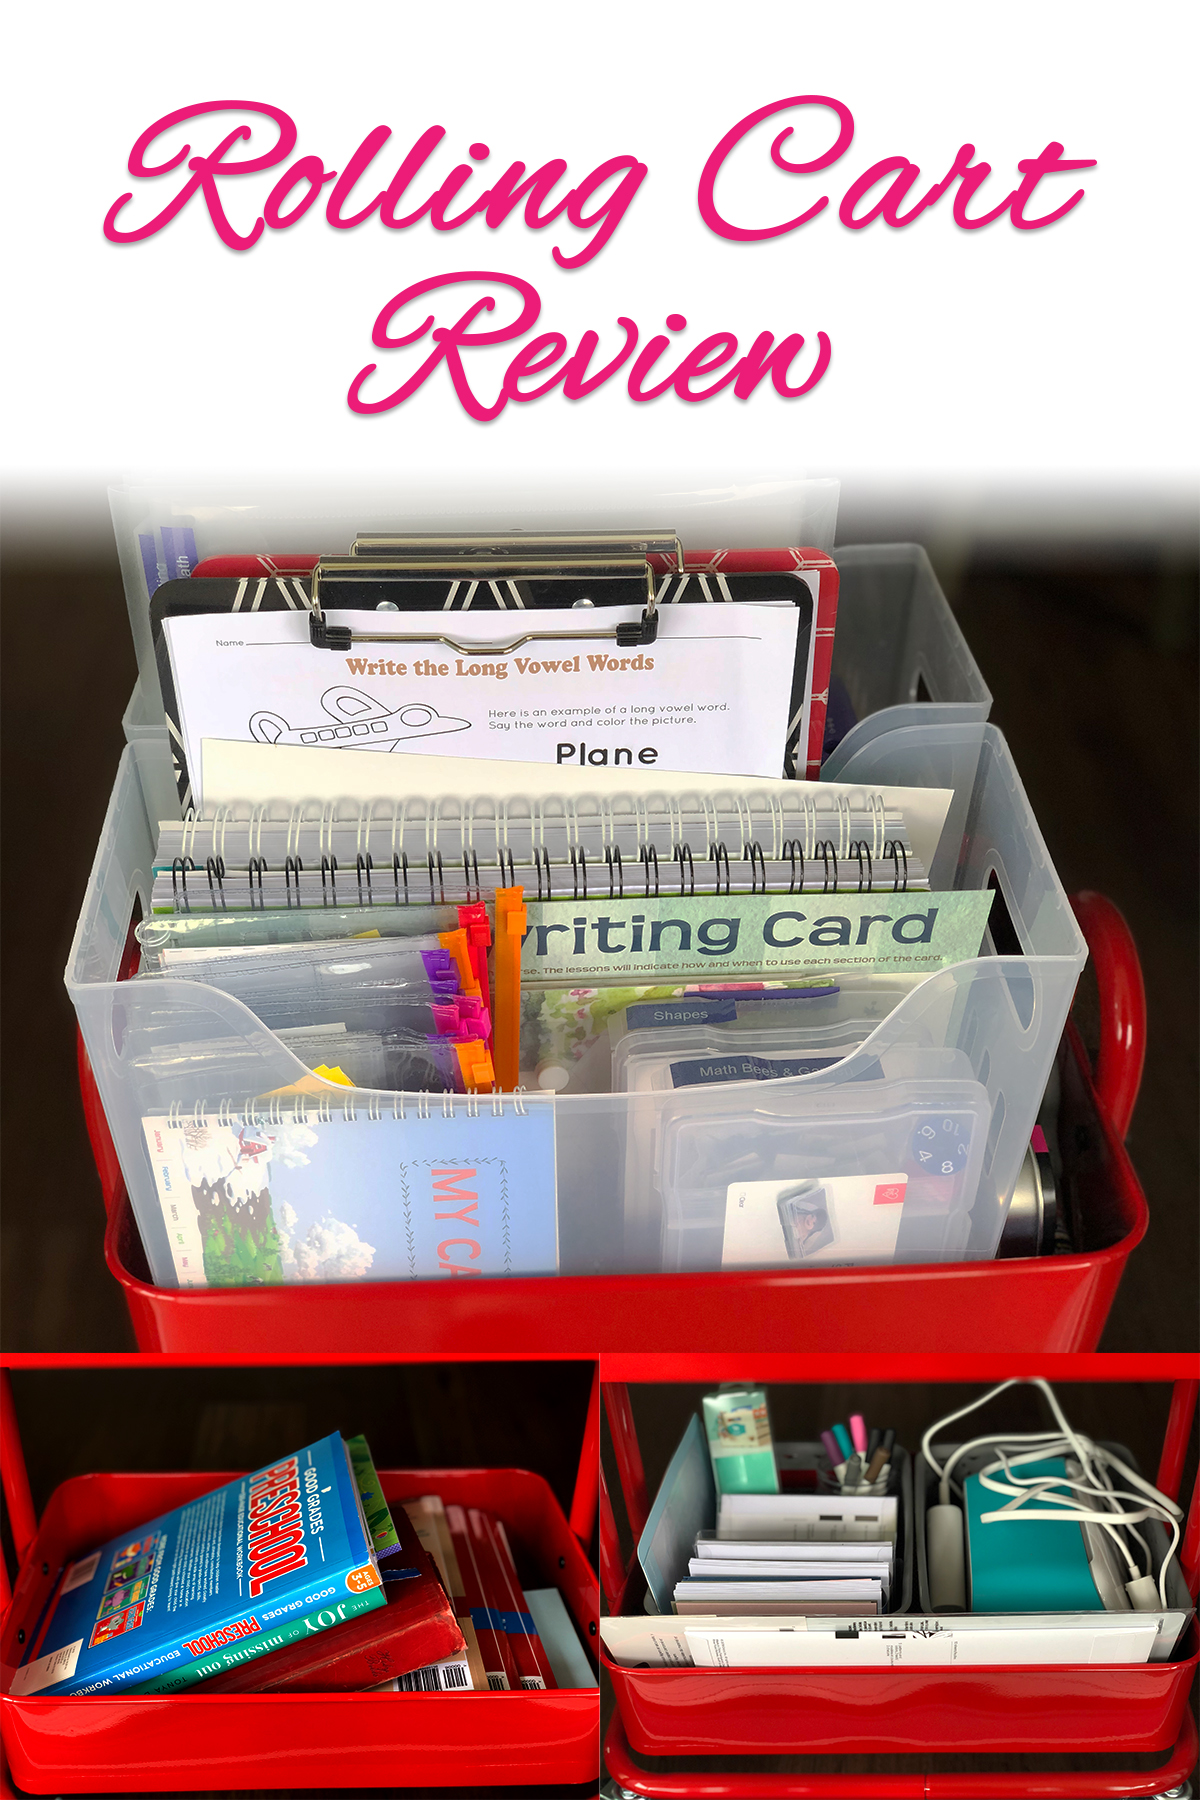
The top tier is where I put things that I use most often. On my first cart, my top tier is full of homeschool supplies. This is huge! The items I need for homeschooling are right at my fingertips. I don’t have to go searching through closets or bring piles of books out every morning, they’re already ready to go.
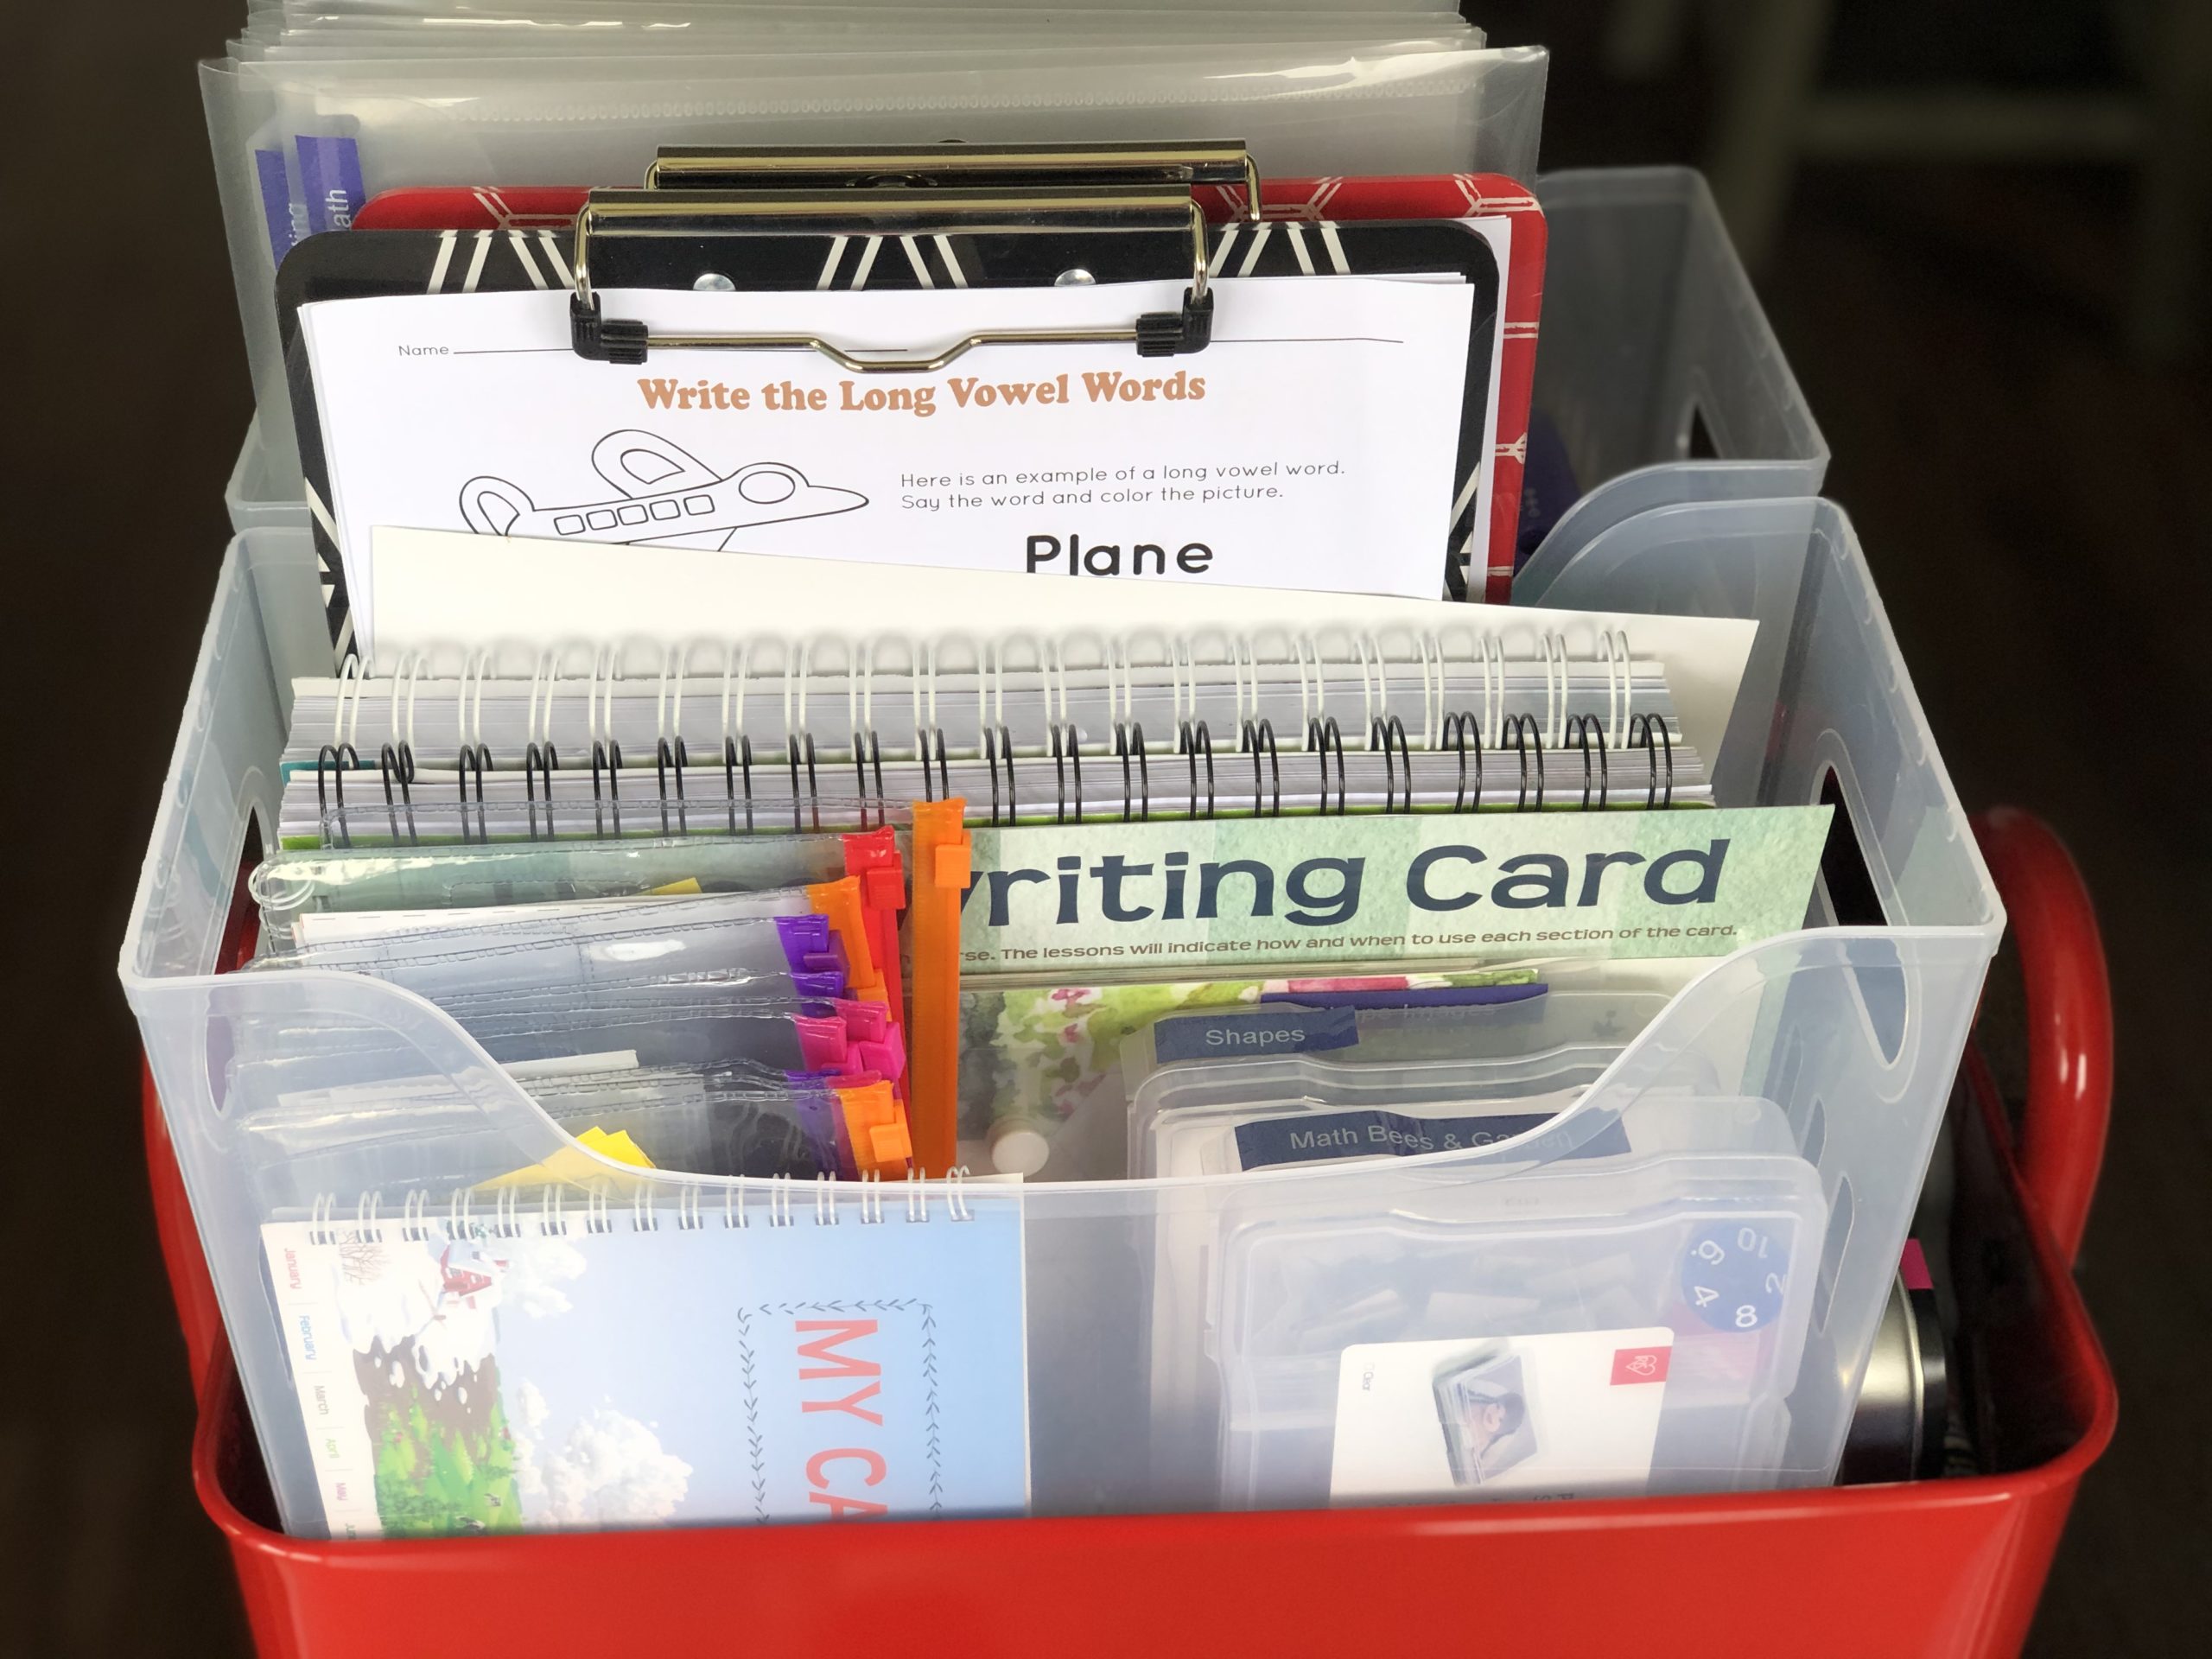
In order to keep the homeschooling items all together, I used two multi-purpose bins from the Container Store. If you’ve been around me, you know I love a good use of a multi-purpose bin and these bins fit almost perfectly. Inside of those bins, I keep the following:
- A clip board for each of my children: Our dining table has grooves so the clipboard gives them a level writing surface. I also keep school work papers attached to them so they don’t get lost.
- School books: I keep Math and Language Arts book from The Good and the Beautiful.
- Place value chart for Math lessons
- Calendar
- Laminated handwriting charts
- Photo boxes: I have a couple photo boxes that I use for storing supplies for math lessons. My other cart is full of photo boxes, so they would maybe look better in the other cart, but I want to prioritize function over aesthetics.
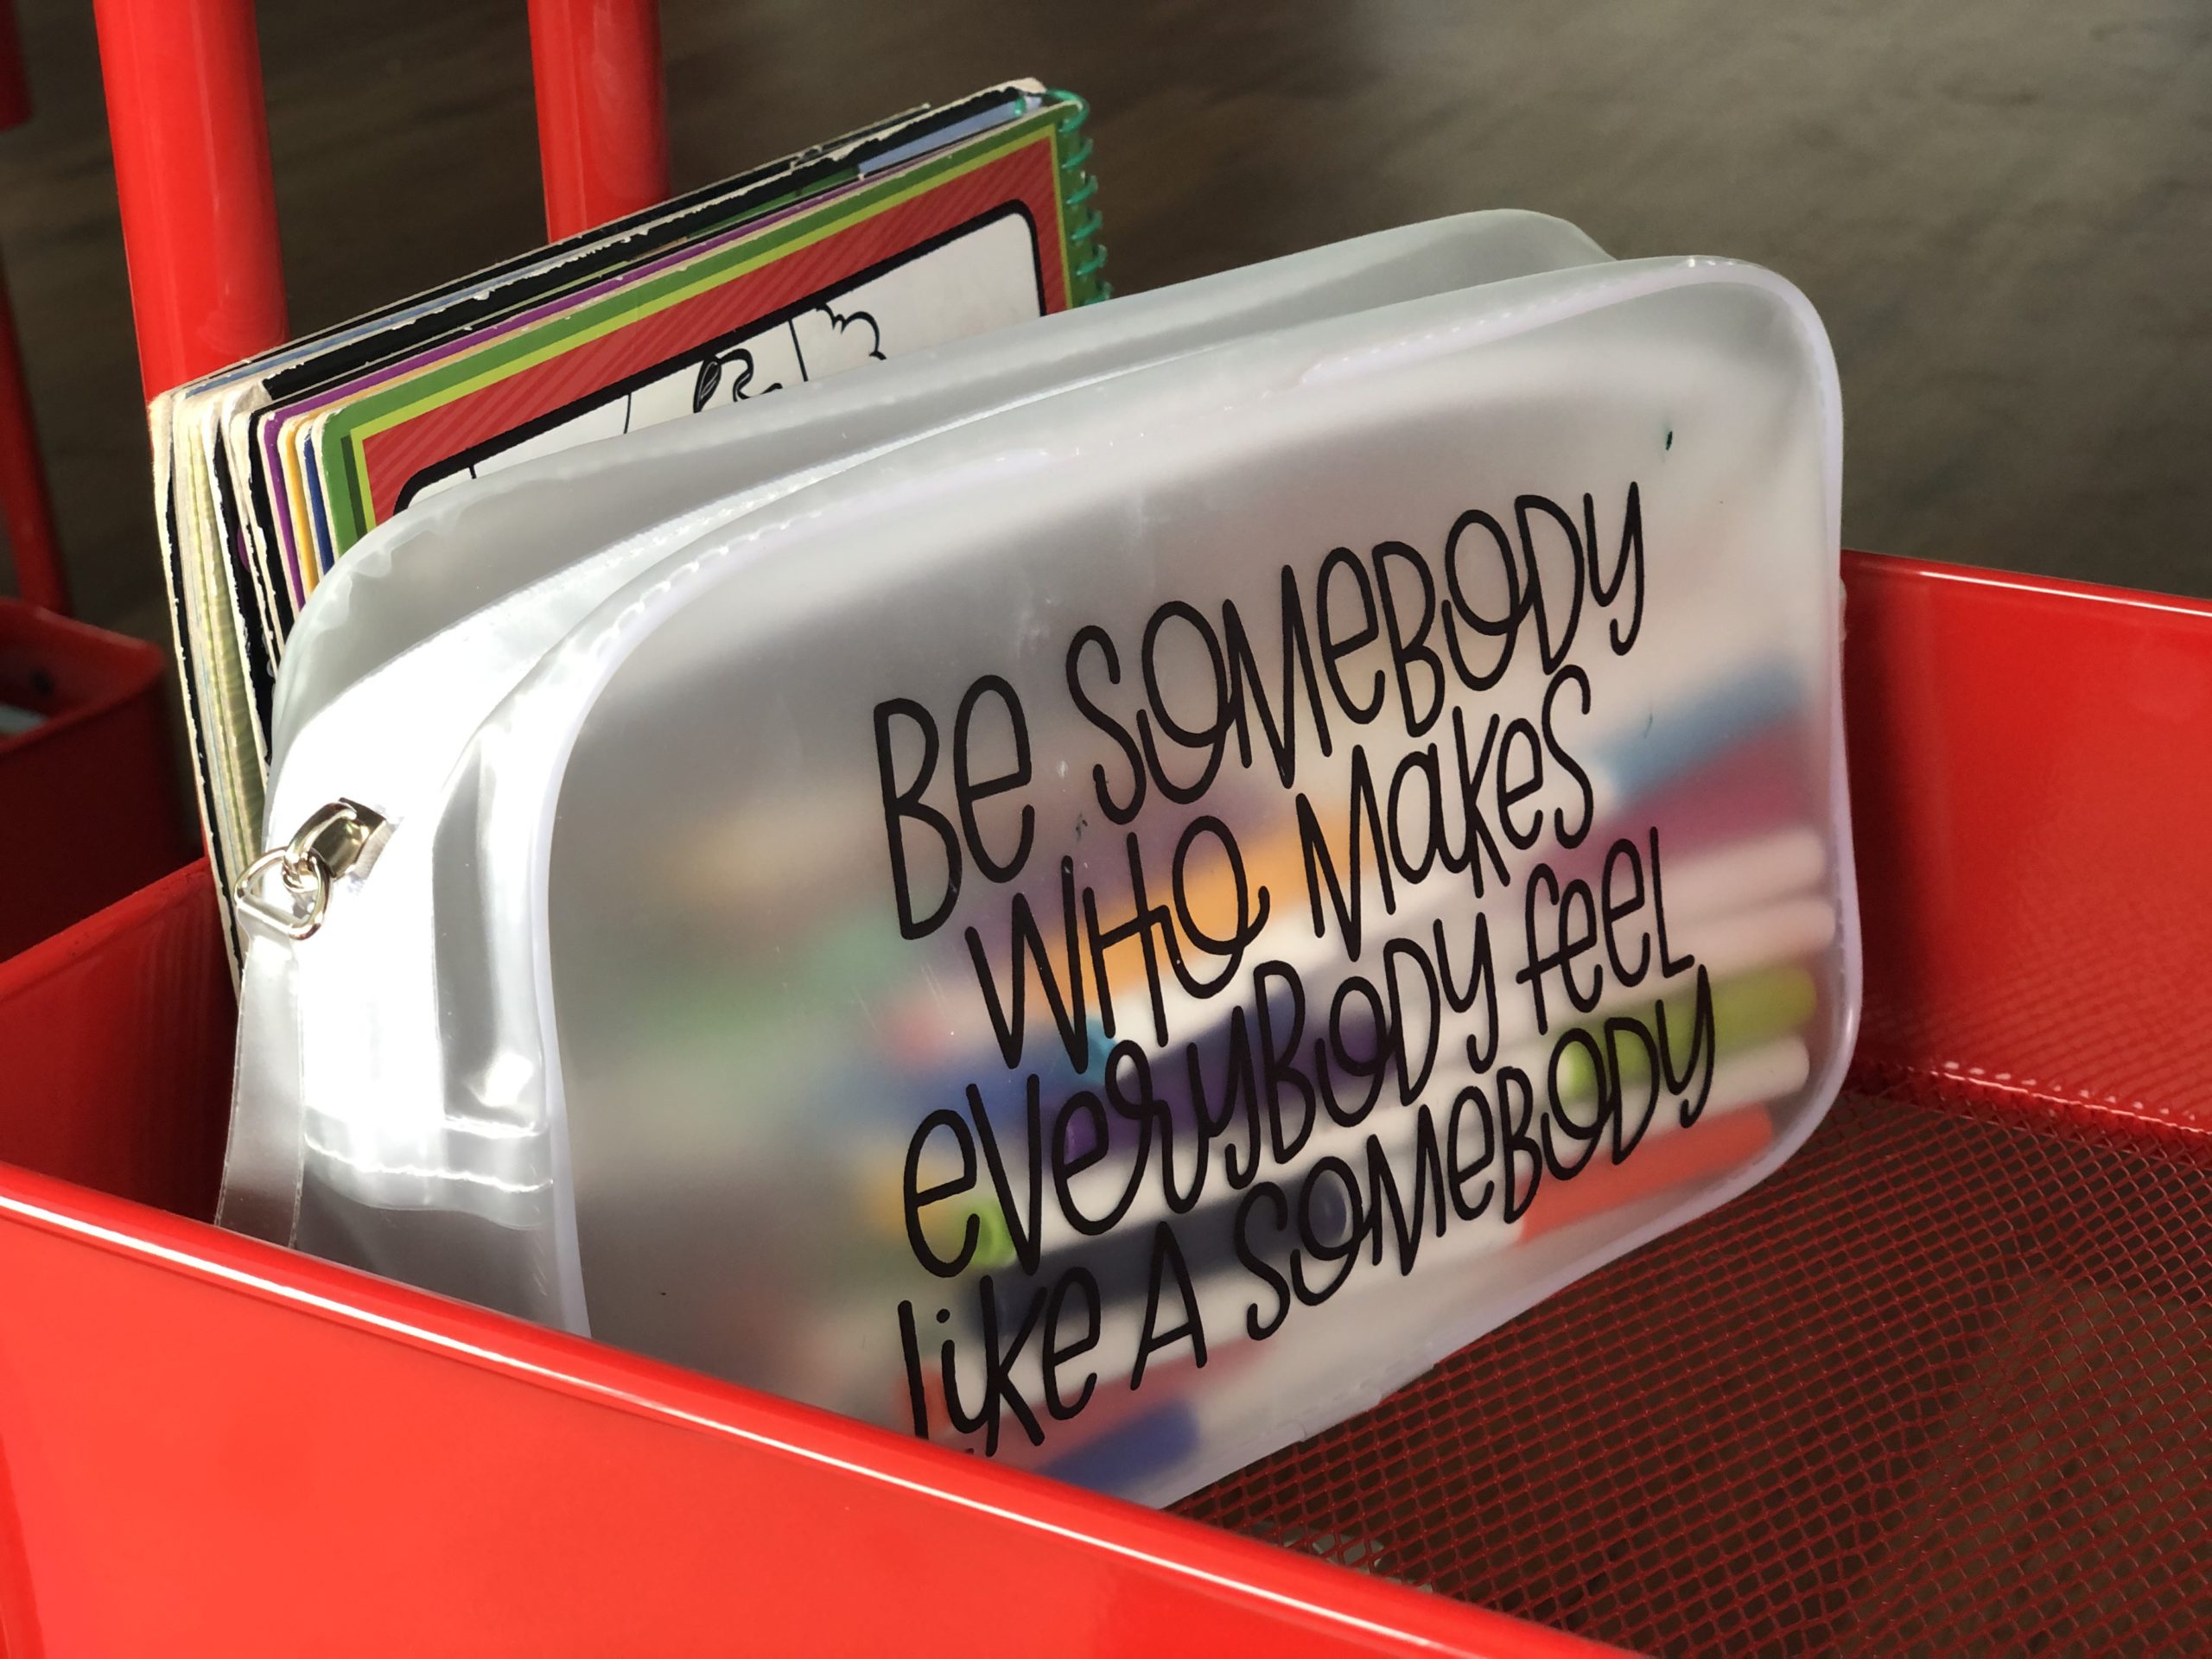
- Clear pouches from Amazon: I found these cute clear pouches that I use to store phonics cards, letter cards, number cards, and any other small school activity. A little labeling tip here: I label the same corner on each pouch. This way, I can simply thumb through the pouches and easily find exactly what I need!
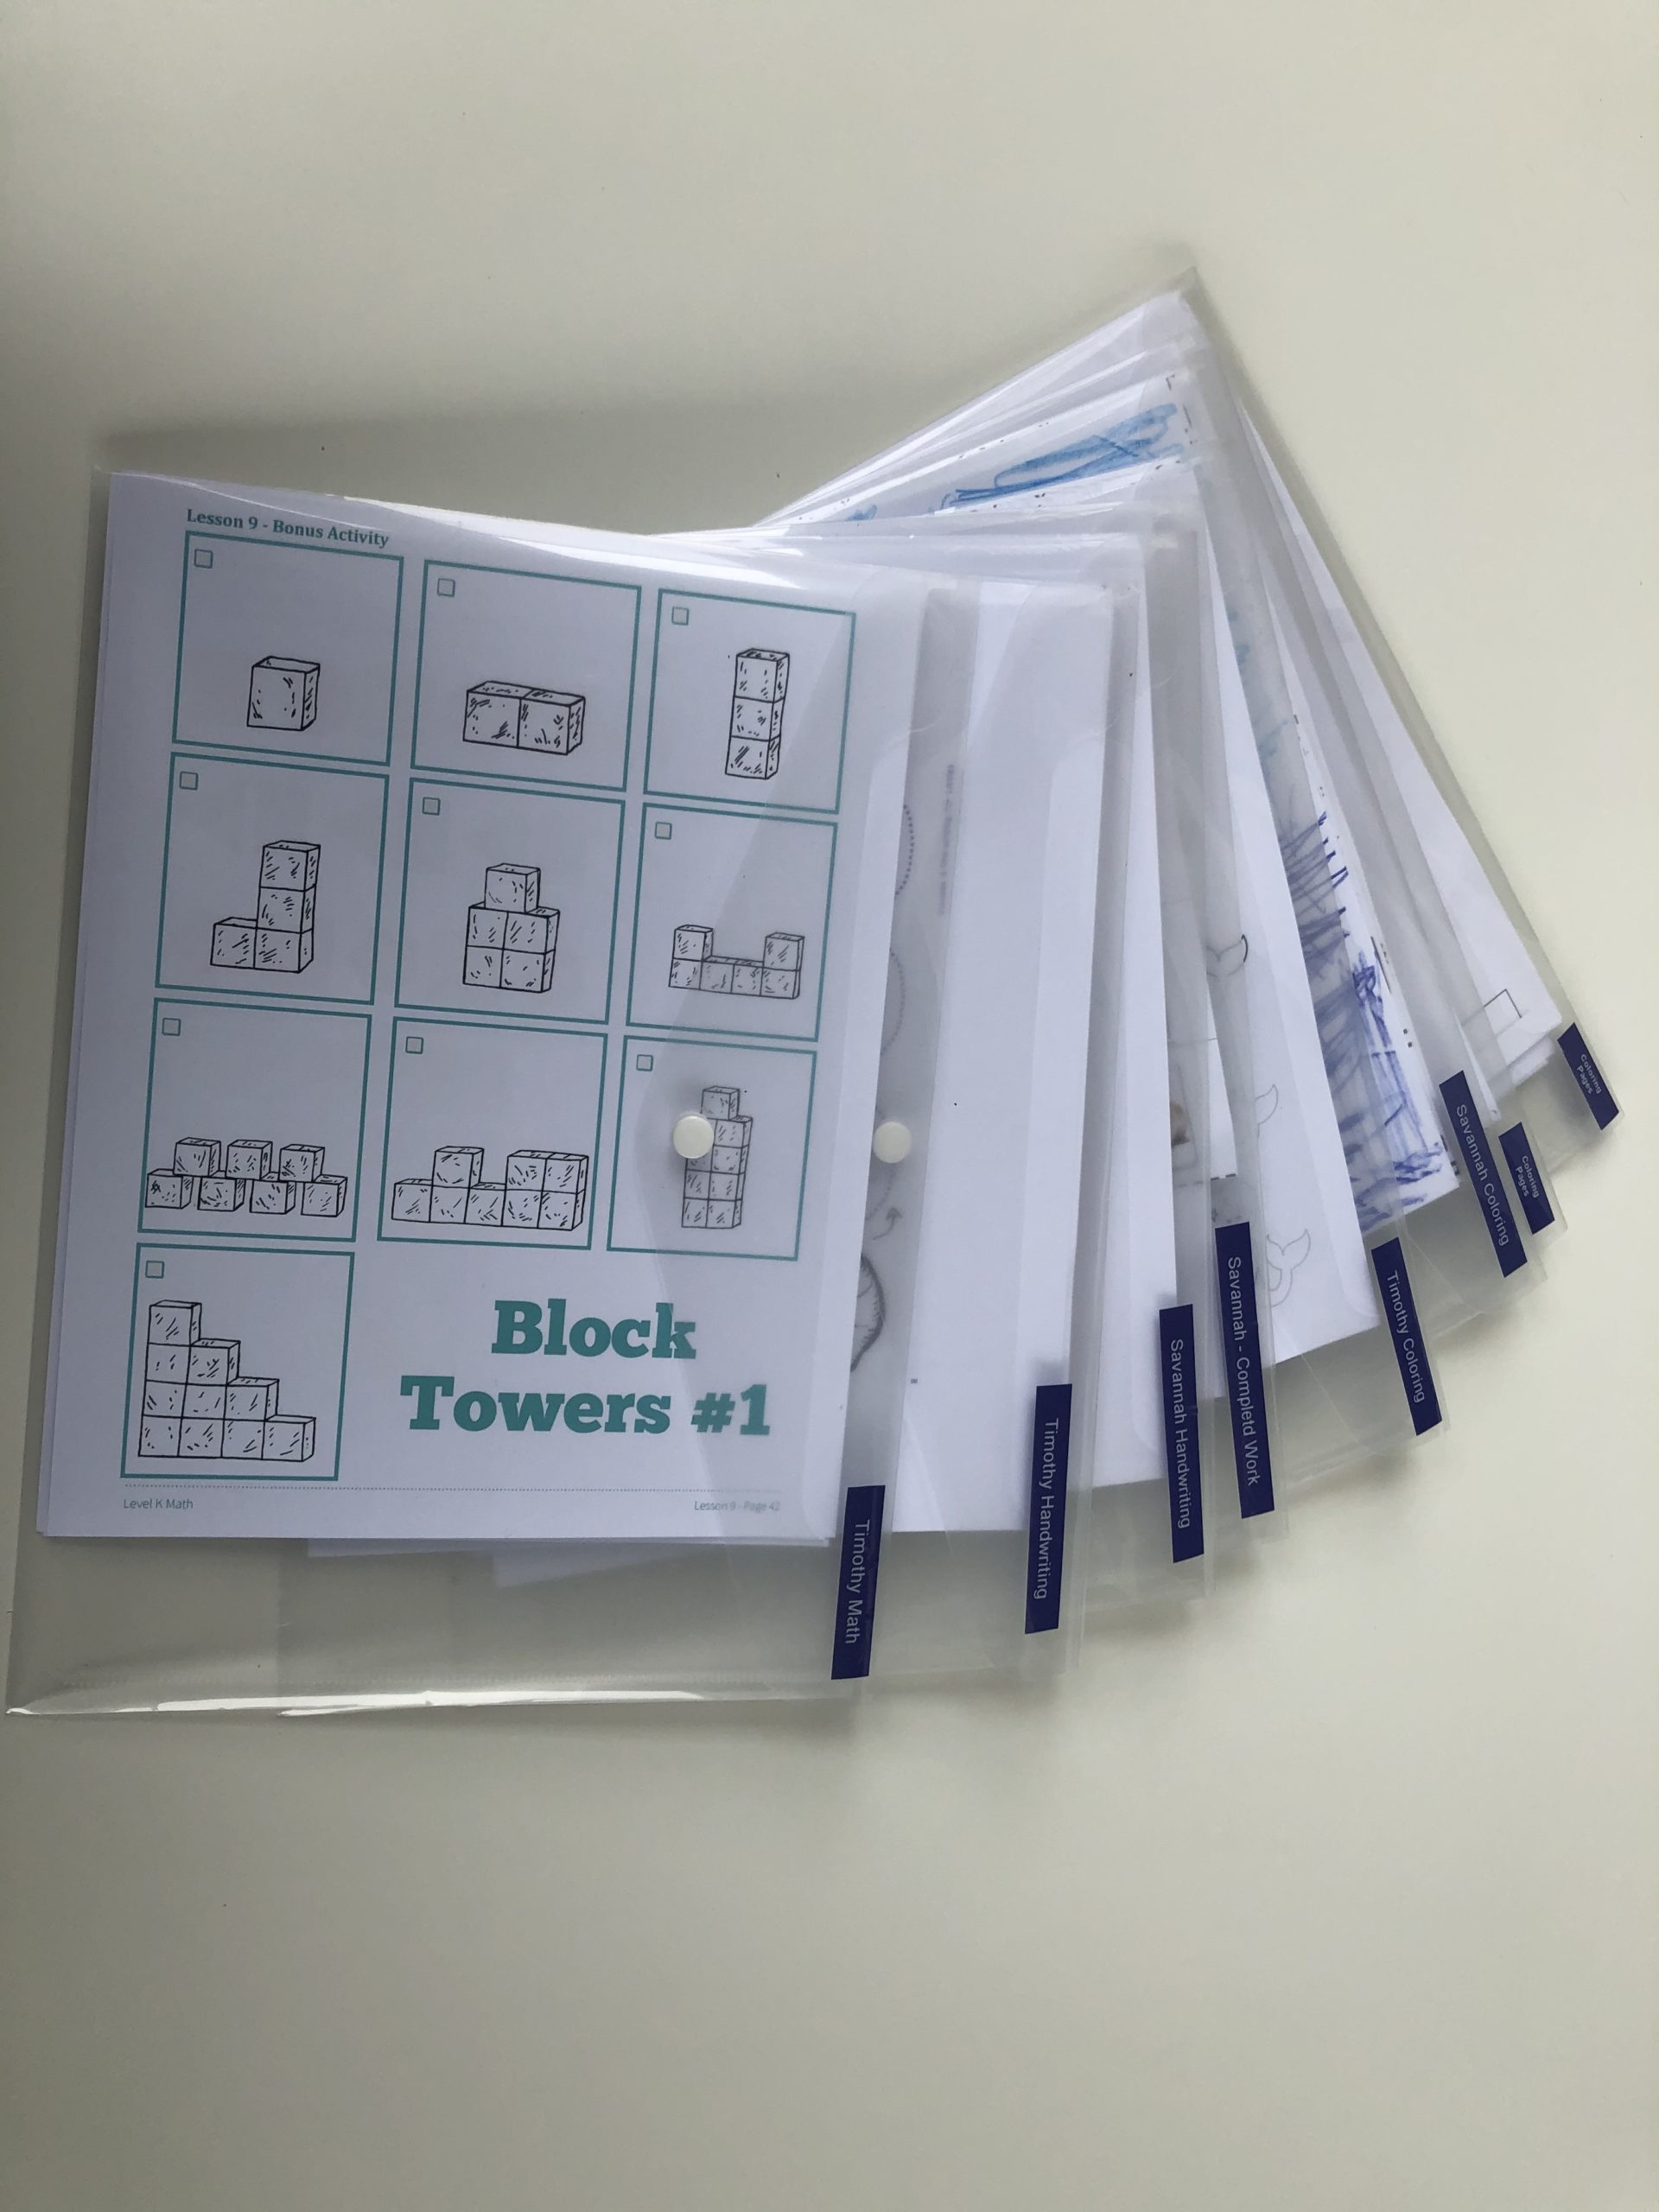
- Clear folders: I use these to hold different lesson worksheets, coloring sheets, finished worksheets, and handwriting printouts. I keep one folder for completed work, which I save for about a week. Then, at the end of each week, I take a photo of my favorite work and toss the rest. I don’t need to keep everything my kiddos do in school, but I do want to keep a photo or two to track progress and remember some of those sweet successes! And the same labeling tip applies here – label the corner of each folder to easily thumb through and find what you need.
- Label maker: I keep my Dymo label maker in the top tier. It’s relatively small and a quick way to add a label if I need one in the moment. Since this is a place where I want to maintain a high level of organization, I love having easy access to my label maker! If you want to learn more about how I make labels, check out my blog post on it here!
The multipurpose bin leaves me a little bit of room on the end for some quick access to colored pencils, dry erase markers, a glue stick, scissors, and things like that.
ROLLING CART #1: MIDDLE TIER
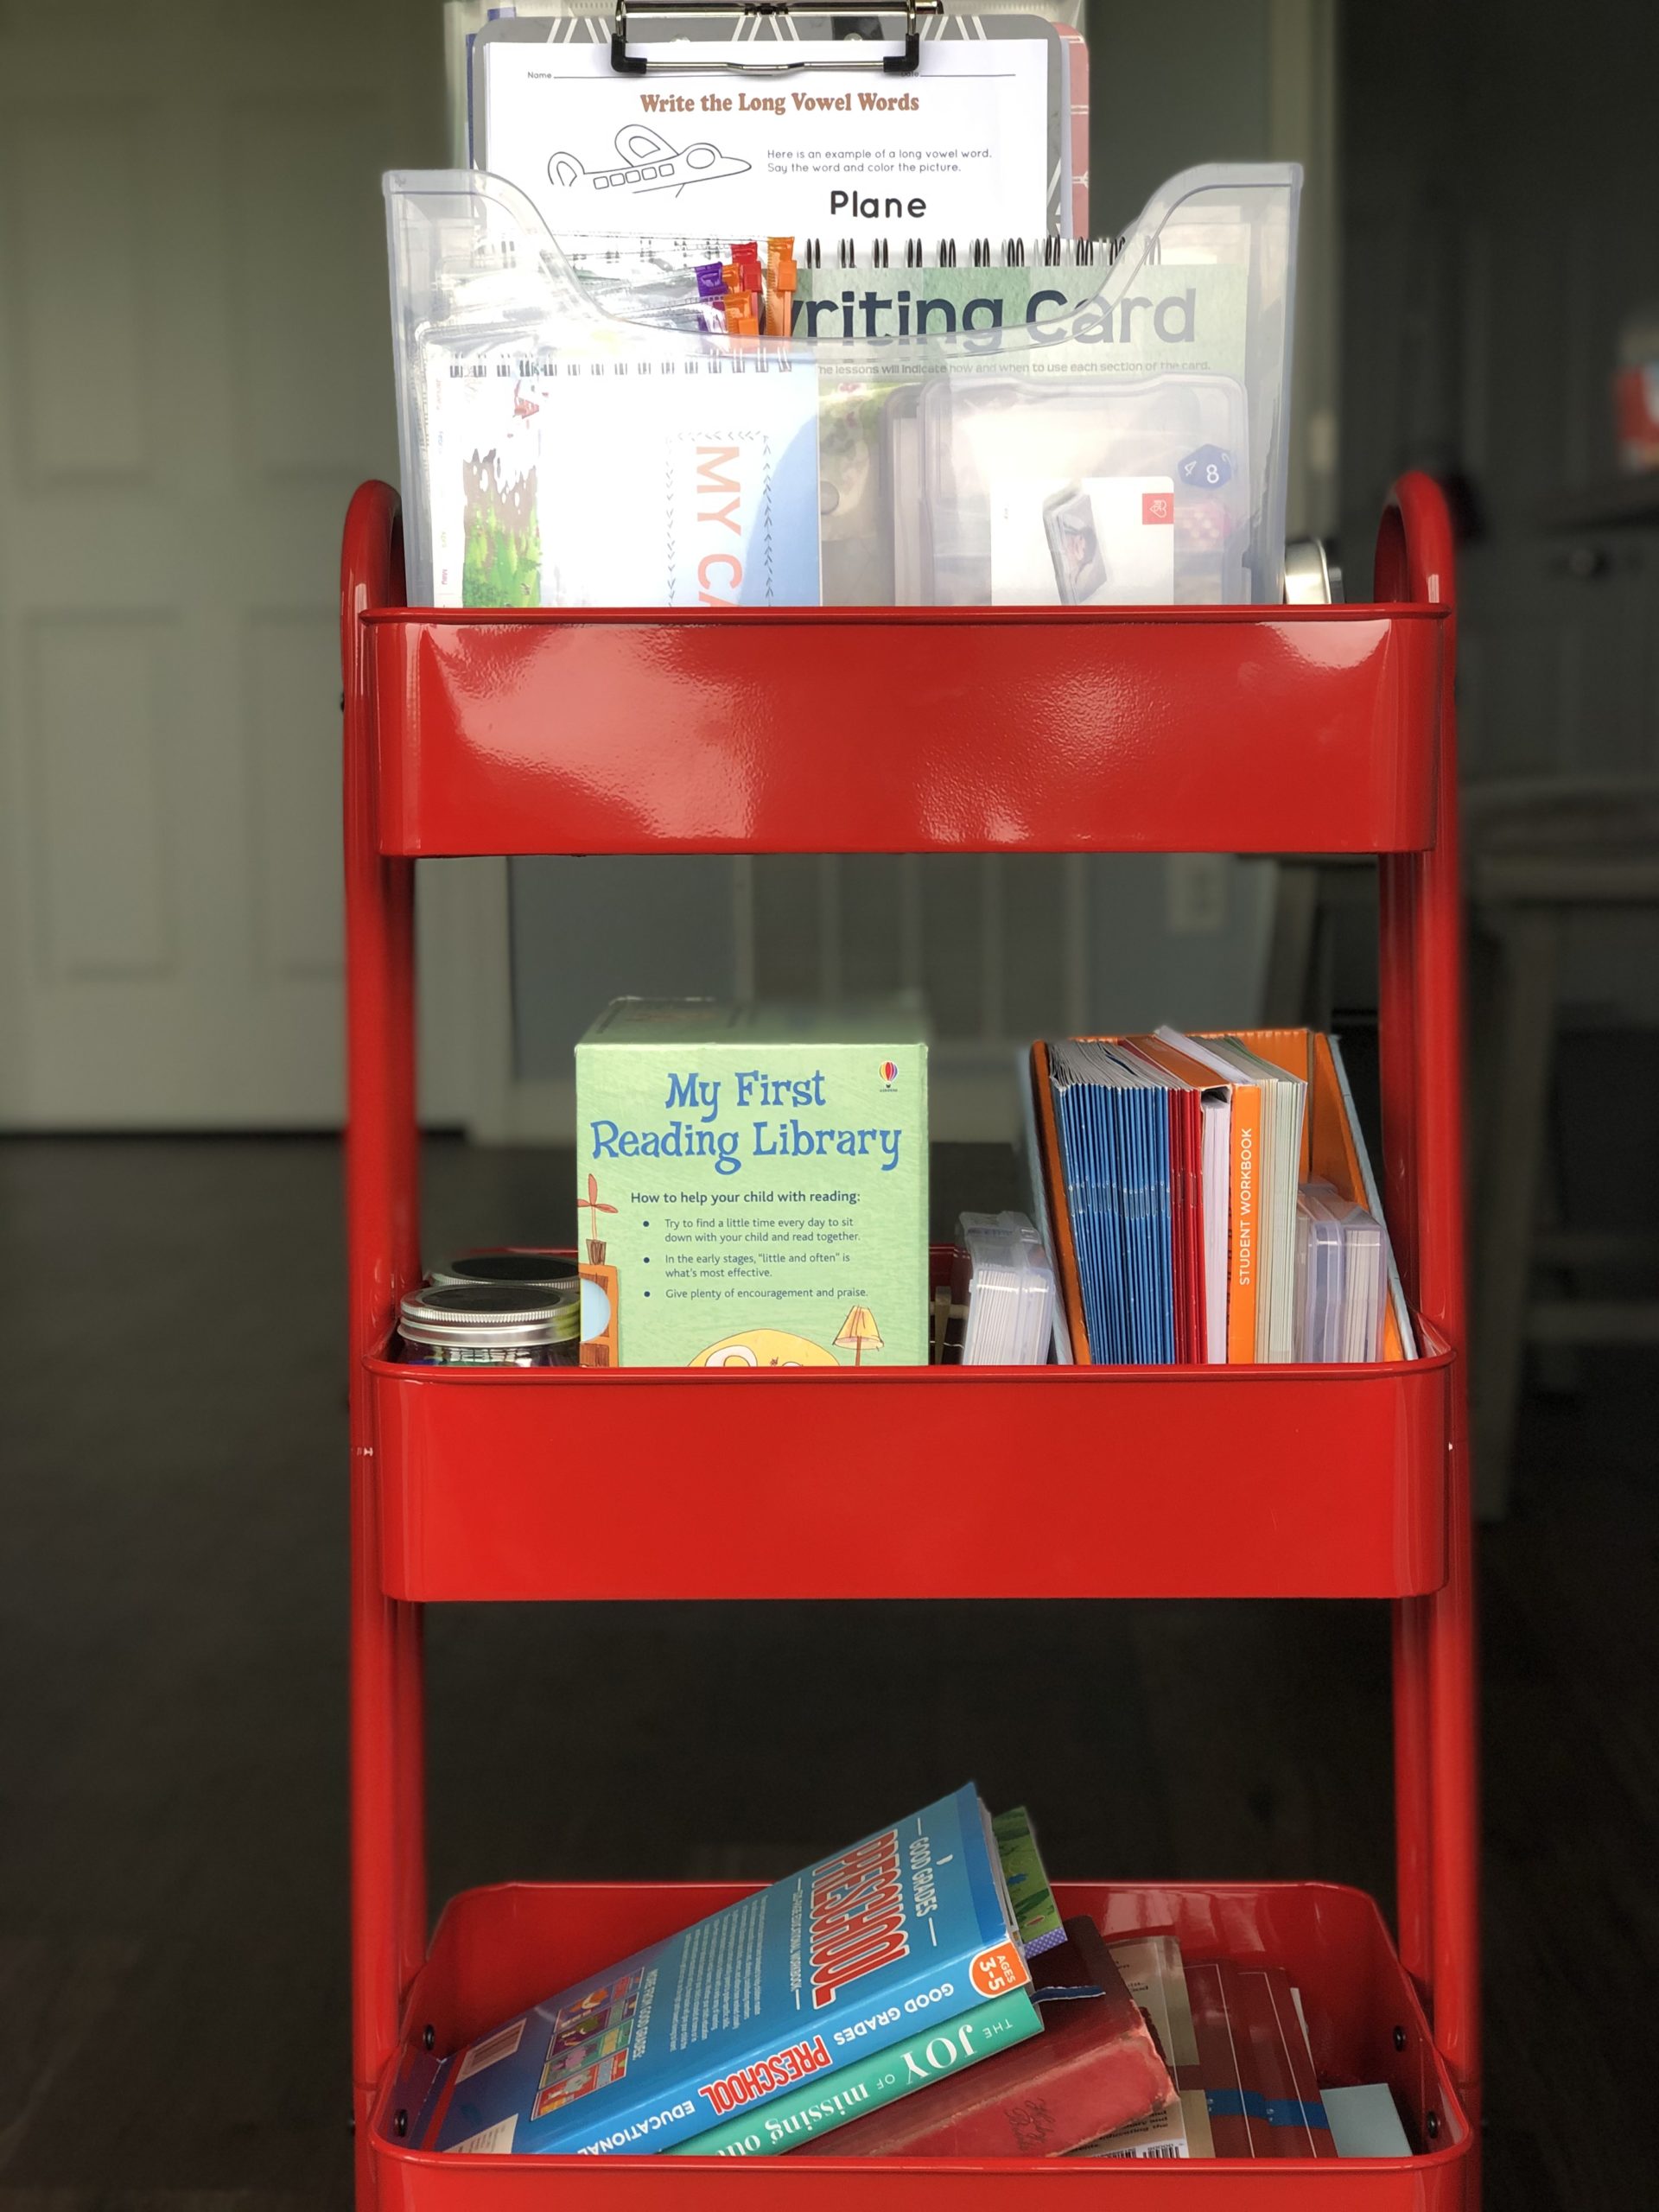
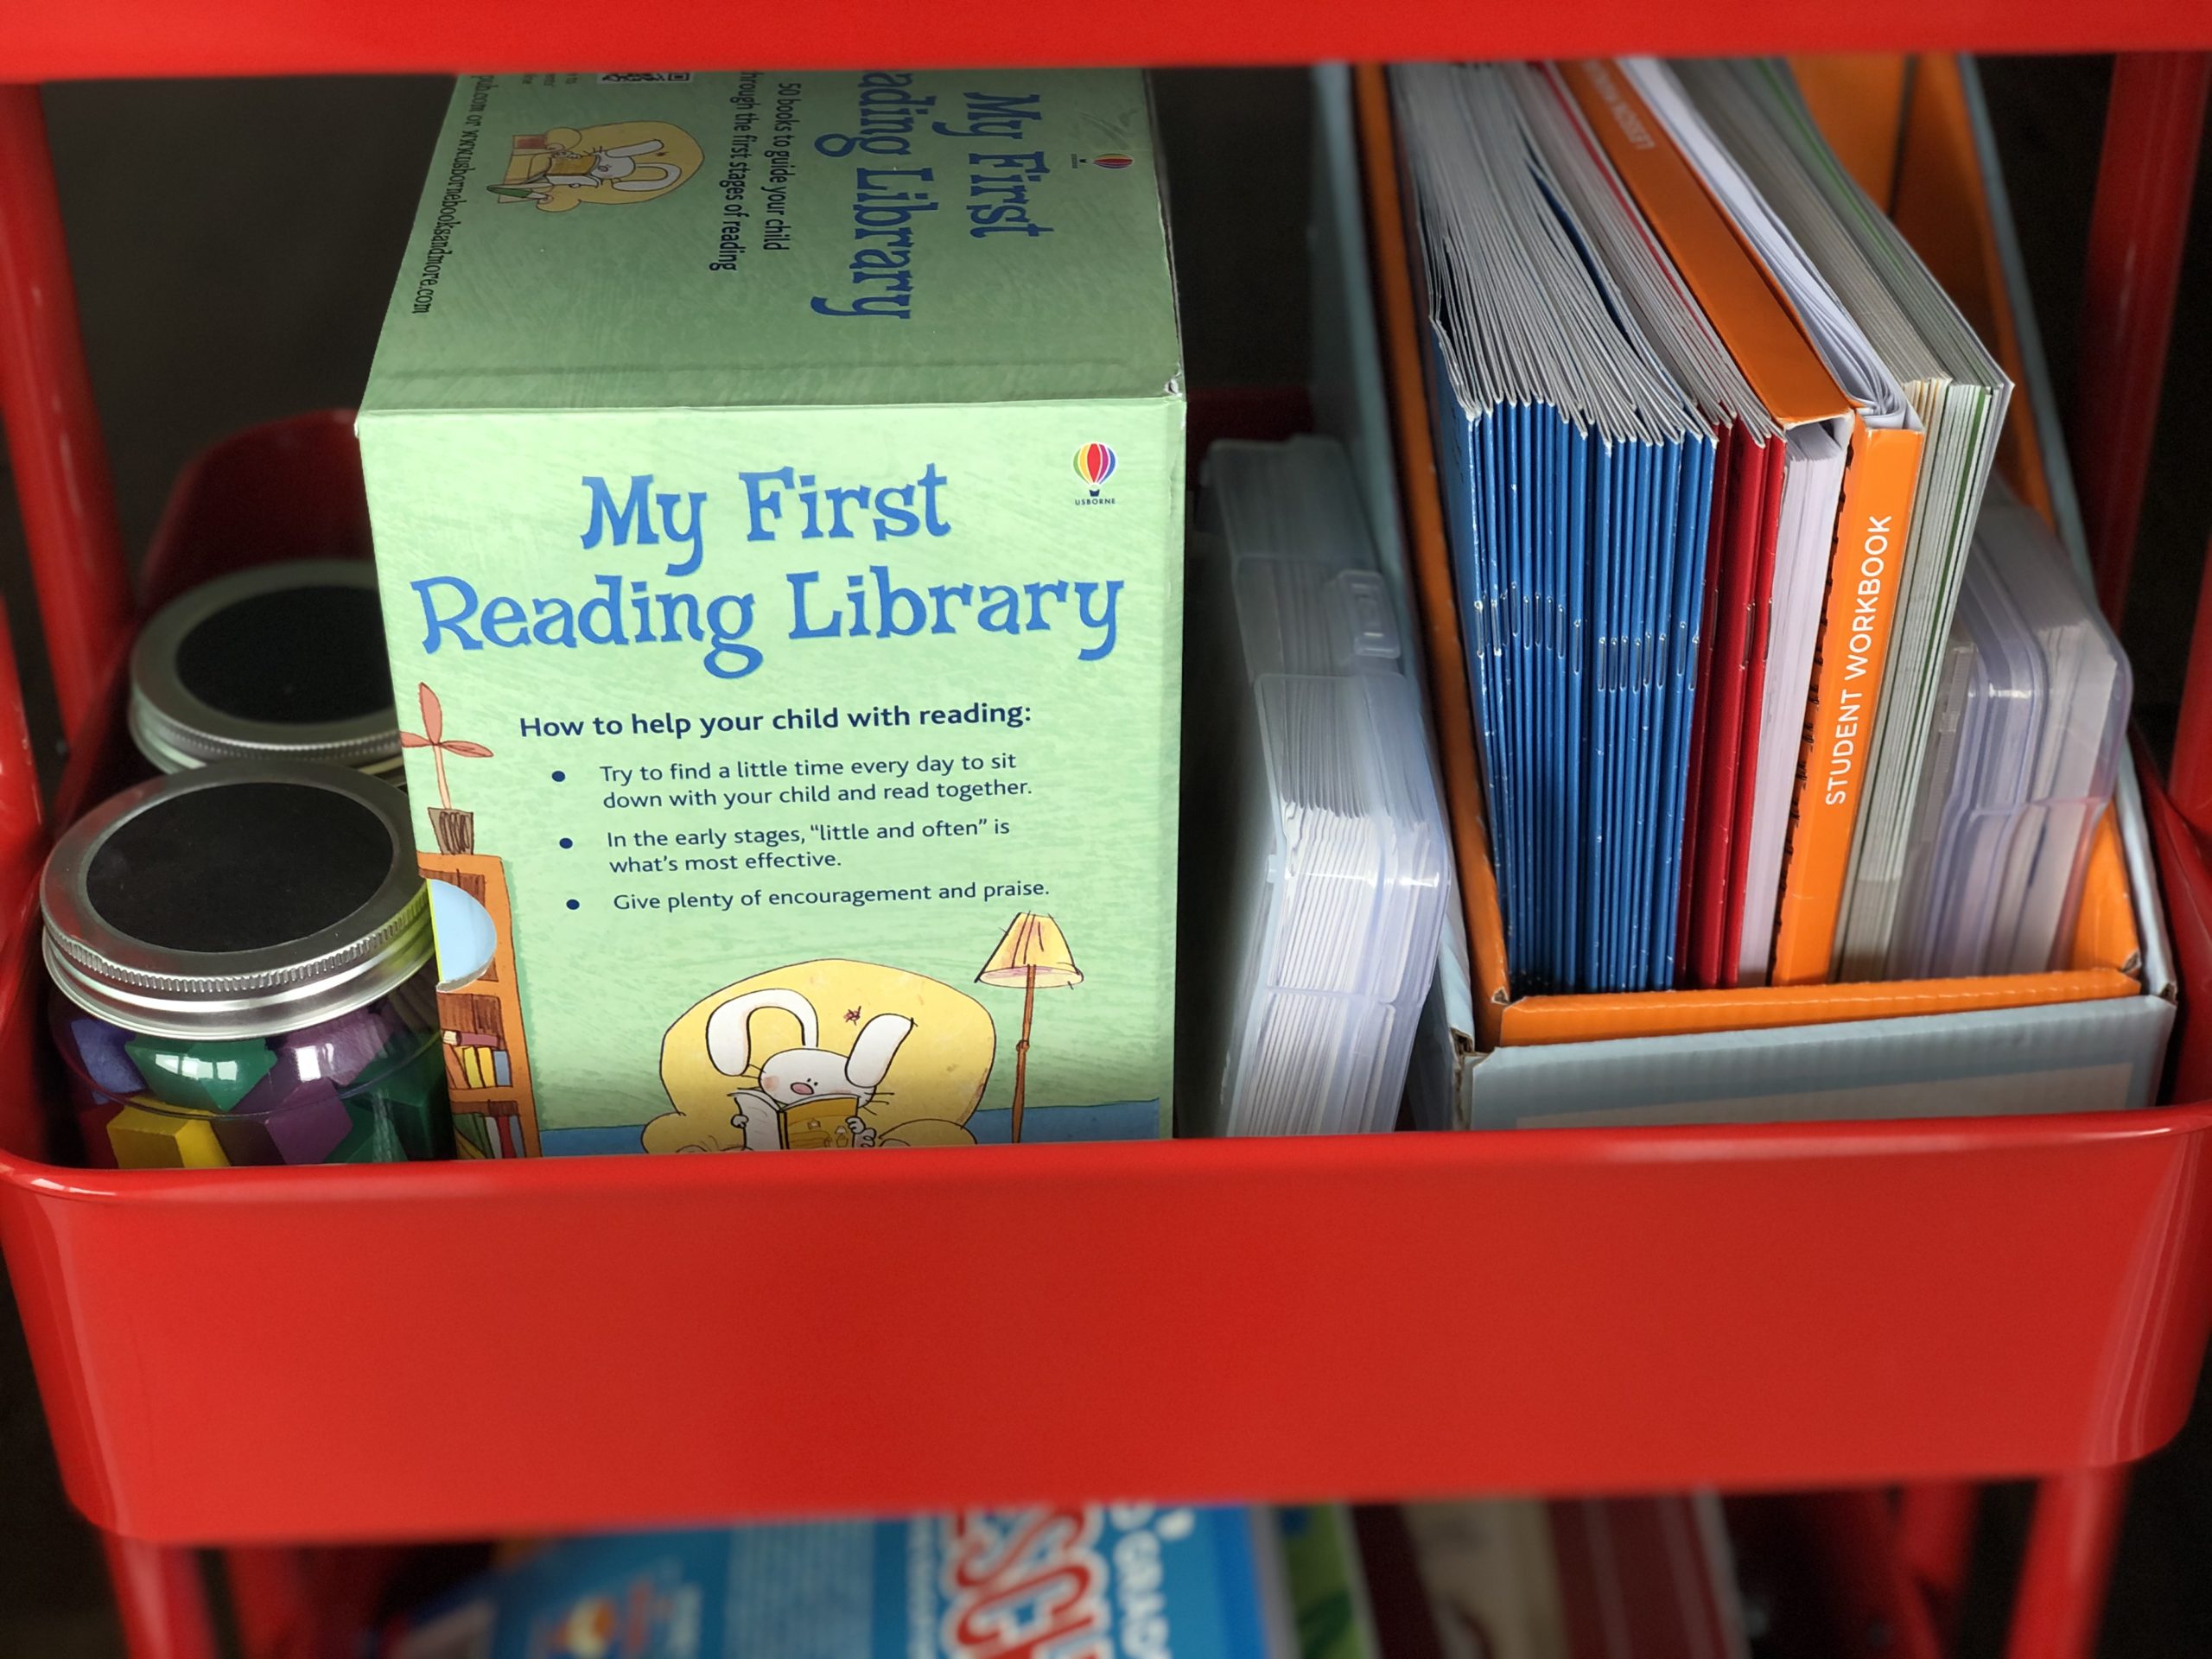
Tier Two is where I keep a couple spill-over homeschool items and then reading materials for my kids. Since I have kids at two different reading levels, I keep a couple options for each child on the second tier. Most of the books are smaller so I can fit a lot on one shelf. On this shelf I have:
- Learning Dynamics Reading Curriculum books
- Booklets that came with the homeschool curriculum
- My daughter’s “my first reading library” collection
- Two jars of little blocks that didn’t fit on the first tier
ROLLING CART #1: BOTTOM TIER
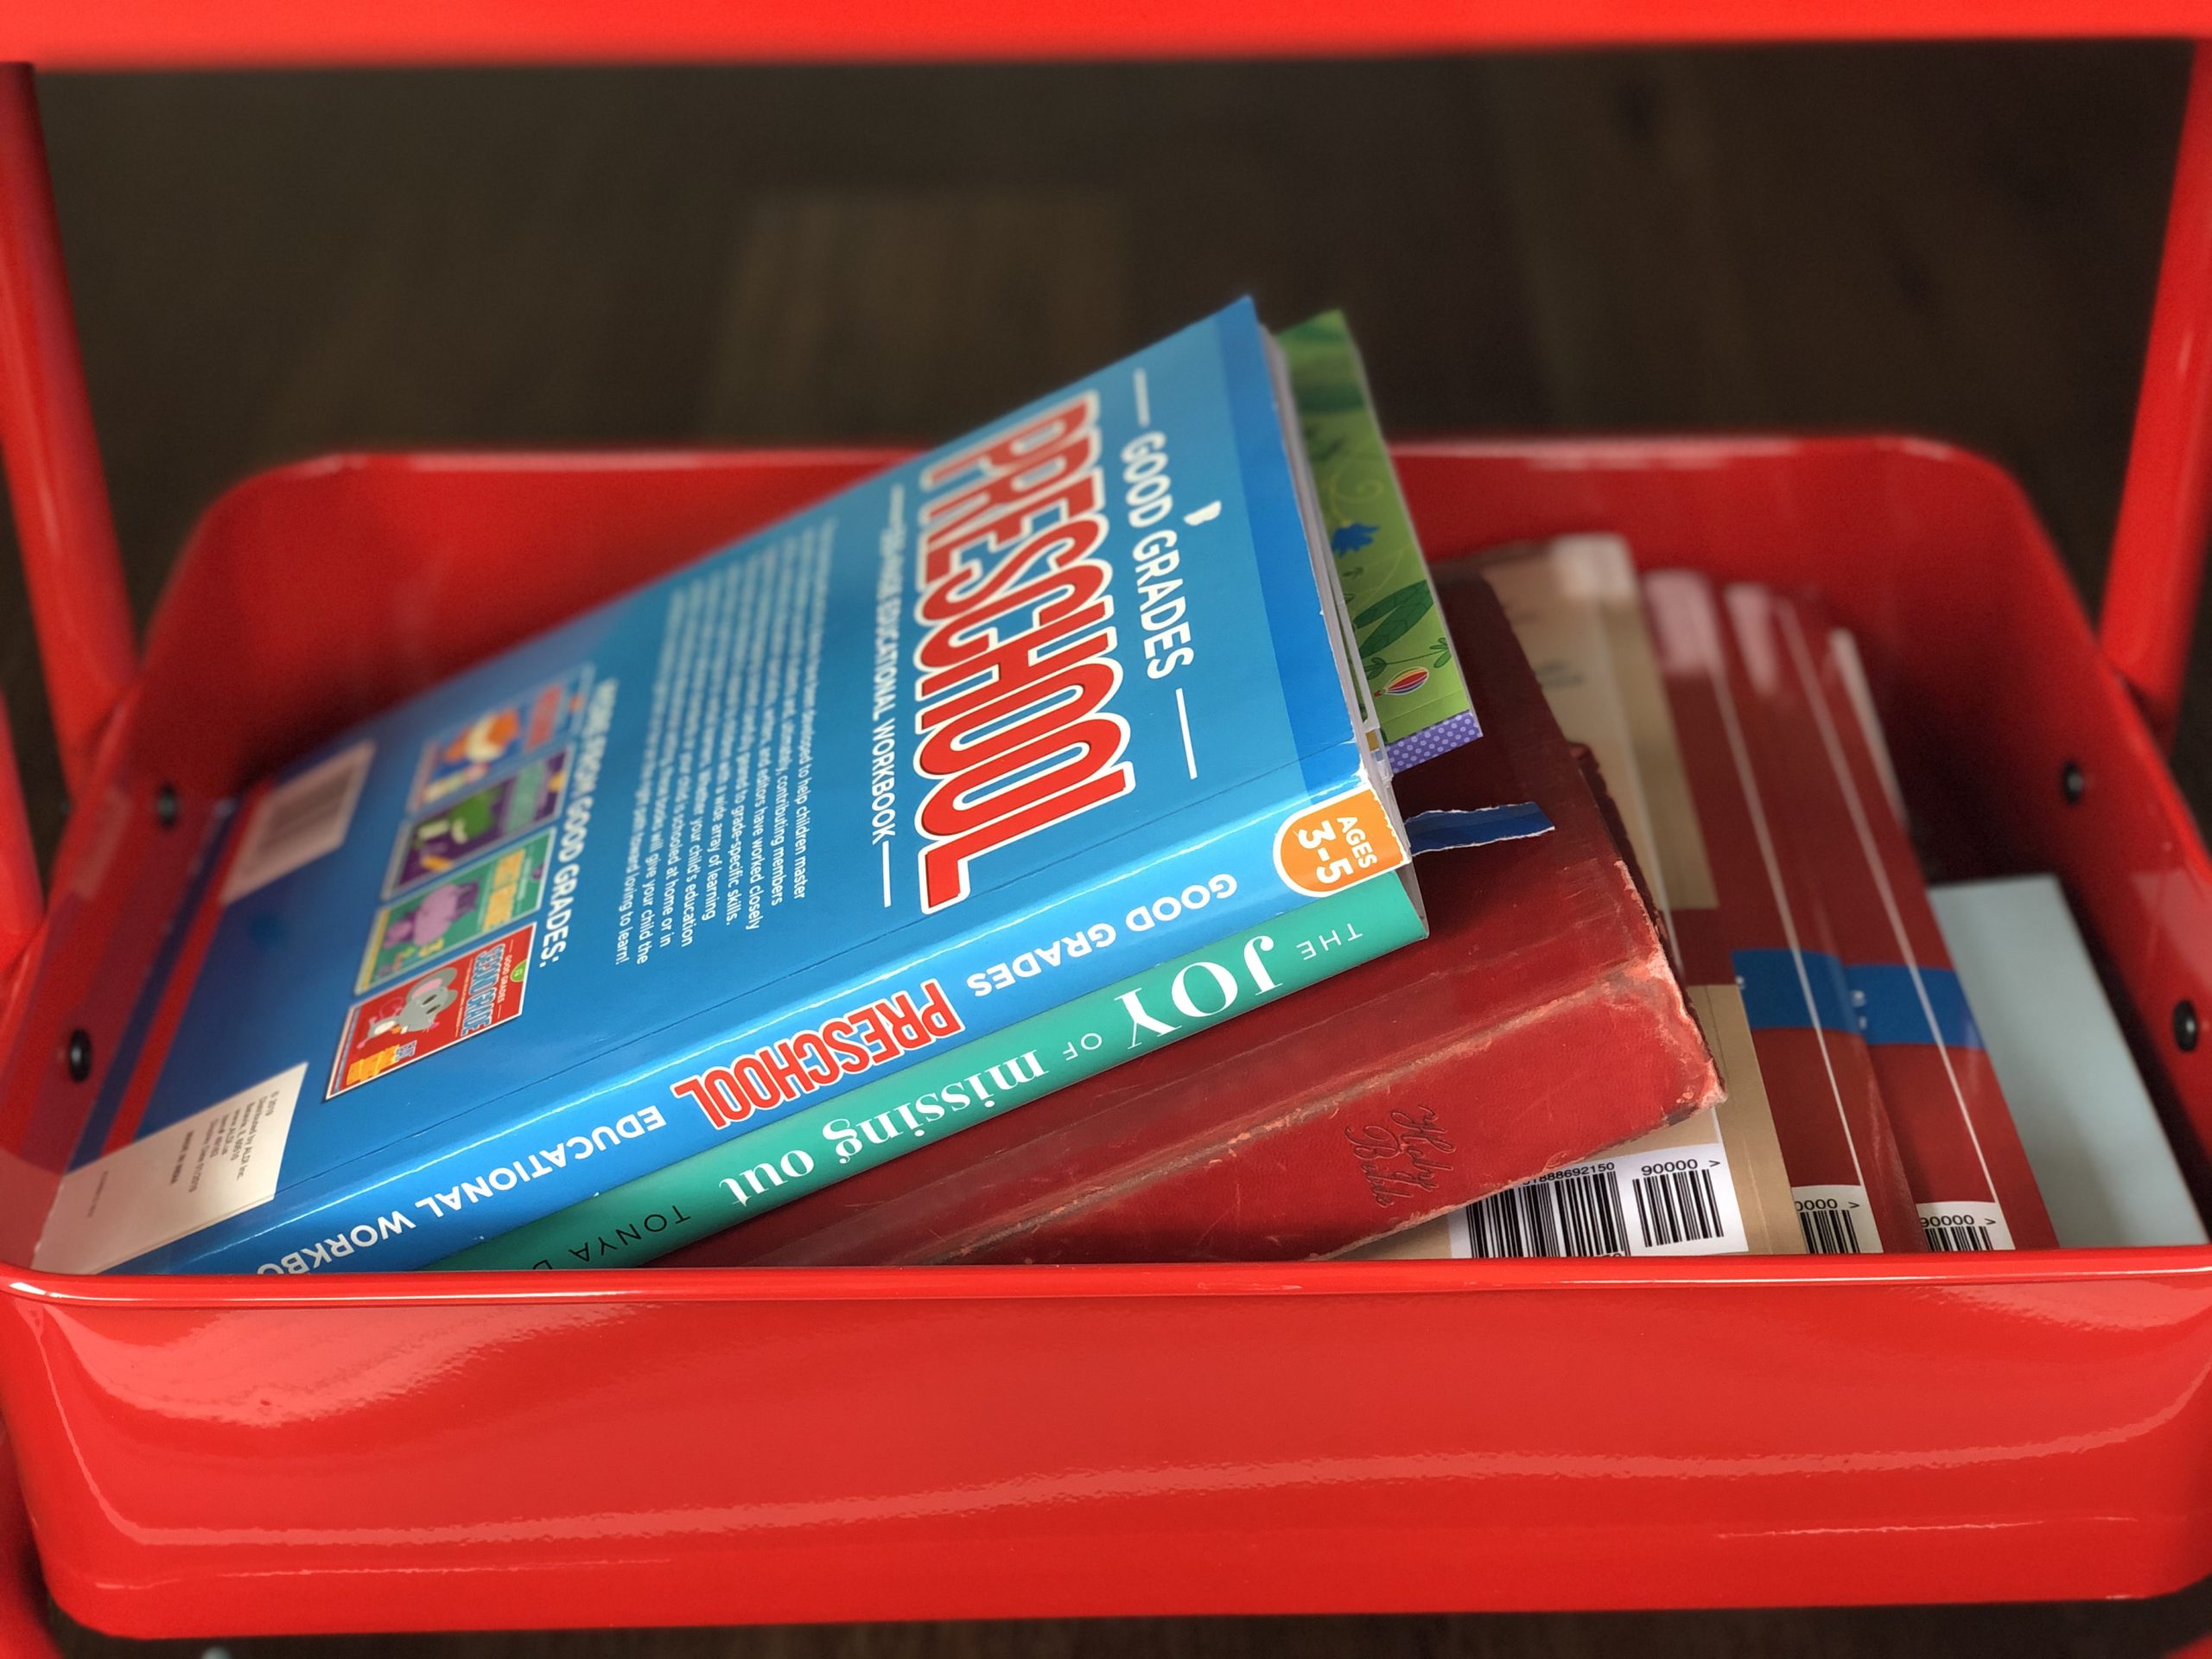
The last tier of Cart 1 is reserved for those items that I use less often. We have some bible study books, as well as some leisure books for me and my husband to grab when we need some reading material. There’s also a couple little things for homeschooling that are used even less frequently.
The books I keep on this tier stand up to their full height. It works well for us, since my bottom tier only has a couple books. However, if you were going to fill this shelf up entirely with books, it may be a little tough to get the books in and out.
ROLLING CART #2: TOP TIER
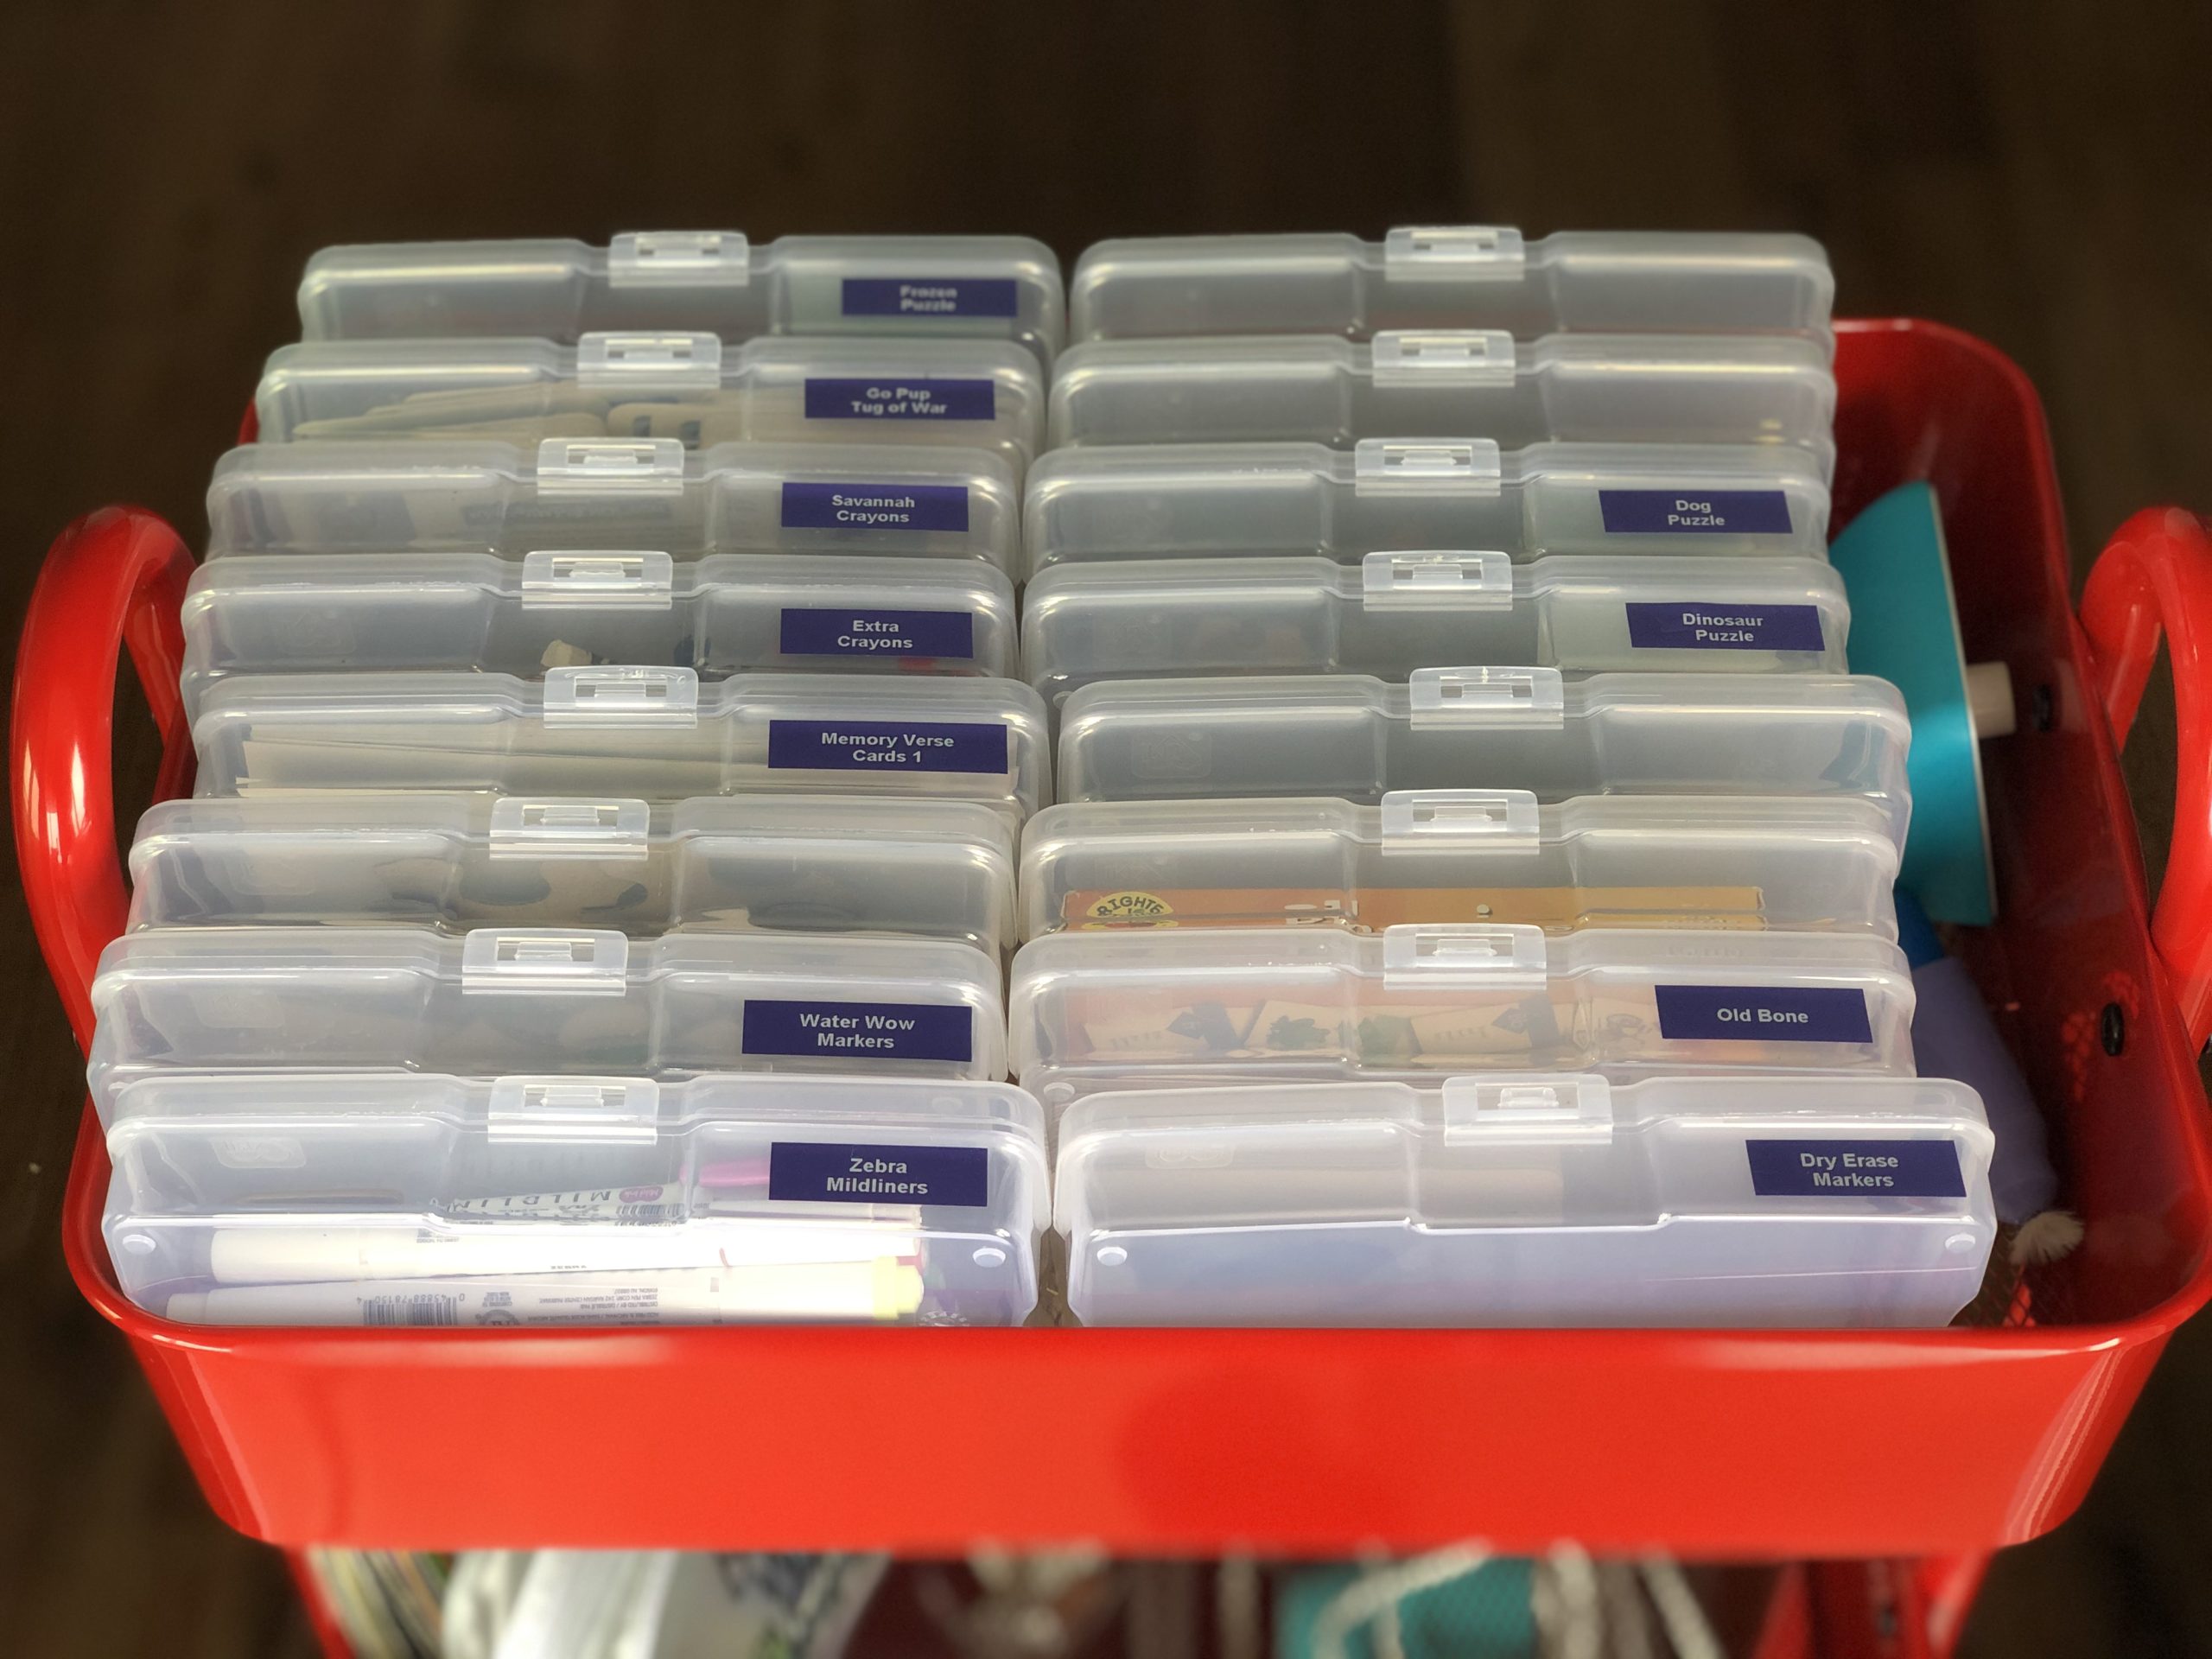
Again, the top tier is reserved for things that I use most frequently. I have several photo storage boxes that are lined up with smaller items my kids use almost every day. Some are filled with markers and crayons and others have games and puzzles – my kids favorite activities! I went in depth with the types of things I store in the photo storage boxes in my blog post here if you want to check it out.
ROLLING CART #2: MIDDLE TIER
My tier two looks a little sparse – and I’m actually pretty excited about that! The rolling carts continue to impress me with the amount of things they can hold. I love having extra room to grow, especially as my kids get older. The only things on my middle tier are some markers and some water wow coloring pads. I don’t feel like I'm losing space here because, as I said before, I love having room to grow, but also because of how much my kids like the activity stored on this shelf. To me, it’s totally worth it to devote an entire shelf to something that matters a lot to my kids.
ROLLING CART #2: BOTTOM TIER
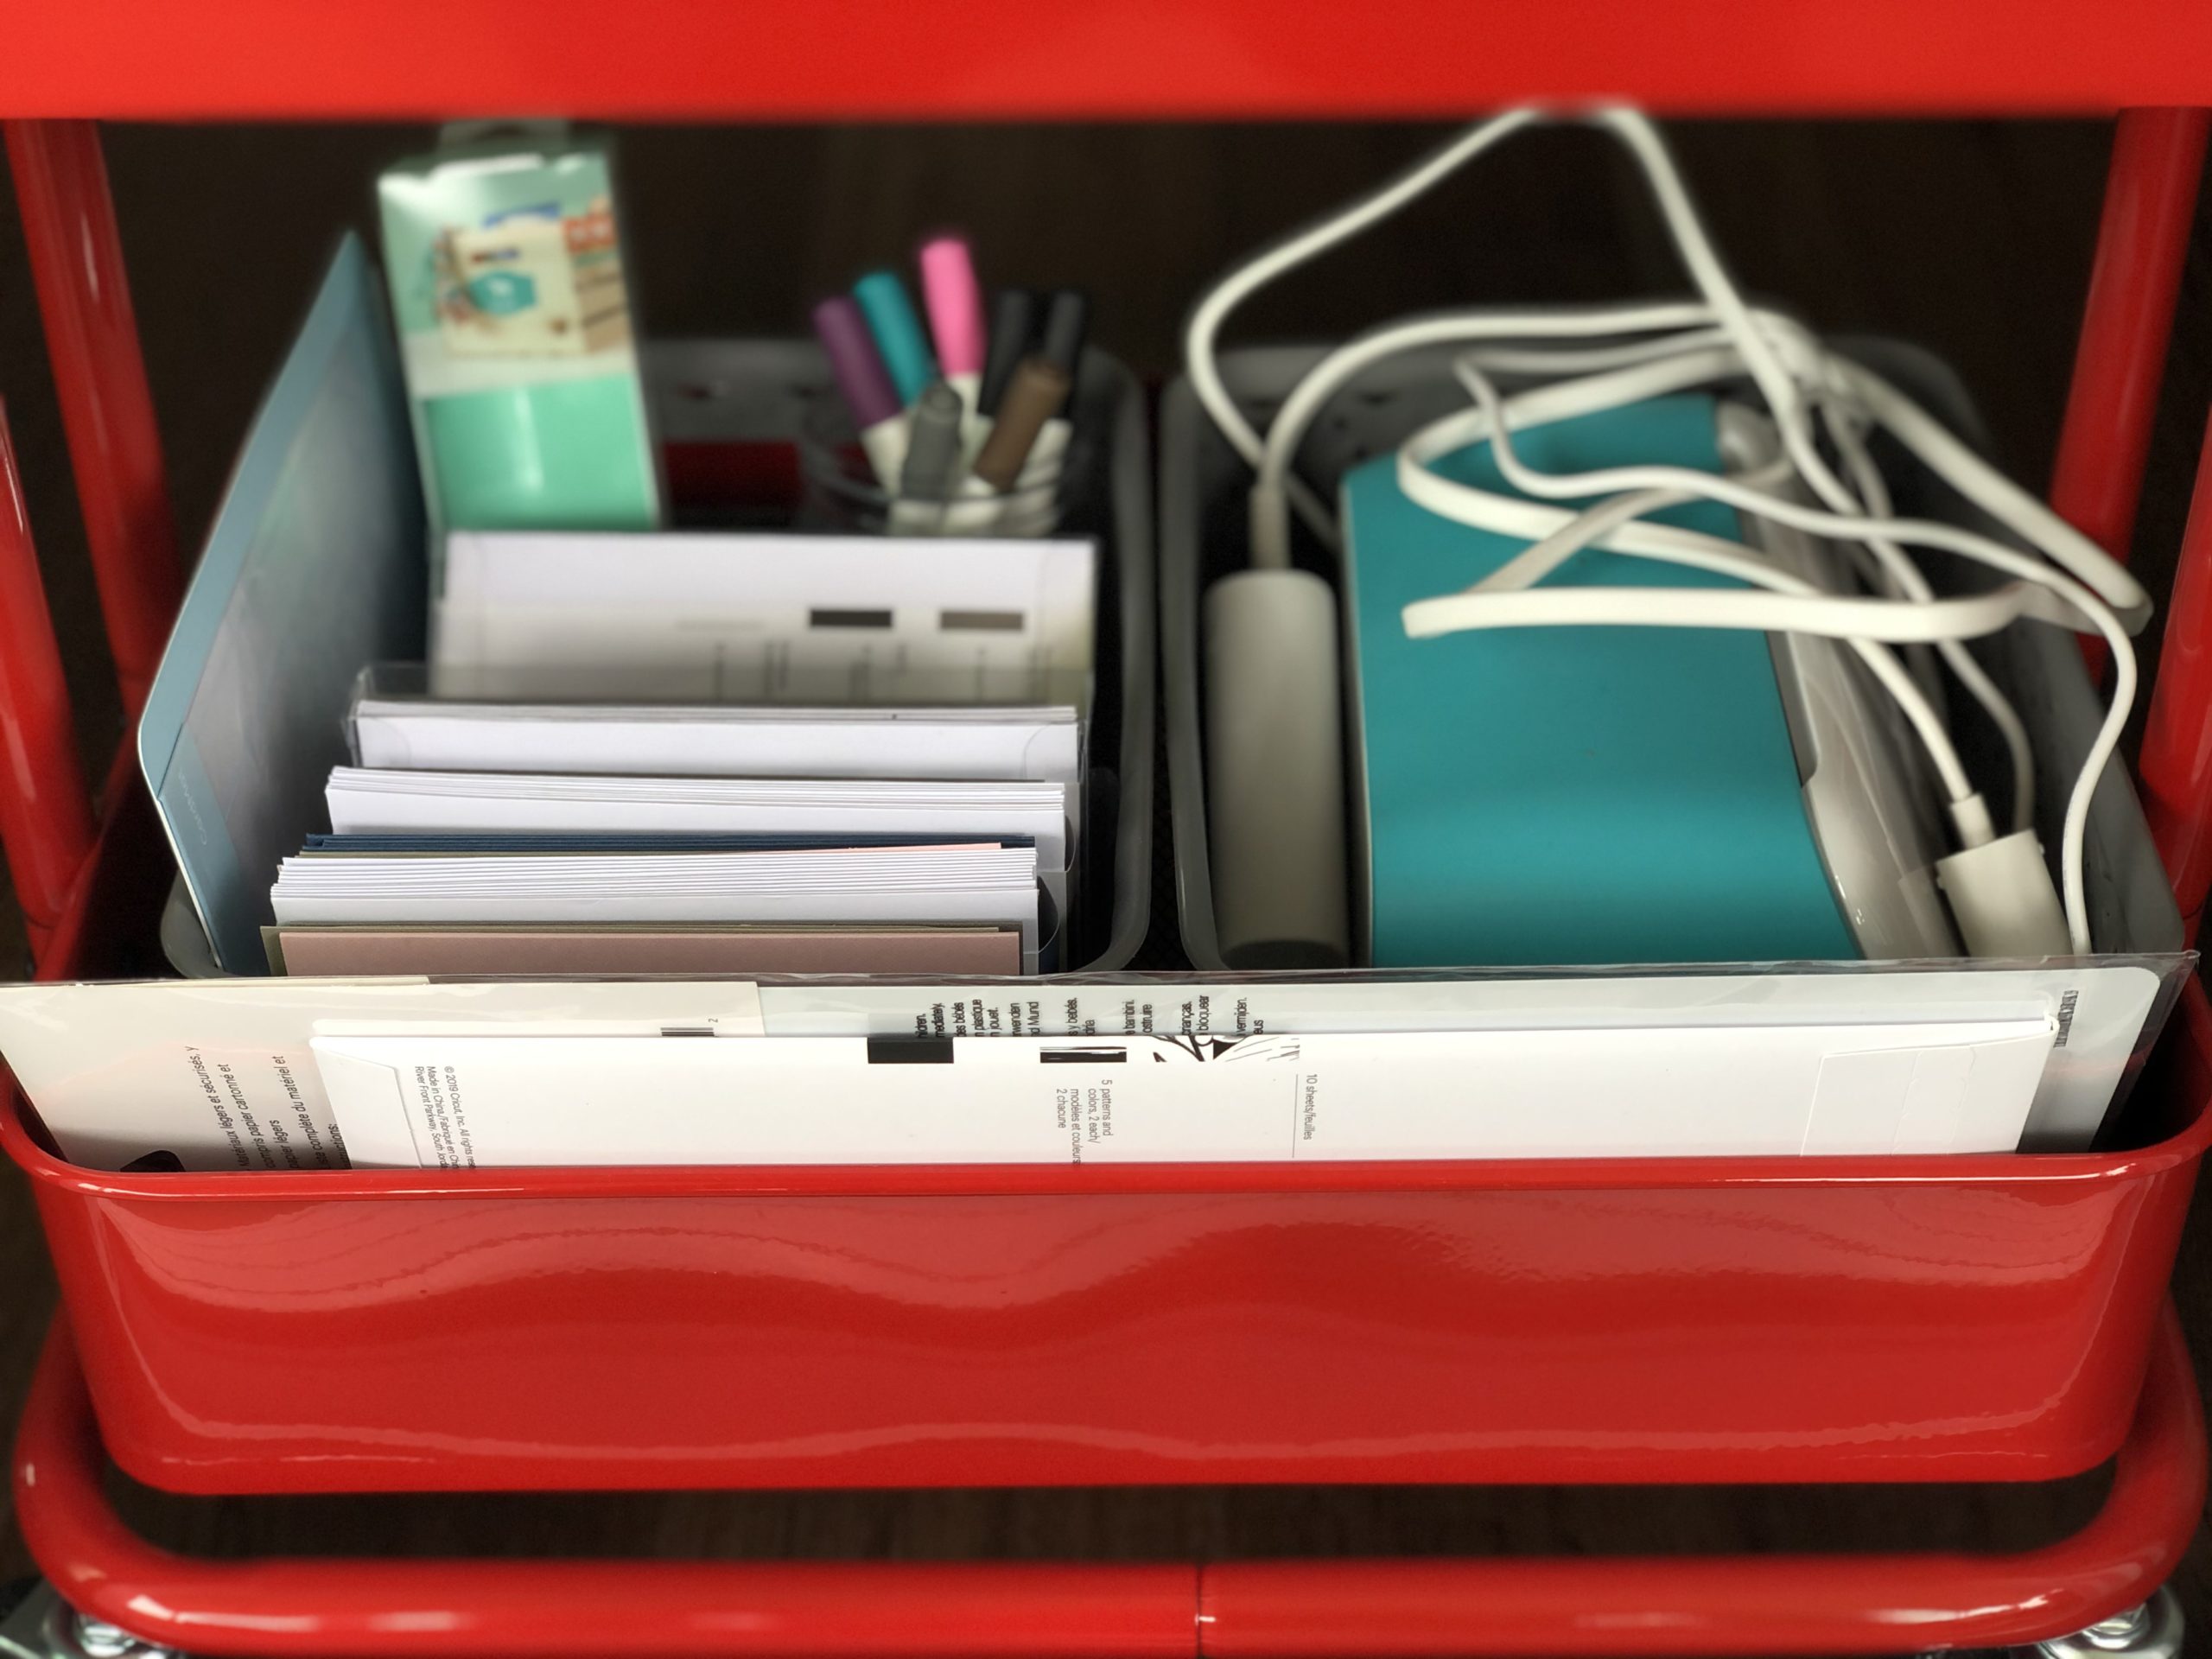
The bottom tier of the cart holds my Cricut Joy machine and a bunch of accessories for it. I love having all the accessories in one place. There’s nothing more annoying than needing something for the Cricut Joy and then running around the office searching for it. This way, when I want to make labels or cards or any other type of craft, everything is right there waiting for me.
I want to point out again how the bottom tier is reserved for items I use less often. But also, the bottom tier of both carts has things that are primarily used by me or my husband. This structure gives my kids easy access to the things on the top shelf that they use regularly, while I can safely store my less-used items on the bottom. It’s a method that just works for me and my family!
That is the whole system I have in place, but I really want to drive home the fact that the rolling cart can be used in so many different ways! You can really get creative here!
I have a friend who uses a rolling cart in her kitchen. It lives beside the counter and the top tier holds coffee and tea, the middle tier is to-go cups and mugs, and then the bottom tier is for paper plates and bowls.
I’ve also seen the carts used for art supplies. A simple layout would be to have the top tier hold your sketchbooks and small canvases, the middle tier hold your paint brushes, markers, pens, pencils, etc, and then the bottom tier is for paint and paint trays.
I’ve even seen the cart roll up in someone’s bathroom! With extra toilet paper, cleaning supplies, and makeup filling the tiers.
Hopefully these ideas get you started. I’m so excited to hear about the ways you use your own rolling cart! Let me know what your organization system is in the comments. I truly can’t believe how easy this cart makes it to transport items and keep them organized – a battle I was tired of fighting! If you’re ready to find a rolling cart of your own, you can purchase one through a variety of retailers. Try the Raskog cart from IKEA, the utility cart from Target, or get the same rolling cart as me through Amazon!





 Copyright 2025, Get Organized HQ.
Monica Says
I love rolling carts! We have two of them-both of which I purchased this year!
I use one rolling cart in my garage for groceries. I unload groceries from my trunk onto the cart’s top tier and roll it over to unload into our garage fridge. (Super handy as I am known to buy 3 or 4 gallons of milk AND 2 or 3 gallons of OJ at a time!) Then I always keep the top tier clear for a quick temporary ‘parking spot’ for whatever is momentarily on hand. The middle tier is for canned beverage storage. Bottom tier is for potatoes and onions.
I found the garage cart so handy that I invested in a second one for my middle school son’s distance learning materials. Top tier holds two rectangular ‘locker bins’ from Dollar Tree. One bin is for current paperwork and assignments, pencil cup, crayons, colored pencils, markers, tape, stapler, ruler, clipboard, laptop and charger cord, and mouse. The other bin holds ‘binder reminder’ (assignment calendar), music binder, clarinet, and other important papers, extra binder paper, and misc. folders. Middle tier has completed work, school workbooks, his current novel, Boy Scout book and whatever current Scout stuff/paperwork. The bottom tier holds his D n D game materials: bag, book, copies of character sheets, dice, and clarinet case. Our hall closet has just enough space where we store the cart-thank goodness-nice to have it hidden when school work is done!