Top 10 Things I learned as a Newbie Printable Designer
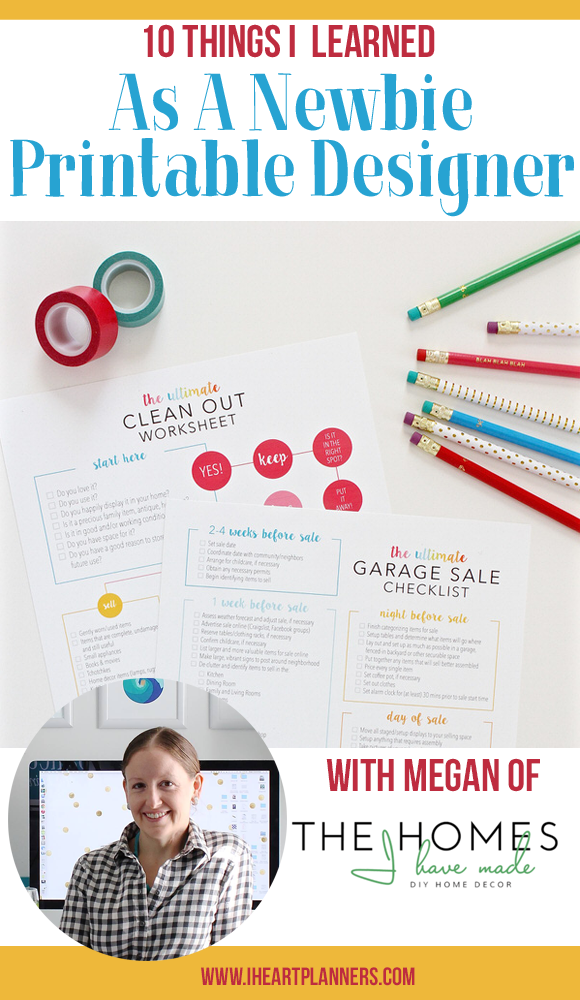
I am so honored to have Megan from the Homes I Have Made here on the blog today. I was literally jumping up and down with excitement when she agreed to post. Her blog is my very favorite (and you all know I don't say that about everyone). She designs absolutely beautiful and unique printables and her organizing projects are so inspiring. Every time I read one of her posts, I want to jump right up and go organize something. I'll let here take it from here.
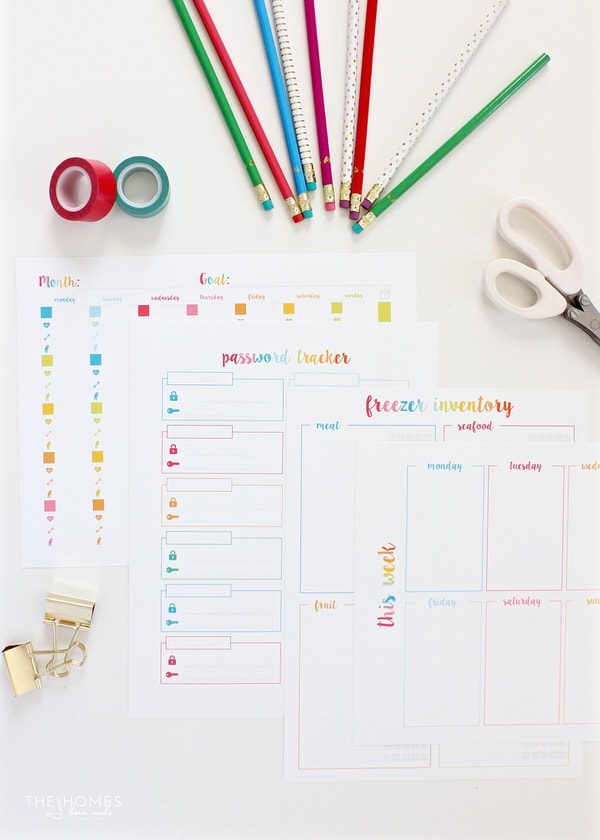
Hello I Heart Planners readers! My name is Megan from The Homes I Have Made, a DIY/home blog where I share budget-friendly and totally temporary home décor and organizing solutions as we move from home to home as a military family. Like any organization lover, I also have a passion for creating and using printables to keep our household humming along. This past January, I finally carved out the time to create a library of free printables to help my readers be more organized and productive, as well as serve as my mailing list opt-in incentive. I am so excited to be stopping by today to share a bit about what I’ve learned as I built my printable collection from the ground up and offer some tips and tricks for anyone hoping to start their own collection too!
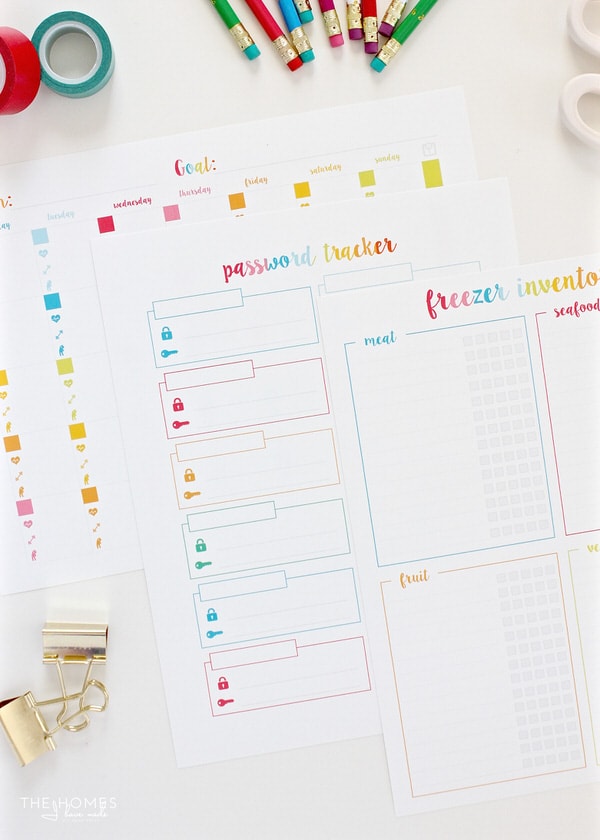
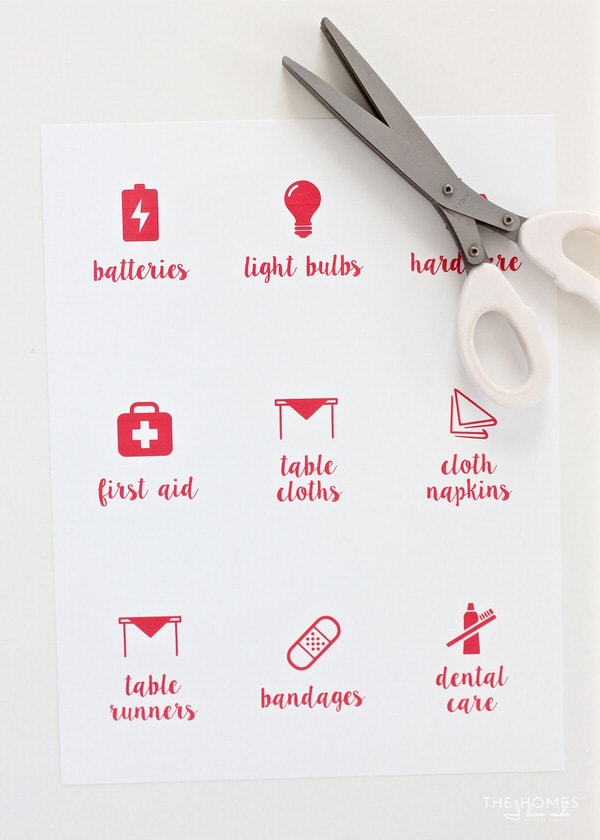
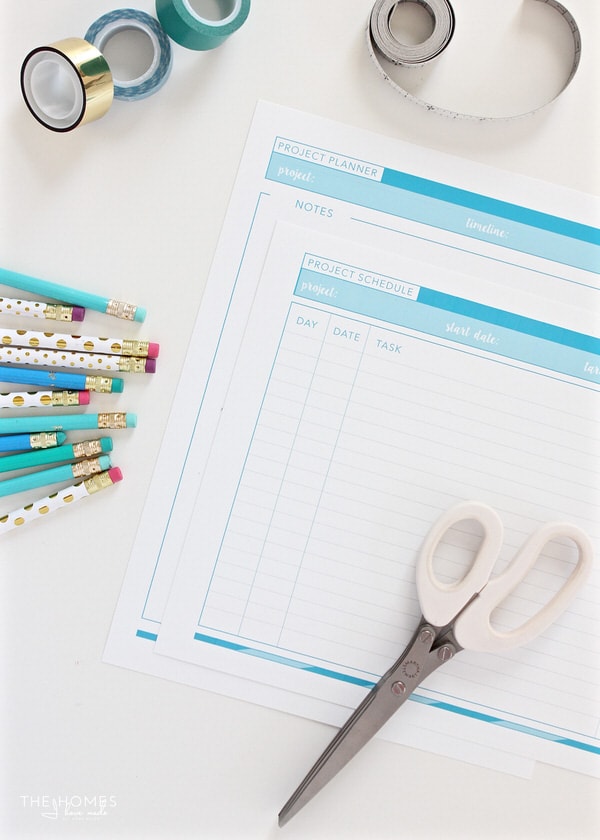
A library of free organizing printables has been something I have long wanted to offer my readers, but the time required and the skill involved always overwhelmed me. After thinking about it for way too long, this past January I launched “The Organization Toolbox” – a blog series where I released a new printable each Tuesday for 12 weeks in an effort to build a cohesive, subscriber-only printable library as well as grow my email list. In all honesty, it was a “I have no idea if this will work, but I’m gonna go for it”-type project; and now 8 months later, I am thrilled to share that I’ve built a library of over 100+ printable pages and grown my email list by thousands. Here are the top 10 things I learned as a newbie designer getting a printable collection off the ground!
1. Assess Interest. Before spending the time creating a printable collection, I suggest checking with your readers/customers/followers to gauge interest. Use your social media platforms, blog, or mailing list to host a mini survey or encourage followers to chime in with a comment or email response. It doesn’t have to be elaborate or fancy; but a quick “I’m thinking of creating a Back to School Binder! Tell me the things you need to keep track of this time of year!” on your Facebook page can yield valuable information on where you should focus your efforts!
2. Ask Your Audience for Ideas. Not only will getting your followers involved from the onset give you a sense if your collection will take off, but they can also be a wealth of ideas. Ask your followers what kind of tools, printables, and forms THEY need to make their lives easier, prettier, more organized, healthier, etc. I’ve found my readers have the best suggestions, often chiming in with genius ideas I never would have thought of on my own! In fact, a majority of the printables in The Organization Toolbox were suggested by readers!
3. Hone In On a Niche. The sky is really the limit when it comes to creating downloadable and printable files; but if your goal is to create a cohesive, functional (and ultimately) successful printable collection, I can’t recommend enough that you really narrow down what kind of printables you want to make and offer. Not only will this provide you with focus as you set about designing your collection, but it will also help attract the right audience and gain a reputation for meeting a particular need. (And don’t worry too much now about getting boxed in! You can always expand down the road after you’ve gained some experience and learned more about what works for you and your audience!)
To hone in on your niche, take into account what your audience is asking for but also consider what you enjoy, have expertise in, and are good at. Popular niches include home/life organization, planners, checklists, party planning, homeschooling, household management, budget and financial forms, meal planning, printable artwork, project management, kid activities, invitations and announcements, digital clipart and papers, party décor and games, craft patterns, and business documents. There is certainly a good “market” for these niches already, but don’t let that deter you from carving out your own path if you see an un-met need!
4. Pick and Learn a Software..and Stay With It. If you Google “how to make printables,” you will likely find articles recommending a whole host of different programs. From Microsoft programs (typically Word and Excel) and Adobe programs (typically Illustrator and InDesign), to free programs (like Canva and PicMonkey), there are certainly lots of good options. It becomes quite difficult to transfer your designs across software platforms as you progress in skills and offerings, so I recommend starting with a program that can give you long-term capability and sticking with it. I invested in an e-course to learn Adobe Illustrator. Sure it was a steep learning curve, but aftet doing the 12 weeks of printables, I eventually became quite proficient!
5. Set a Consistent Color Palette, Font Scheme, and Layout. To keep your collection cohesive, consistent and recognizable, I recommend putting in some work to hash out a color palette, font scheme, and general layout for your entire collection early in your design process. You don’t need to create an entire style manual (unless you really want to!) but setting up some basic templates that detail primary colors, accent colors, and text colors; main font, secondary font, accent font; and specific margins, line point sizes, font sizes and other details will ensure each item in your collection coordinates perfectly…even if they are created months apart! Futzing around with colors and fonts can certainly slow you down when you are antsy to get designing, but this process can save you hours of time and tons of headaches once you finally get rolling!
6. Focus on Function First. When I am designing a brand new printable, the hardest step for me is getting started. I tend to get overwhelmed by all the layout, category and design possibilities when I am staring at a blank screen. To keep me from spinning my wheels and getting caught up in the pretty details too soon, I step away from the computer and first focus on how the printable needs to function. I ask myself: “What all does this printable need in order to be useful to my audience?” After jotting down a quick list of “essentials,” I set about designing the structure first and only go back and add the pretty details once the function is finalized. All the pretty colors and neat fonts in the world won’t make audiences want your printables unless they are truly useful!
7. Start Small. There are so many wonderful printable designers (I’m looking at you, Laura!) and collections out there, it can be quite easy to feel overwhelmed by the task of creating your own collection. When I first decided to do the library, I was practically paralyzed just thinking about all the options, details, forms and kits I wanted to offer. The reality is that if you are brand new to designing printabels, you may not be able to crank out a 20-page kit on your first try. Instead, I suggest starting small with a series of one-page printables. These smaller worksheets (or prints or forms or whatever it is you want to offer!) will be easier to focus on, help you hone your design and skills, build your confidence, and ultimately allow you to get products into your audience’s hands quicker. Over time, you may find that you can combine various one-page printables into bigger, more-comprehensive kits…and since you already standardized the design and layout elements, you’ll be sure they match without any extra work!
8. Build Your Collection Gradually. In the same way that you don’t need to start with a 20-page printable kit, don’t feel like you have to sit down and design an entire library at once. When I finally committed myself to designing a printable collection, I was struggling to find the time to get an entire collection of printables designed, formatted, photographed, and uploaded in a preparation for a set launch. Instead, I hosted a “12 Weeks of Free Printables” series on my blog. This format allowed me to design, photograph, and release one printable a week, which was much more manageable for my schedule. It also provided 12 weeks of blog content, gave me 12 blog posts that interlink with each other, and drove a lot of traffic since readers came back each week to see what was being offered next. 12 weeks was a long time to commit to a specific project/blog series; but in the end, I had a printable library filled with over 100+ printable pages that all coordinate and work together. It can sit there and continue to serve as my opt-in for new readers forever, or I can revisit and/or add printables to the collection whenever I want!
9. Monitor Success. Once your printable collection is out into the world (whether as a free opt-in incentive or in an online store), monitor your downloads to determine success and popularity. In an online store, you can use sales, impressions, and favorites as insightful metrics. Free downloads can be harder to track, but you can still gauge popularity by impressions and comments on a corresponding blog post, Pin (and repin) counts, and likes and shares on other social media platforms.
Assessing which printables are the most popular can help you in numerous ways. First, it can tell you a lot about your audience and what they need and like. For example, maybe a particular color scheme is never downloaded or always downloaded. Knowing this can help you refine your offerings for future collections. Second, assessing success gives you an indication which pritables can and should be expanded into larger kits, as well as which ones can most successfully be monetized!
10. Expand. Last but not least, don’t ever hesitate to expand your collection or a specific printable whenever inspiration strikes. One of the most wonderful things about creating digital products, it’s that it’s relatively quick and easy to move from idea to launch. Once you get your initial collection designed, consider offering different colorways, complimentary kits, seasonal packages etc. And if you started with those 1-page printables, go back to each one and expand where possible into fuller, more comprehensive packages to build on the success you’ve already seen!
Building a printable library has been one of the most fun and rewarding things I’ve done for my blog. Not only did it explode my email list, but it was such a pleasure to be able to create really useful things for my readers. Their feedback, enthusiasm and support for each new release was such a thrill…and along the way I discovered a real passion and talent for creating printables. I am now in the “expansion” phase where I am revisiting my most successful printables and brainstorming ways to expand them into bigger kits and monetize them for passive income. What started as a fun way to organize my thoughts and household systems has opened up new possibilities for me and my blog. If you’ve ever wanted to create your own printable library, I hope what I shared here gave you a bit of encouragement to go for it!
Thank you so much to Laura for having me here today! I’d love it if you came by The Homes I Have Made to say hi, and don’t forget to follow me on social media (Facebook | Instagram | Pinterest | Google+ | Twitter) for more great DIY, organization projects, and fun new printables!
Welcome, Entrepreneurs

Subscribe to find out the top 5 things I've learned in business.






 Copyright 2026, Get Organized HQ.
Sarah Mueller Says
Your printables are gorgeous, Megan! You’ve inspired me to get a little more organized with my own printable library. Thanks for the tips!
Mirna Says
I love me some printables and definitely want to learn to make my own! Thanks for info and tips!
Daria Harvey Says
Megan, thank you so much for being generous with your information. I hope to one day, down the road, offer free printables because I’m such a forms girl. I have loads of my own but they definitely need to be prettied up and I’ve been a bit nervous about how to start. You are very inspiring! Heading over to your blog now!
Kate Love Says
Megan, thanks so much for sharing what you’ve learned. Like Daria, I have plans to offer printables related to my topics and often feel overwhelmed at where to start. I love the idea of a blog series as a gentle way to dive into it!
I just visited your blog – congratulations on baby number two! Such a beautiful blessing <3
chris Says
Hi – I love printables and would love to sell some – but my question is about copyright and commercial licenses etc….
Every time I research – i see that you need to buy a commercial license or use free items for all your stuff – including fonts and pictures etc….
What do you do to check your fonts and pictures are OK?
many thanks for your help!
Tanya @ Mom's Small Victories Says
I would love to make my own printables series. I really need to get more proficient with Canva or Picmonkey for printables. I’m great at doing blog graphics on Picmonkey but I’m not as happy with how my printables turn out, I lose a little resolution when it is printed. I don’t want to invest in Adobe yet though so it’s back to the drawing board for me!
Sandi-Artsy Craftery Studio Says
Excellent advice for creating printables. I like sticking with a program, starting small and polling followers. Thanks for sharing!