How to Organize Cords
One of the trickiest organizing projects is cord organization. We have so many cords for so many things, and they can get out of control fast! If you really want to to take your cord and cable management game to the next level, this is for you. I'll show you easy tried and true methods to organize your cords and cables!
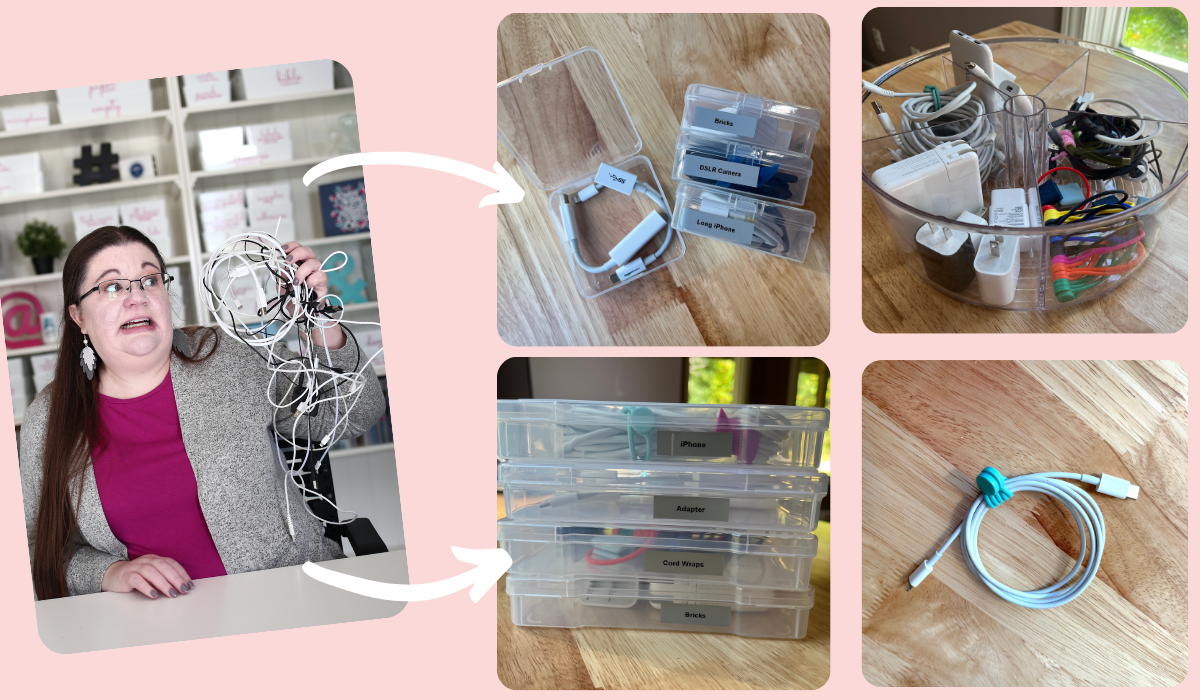
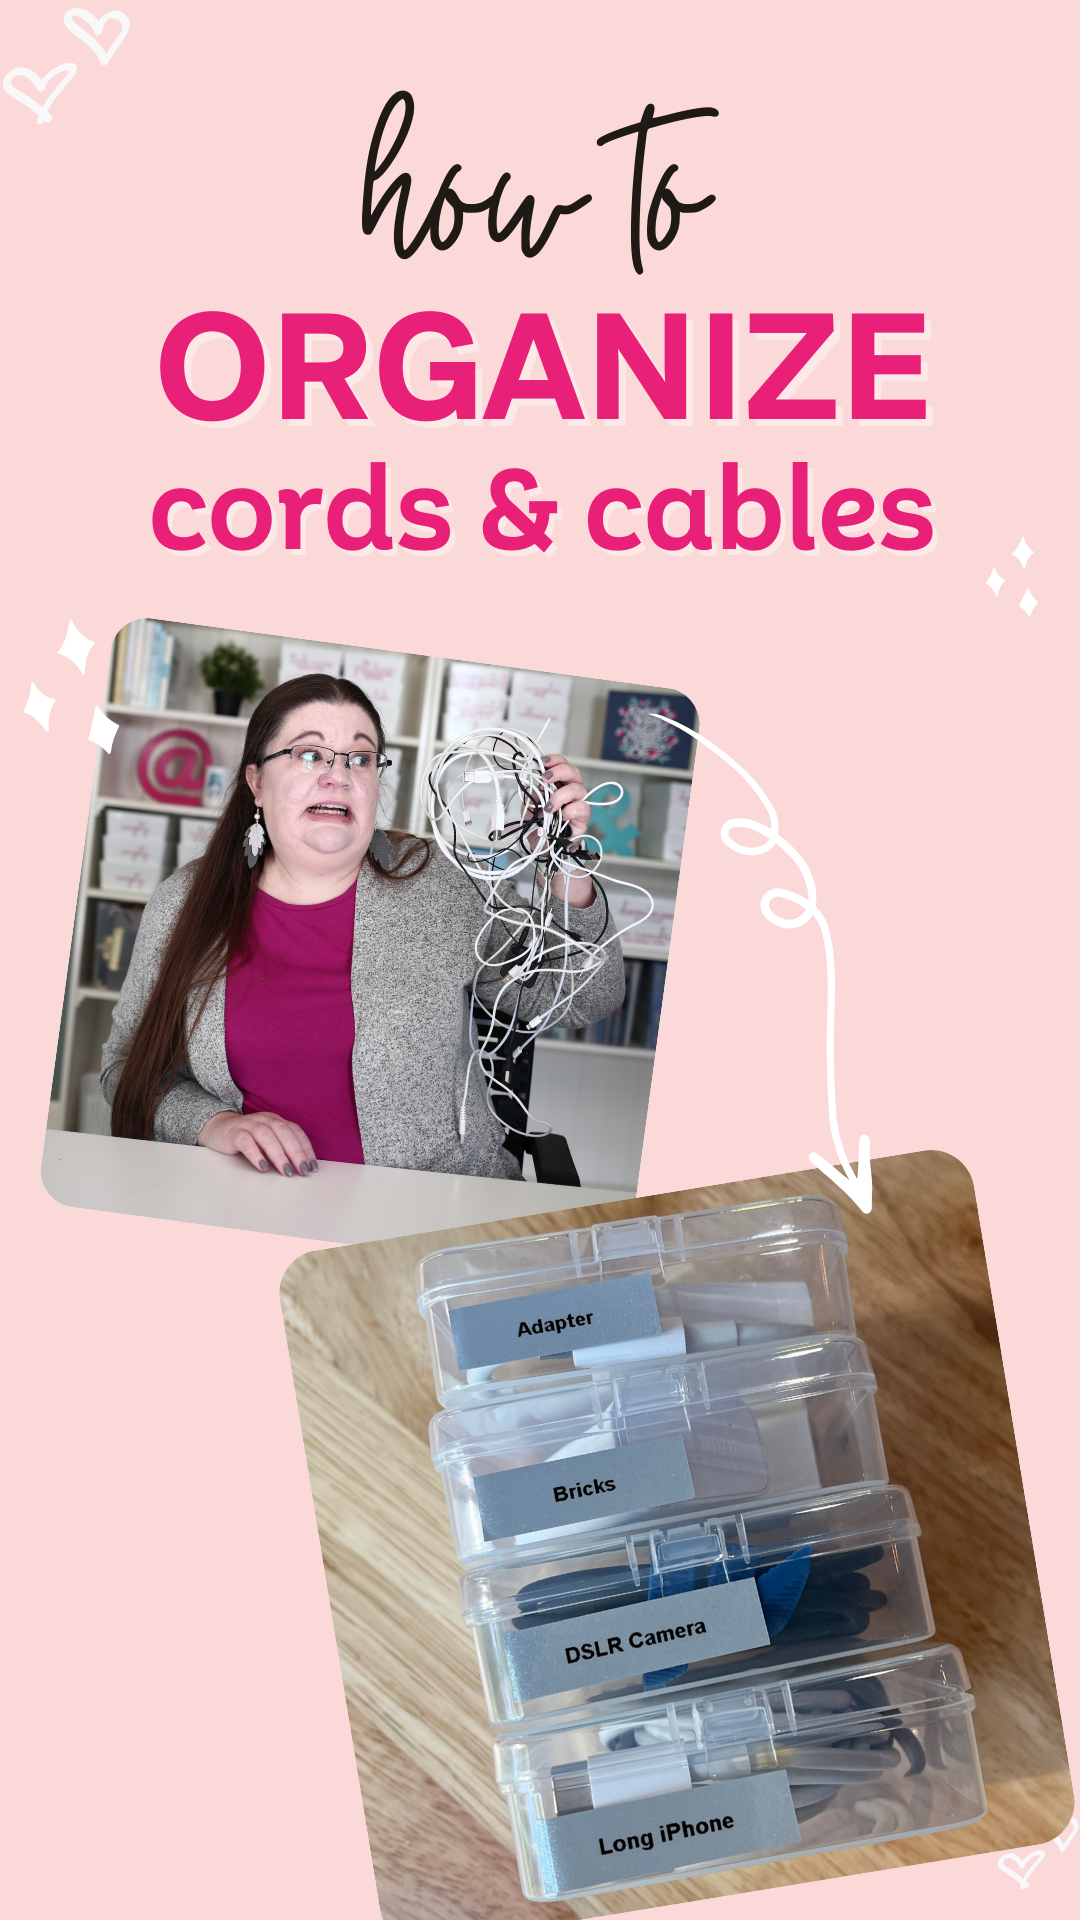
You can take your cables from the mess you see me holding to looking more like the pictures on the right in just a few minutes! If you'd like to watch my video showing how I organize cords, click the image below:
Note: Affiliate and/or referral links are used in this post.
There are 3 basic steps for organizing cords:
1. Secure Each Cord.
No matter what system you use, you don't want your cords ending up in a tangled, jumbled mess, so you need a method to secure each cord. As an organizing junkie who LOVES cord control, I have literally tried dozens of product claiming to secure your cores. These are often called cord ties or cable ties, like these:
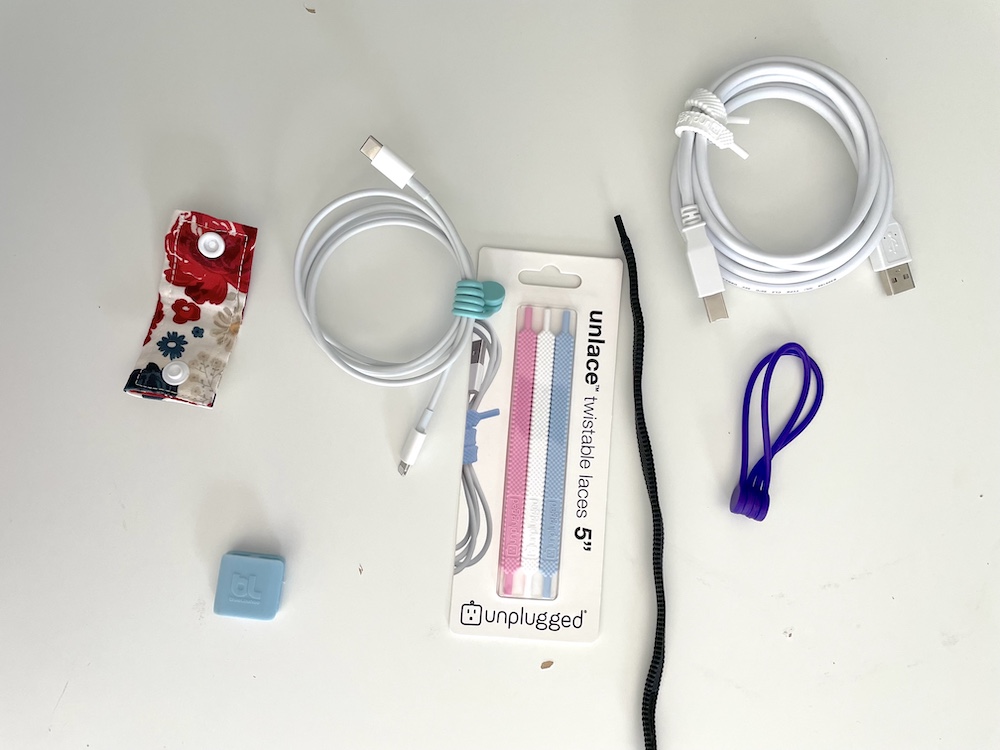
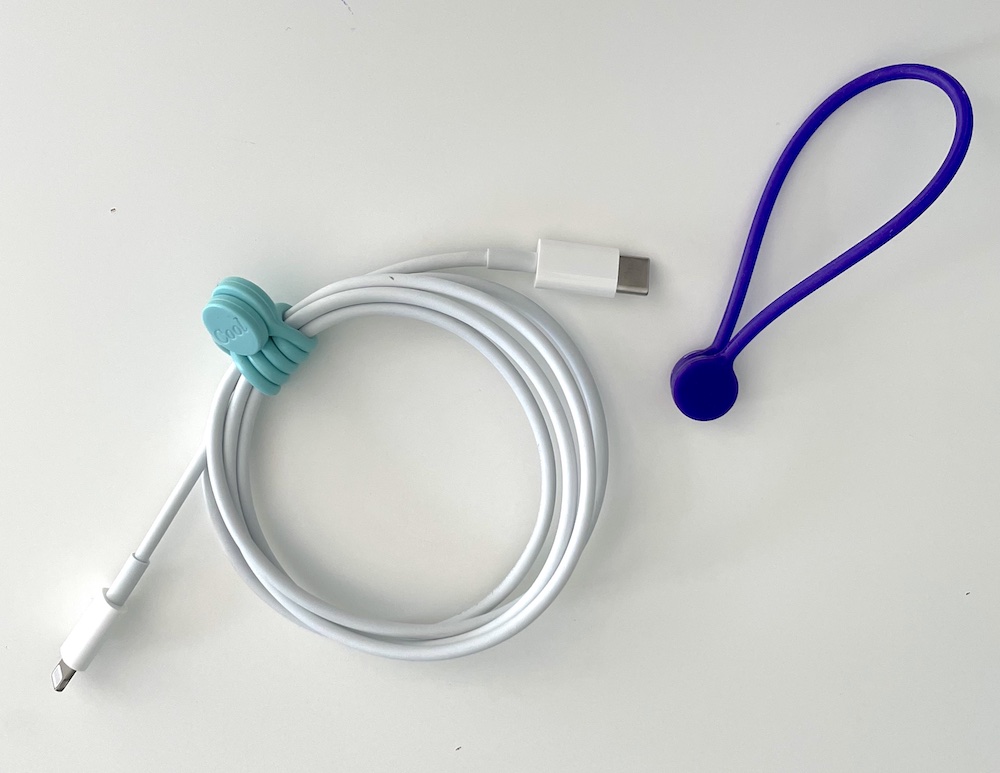
My favorite are these stretchy magnetic cable ties from Amazon. First, they are among the most affordable methods of cord control, and thy come in packages of 20. They are super stretchy, so they'll fit around most sizes of cords. There's a magnet on each end, so you simply wrap the band tightly around the cord and then secure it with the magnets. The magnets are surprisingly strong, so the cords will definitely stay wound.
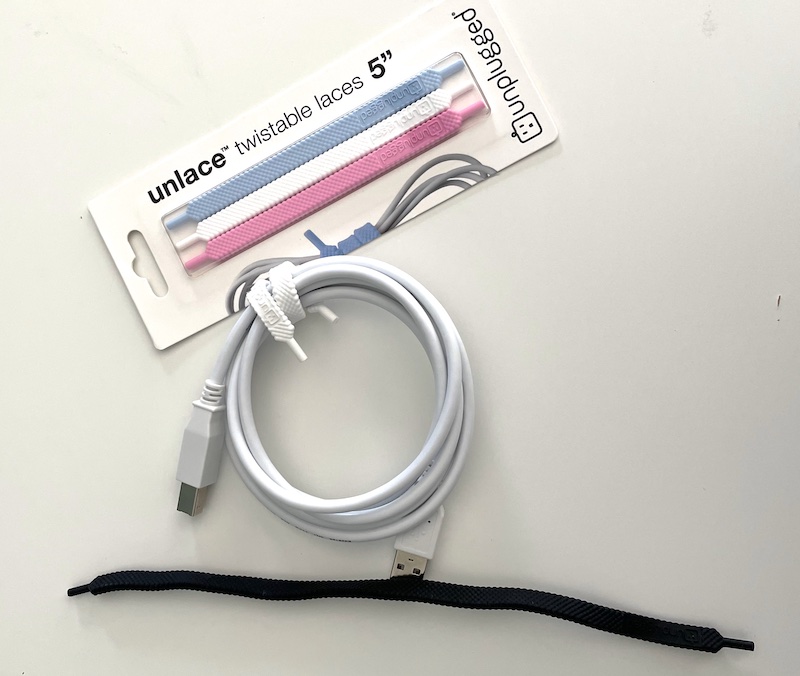
My next favorite are these Unlace cord ties. They look like shoelaces, but are actually made of a thick silicone. They are surprisingly easy to bend and are very sturdy. You simply wrap them tightly around the cord, and you're good to go. I love that they are light weight and can fit many different sizes of cords.
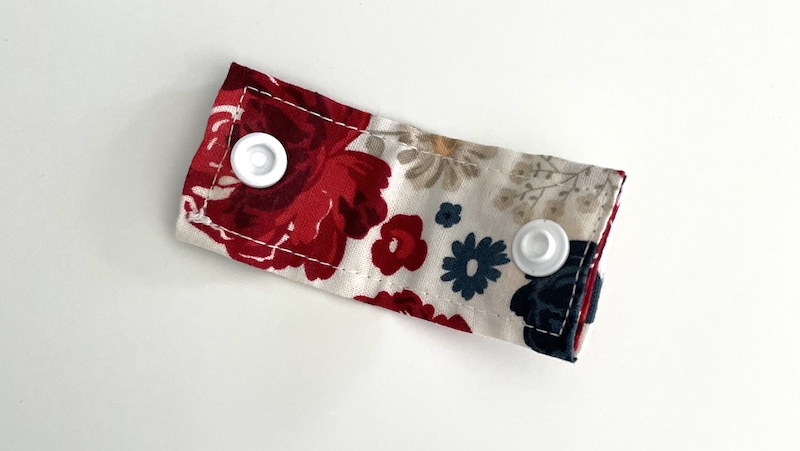
I have also used these fabric cord ties. It's a small finished rectangle of fabric with snap on each side. Then you wrap it around the cord to secure it. I love how small and lightweight the fabric ties are. However, there isn't any stretch so you need to have just the right size cord for it to work ideally.
2. Assign Each Cord a Home
No matter how you contain your cords, the one thing you need to make them organized is to give each cord a specific home. Everyone should know where to put cords away and where to find them. It really doesn't matter if you toss them all in one big bin or basket, or if you micro organize them giving each cord it's own little container – it all counts as organized. You've probably heard this statement a million times, but I'll say it again: it's about finding what works for you and makes you smile.
Here are some options to consider (including how I personally organize my cords):
Use the Basket or Bin Method for Cord Control
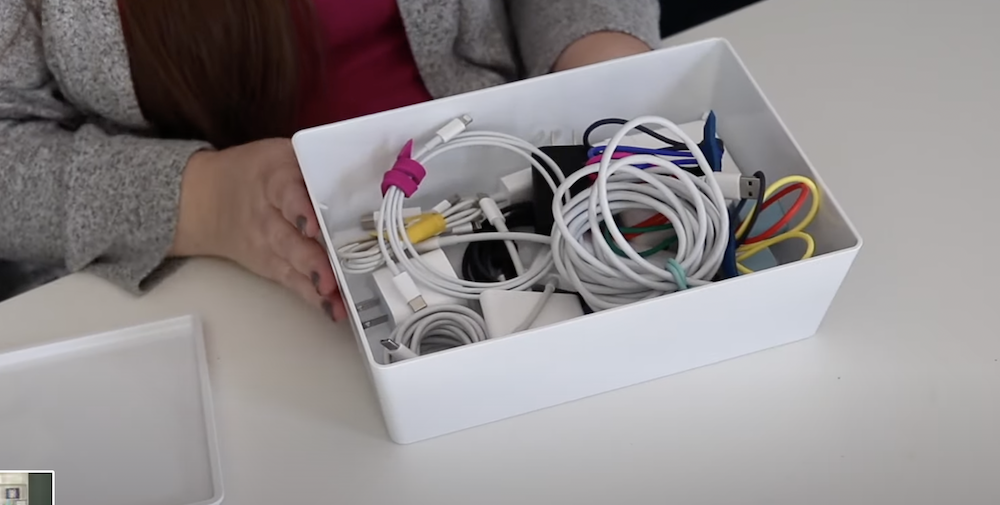
One of the easiest and most straightforward methods is simply to have one designated basket or bin to place all your cords. If you do this, it's extra important to first use one of the methods I mentioned above to secure your cords so you don't end up with a big tangle. The downside to this method is that it can be hard to rifle through them all to find what you're looking for.
Use a Turntable for Cord Control
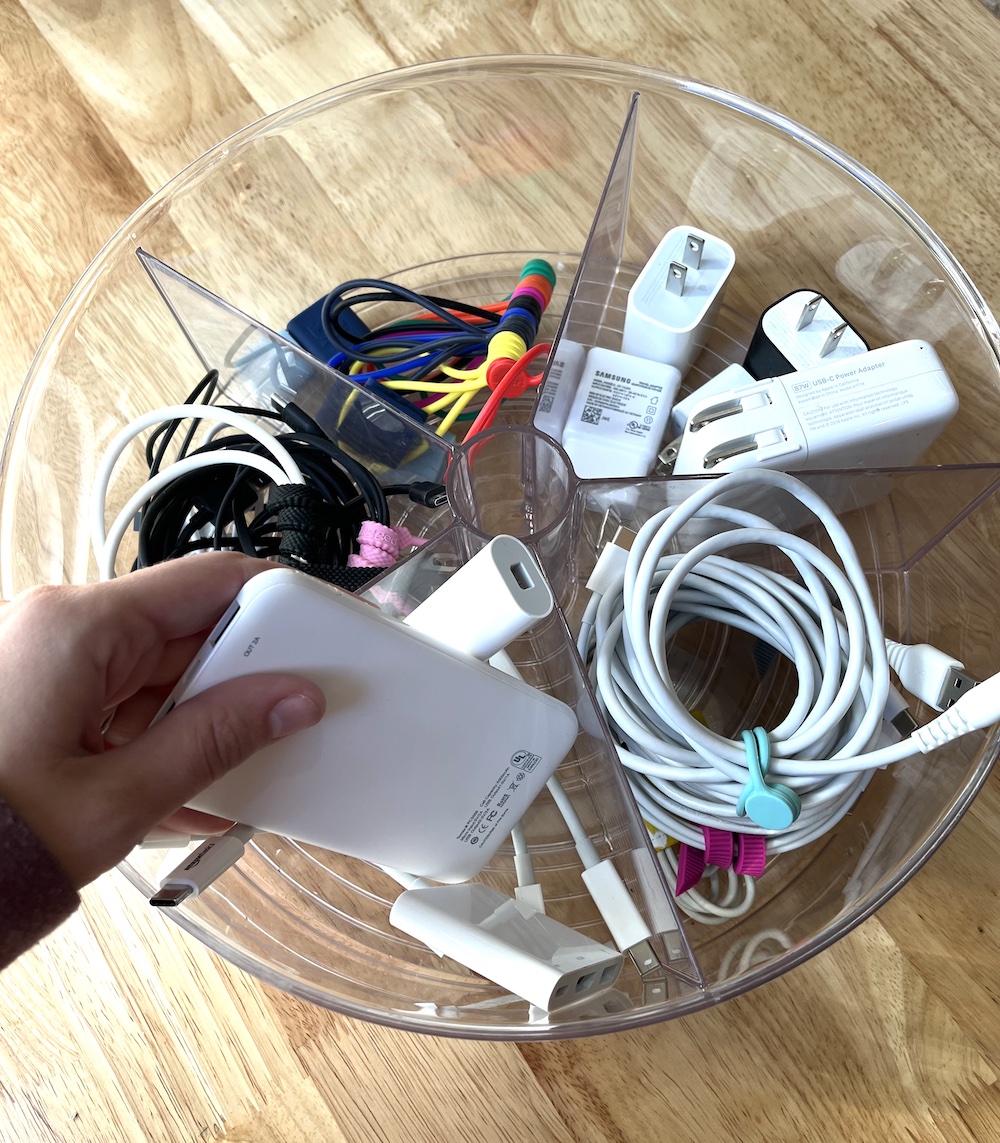
This method might surprise you – it's not what you typically see when you're searching for ways to organize your cords, but it what I personally use and love. I keep this divided turntable in my office, and use it for storing all my electronic cords and accessories. I make sure that I secure each cord before tossing it in.
One section is for all my usb to iphone cords. One section is for all small cords that aren't iphone (like ipad, headphone, alexa, kindle, etc). One section holds all my power bricks. I love storing all my power bricks separately because they can be used interchangeably with different cords. Another section holds all my adapters (so like the adapter than I need to hook a USB to my laptop that doesn't have traditional USB ports). Storing my adapters here was a game changer, because they were constantly getting lost before I set up this system. The last section holds all my “cord controllers” which are all the cord and cable ties.
Oh, and if you love this turntable method, click here to see my blog post on 7 surprising ways I use a turntable for organizing.
Use Bead Containers for Cord Control
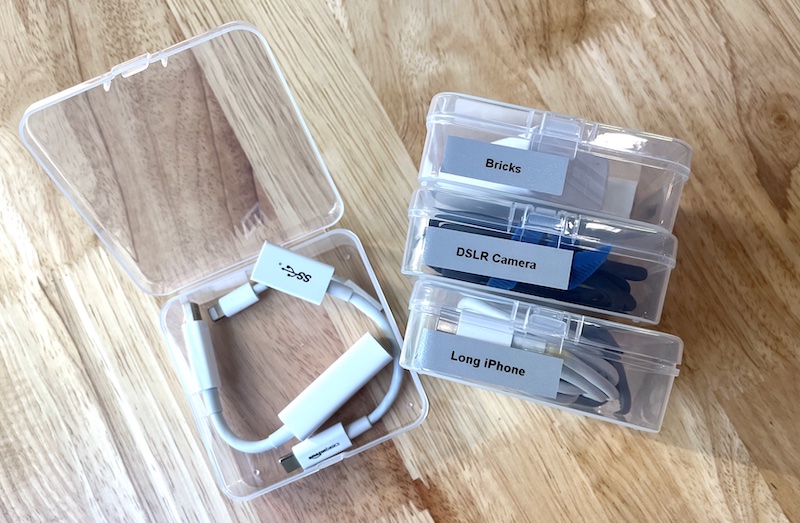
This one also might sound a little strange, but it works so well. I got this set of 3.3 by 3.3 inch small plastic containers from Amazon, and I think they were originally intended for bead storage. However, they work super well for really organizing your cords (and many other things as well). Also, you can't beat the price!
You can place just one cord or adapter in each container, and you can even skip the step of using cable ties here. This plastic boxes will easily fit in a glove box, center console, medium sized purse, or diaper bag, so it's perfect for on the go.
Use Photoboxes for Cord Control
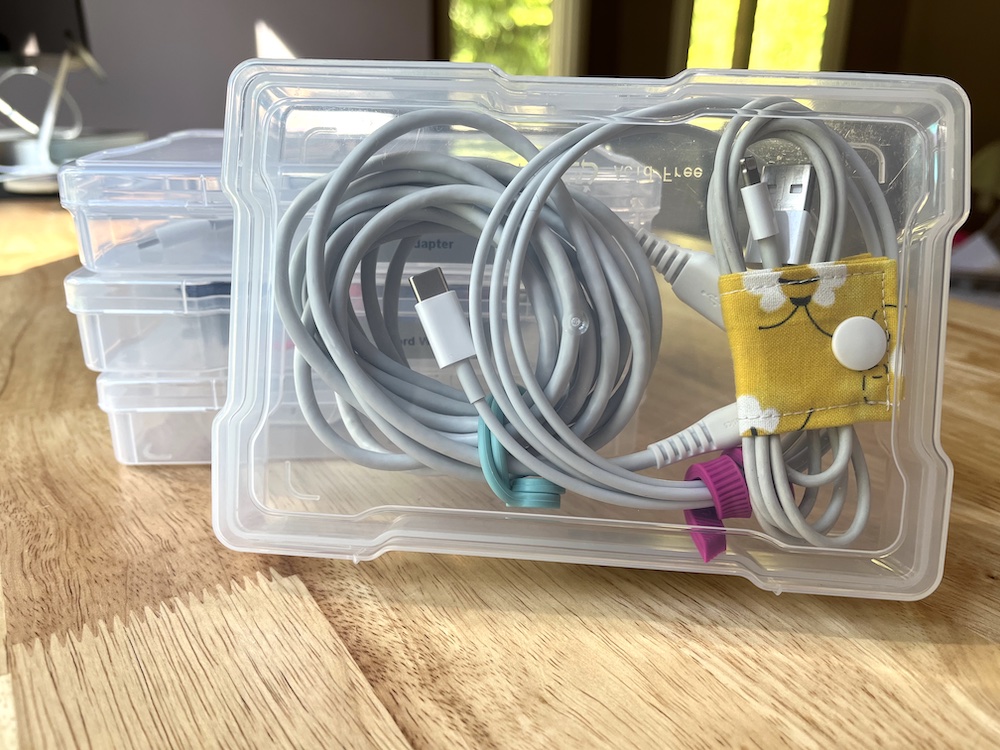
If you've been hanging around here at Get Organized HQ for a while, you probably already know how much I love photo storage. I even have an entire blog post dedicated to some of the different ways you can use photo boxes for organizing. One great use for these photo boxes is to organize cords. They are big enough to fit several cords in one as. you can see in the picture, so you could group them together before storing.
3. Label Your Cord Storage
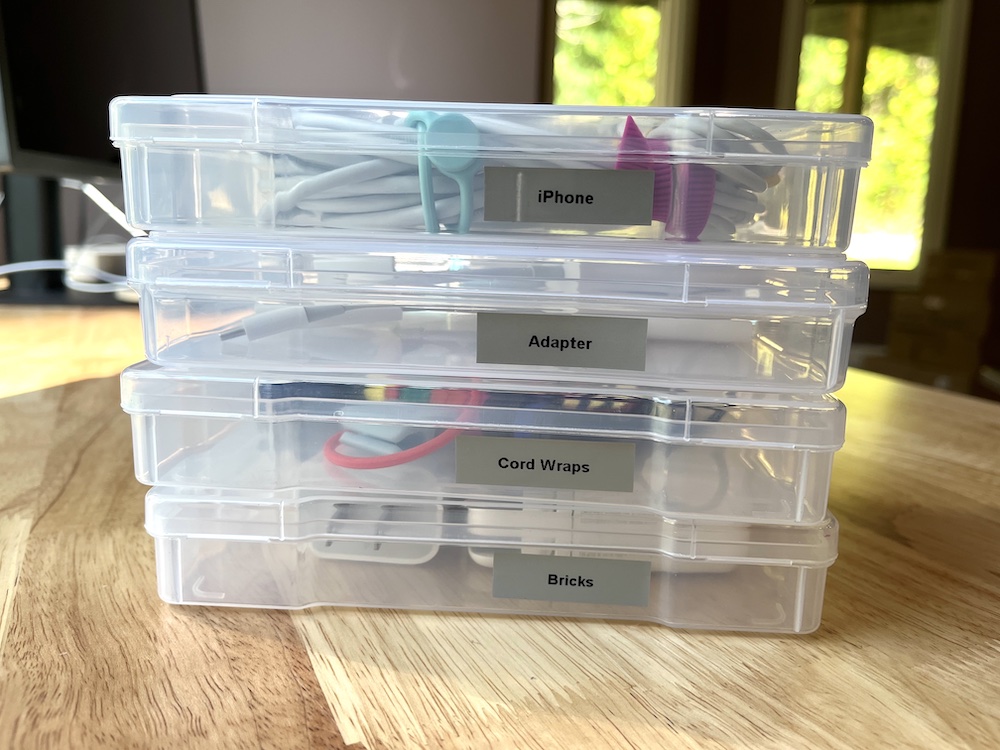
The last thing you should consider is labelling whatever cord storage system you choose. I prefer not labelling each cord individually as that's hard to do. I've tried different products that attach to the cord that allow you to label, but I haven't loved any of them. (The exception is when they are actually in use – sometimes it is good to put a label on the cord itself so you know which one to unplug.) Therefore, I prefer to label the container that the cords are in. I like using my simple label maker because it's quick and easy to add labels.
I hope this helps you get all your cords under control! Let me know in the comments how you like to organize your cords, and pin this post for later:
Organization that actually sticks for busy, happy lives.






 Copyright 2026, Get Organized HQ.
Terre Says
Thanks, Laura. You are always so helpful. One way that I have found easy to label each cord, is the plastic thing that closes plastic bags of apples/fruit. You can write on it with a sharpie and just snap it on.
Karen Balch Says
I love all this! I have an upcycling way to mark each cable individually that’s fairly quick and easy. Any time a new cord is welcomed into our home, I make a tag with the little plastic tabs that came in on bread products – most of mine are from bagels. I take an address label, 2×3 or so, and write what the new cord is on it. I write it towards the ends so when I stick it onto the the tab it folds in half and both sides are identifying the cord. To give it a long life, I then cover it all in a square of clear packing tape. It’s great at the two charging stations (a power strip) where the cords hang down beside the cabinet. You find your color and what you want to charge and your good. It helps to minimize the arguments when someone has forgotten that they’re taken their charger into their room (or office) and forgotten it’s in there.
Linda Broojs Says
I use bread plastic closures that are basically a flat plastic bread bag tab with a flexible hole on the end , to label cords. I write with permanent marker on them and put tape on the closure after putting them on the cord. When you are plugging up a bunch of cords, it is helpful to have a label.
Bernie J Says
I use my hand-held electric label maker (Dymo, Brother, etc.) to make labels for all cables, cords, and plug-in adapters & transformers, since some are not branded and some households can have several similar adapters from the same brand (Samsung, Apple, etc.). For cables and cords, type the item name or model twice with 3-4 spaces between, print out and fold in half to crease. Remove liner and lay end of cord/cable (not plug part) in crease and fold over to make both halves of label stick back to back. For younger children and where “Family Plan” results in multiples of the same brand and/or model #s, add a second label with the users first name. Label unbranded transformers with item they go to (spotlight, UHF weather radio, hand-held electronic games, etc.)
Callie Says
Labels are essential for me, so I know what cord to pack with what device when I am decluttering. Cords are not actually universal yet! I like all the labelling comments, as well as the clever storage ideas .
Frances Smith Says
I love some of your ideas. Currently, I use my P-Touch and make labels to put on the cords. Works well. Since I have some pretty large power cords for heat presses, Cricut, accuquilt, mug presses, etc. I label the cords so I know which one to unplug. I was trying to figure out how to handle all the cords that are connecting to my USB hub. They lay on the table top even when not in use. I will definitely look at the plastic container storage for those and just pull the right one out when needed. Great ideas!
Lori Says
A few years ago, we decluttered all unknown cords….well I am sure that is what happened to the cord for the GPS. Since then, I have started using the plastic bread bag closures to label the cords, when I first get something with a cord on it. So much better for later.