How to Organize Cards & Photos
I’ve tried a lot of different methods for organizing my greeting cards and physical photos, but nothing has worked well. I wanted something easy to access and fun. I also don’t like how if you put them in boxes with dividers they tend to fall over.
When I saw this box pattern in the Silhouette store, I knew it would perfect! I wanted the boxes to be sturdy, so they wouldn’t get bent or flop over easily. Therefore, I wanted to use chipboard instead of just cardstock for the base of the box, but chipboard isn’t all that pretty, right? Here was my solution:
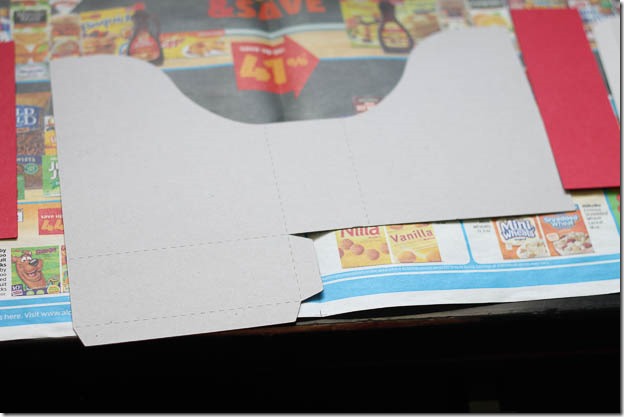
First, I cut the box out of chipboard:
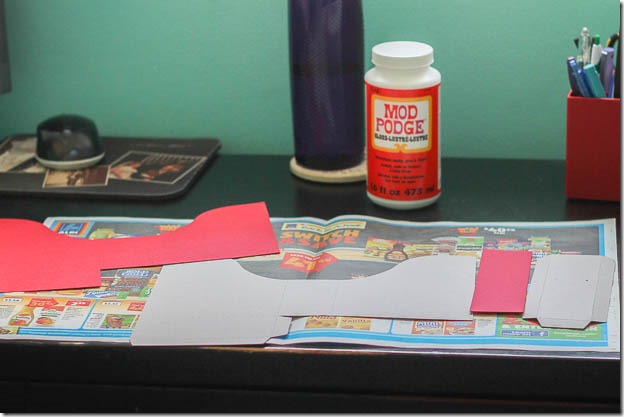
Next, I cut pieces of red cardstock in the exact same size at the chipboard, except without the the little flaps for assembling the box:
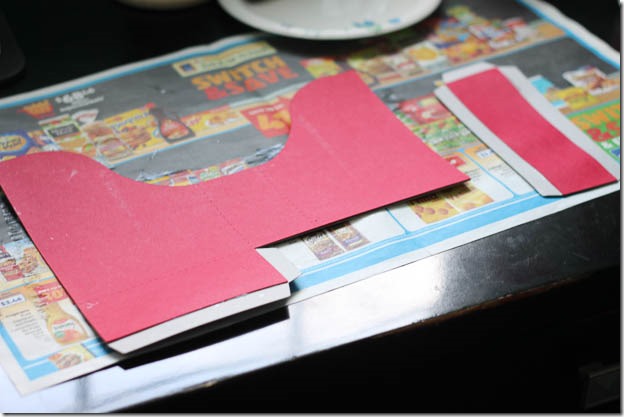
Next, I used Mod Podge to adhere the cardstock to the chipboard. I just used a sponge brush to paint the Modge Podge over the surface of the chipboard and attached the cardstock to that:
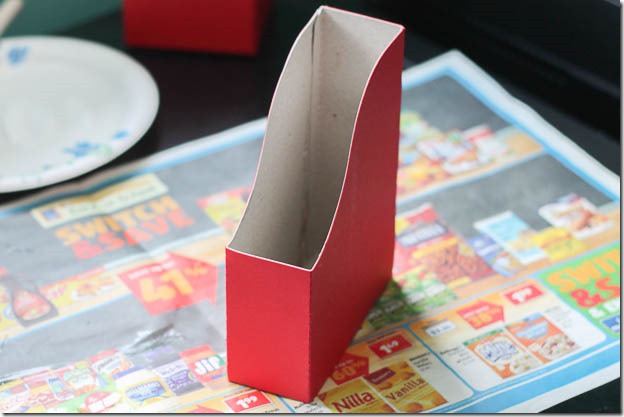
Next, I assembled the box:
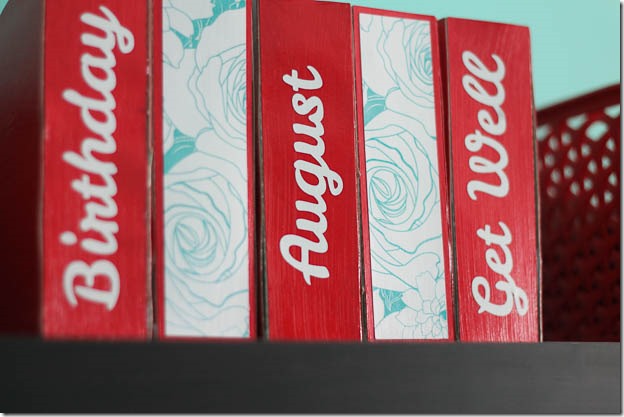
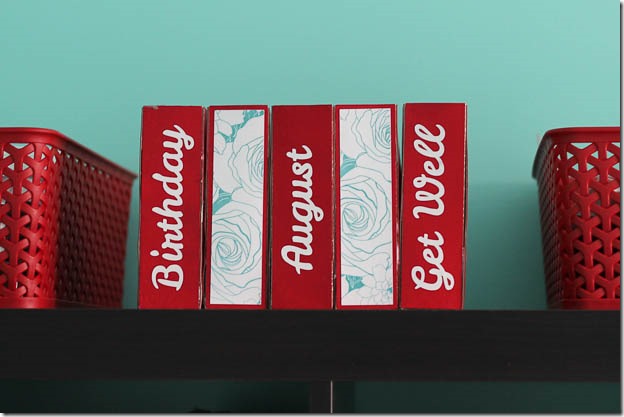
I cut decorative paper for a couple of them and attached that. Then I covered the entire surface of the boxes in Modge Podge again to give the box a protective coating. This also made the surface slick so that I can apply the white vinyl lettering, but still be able to remove it easily if I want to change the label later.
Last, I cut the labels out of white vinyl and put those on once the top Modge Podge coating was dry. (It only took about 15 minutes for that to dry.)
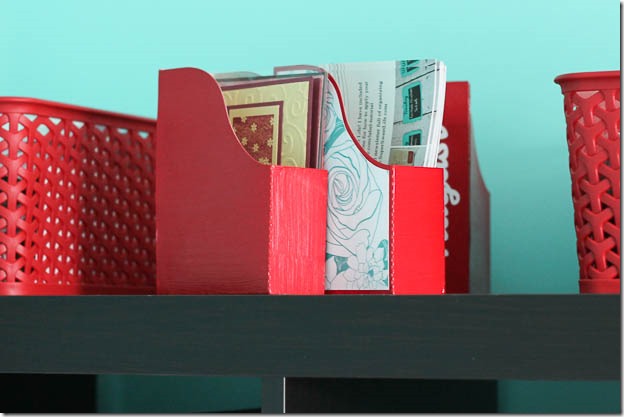
Last I filled them with cards and photos. I do plan to make a few more, so there are spots for all the categories of cards and photos that I have.
This post is part of the Silhouette Challenge. Check out the other great projects from this month’s challenge:
Using Silhouette Studio as a Graphics Programme by Get Silvered
Hymn Art by Unoriginal Mom
D.I.Y. Wedding Invitations by Create & Babble
Pow! Superhero Party Decorations by Lil Mrs. Tori
Family Photo Tile & A Free Cut File by My Favorite Finds
They said yes! Bridesmaid Proposal Box by Everydaypaper
Home on the Range: An Accent Pillow by Suburble
“Keep Calm” Onesie by The Thinking Closet
August Silhouette Challenge Project by Give Me a Paintbrush
Fancy Powder Room Sign by Joy & Gladness of Heart
How to Organize Cards & Photos by Super Sweet Life
It's Time to Try a New Craft Medium by Tanya's Creative Space
Milk Jug Crayon Bucket by It Happens in a Blink
The Gold and Beautiful by The House on Hillbrook
My First Silhouette Project: A Vinyl Chicken Decal by Life After Laundry
A Stache Bash Part 1 by Home at Eight
One Shoe Can Change Your Life by An Elegant Touch
Washi Tape Wall Art by Tried & True
Washi Tape & Vinyl Sign by Tossed Salad Life
This post is linked to One Project at a Time. Visit it to see more project ideas.







 Copyright 2025, Get Organized HQ.
Stephanie @ The House on Hillbrook Says
Love them! Okay so I must try this. Do you have a cut file for the box? And is there a way to make the perforated lines with the Silhouette? And where did you find your chipboard? Sorry I’m sorta a newbie to other mediums. I love this so much and want to make some of these for my studio.
LauraJane Says
Post authorYes, here’s a link to the cut file: http://www.silhouetteonlinestore.com/?page=view-shape&id=41763 To make the red cardstock layer, I just deleted the little flaps. I used Silhouette brand chipboard that I got from scrapbook.com. Yes, the machine will make the perforated lines – they are already included in the cut file. I can’t wait to see them when you make them!
Tori Says
What a great way to keep organized! It turned out really cute!
Meredith @ unOriginalMom Says
I am a sucker for pretty organization 🙂 These are so cute, and SO functional! I need to make something like this…our greeting cards end up sitting for a month and getting tossed out because I have nowhere to put them. If I had boxes like these, it would be nice to be able to go back and look through all the cards again later! Plus they look so great sitting up on your shelf! Thanks for sharing 🙂
Jeanie Says
What a great idea! I’m always looking for ways to organize….especially pretty ways. Nice job!
Valerie Says
These came out great! I already have this cut file and it was too flimsy made out of just cardstock. I love the way you made yours more sturdy. I’ll try your method the next time I make this.
Tanya Says
Love all your organization ideas. Did you use silhouette chipboard?
Emily Says
I totally need this pattern. I have stacks of cards that I have bought and forgotten to use!
Vanessa Says
Ack! Those are so cute and little!!!
Lauren @ The Thinking Closet Says
Love how well chipboard takes on paint! (And I’ve had no problems with warping either.) And these little mini boxes are so darling! The perfect organization solution for your cards and photos. You really have your PHD in Organizational Arts, don’t you? Fab work as always, Laura! Thanks for joining us for another round of The Silhouette Challenge.
Warmly,
Lauren
The Thinking Closet
Pam Says
Great solution to jazz up the chipboard! It looks great. I really need something like this too.
Brenna @ Life After Laundry Says
What a great project. I am going to look for this shape in the Silhouette Store right away! I have seen things like that before, but needed to see example for some inspiration.
Carrie @ My Favorite finds Says
Nice! I think that’s a great use for the box file ! Good job!
Melanie Says
Great job! How thick is the chipboard?
LauraJane Says
Post authorIt’s about the thickness of a cereal box – maybe a tad thicker. It’s the Silhouette brand. I got it from Scrapbook.com. It’s pretty cheap and since it was Silhouette brand I felt confident that my machine would cut it.
Ashley Says
Such a cute idea!