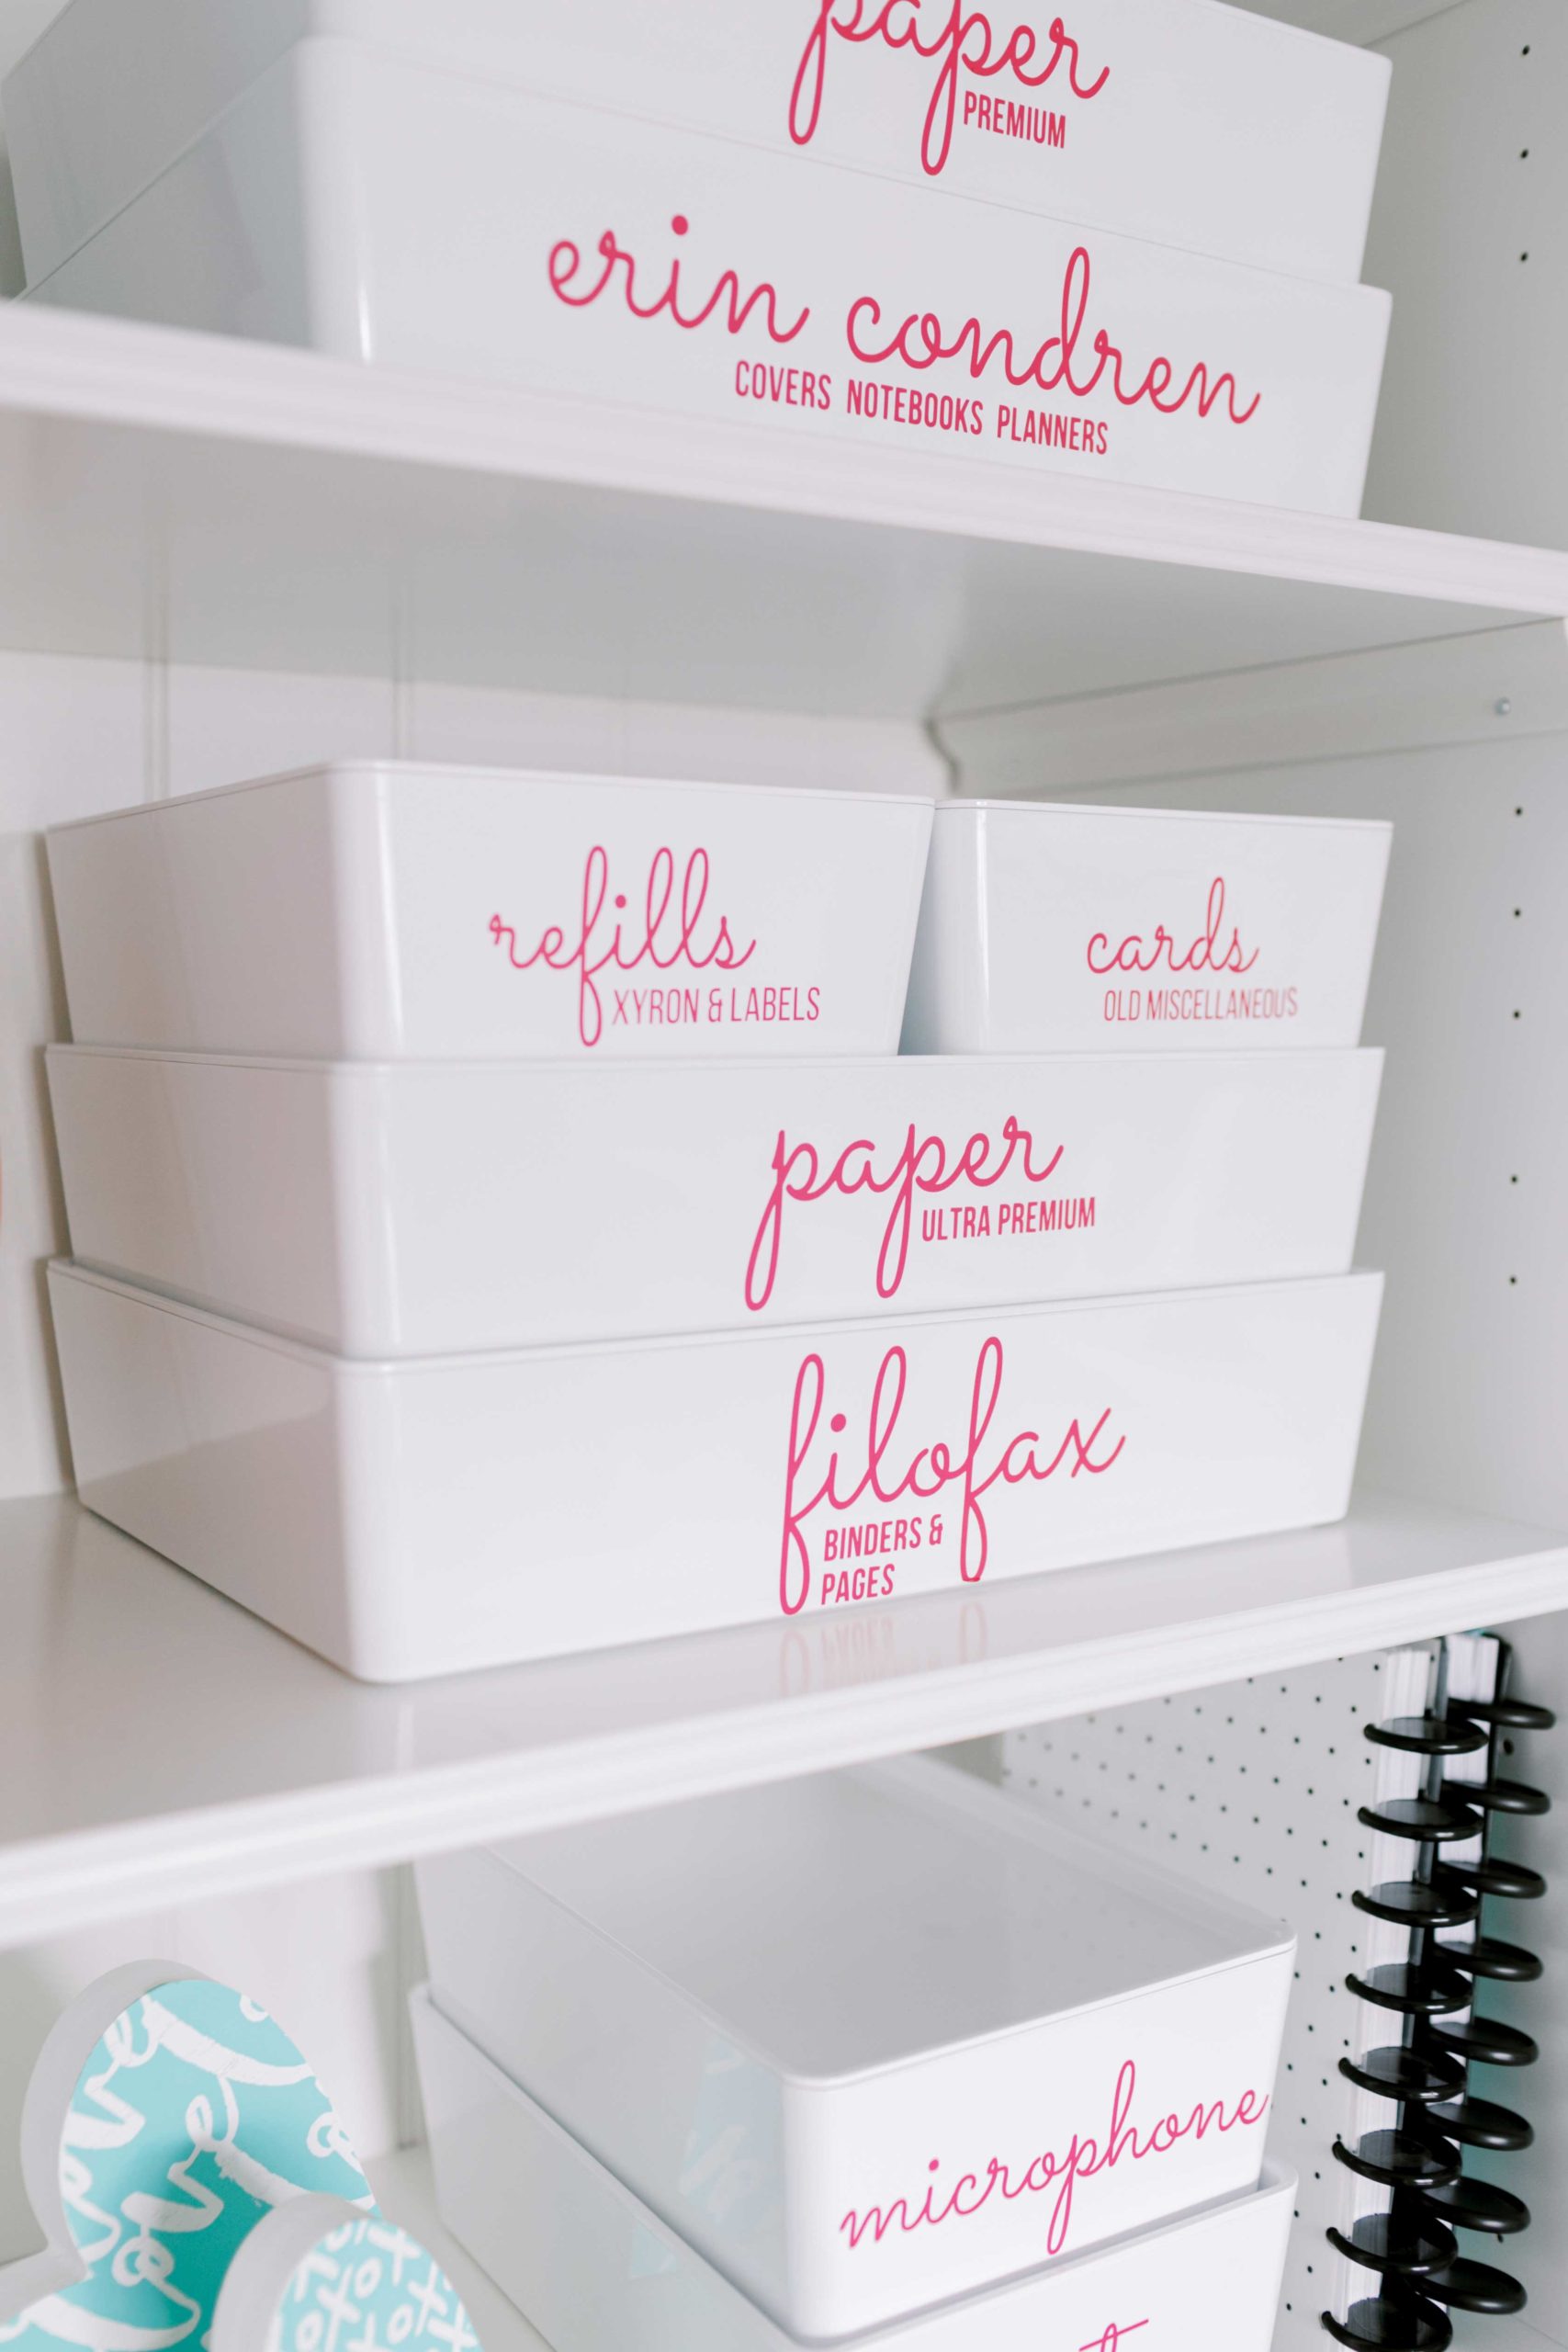
Learn How to Make the Pink Labels on my Office Bins
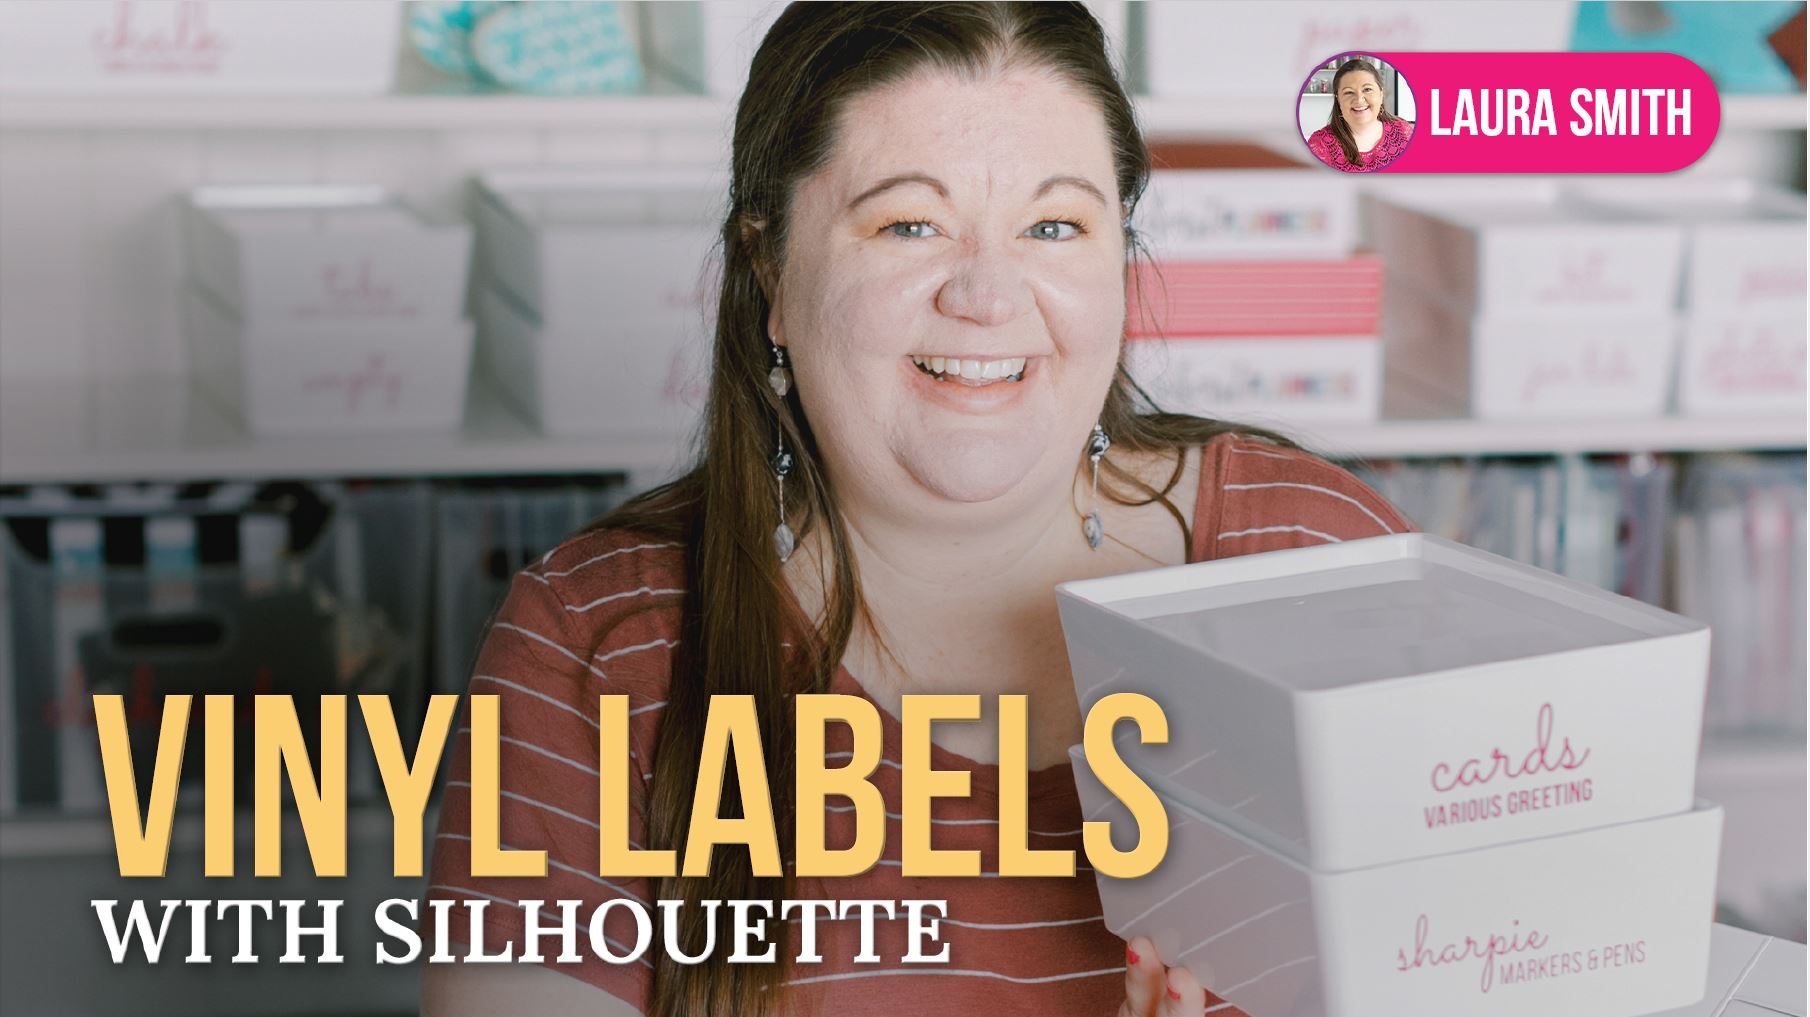
If you have ever found yourself watching one of my videos or scrolling through the blog and wondering, “How does she make those pretty labels on the bins behind her in her office?” then today is your lucky day! I am going to walk you through, step-by-step, how to make vinyl labels using a cutting machine. And the good news is, it's probably not as hard as you think! Please note this blog post does contain affiliate links, but I only recommend products I would tell my best friend about!
Click the video below to watch me design, cut, and adhere the labels. Or, if you prefer, the instructions are all written out below with clear pictures for you to follow. Let's get started!
Materials
First things first, we'll need some materials:
- Cutting machine – I'm using a Silhouette Cameo for this tutorial, but I also love using my Cricut machine to make labels
- Software to run your machine – In my case, that's Silhouette Studio Designer Edition, but the free version should work just as well for what we're doing today!
- Vinyl – I buy it in bulk, so it comes in large rolls
- Transfer tape – Again, I get it in large rolls, but you don't necessarily need that much!
- Scissors or paper trimmer
- Weeding tool
- Scraper or credit card – for helping to adhere the vinyl once the labels are cut
Got everything? Great! Let's move on.
Step 1: Choose Machine Settings
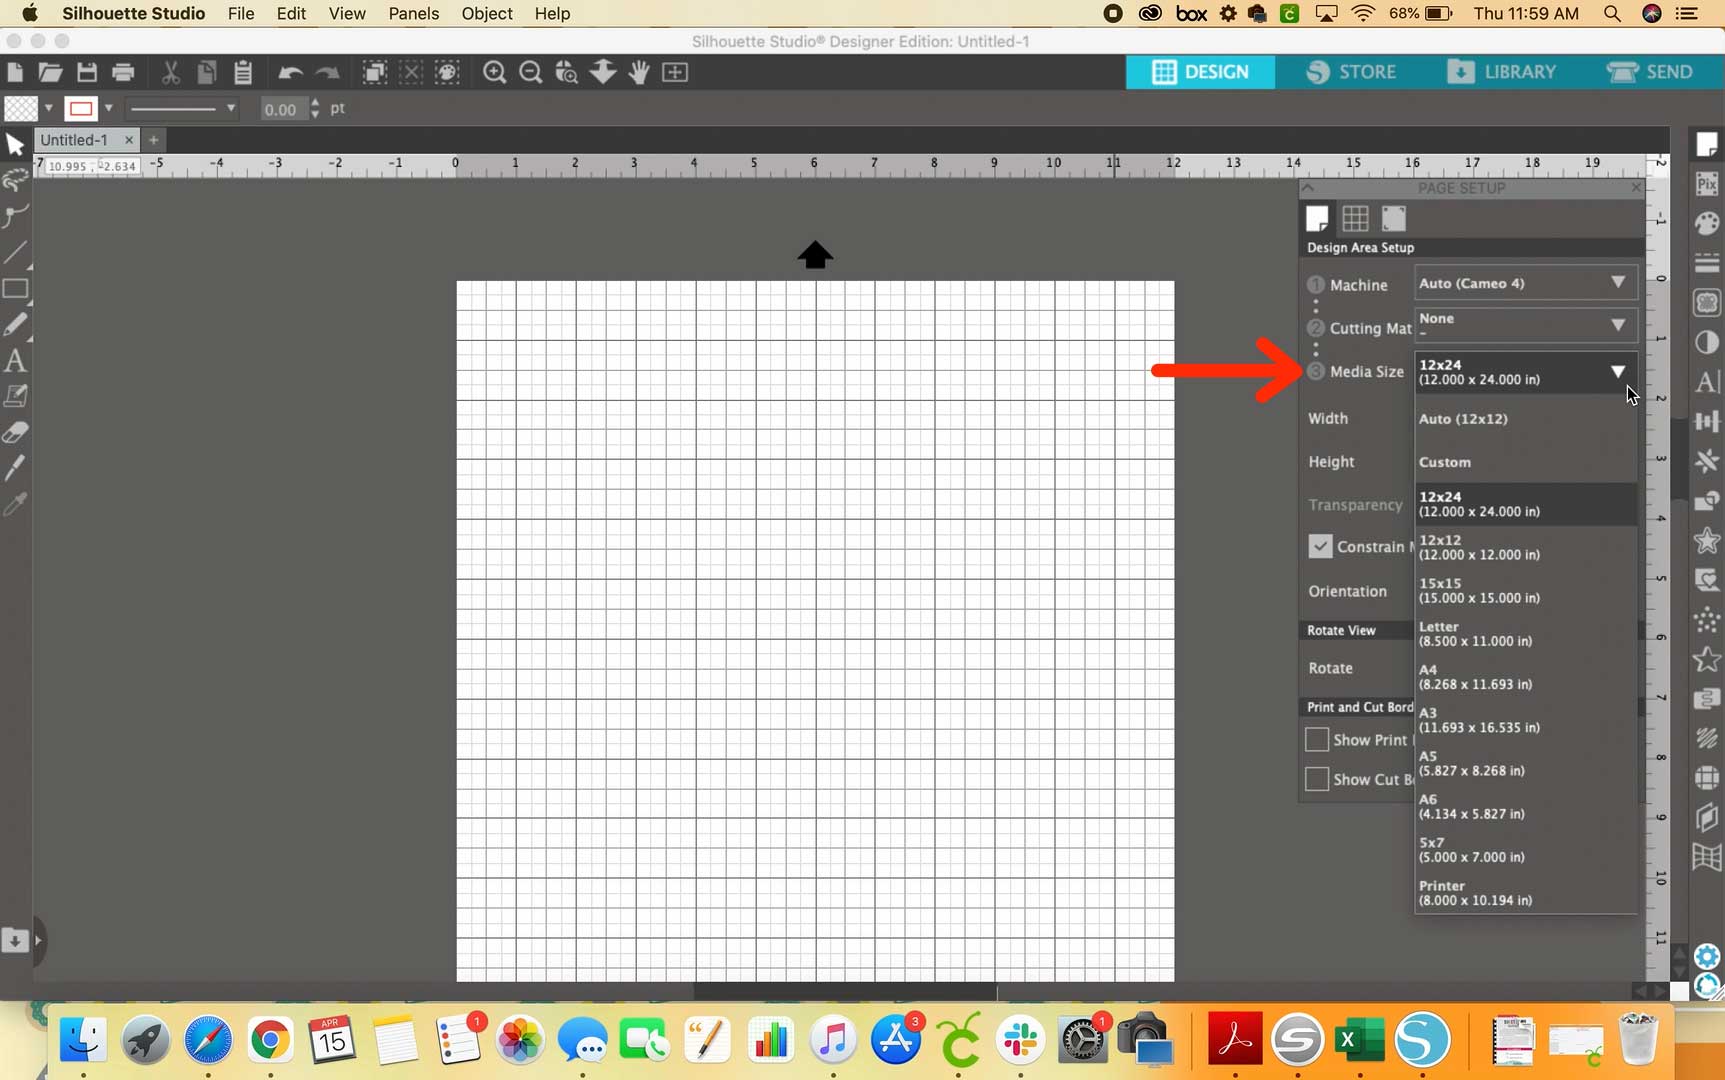
Start by opening your software to a new, blank document and checking your settings under “Design Area Setup” on the right. (If you're not seeing those settings, try clicking the blue DESIGN button at the top.) Here you can set your machine, cutting mat (which is “None,” in my case, since I will feed the vinyl directly into the Silhouette without a mat), and media size (i.e. how big your piece of vinyl is).
Step 2: Add and Format Label Text
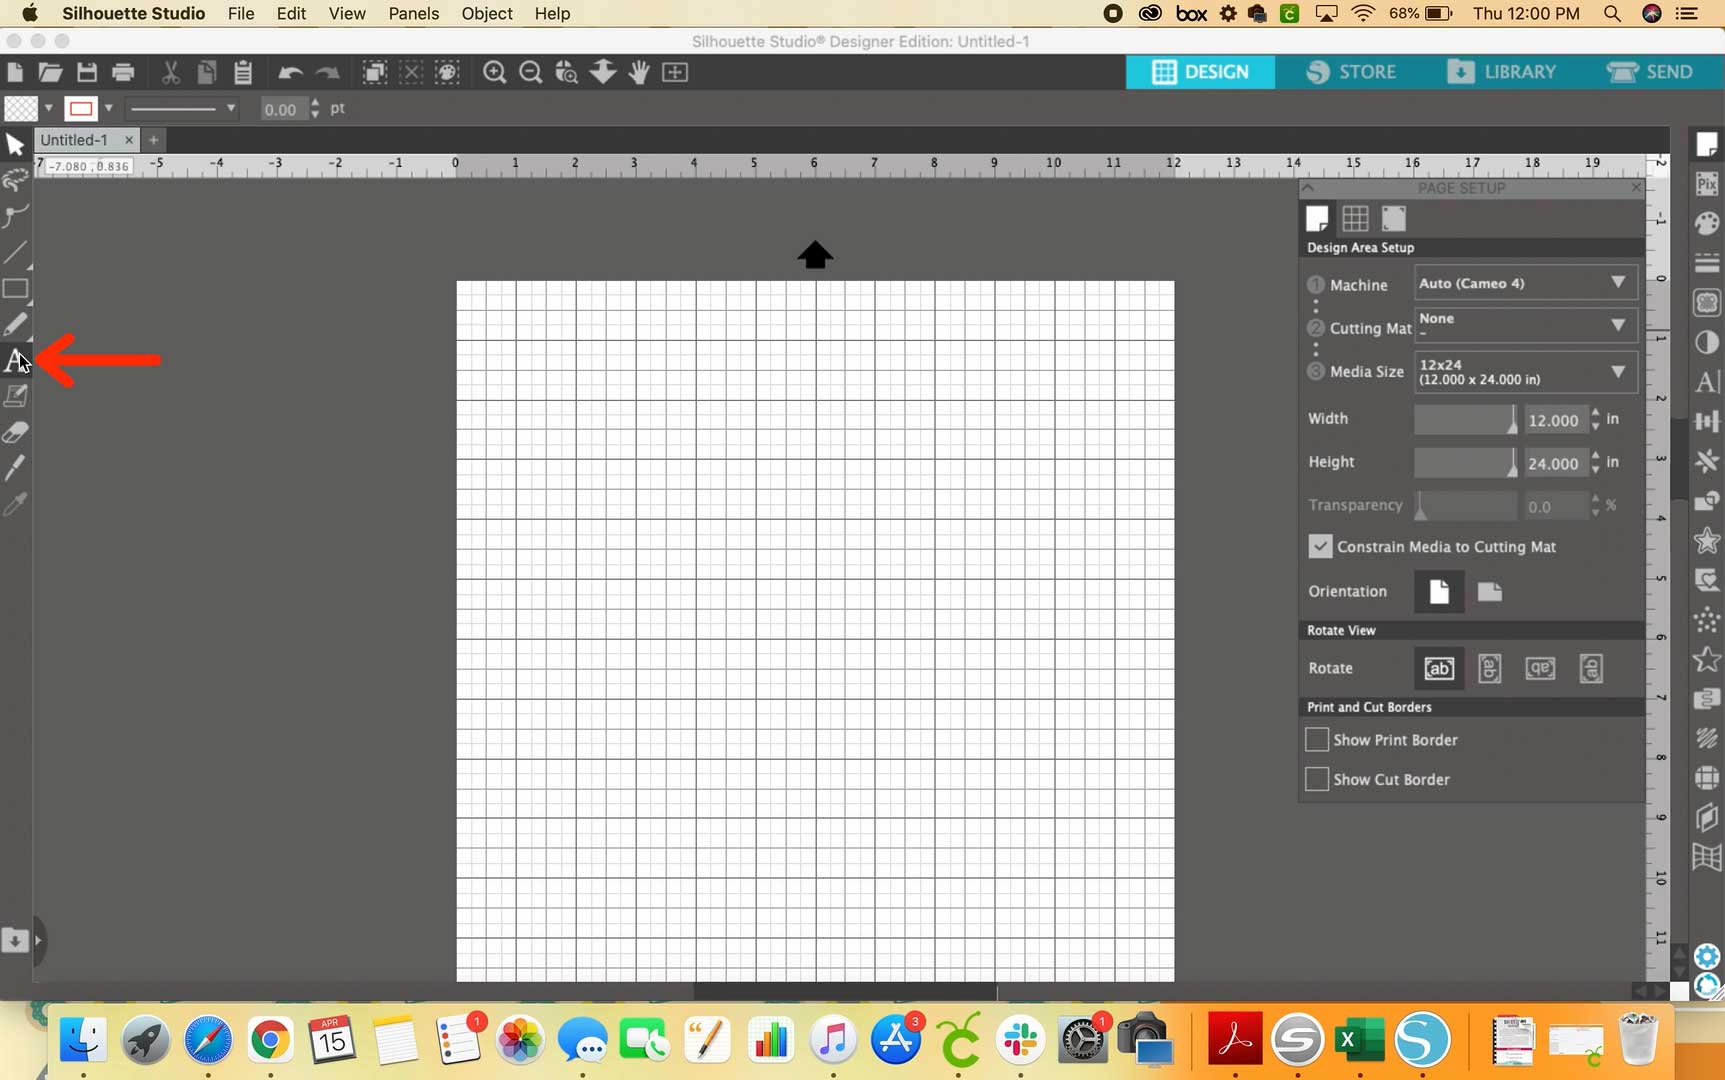
To add the text for your label, find the button that looks like a letter ‘A' over on the left. Click it once, and then click once somewhere in your design area. Now you're ready to type whatever you want your label to say!
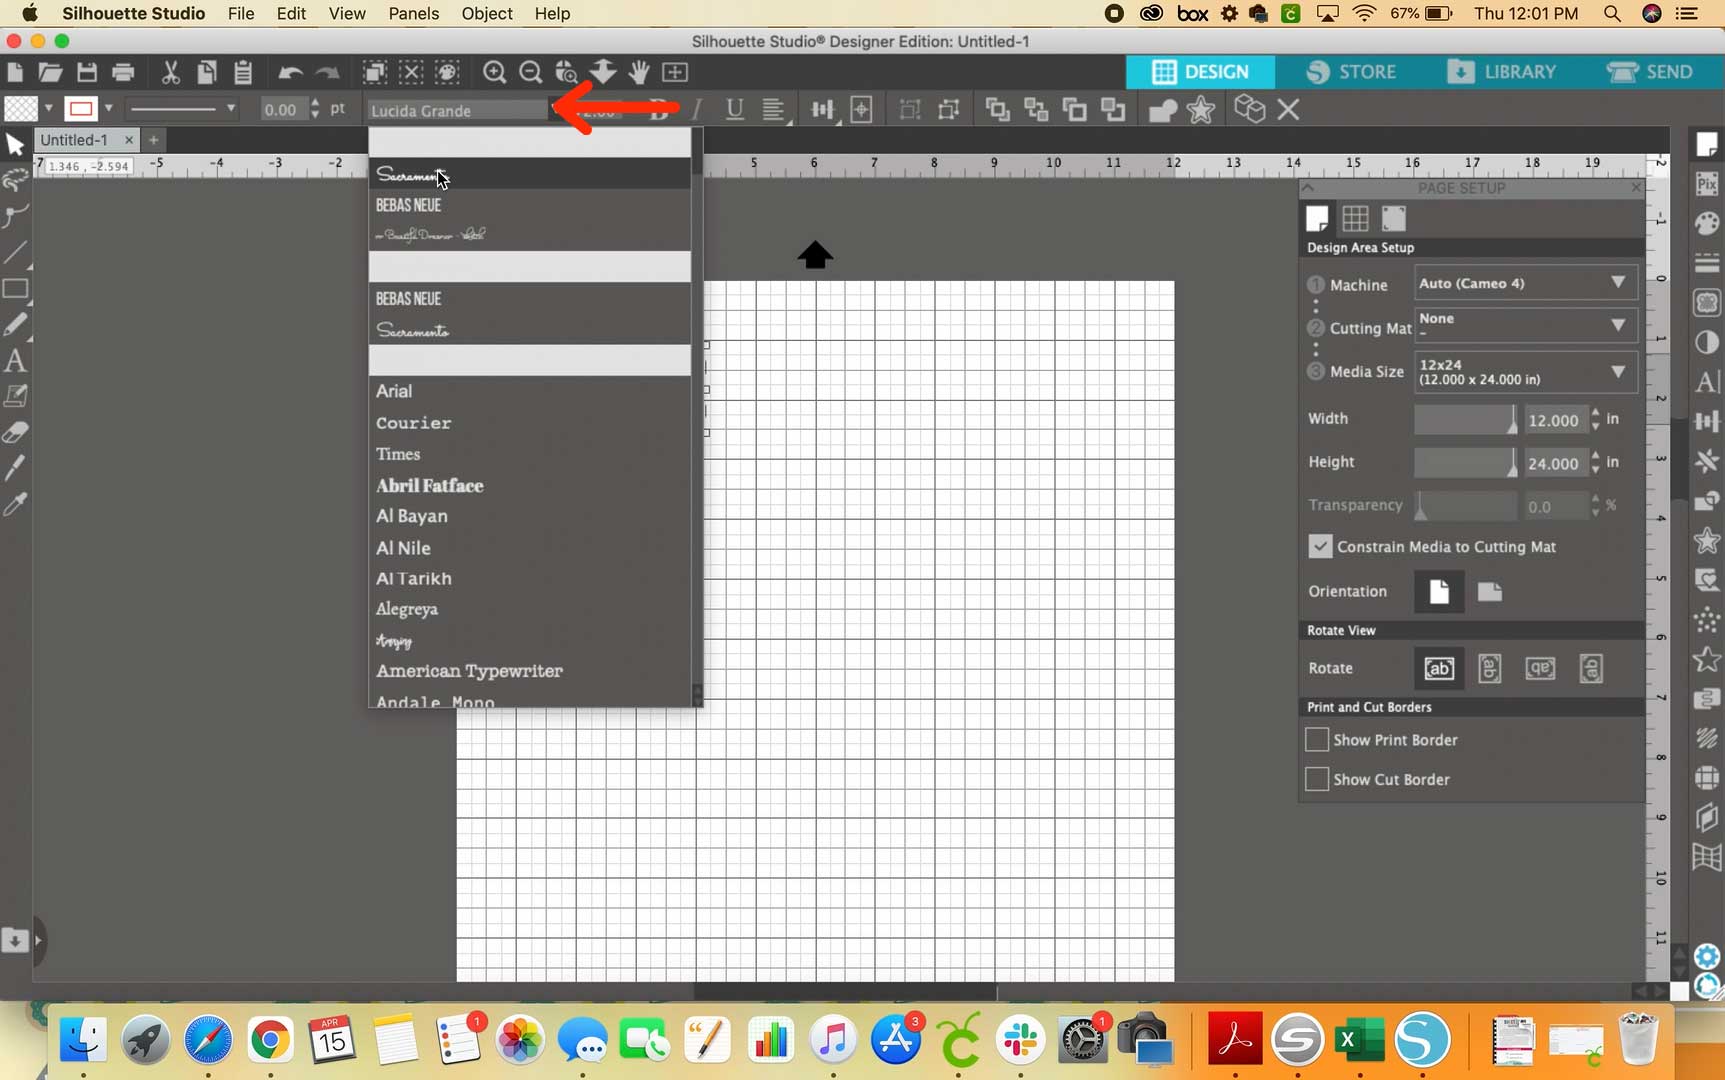
After you've typed out your label, click away from it once, then click back on the text once. Now you're ready to make it cute! Up at the top, there's a drop-down with different fonts. If you're duplicating my labels, you can download the Sacramento font here. Pick whatever you like, though!
Now would also be a great time to change the font size either by changing the number at the top next to the font drop-down or by clicking and dragging one of the corner handles on your text box.
One last thing to remember is that you need to WELD your text together. If you skip this step, it will cut individual letters, which may be fine for some fonts, but for a cursive font like Sacramento, we want it to cut all as one piece. In order to weld it, right-click on your text and choose “Weld.” Easy peasy!
Step 3: Add and Format a Sub Heading
Sometimes I like to add a sub-heading for my labels so that I know exactly what's in the container I'm labeling. This step is totally optional, but if you want to add one, you would click the ‘A' button and add your text just like we did above. For my sub headings, I like to use the font “Bebas Neue.” I also try to make the sub- headings smaller than the main label text.
After you've added the text for you sub0heading, don't forget to weld it like we did before! You can also group it by selecting just your sub-heading, right-clicking, and selecting “Group.”
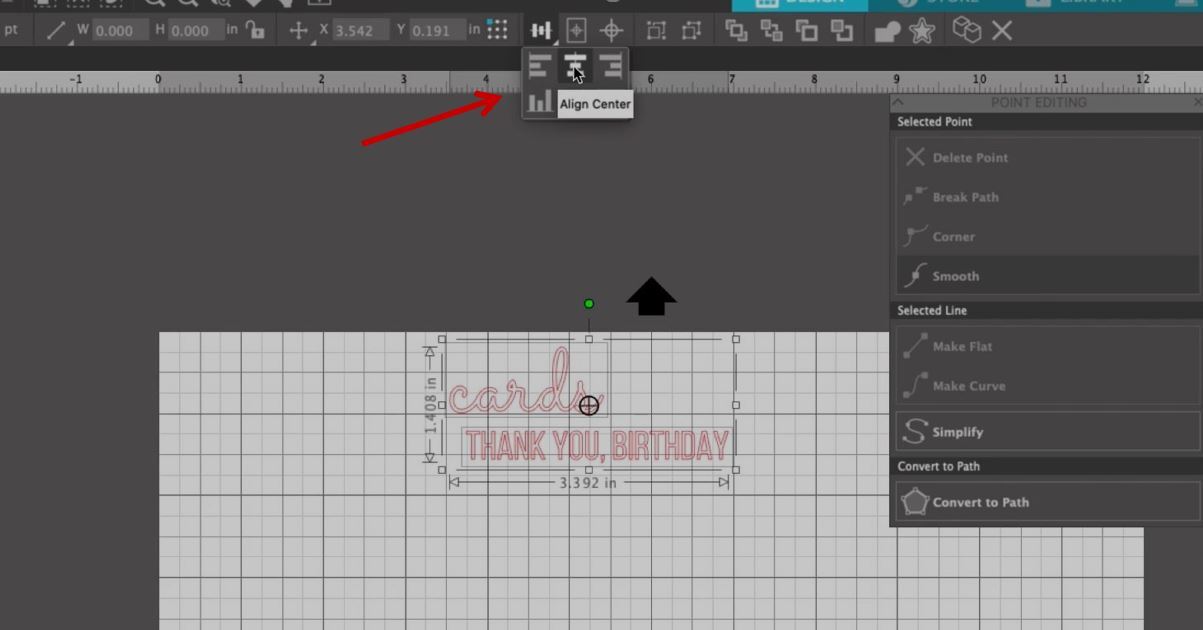
Now if you want to quickly and easily line your main text and your sub-heading up with each other, click and drag across both text areas to select them both, then mouse over the 3 vertical lines at the top and choose “Align Center” (looks like 3 horizontal lines all stacked up and centered).
With both text areas selected, right-click and select “Group.”
Now you can drag and move your label text around to position it where you want it. Take a minute and add as many labels as you have room for on this piece of vinyl! Better to set them all up at once before cutting instead of having to go back and forth adding more.
And don't forget to save your work often!
Step 4: Load the Vinyl
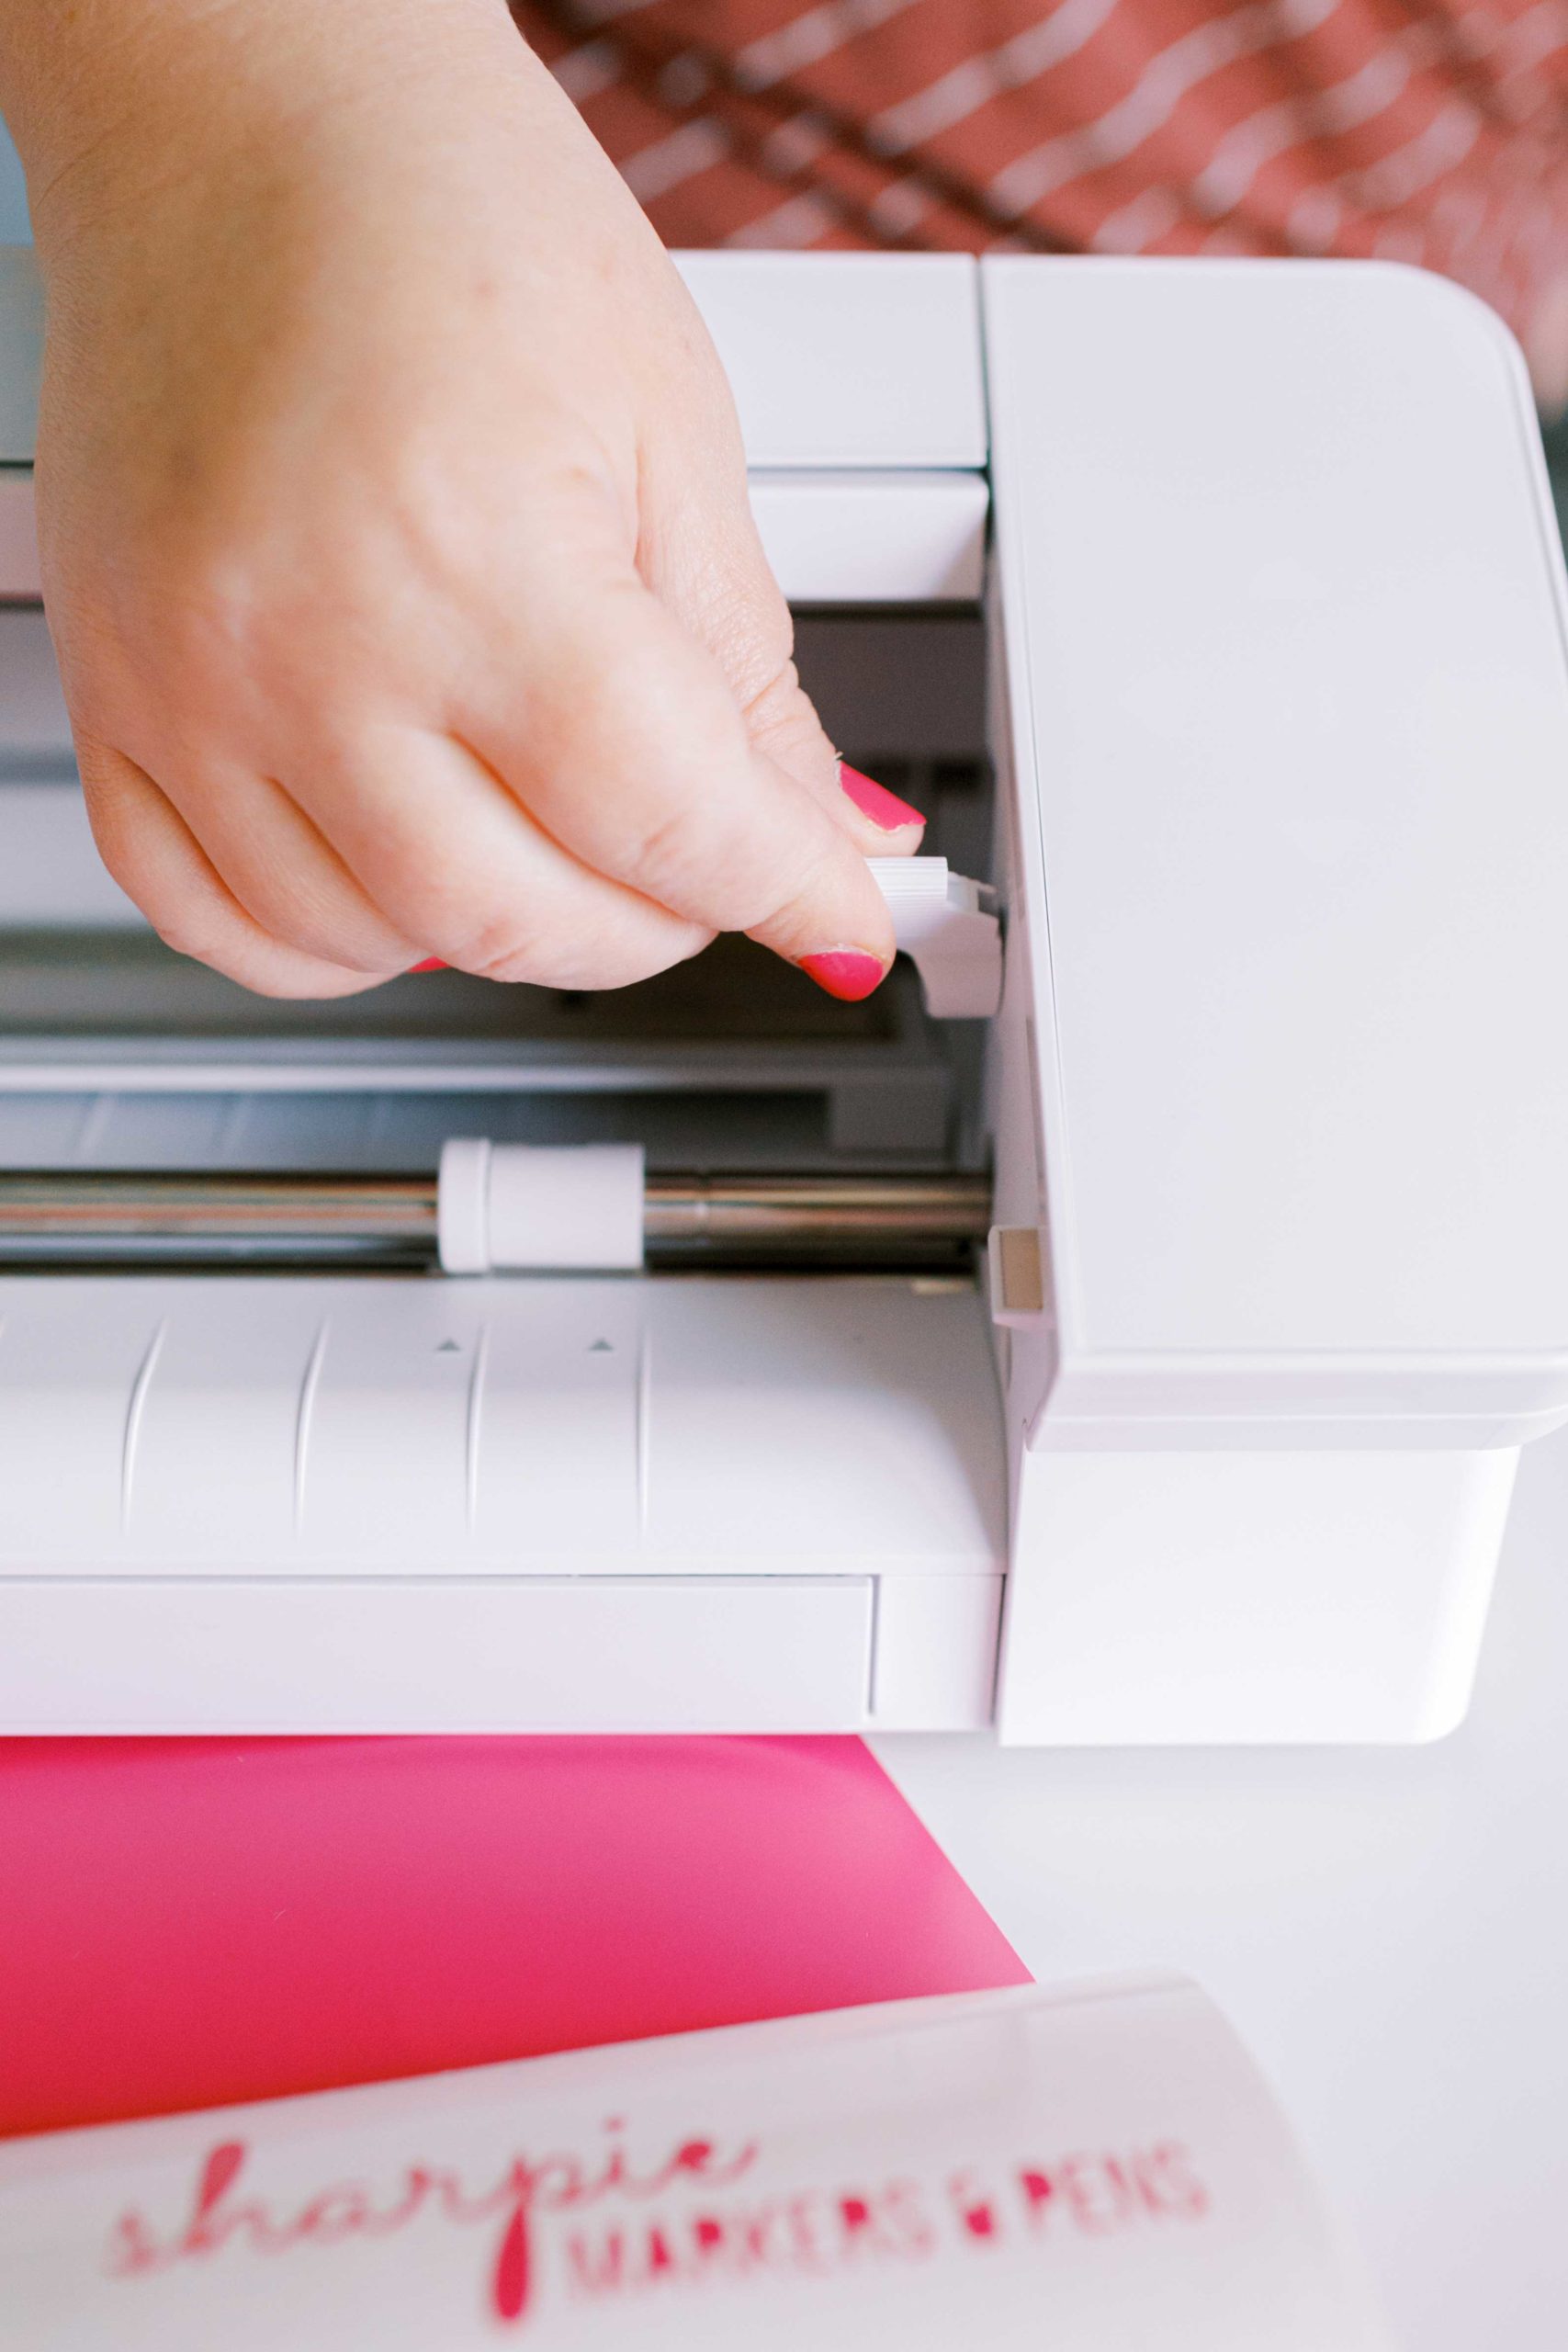
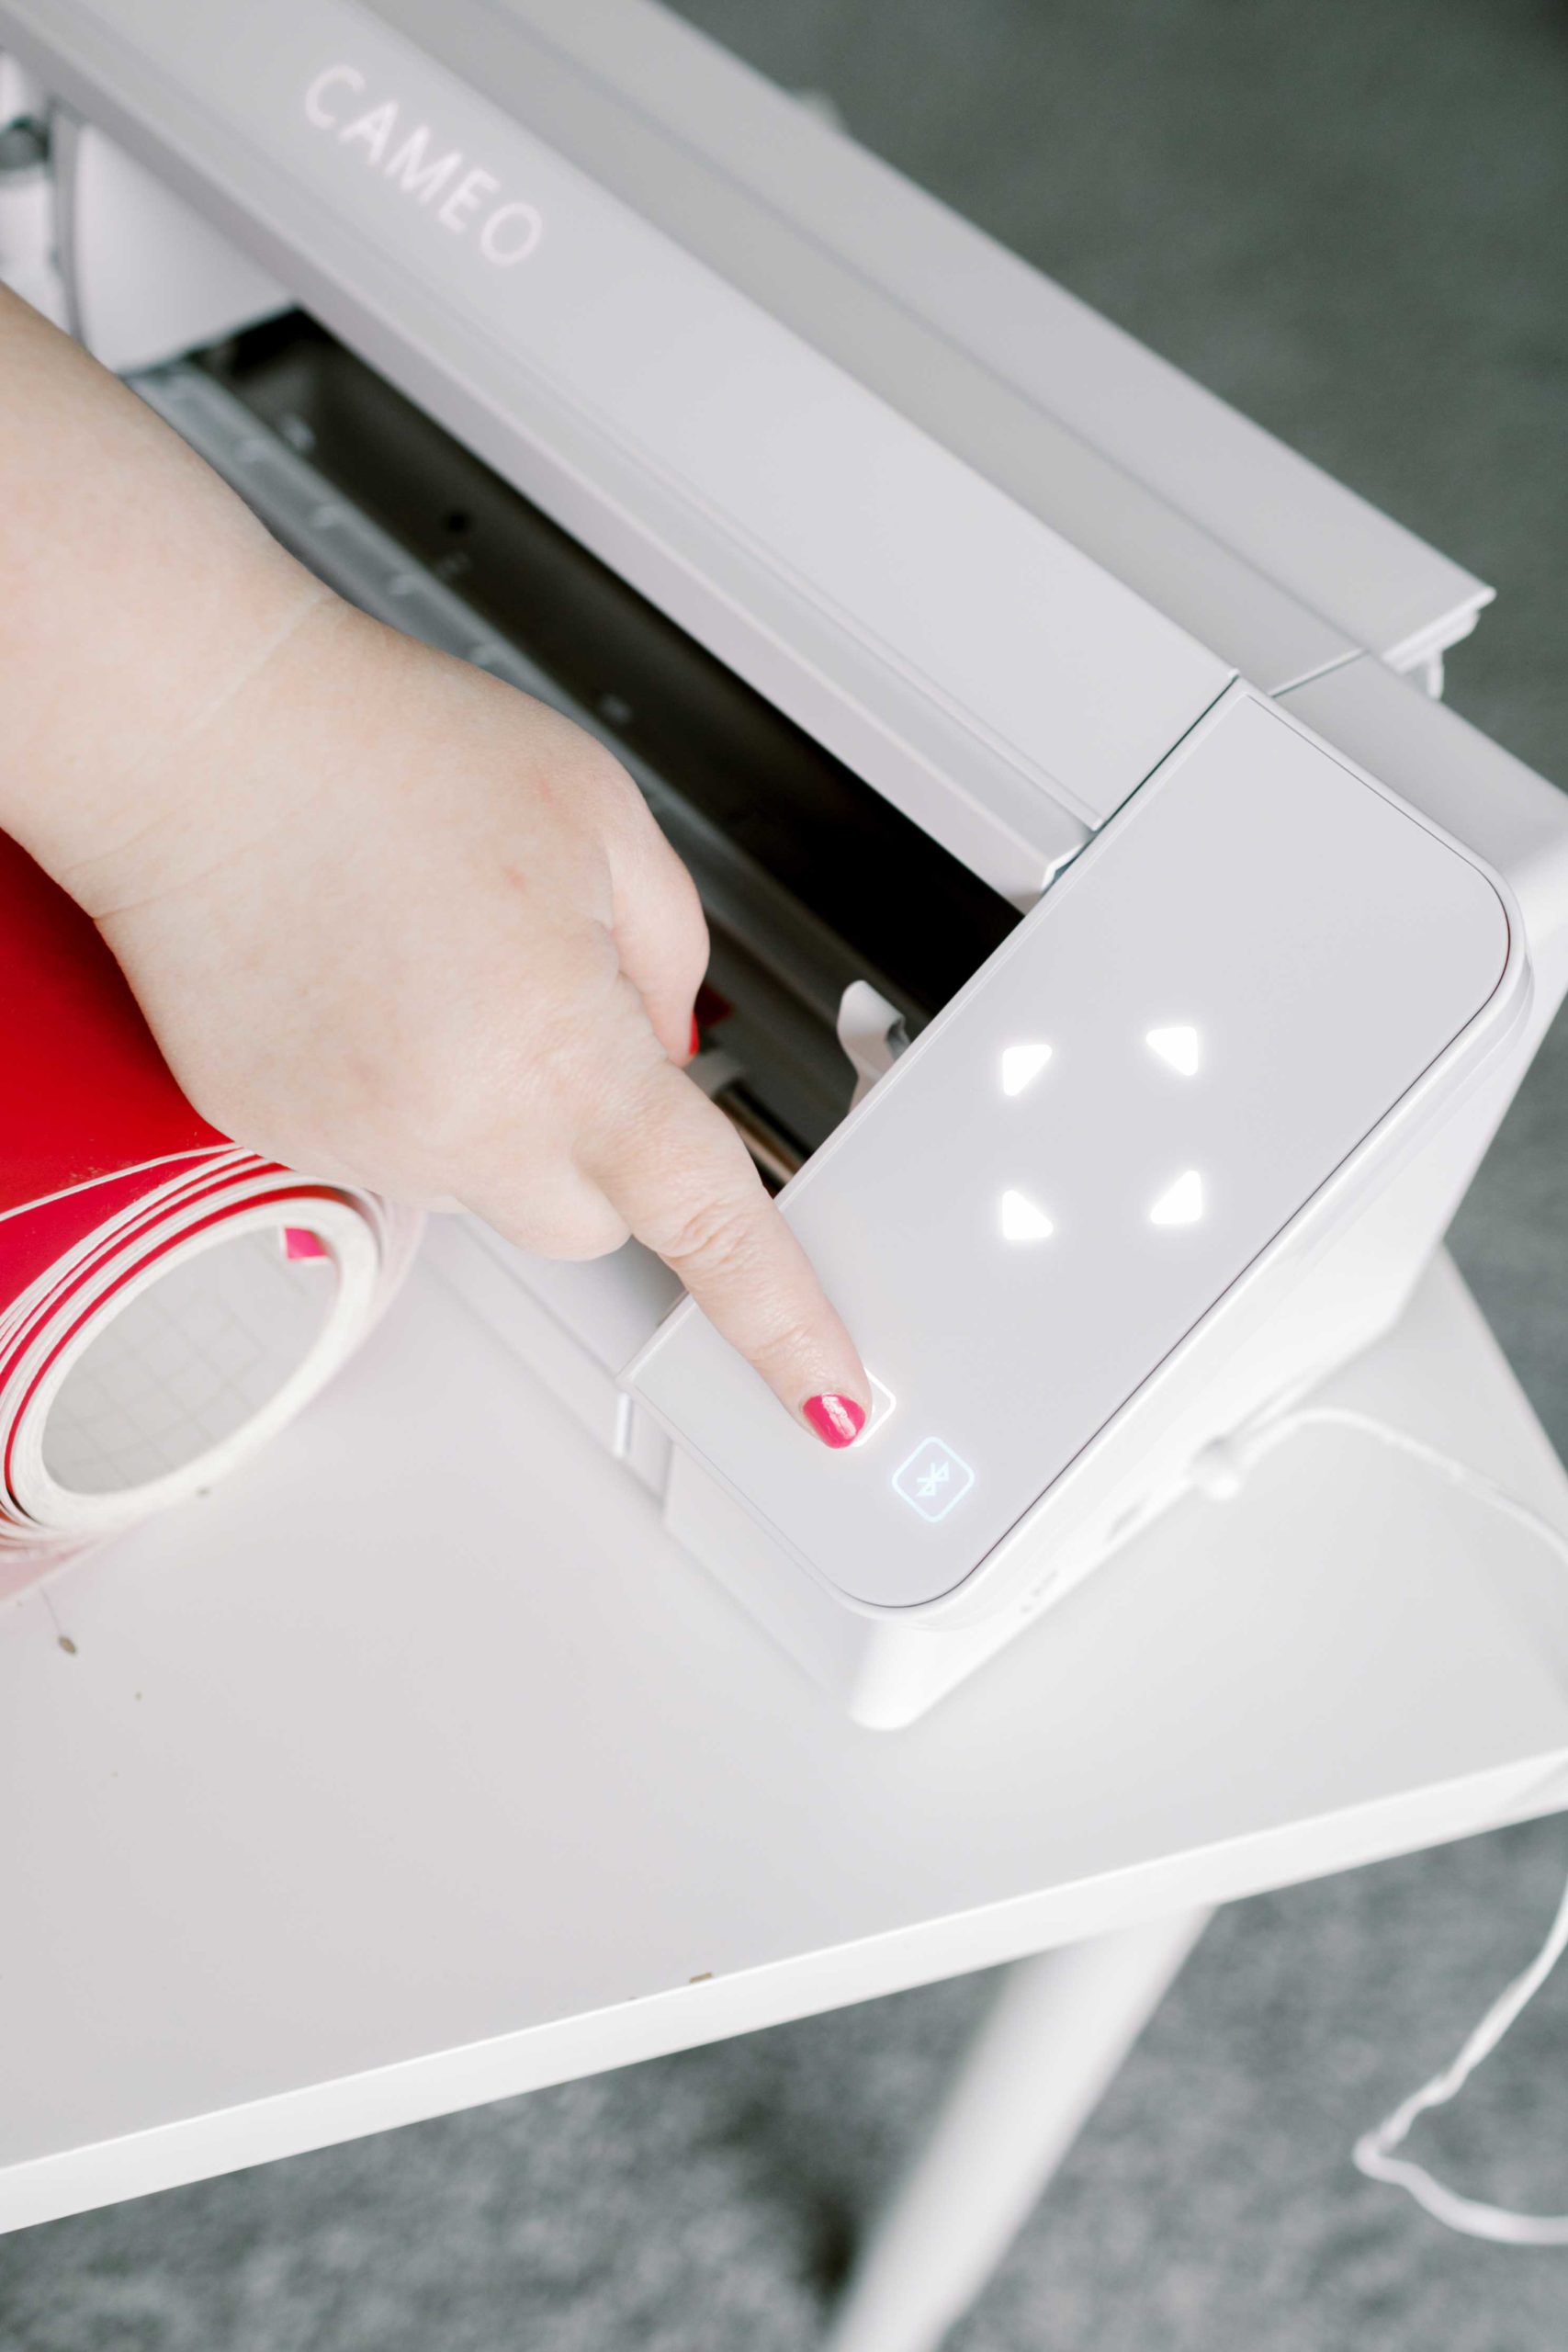
Ok, now it's time to get your machine ready to go. Over on the right, you'll see two arrows in front of the roller. There's a white piece on the roller with a lock symbol on it, and it needs to be lined up with the left arrow in order to feed the vinyl directly into the machine without a mat. To adjust it, pull this little white lever down toward you.
Squeeze the piece with the lock and slide it over. You'll feel it catch once it's in position. Move the lever back up to lock it into place.
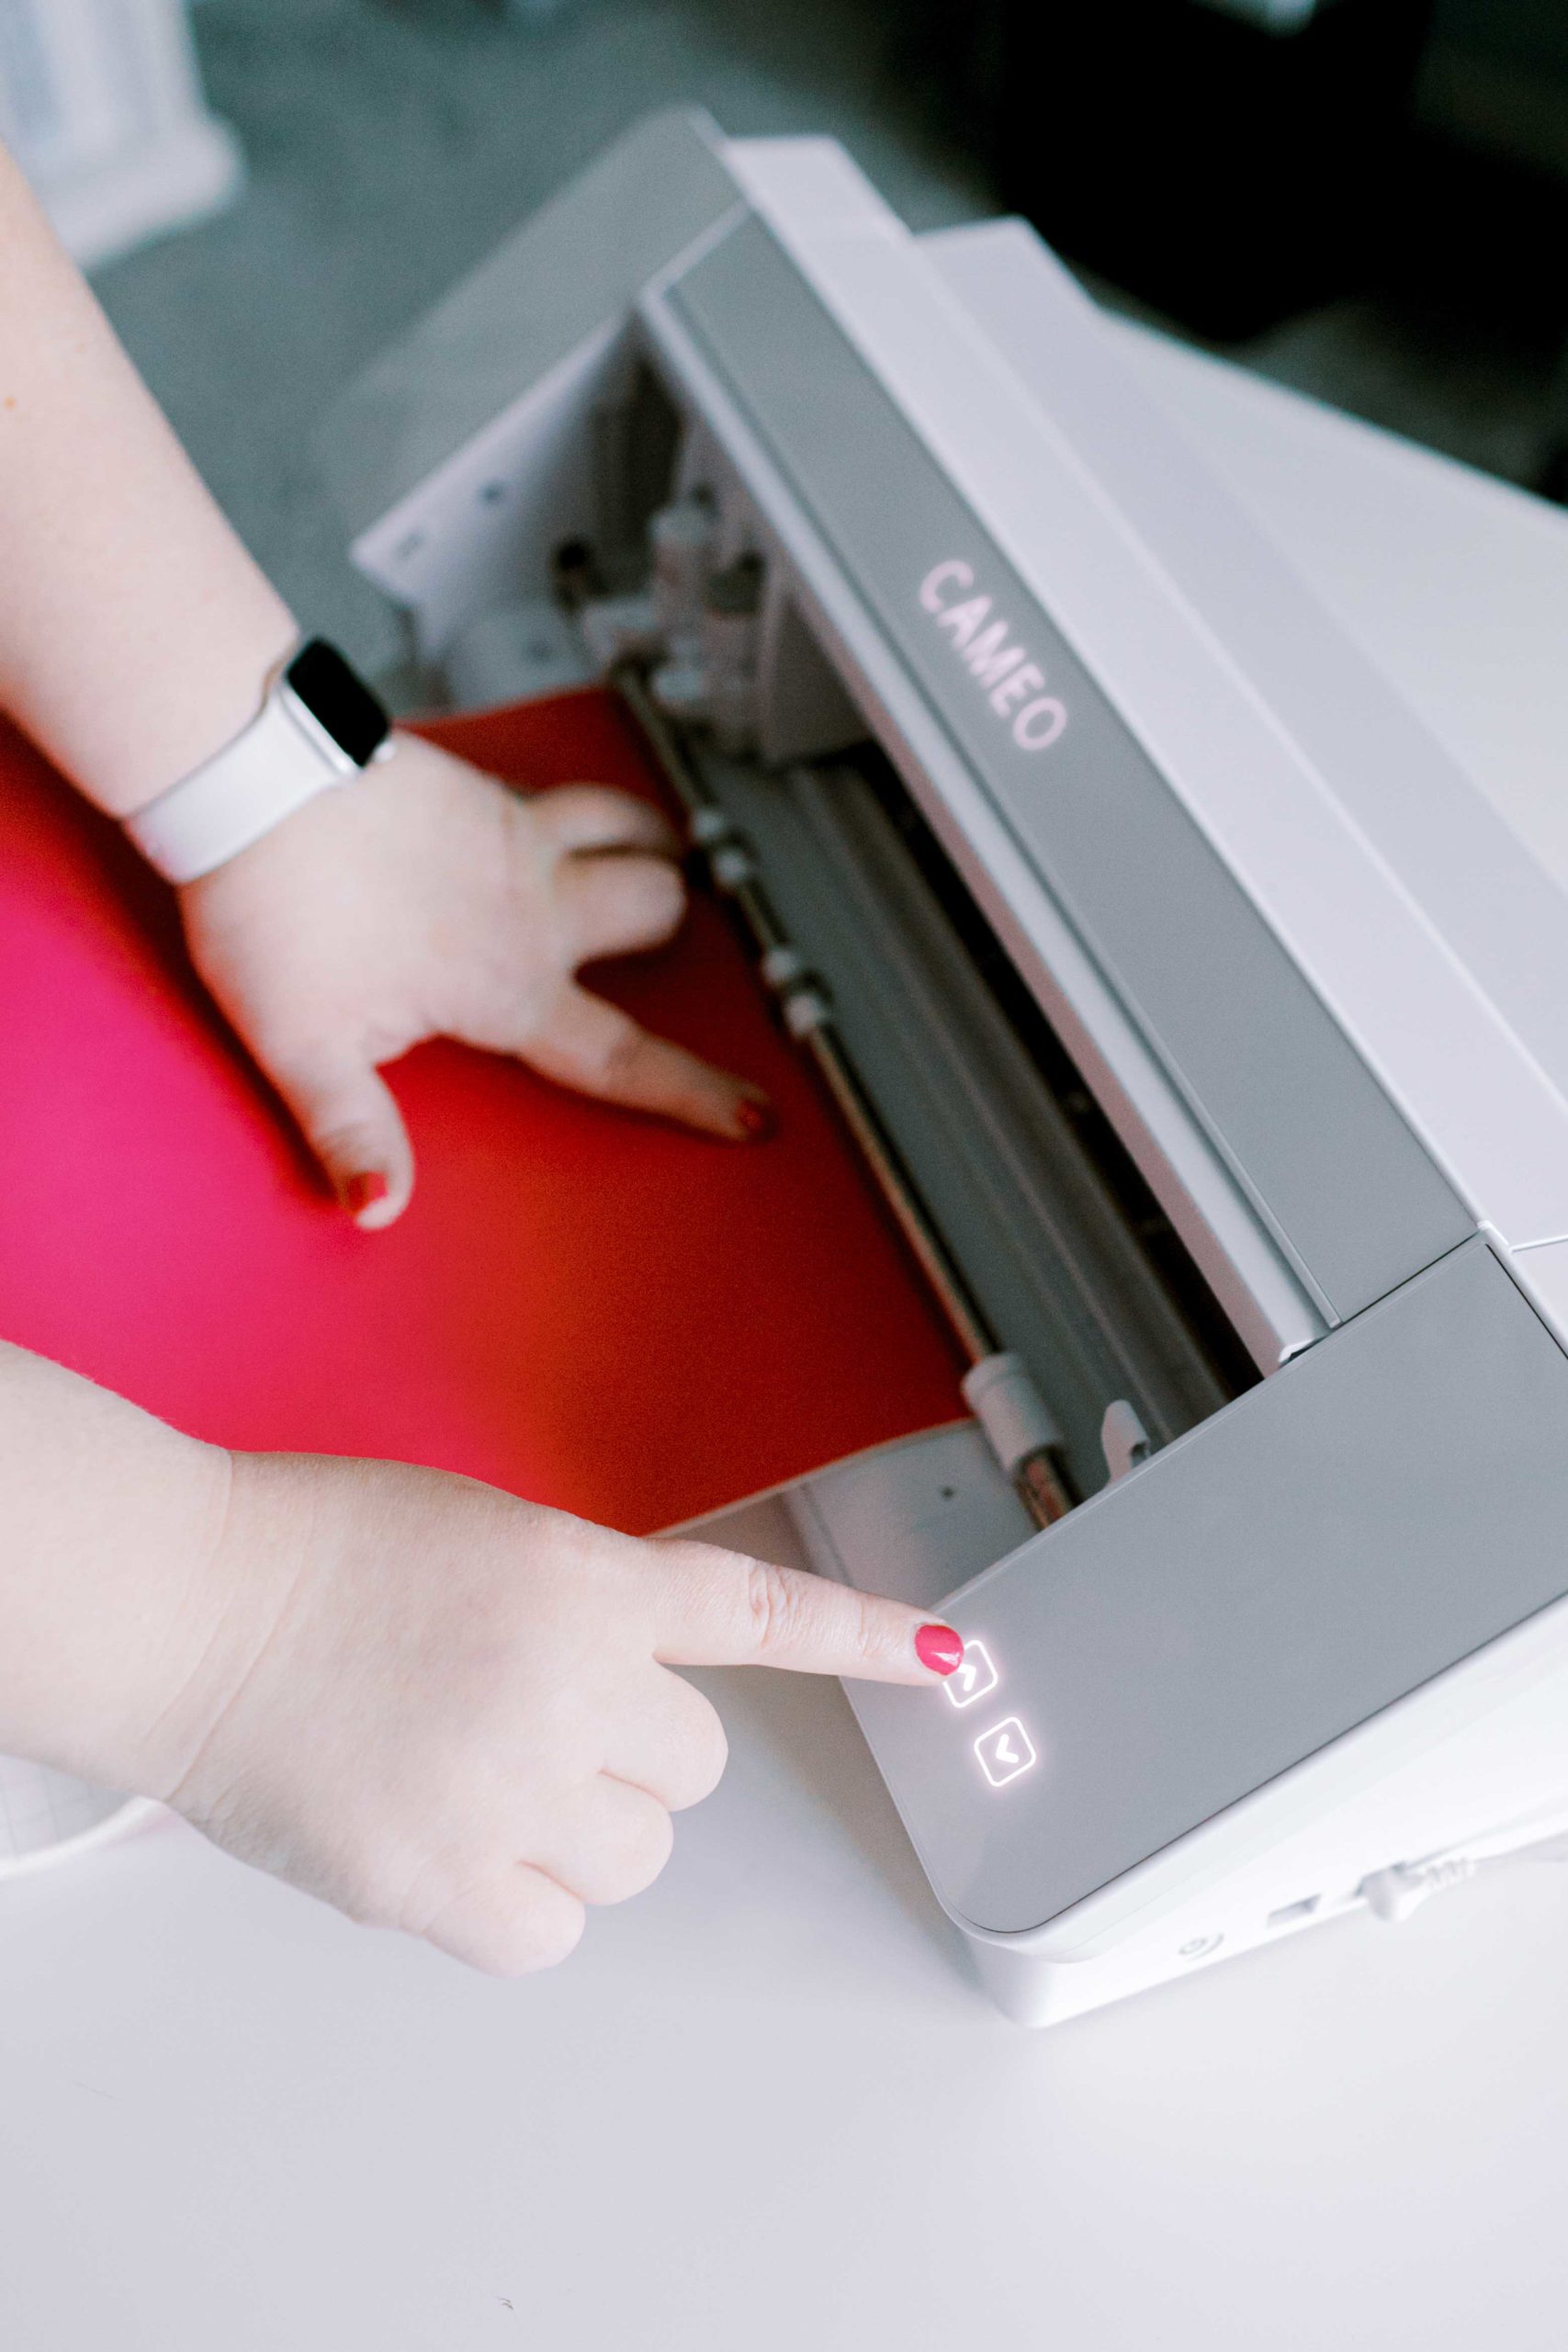
Place your vinyl flat and push it until it just meets the rollers. Hold the vinyl in place with one hand, and push the up arrow button with the other hand. The machine will start rolling until the vinyl is loaded.
If you're using a full roll like me, I recommend unrolling it a bit to give it some slack.
Great job! Now let's head back to the computer for a few final settings.
Step 5: Final Machine Settings
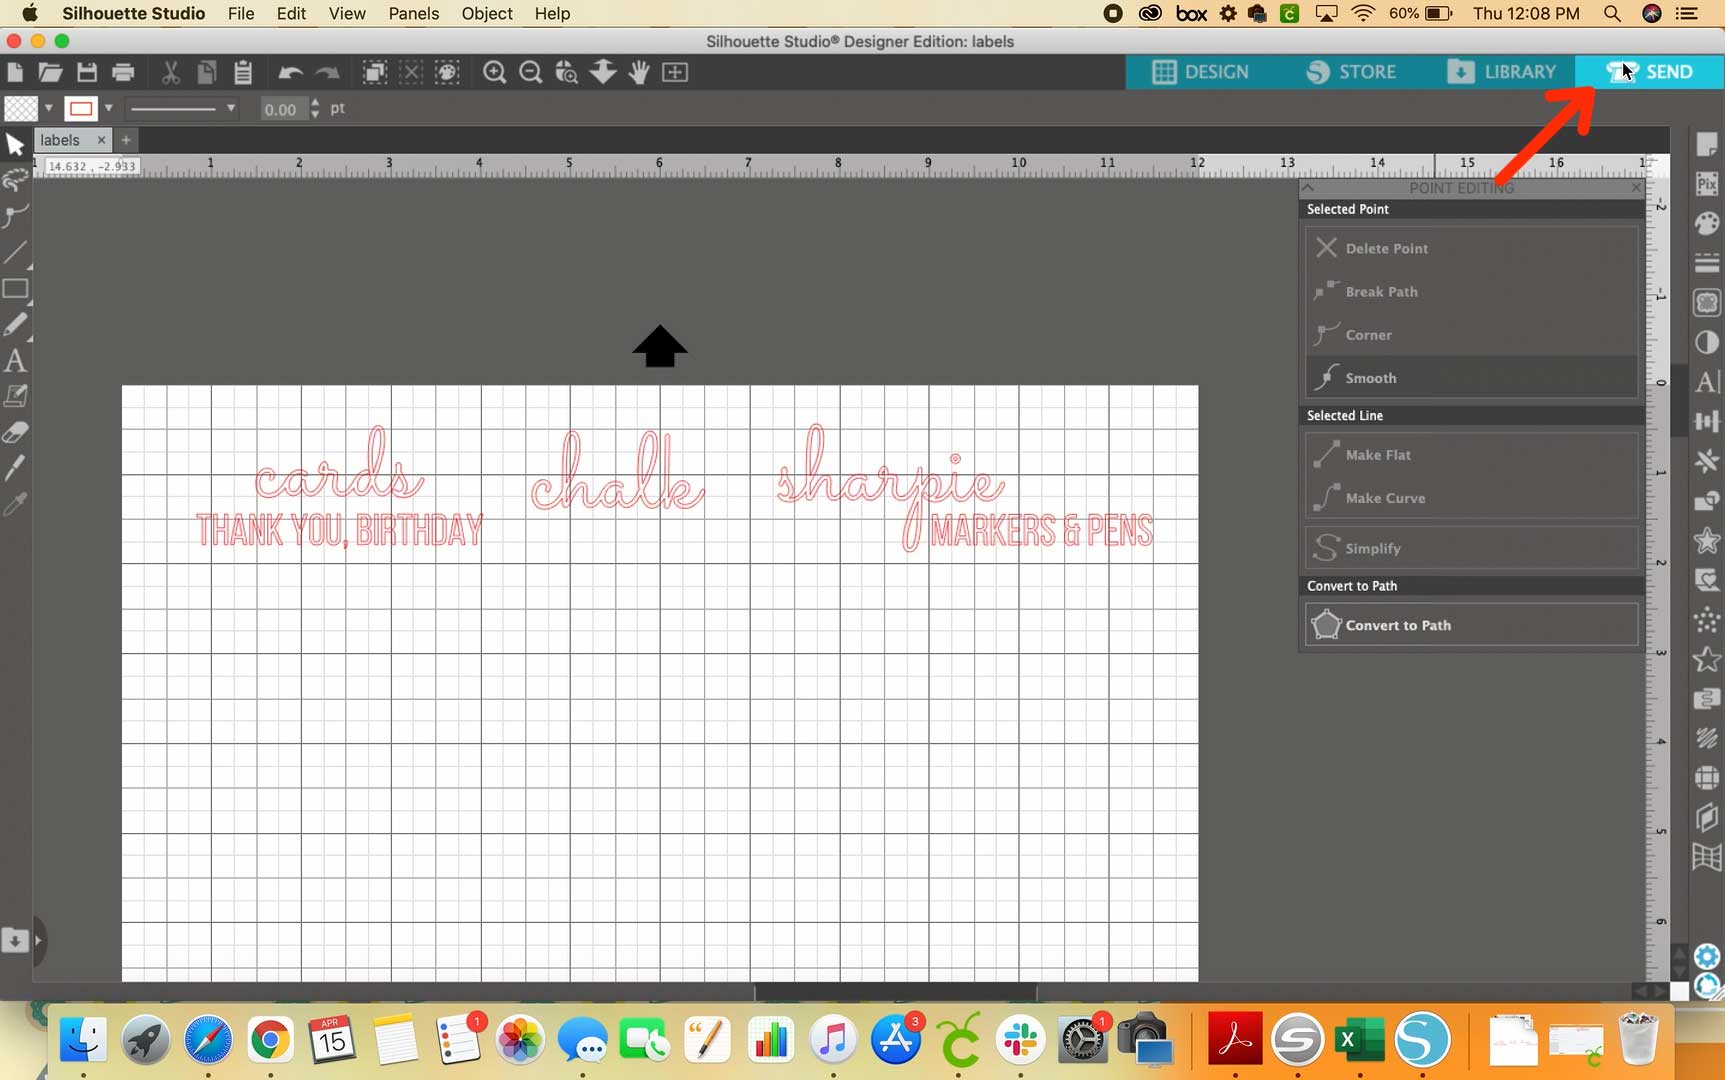
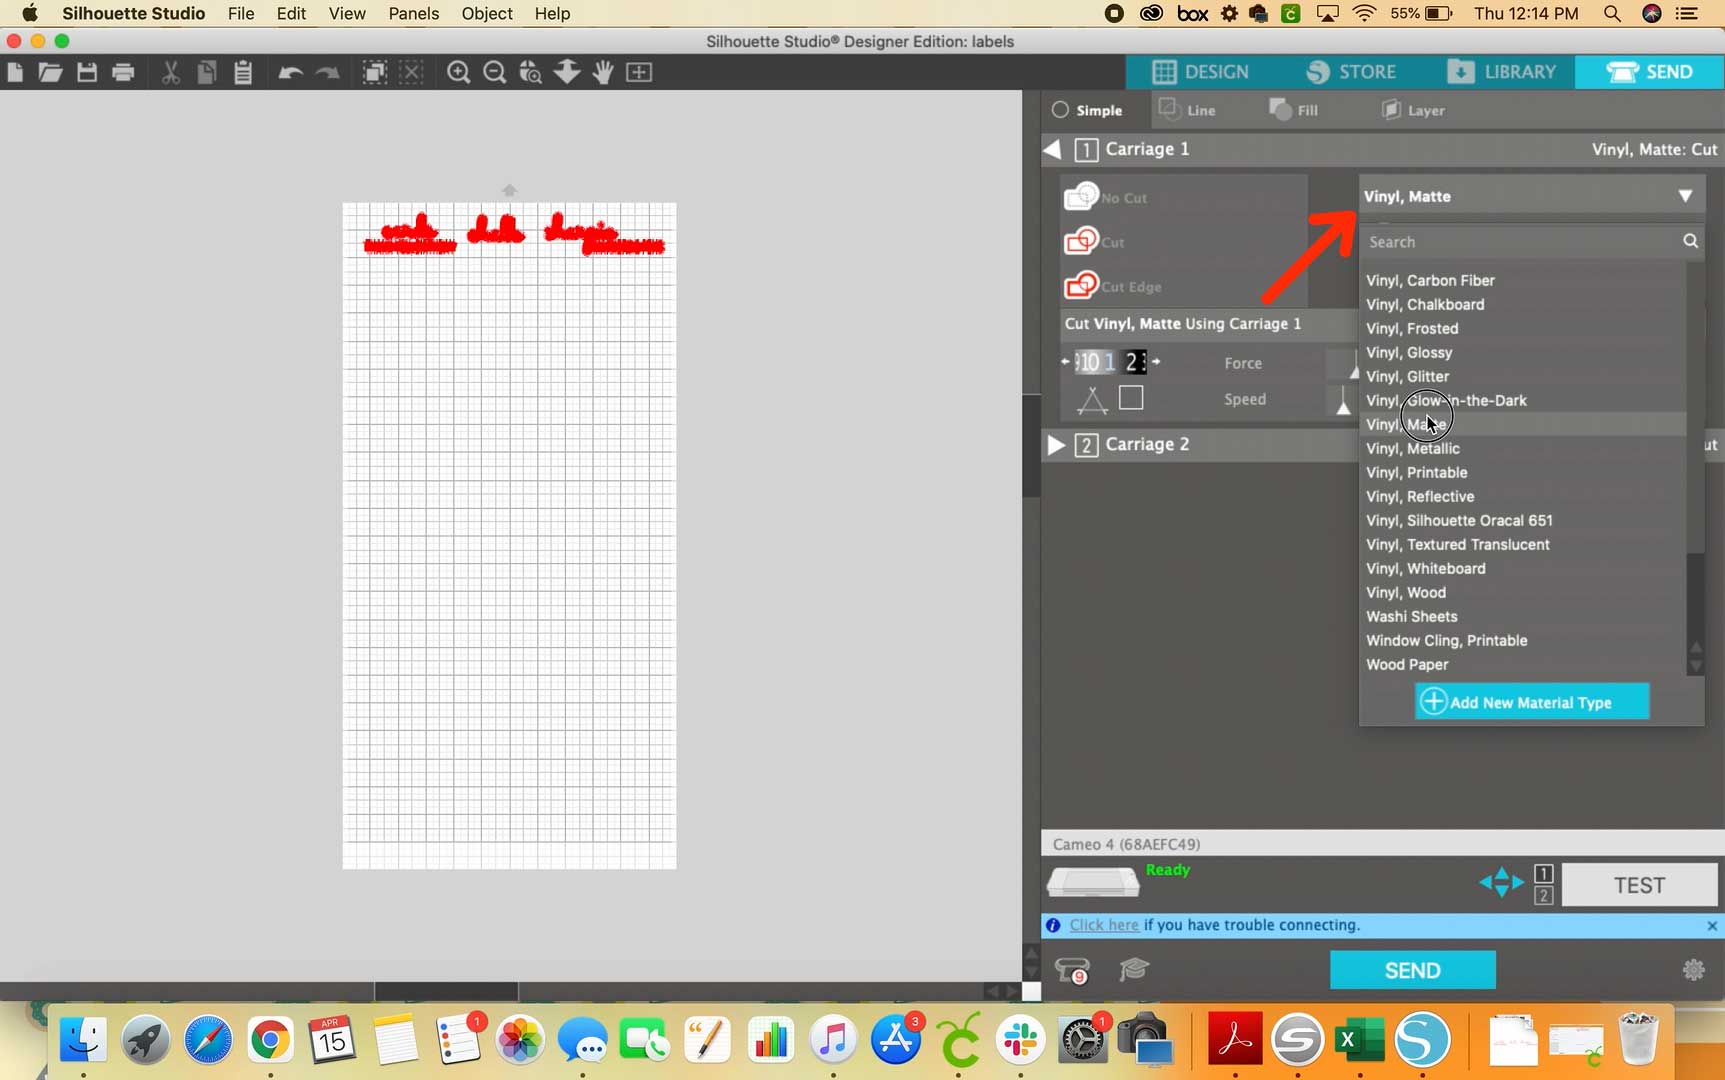
At this point you should make sure your machine is connected to your computer (whether wirelessly or plugged in). If you need help with that, I recommend checking the manual that came with your machine. At the top right, click on the blue SEND button to open a menu with a few more settings.
Here is where I select “Cut Edge” as well as select my type of vinyl (in my case that's Vinyl, Matte). I also like to set the force to 2, but that's just a personal preference.
If everything is hooked up correctly, you should see the word “Ready” in green at the bottom. Go ahead and click the blue SEND button at the bottom and watch the magic happen!
Step 6: Unload, Peel, and Weed Your Vinyl
Once it's finished cutting, press the down arrow button on your machine to unload the vinyl.
At this point, I like to use a paper trimmer to cut off the section of vinyl that has my labels from the roll. Scissors also work fine. Just be careful not to cut any of the letters in your labels!
Now comes the fun part! Lift up a corner and peel back your vinyl. Just be careful not to remove any of your letters with it!
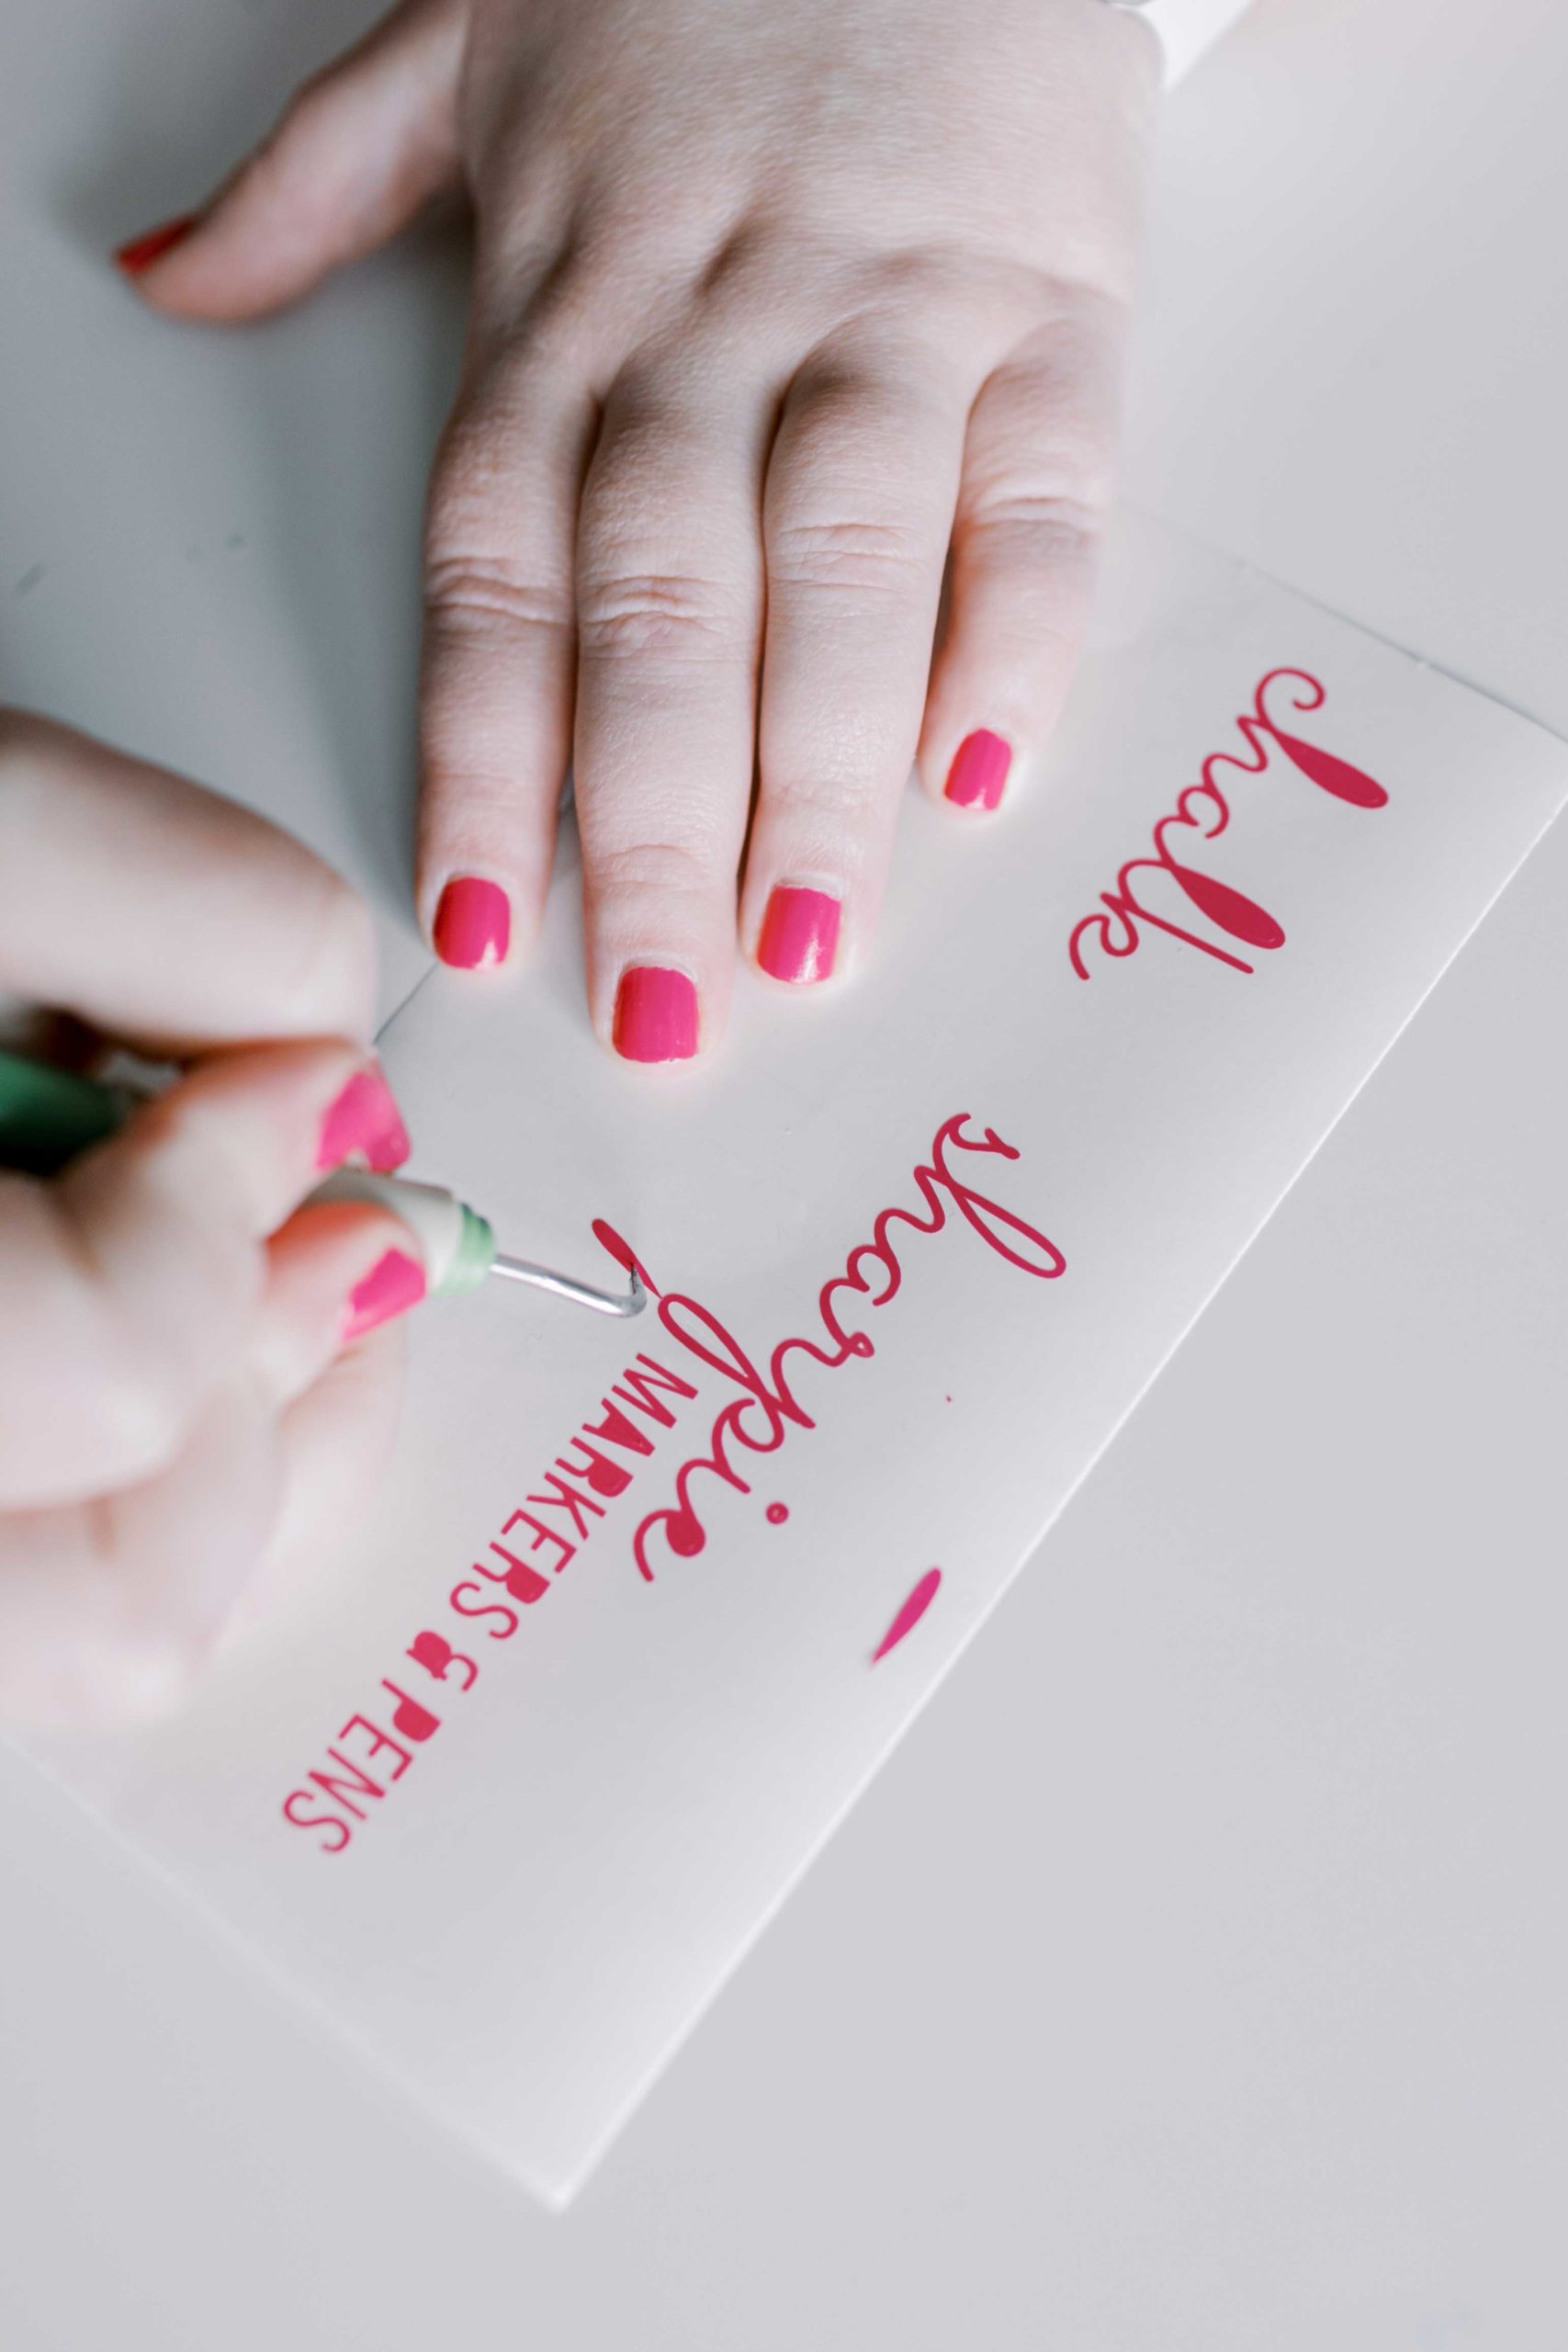
Here's where the weeding tool comes in. Being careful not to dislodge any letters, use the tool to remove the inside of your letters.
Step 7: Transfer the Label
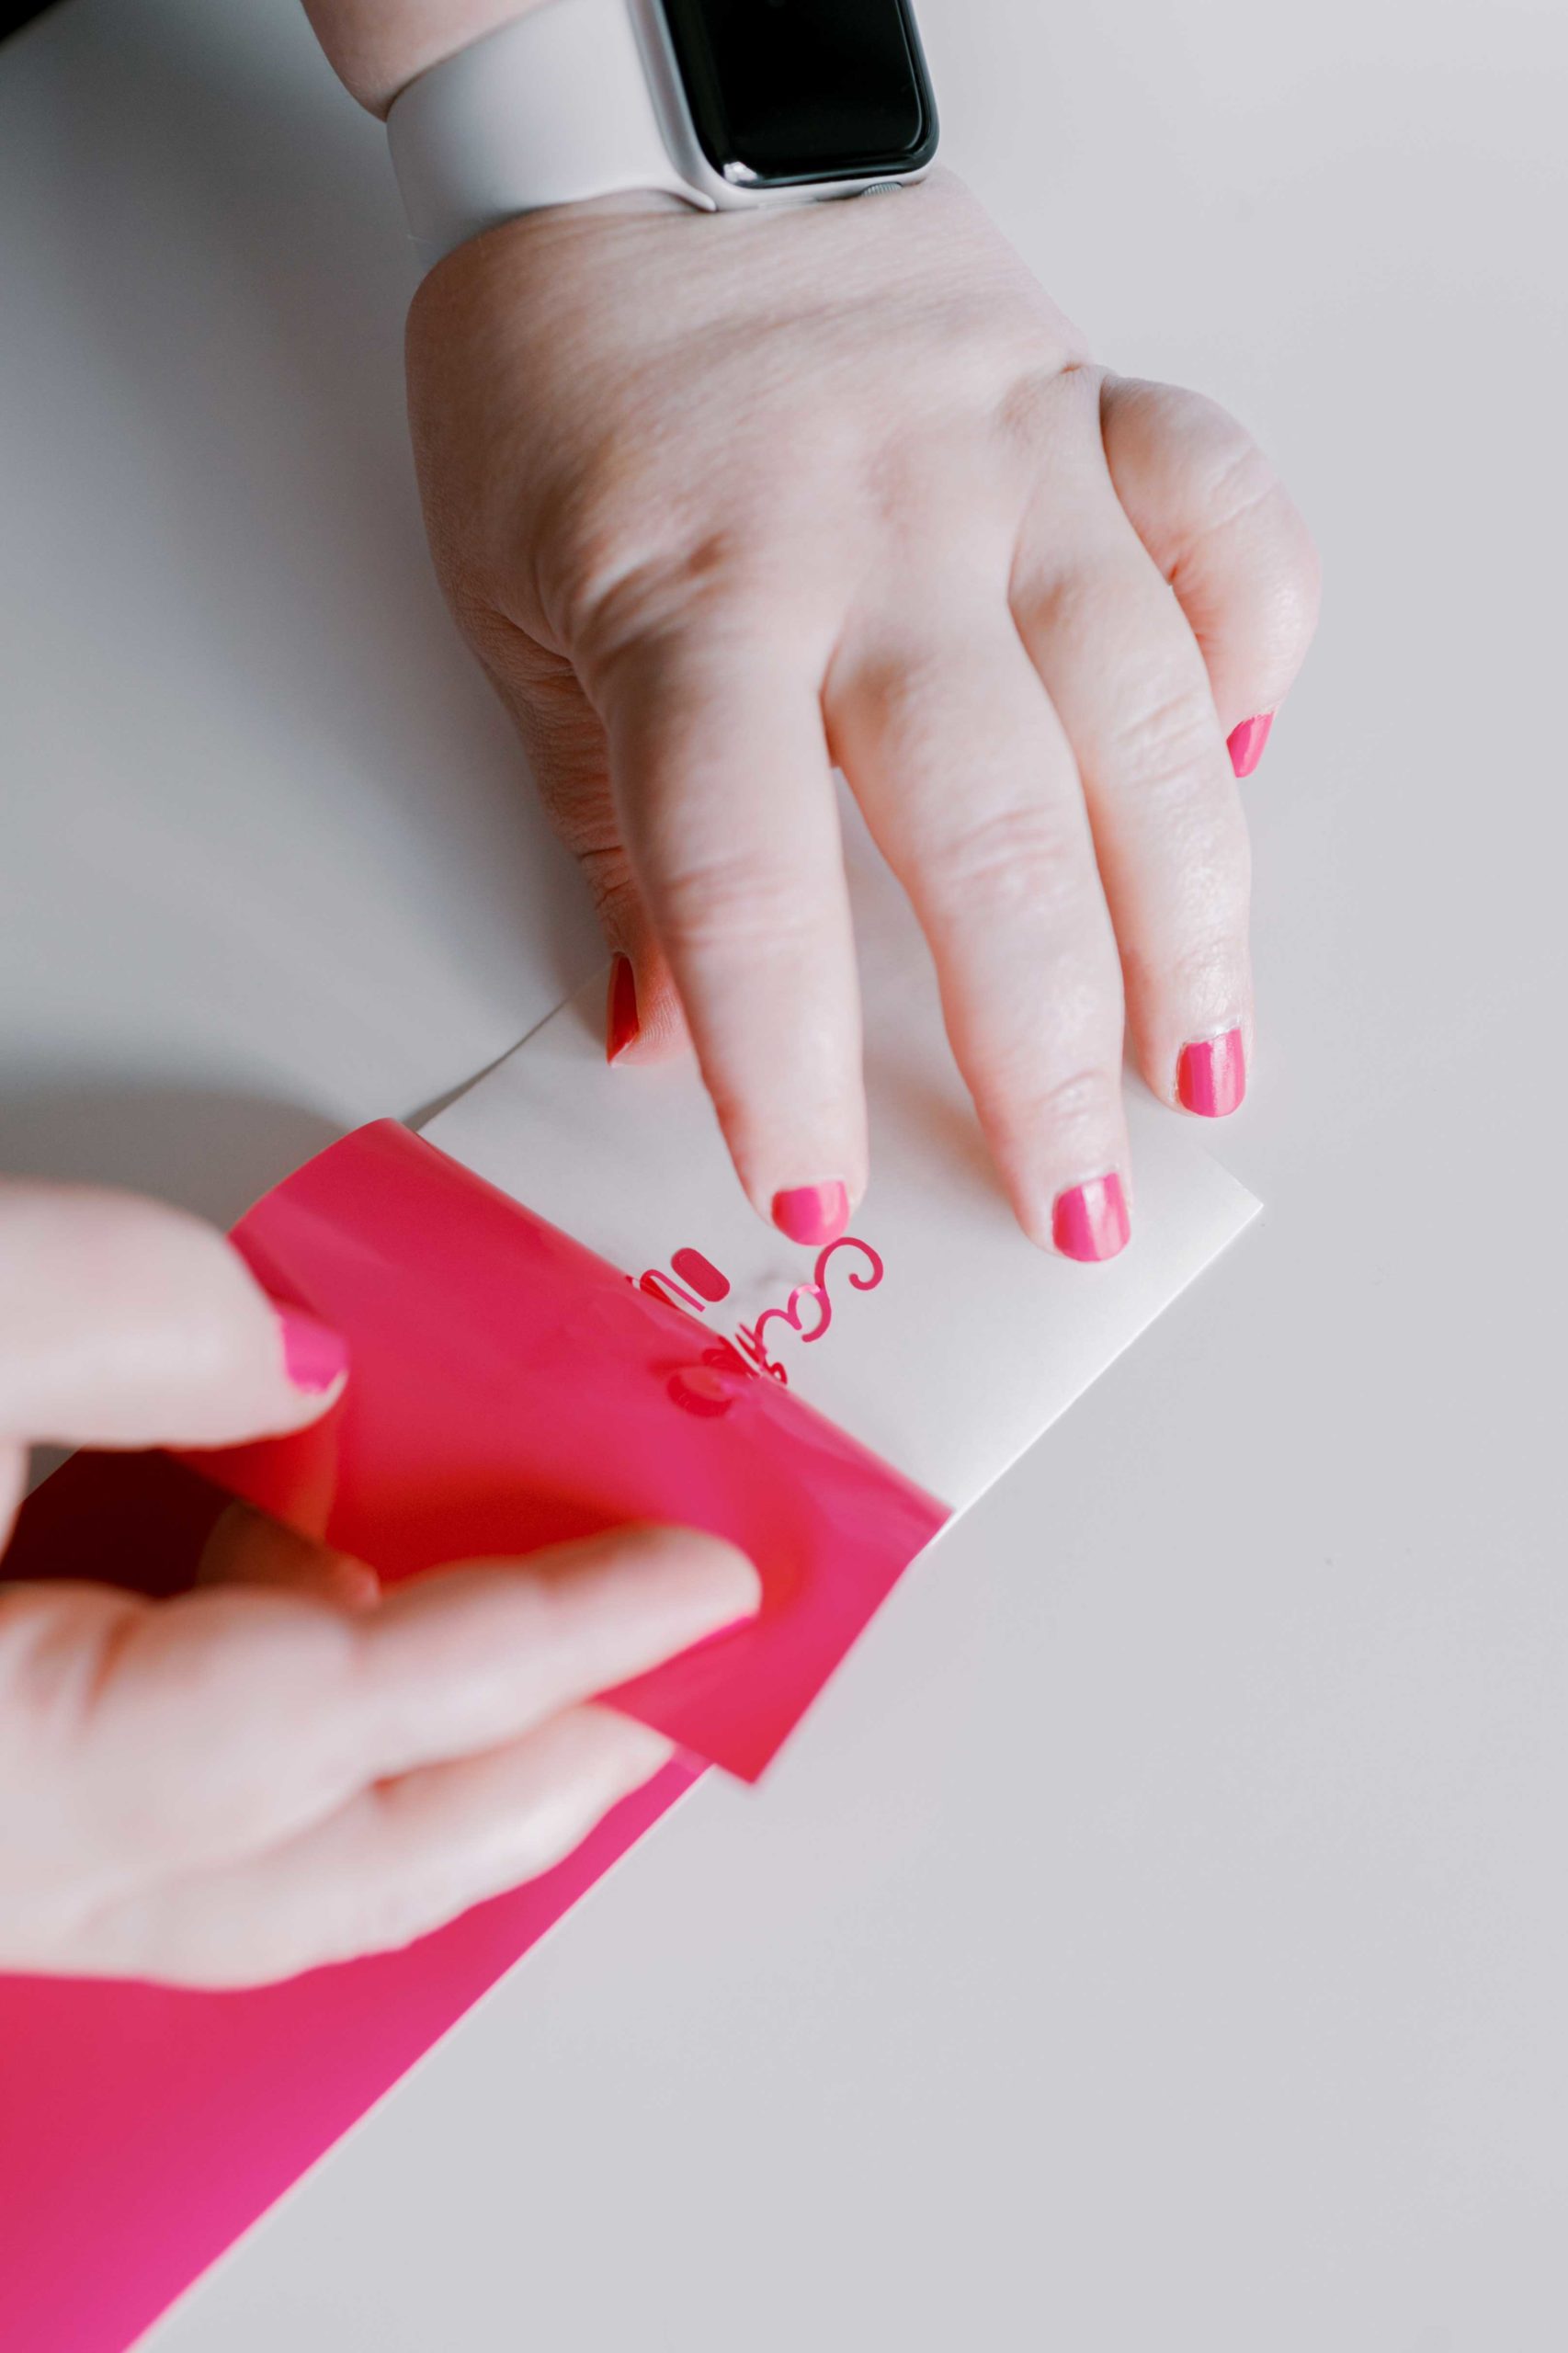
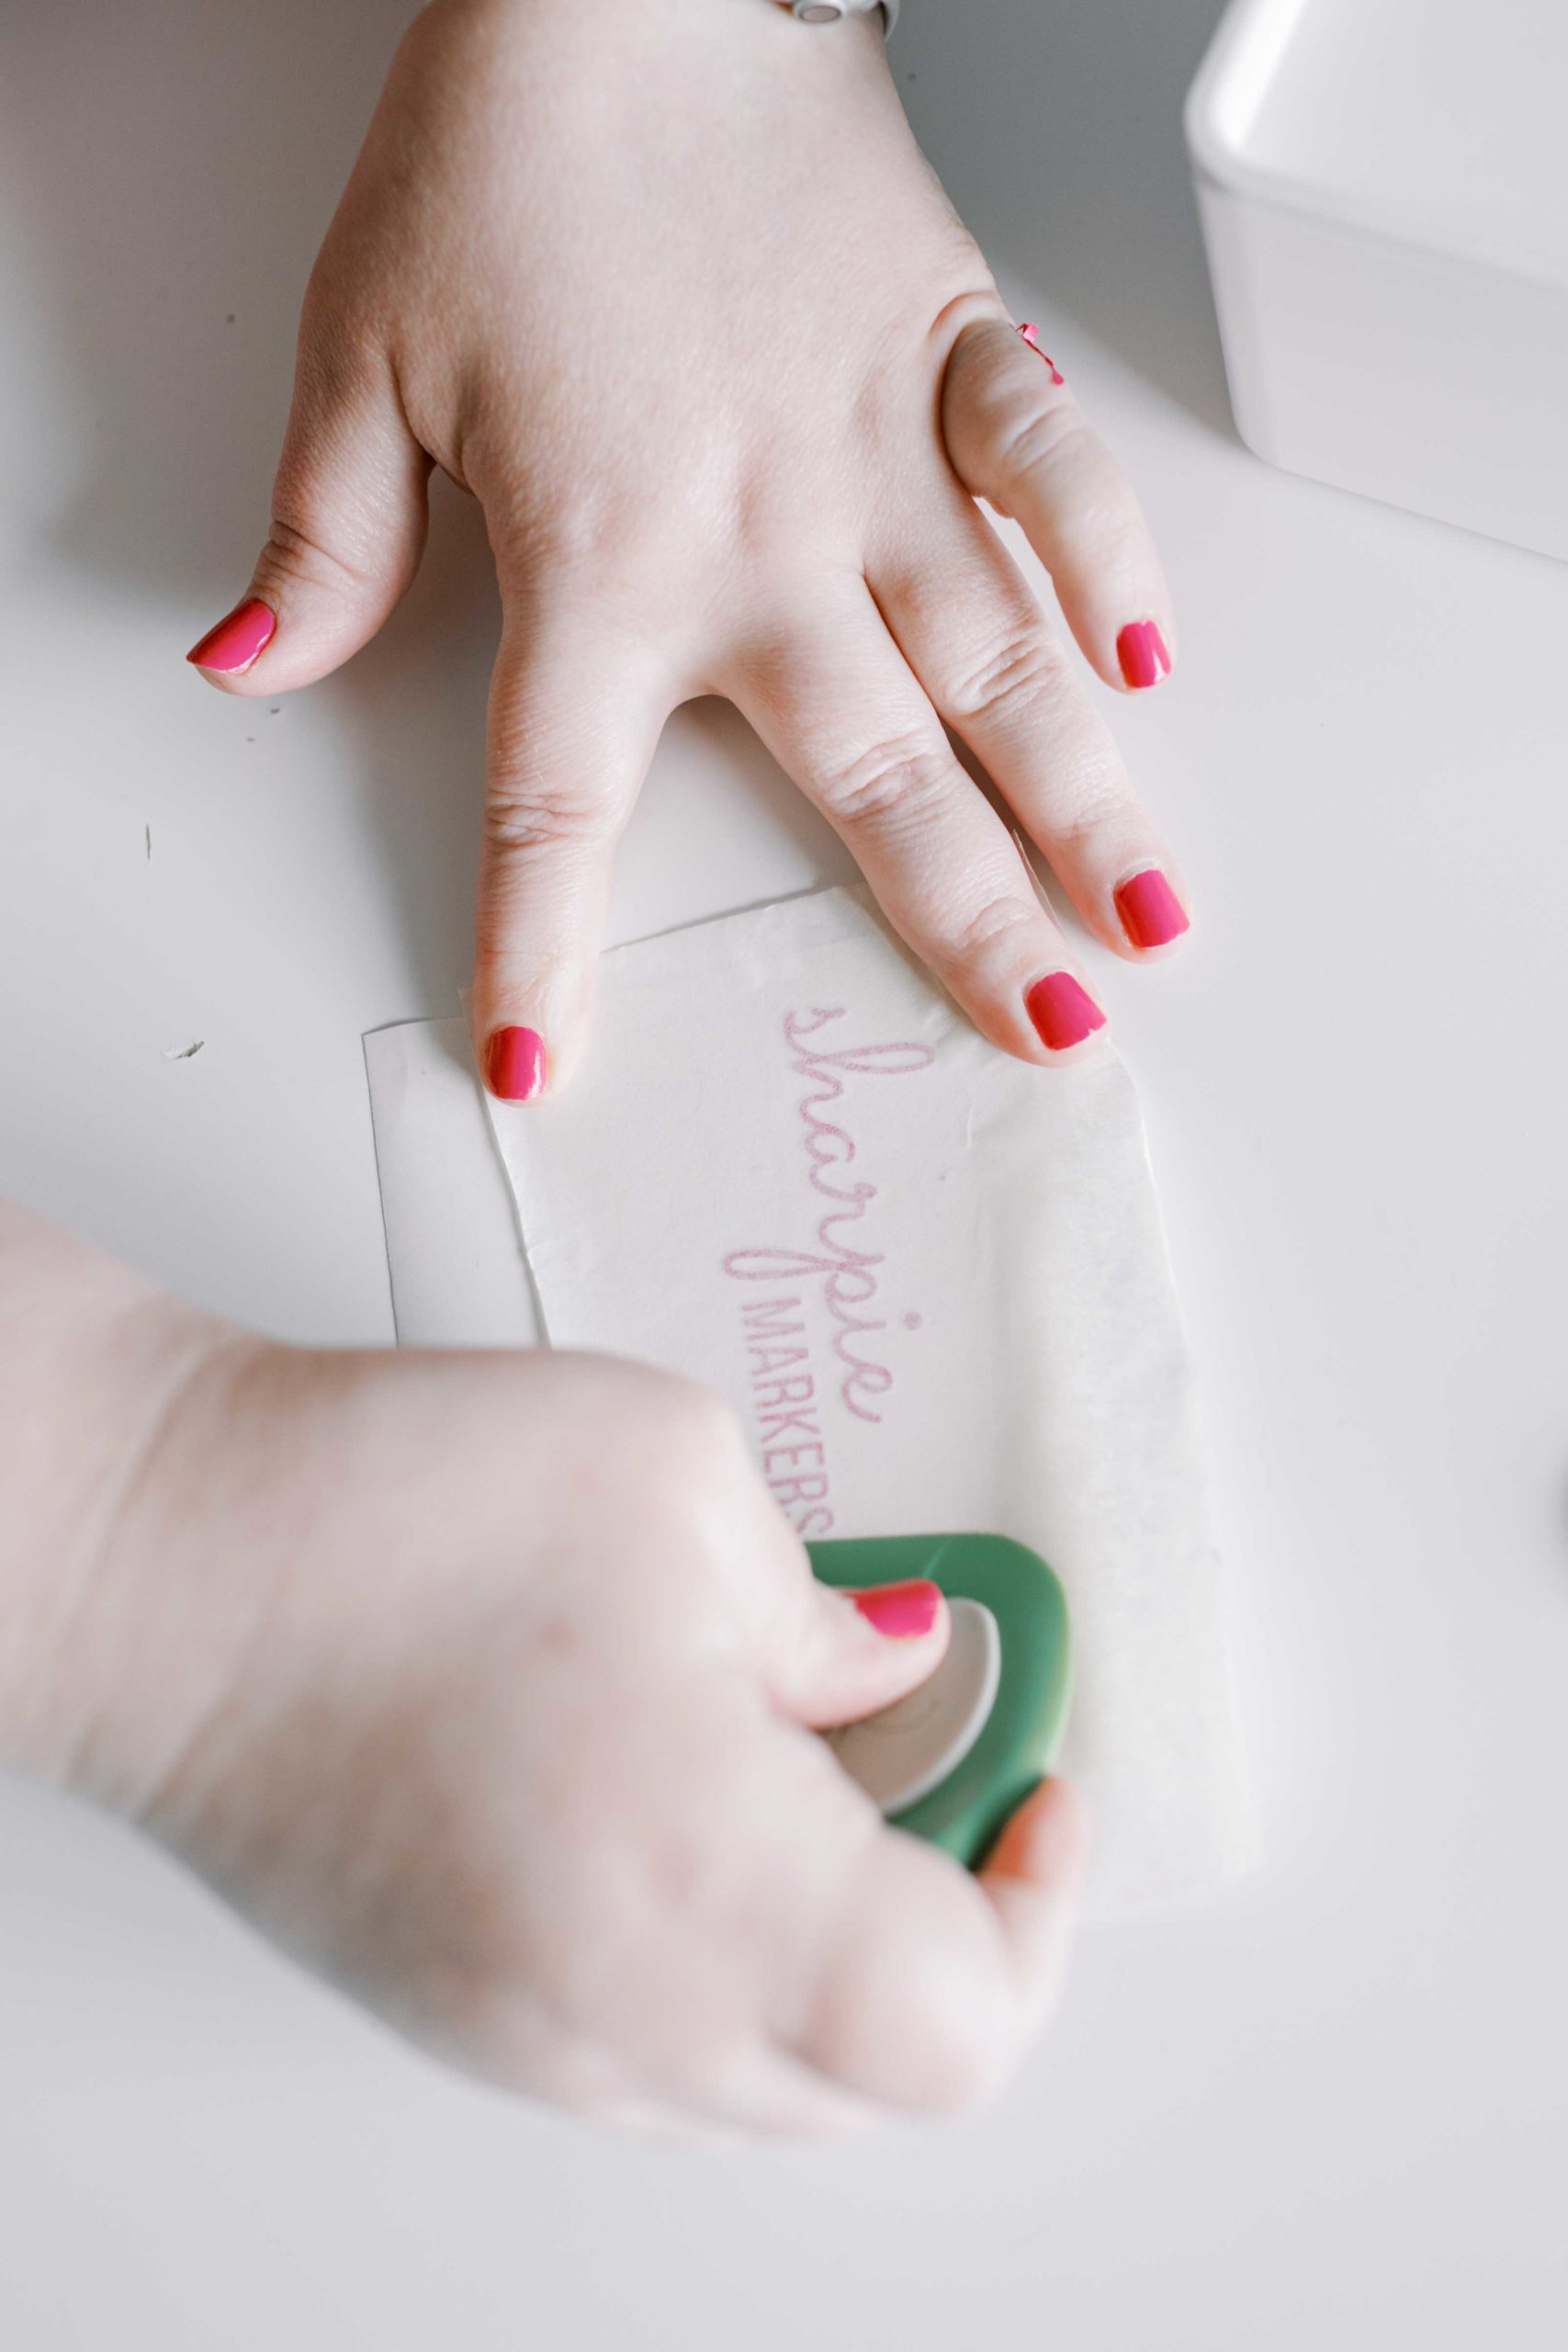
Now it's time to pull out your transfer tape! Take your tape and place it sticky side down on top of your label, being careful to cover only one label at a time. Use your credit card or scraper to make sure it's pressed down really well!
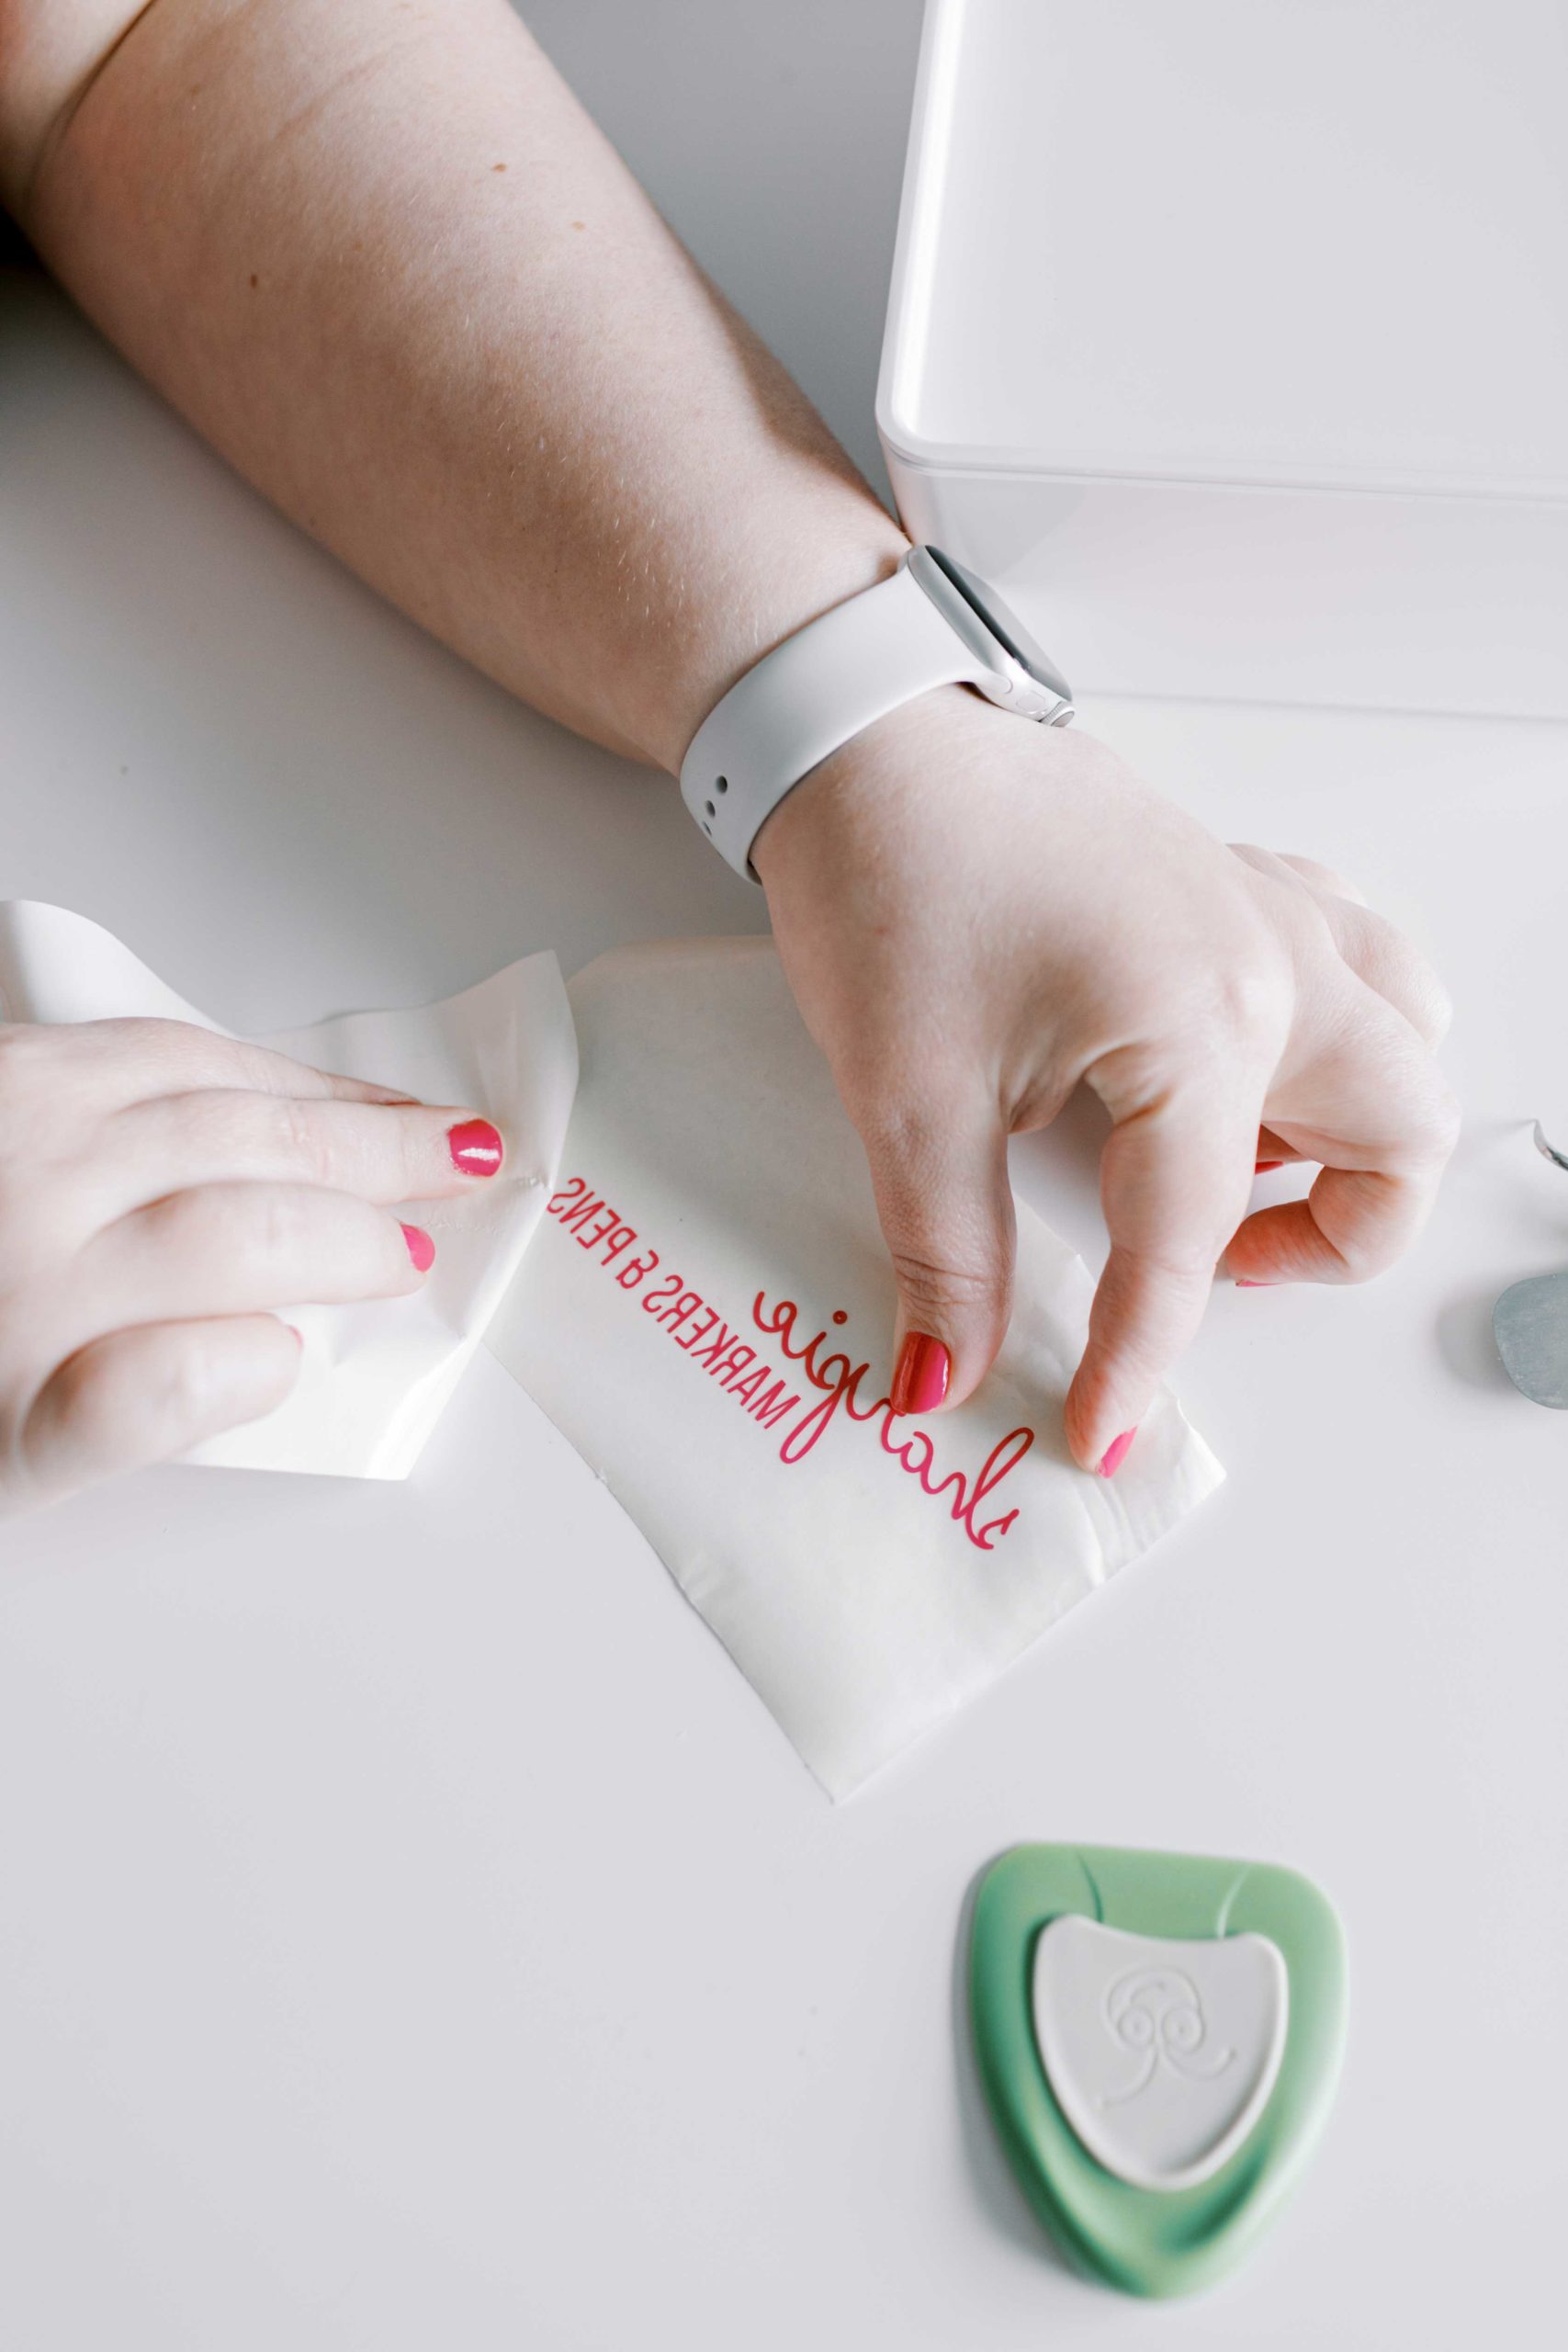
Once it's good and pressed down, peel off the vinyl backing, making sure that each letter is stuck to the tape.
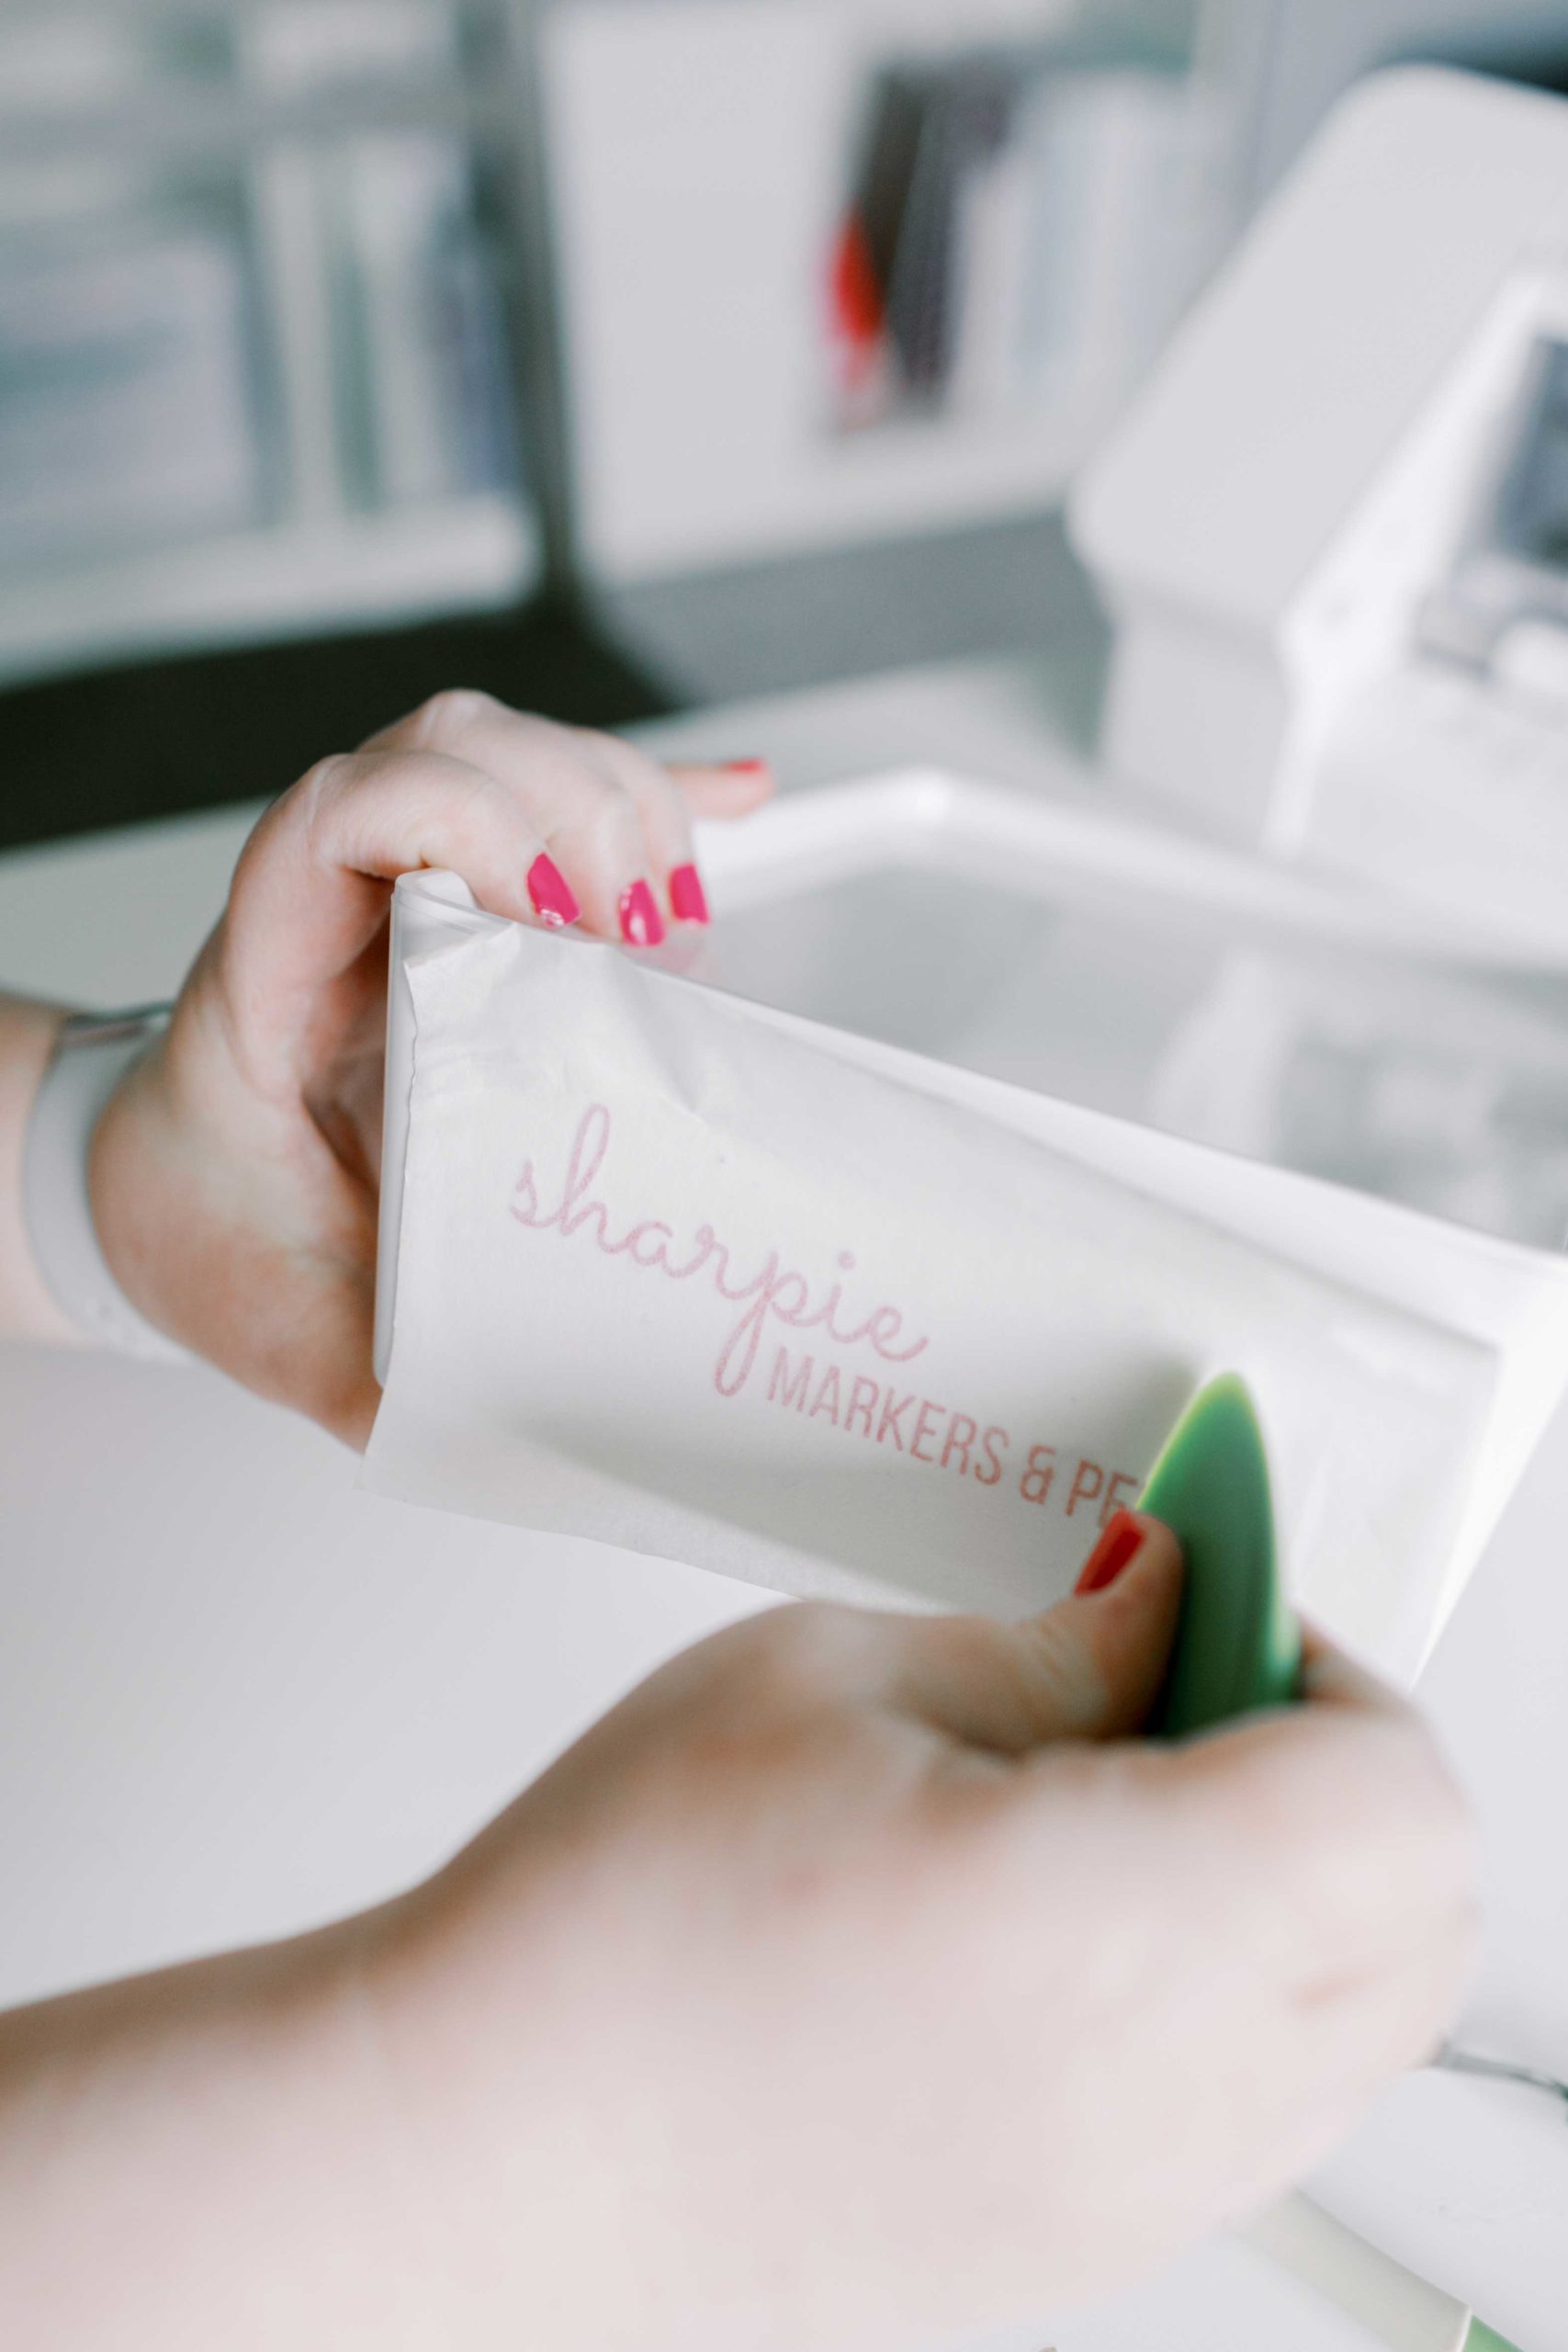
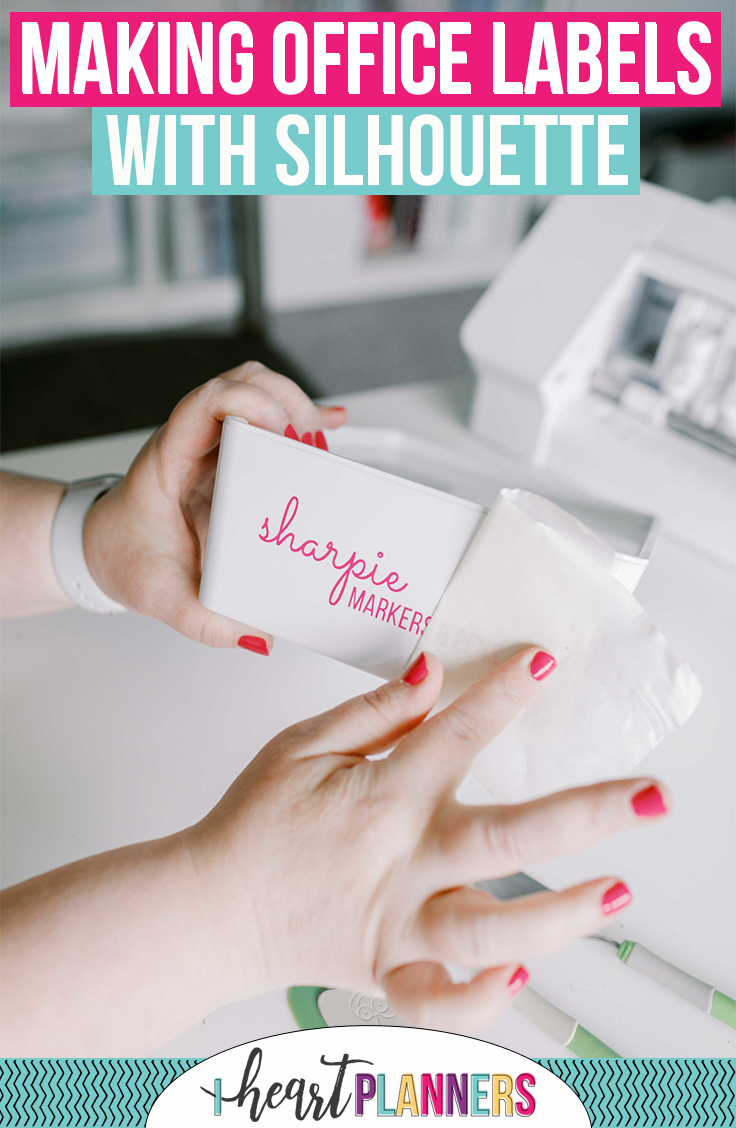
Now take it over to your container and position the label where you want it. I generally just eyeball it. Use your scraper one more time to make sure it's good and stuck on there.
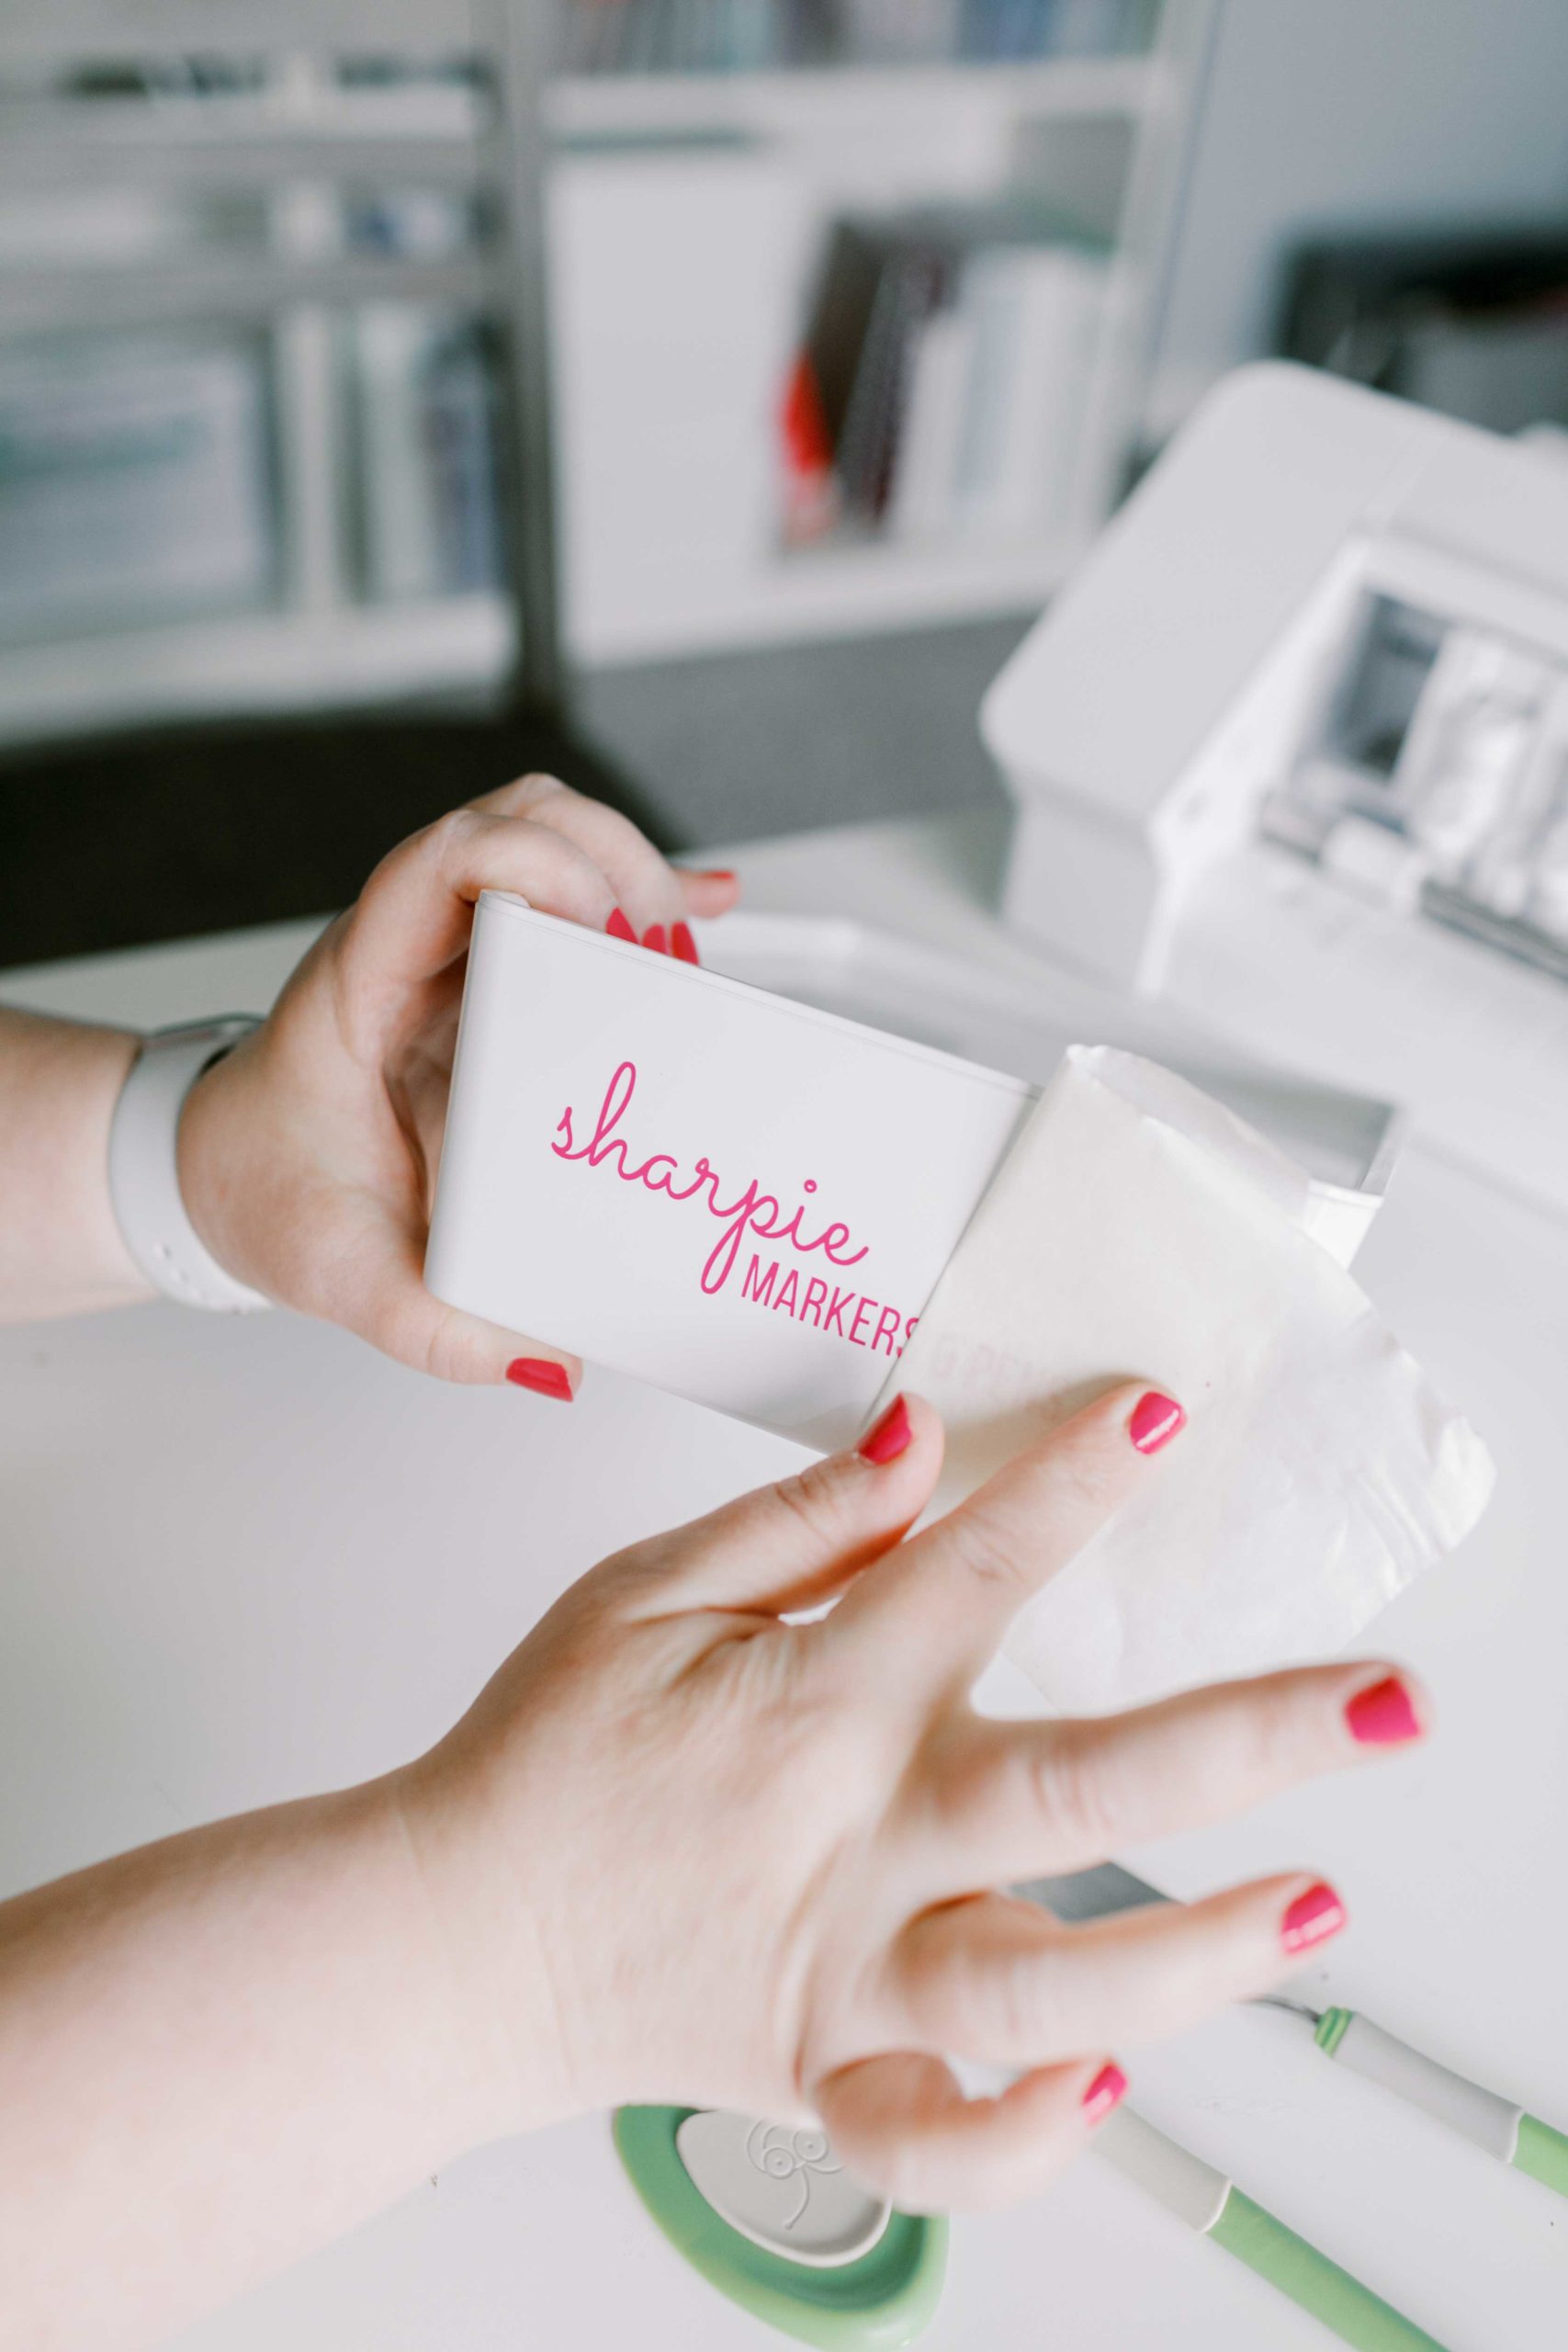
All that's left is to peel back the transfer tape, and your label is done!
Congratulations! Now you can make your very own labels using your Silhouette! In case you're curious, the bins I use in my office are IKEA's Kuggis bins. Since they're opaque, they keep all of the mess hidden, and yet I know exactly what's inside each one with a quick glance at my labels.
I can't wait to see what you do with your labels! Happy organizing!







 Copyright 2026, Get Organized HQ.
Nancy Says
Mystery solved! I guess it’s time to upgrade my Cricut machine!
jessica Says
Really useful! Thanks for sharing this post with us and the way of getting inspired.