Greeting Card Organization
Last fall one of my relatives was hospitalized for a few weeks while recovering from an illness, and the time she spent in the hospital made me realize something: greeting cards are powerful things.
So many sweet people from my church, who had never even met my relative, sent cards and words of encouragement – and wow, did it mean a lot to her!
One of my goals since that experience is to send more cards – whether they be birthday cards, sympathy cards, get well soon cards, or just thinking of you cards – thoughtful, written communication is impactful, and it’s something I want to take more advantage of.
This post may contain affiliate links…I only post affiliate links for products that Tasha and I would tell our friends about.
I created a system for organizing my greeting cards. At the end of this post I’ll explain how I DIYed the card box I’m using – it’s super simple! You can watch how I did it here.
I’ve talked many times about my love of Photo Boxes for organization – and they are the perfect thing for organizing greeting cards!
I got a case of 18 5”x7” photo boxes. (The case part is important! Otherwise you’ll just have a bunch of boxes floating around.) You could do it with the 4×6 boxes, but you’d have to pay special attention to the cards you get to put in the boxes to make sure they fit.
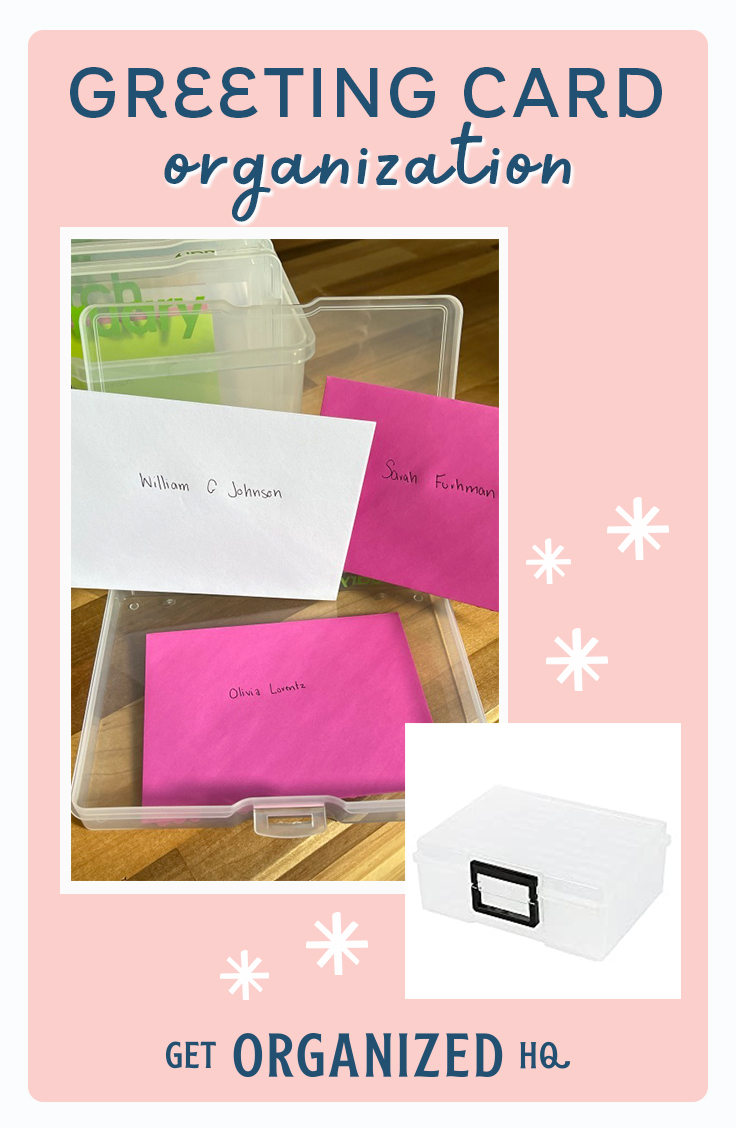
I labeled 12 of the boxes with the months of the year. Then I divided up birthday cards among them – January birthdays in January’s box, and so forth. I also have a friend I want to remember to regularly write to – he isn’t able to get out, so cards cheer him immensely. I went ahead and put a card in each month’s box for him.
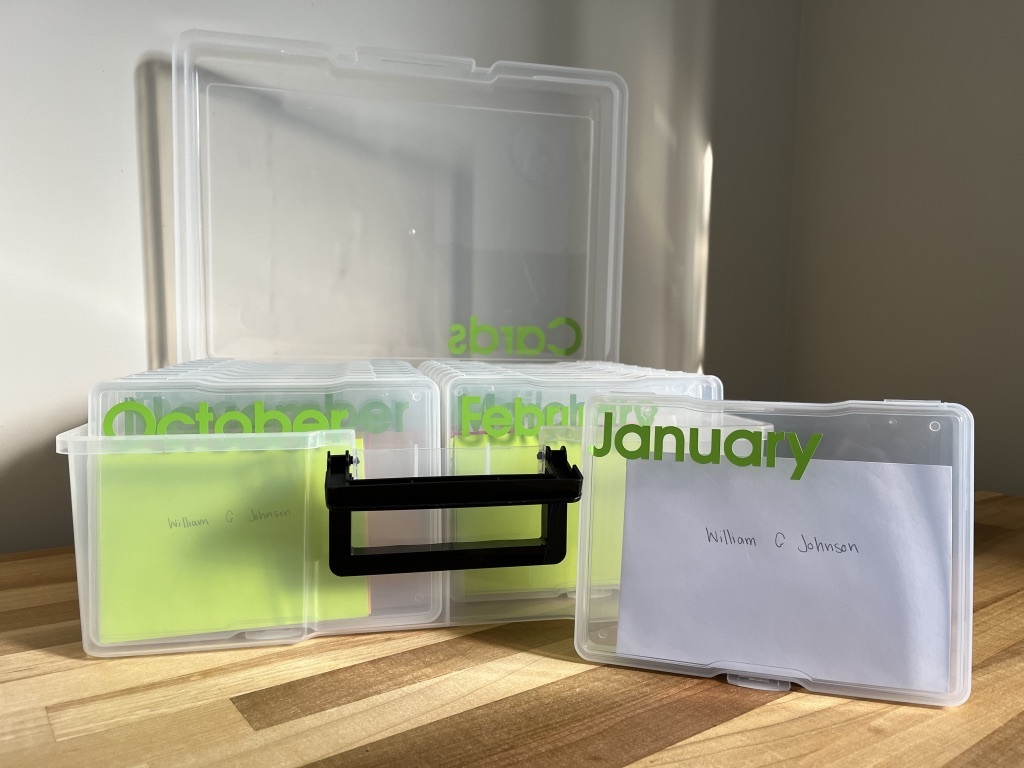
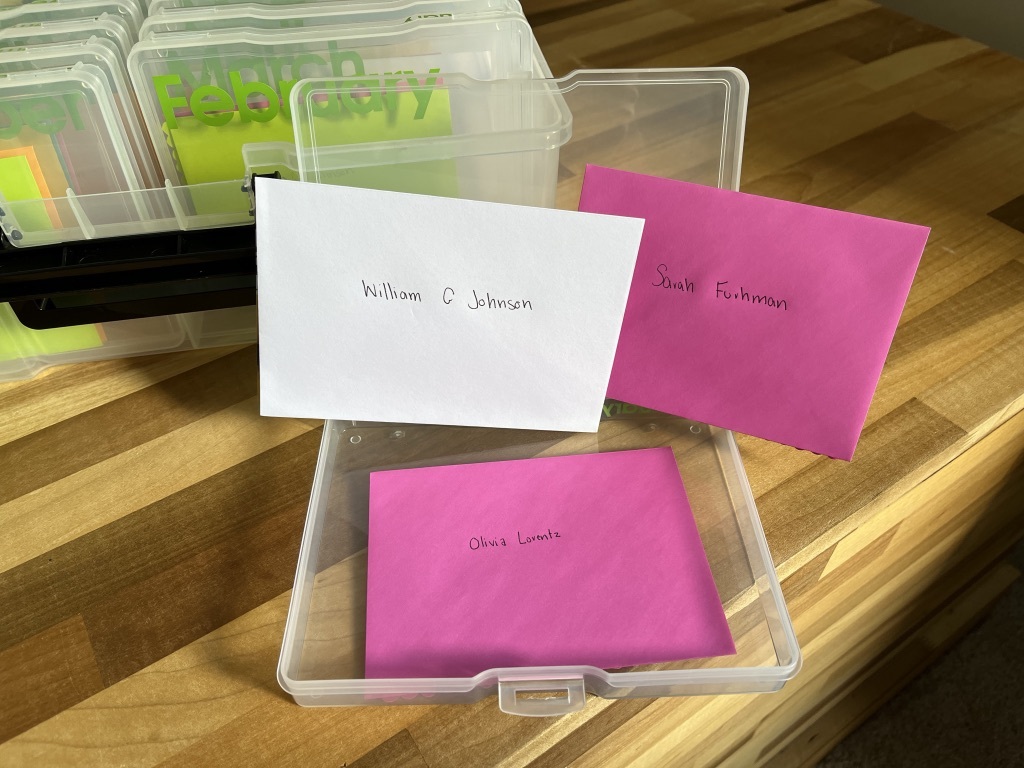
If you want to be a super go-getter, you can go ahead and address the envelopes and stamp them!
I labeled the extra boxes with the type of card that was inside the box – so, for instance, there are “Get Well Soon” cards in the Get Well Soon box. I also used one box to store stamps.
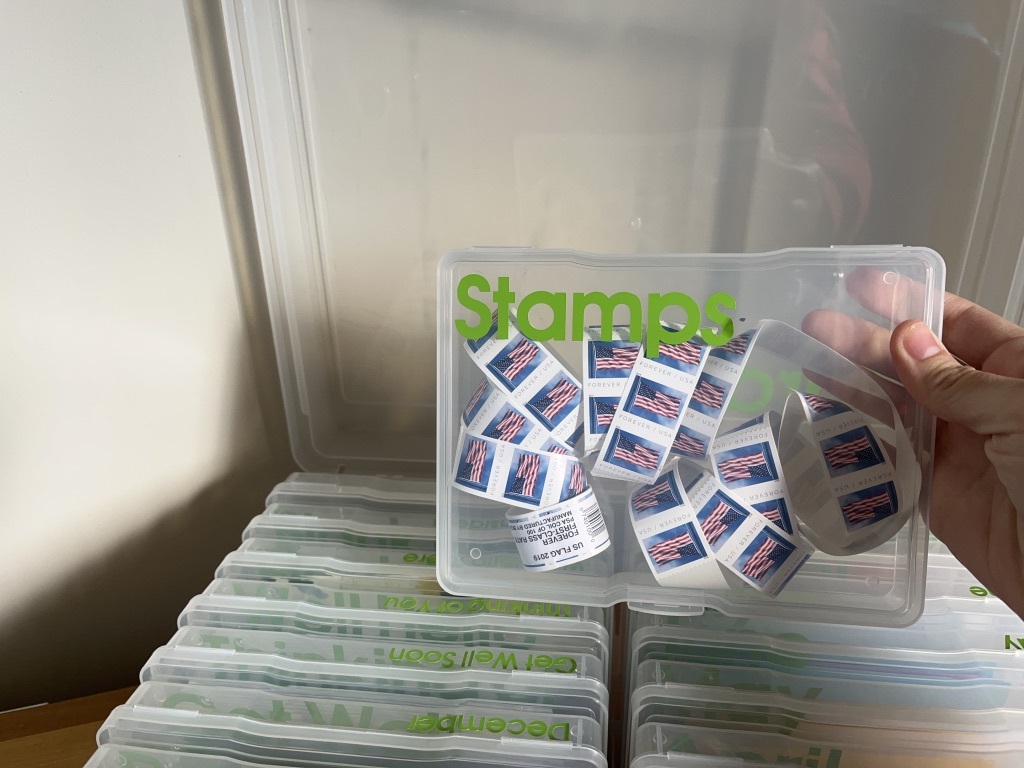
It’s really a pretty simple system, but it keeps my cards super organized AND I don’t have to worry about forgetting birthdays – they’re already all accounted for in my box!
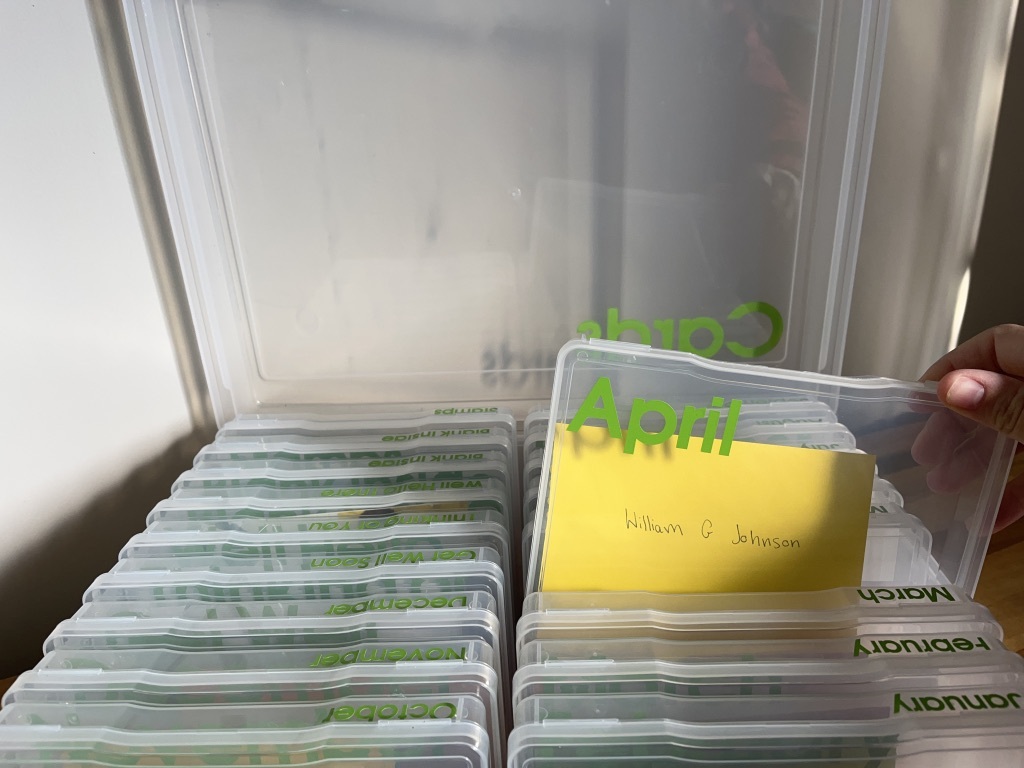
If you want to create one for yourself, here’s what you’ll need:
- A case of photo boxes
- A label maker (I used my Cricut joy, but a standard label maker would work just fine!)
- Cards
That’s it! Simply label your boxes, fill them with cards, and you’re good to go!
If you’re not into sending birthday cards, you can also buy a case of just 6 photo boxes and organize all your cards by type (i.e. Get Well Soon, Thinking of You, Thank You, Sympathy, etc.)
Hopefully this system can help you stay organized, and encourage others, in the New Year!
Organization that actually sticks for busy, happy lives.






 Copyright 2025, Get Organized HQ.
Melody LeBeau Says
What a wonderful idea!! Ill check out Amazon ?
Claire Fanger Says
I was grateful to learn about the plastic box because I have stored my cards in a cardboard box by event, like BirthDay Thanksgiving Mother’s Day baptism thank you cards friendship etc. And I just used a 5×5 piece of cut up cardboard and written the event on them. This will be much more “swish”, so thank you for the recommendation keep them coming because it just making my office look much more professional at home.
Claire
Tommi Says
I’m not much of one for greeting cards, but this will be a perfect system for all myplanner stickers!!! Who knows, maybe I’ll become a greeting card person!
Heather Says
Do you have to buy specific cards because I was super excited to use this system but when I went to try it none of the cards I already had fit in the boxes except for one and I had to bend the envelope of it to fit it in.
Tasha Whitsitt Says
Post authorWe just bought cards off of Amazon and they fit in the 5×7 containers for us.