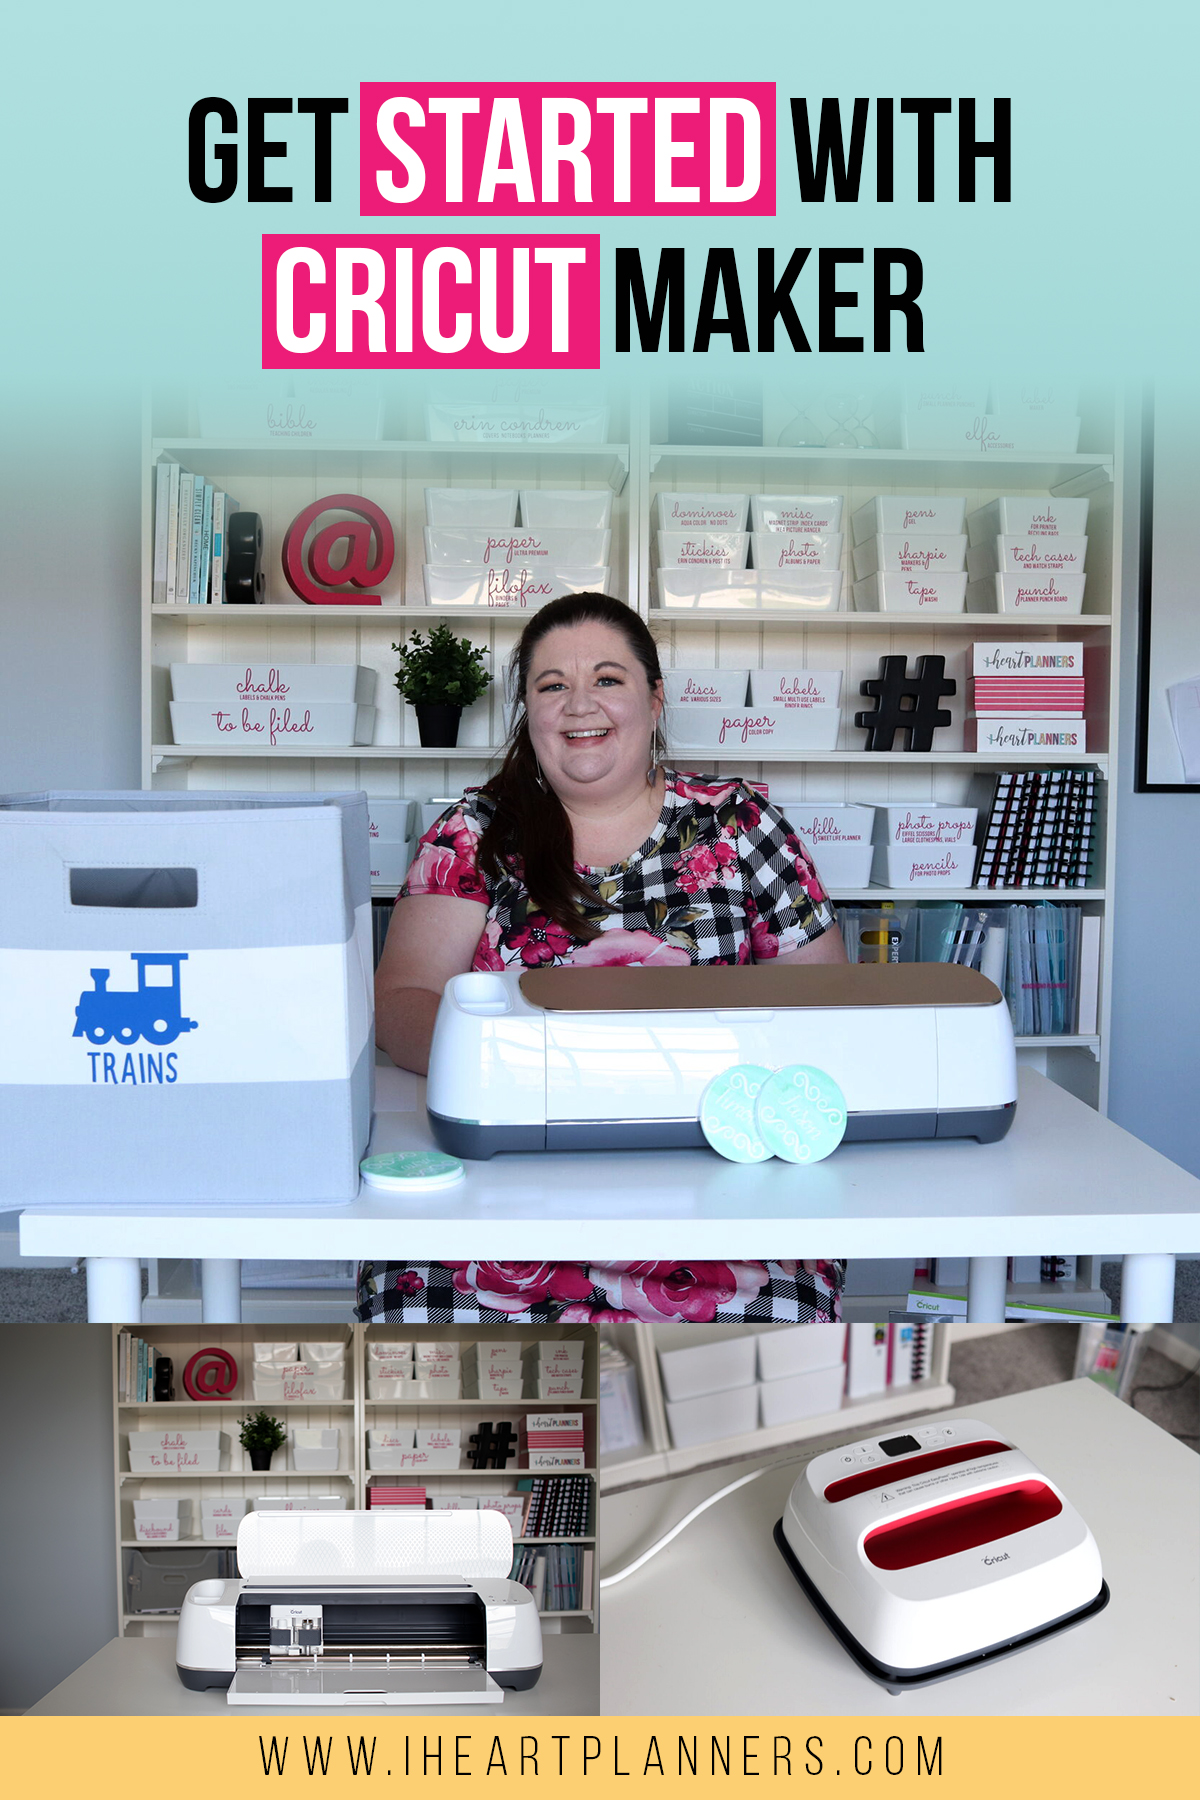
Get Started with Cricut Maker
Who all is looking for a way to spend even more time working on projects? What, no takers?
What about a way to make your craft projects come together quick, easy, and hassle free? I bet I’ve got a lot more hands raised on that, right? (I know my hand was raised!)
Note: The video in this post is sponsored by Cricut and they sent me the machine and supplies. All opinions are 100% mine.
Recently I’ve been able to accomplish more of my projects in less time with the help of my Cricut Maker. Cricut sent me a Cricut Maker and a bunch of materials to try out and I could not be more grateful because this machine is changing my organization in a major way. Honestly, I am loving it! (Don’t be surprised if you see me using this like crazy in the future ?)
I am blown away by how easy it is to use and how much it can do! I’ve finished a couple projects already and this machine is one that I cannot wait to share with you. If you’d like to watch these project come to life, check out the video below:
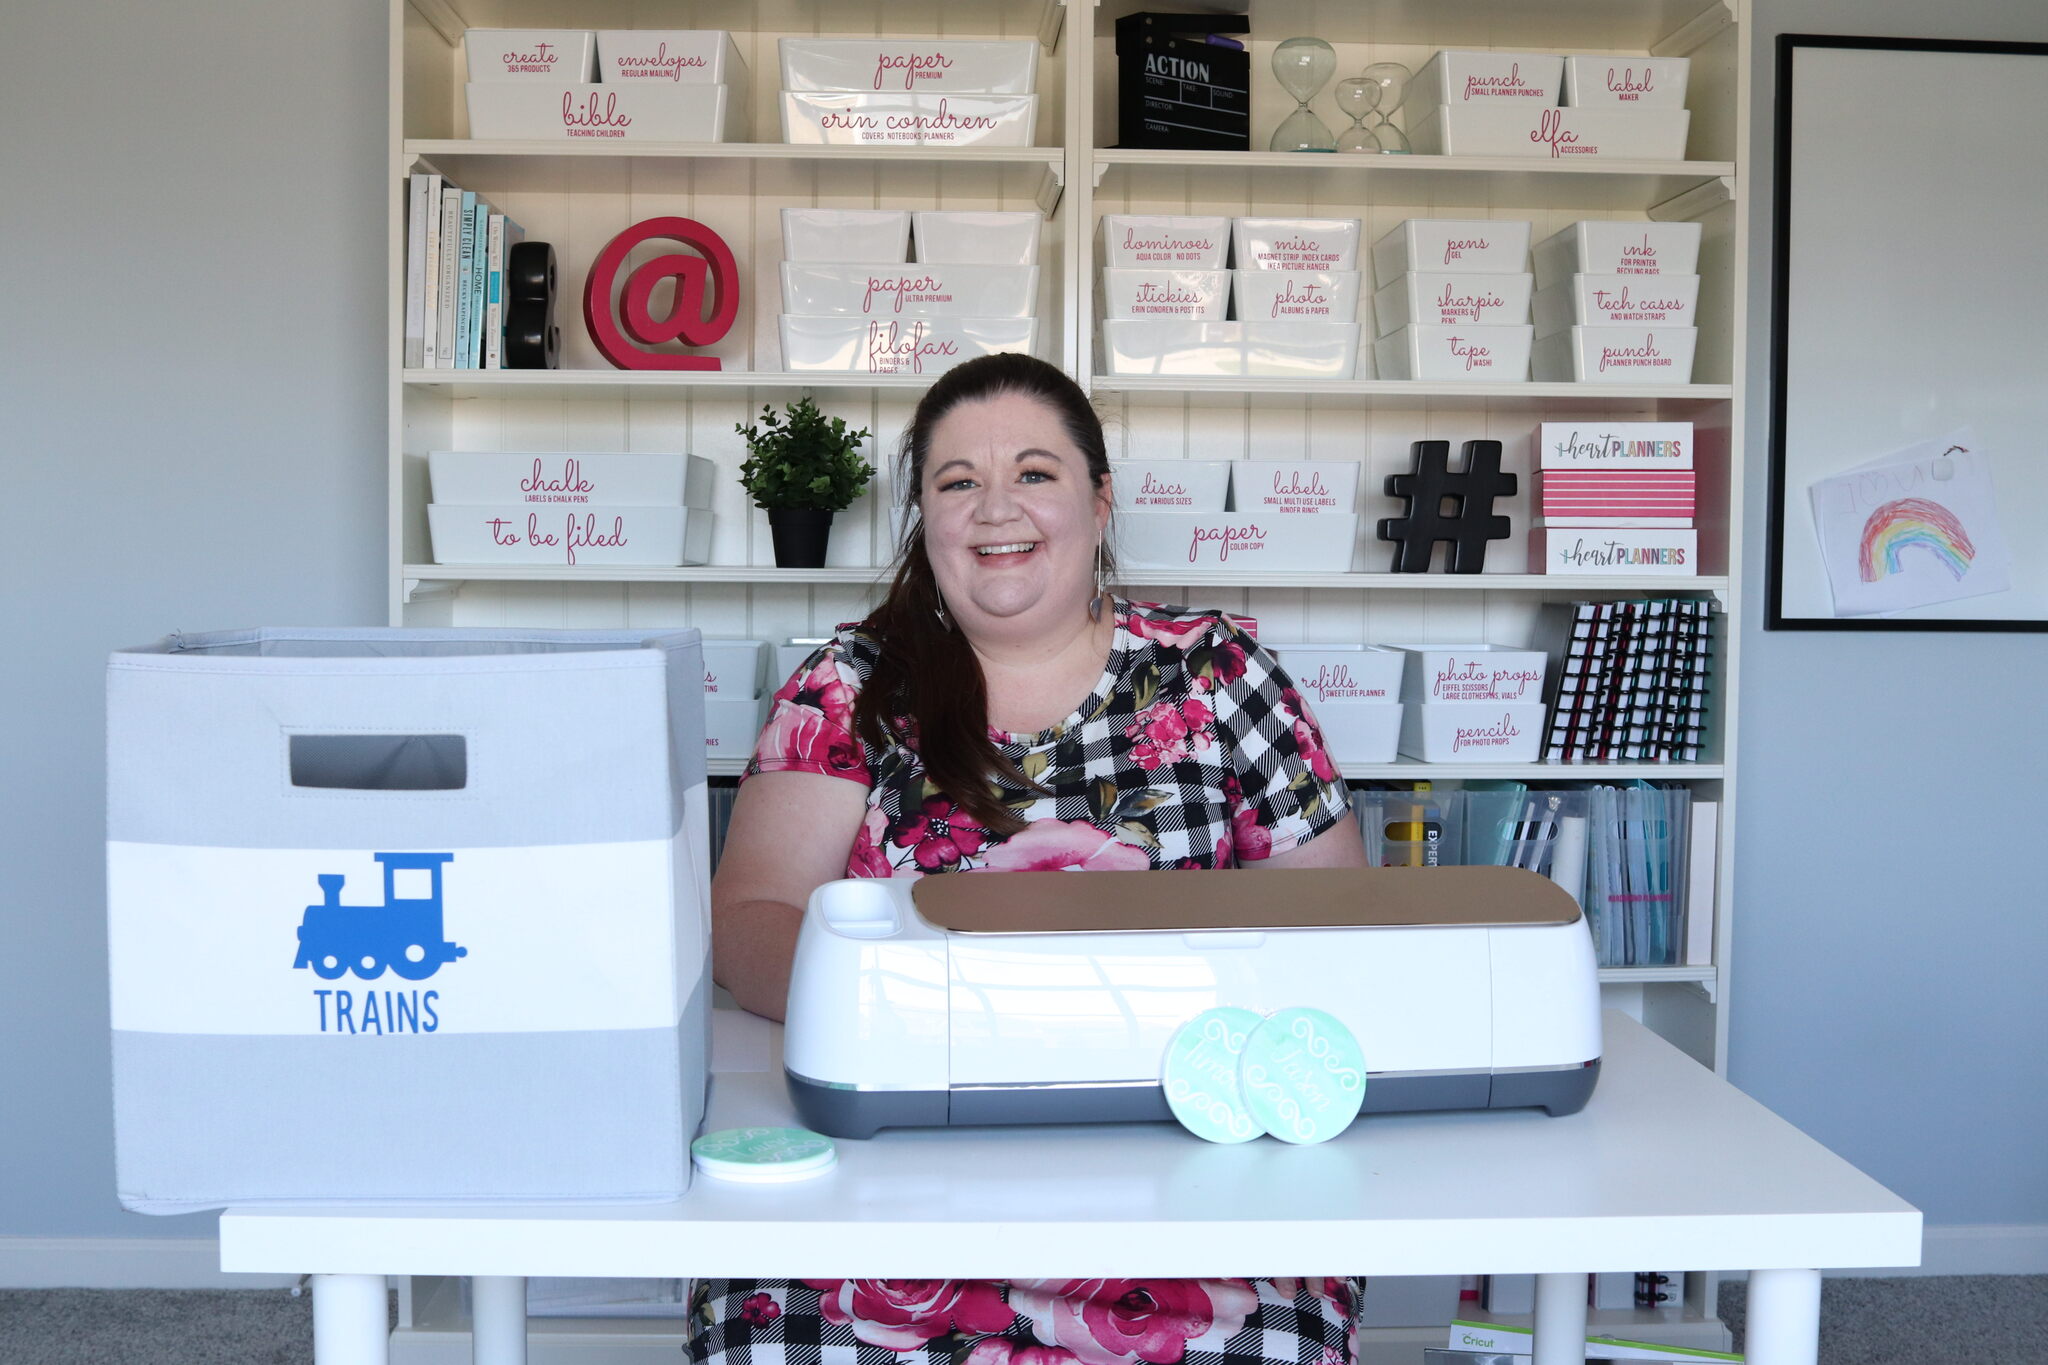
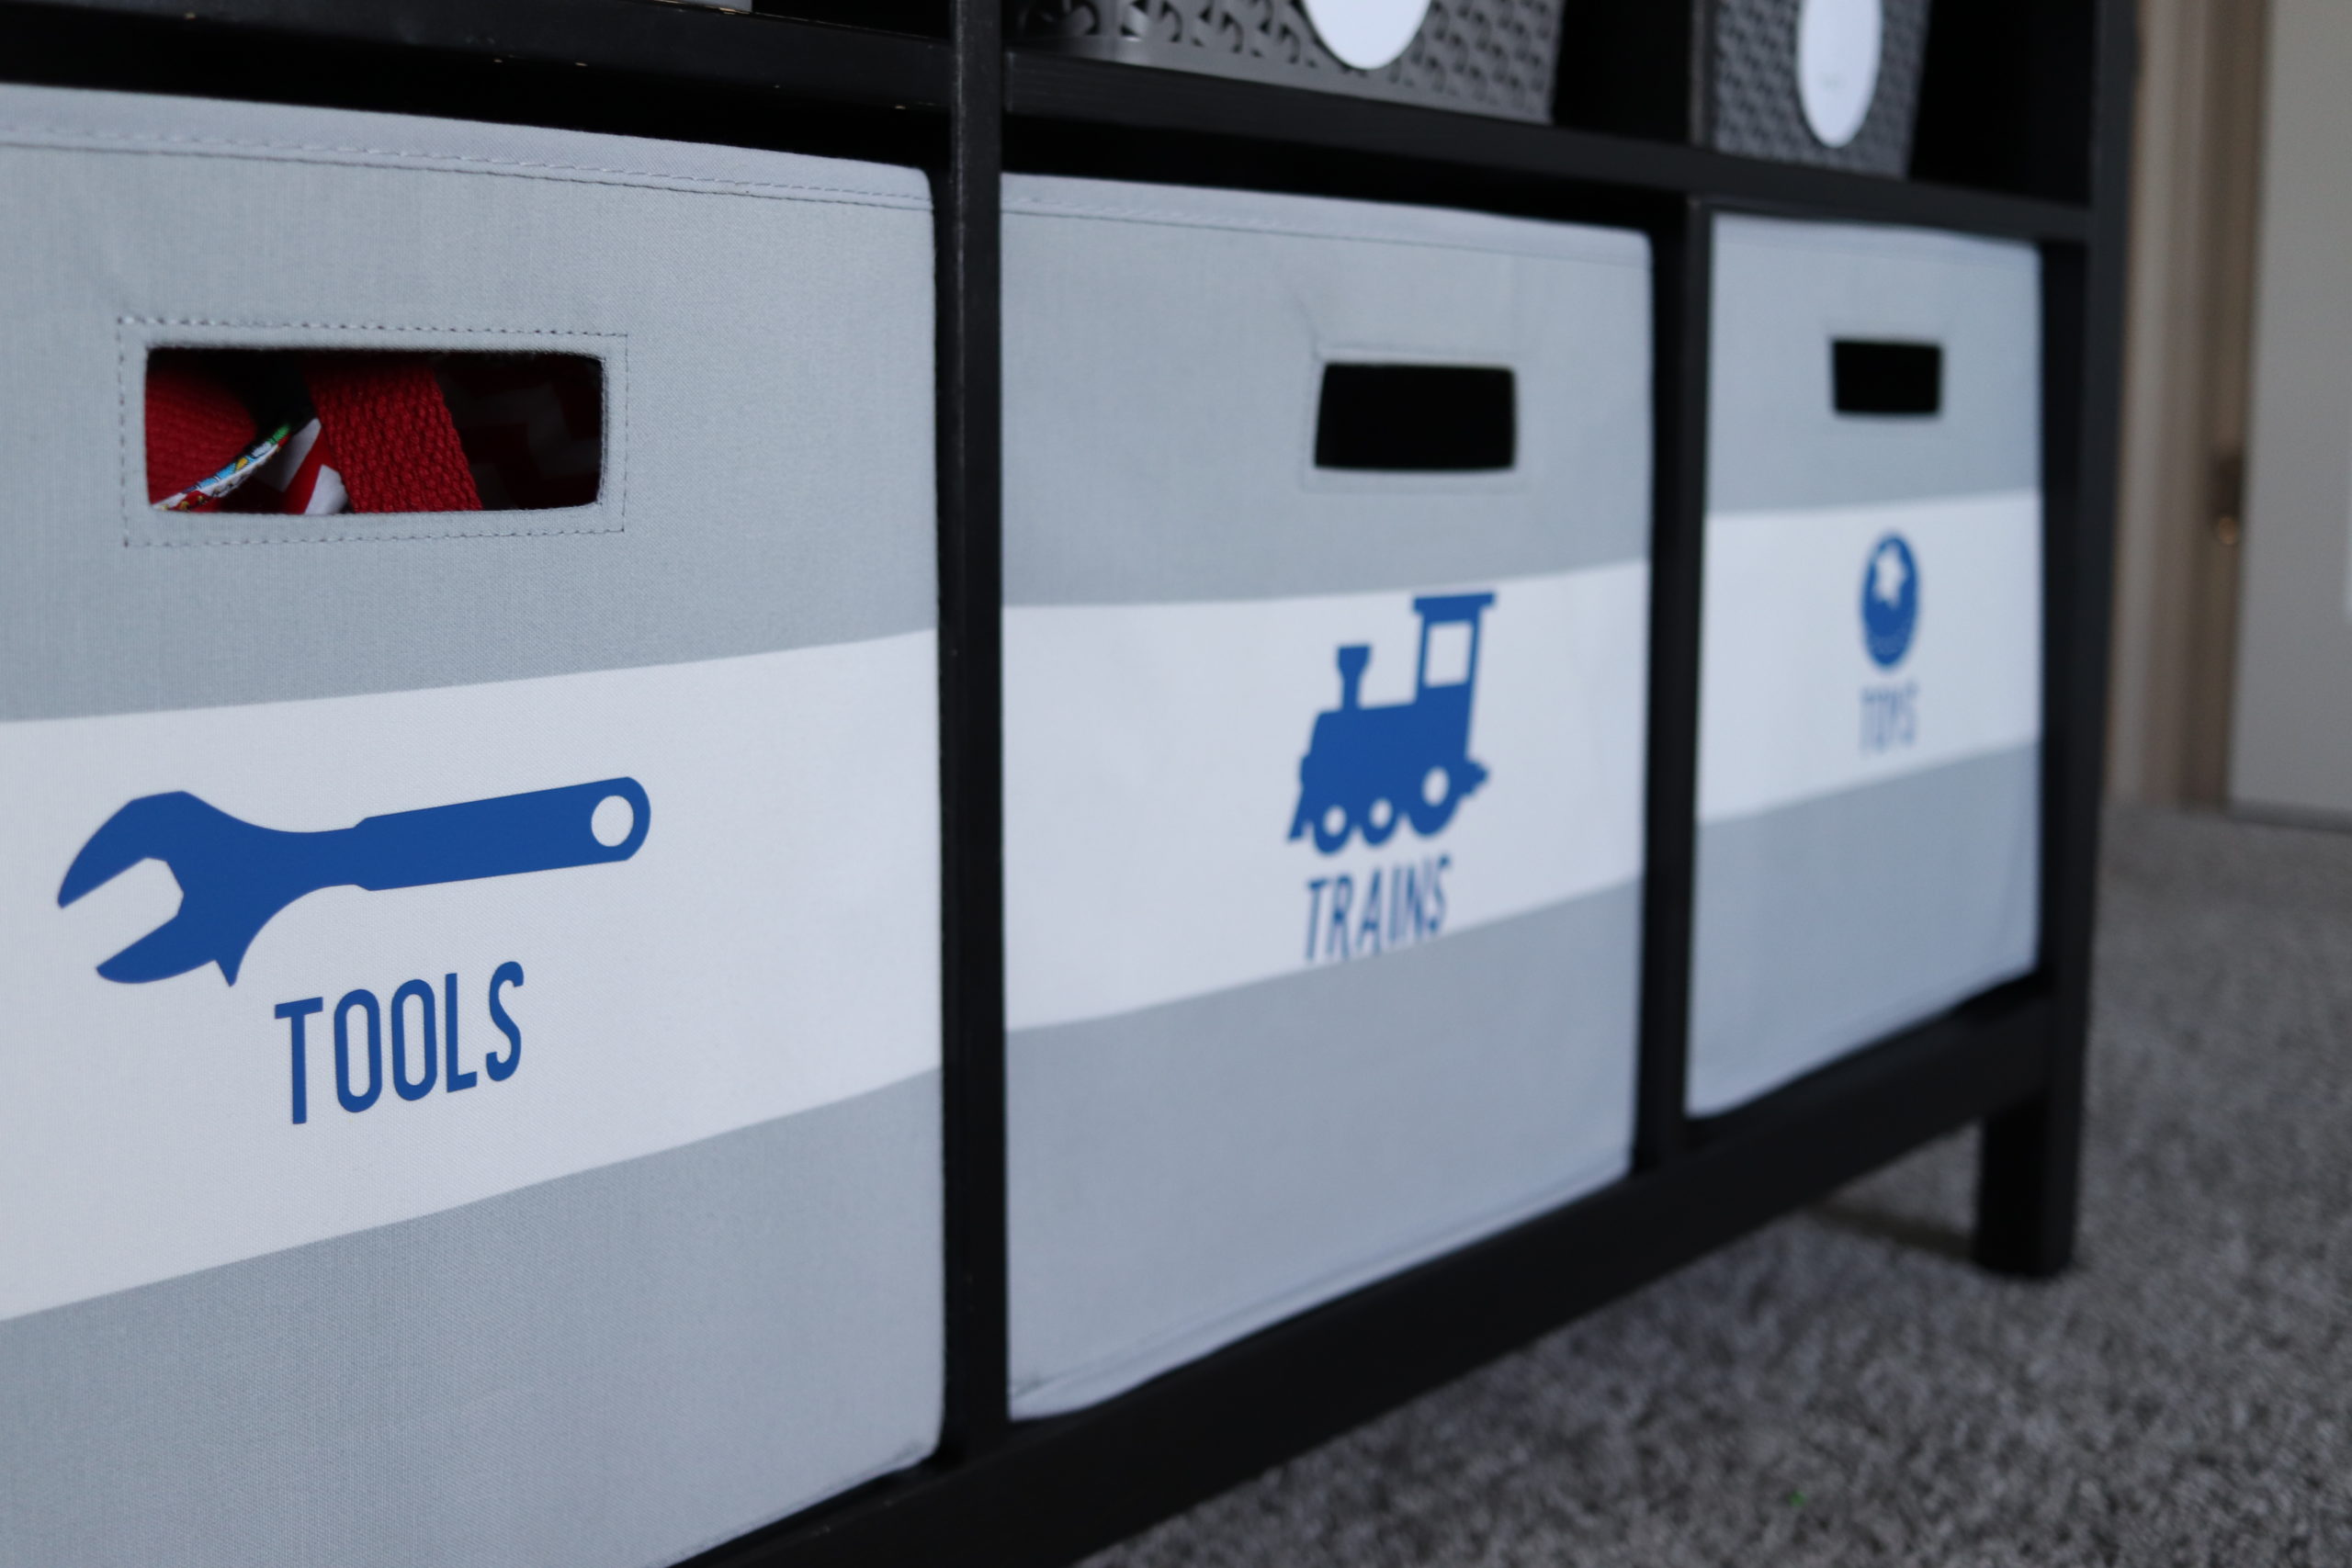
The first project was some image and text labels for my son’s toy bins. The Cricut Maker can print photo labels and he was so excited to have a picture of a train on his train bin! He actually is excited to put his toys away, which is a HUGE win in my book! Not to mention, my daughter loves to help me use my Cricut Maker and she’s got a knack for weeding vinyl! Who knew?
The second project I did was a set of coasters with the names of my family members on them.At first, it was just going to be something cute I could put on my end table, but I never knew how handy they would end up being! No more wondering whose drink is whose – it’s like the prettiest of labels! For an organizing gal like me, this is a total dream!
I didn’t even know how much joy these little projects would bring me and my family and now I can’t wait to find out how else the Cricut Maker can enhance my crafty side.
WHAT EXACTLY IS THE CRICUT MAKER
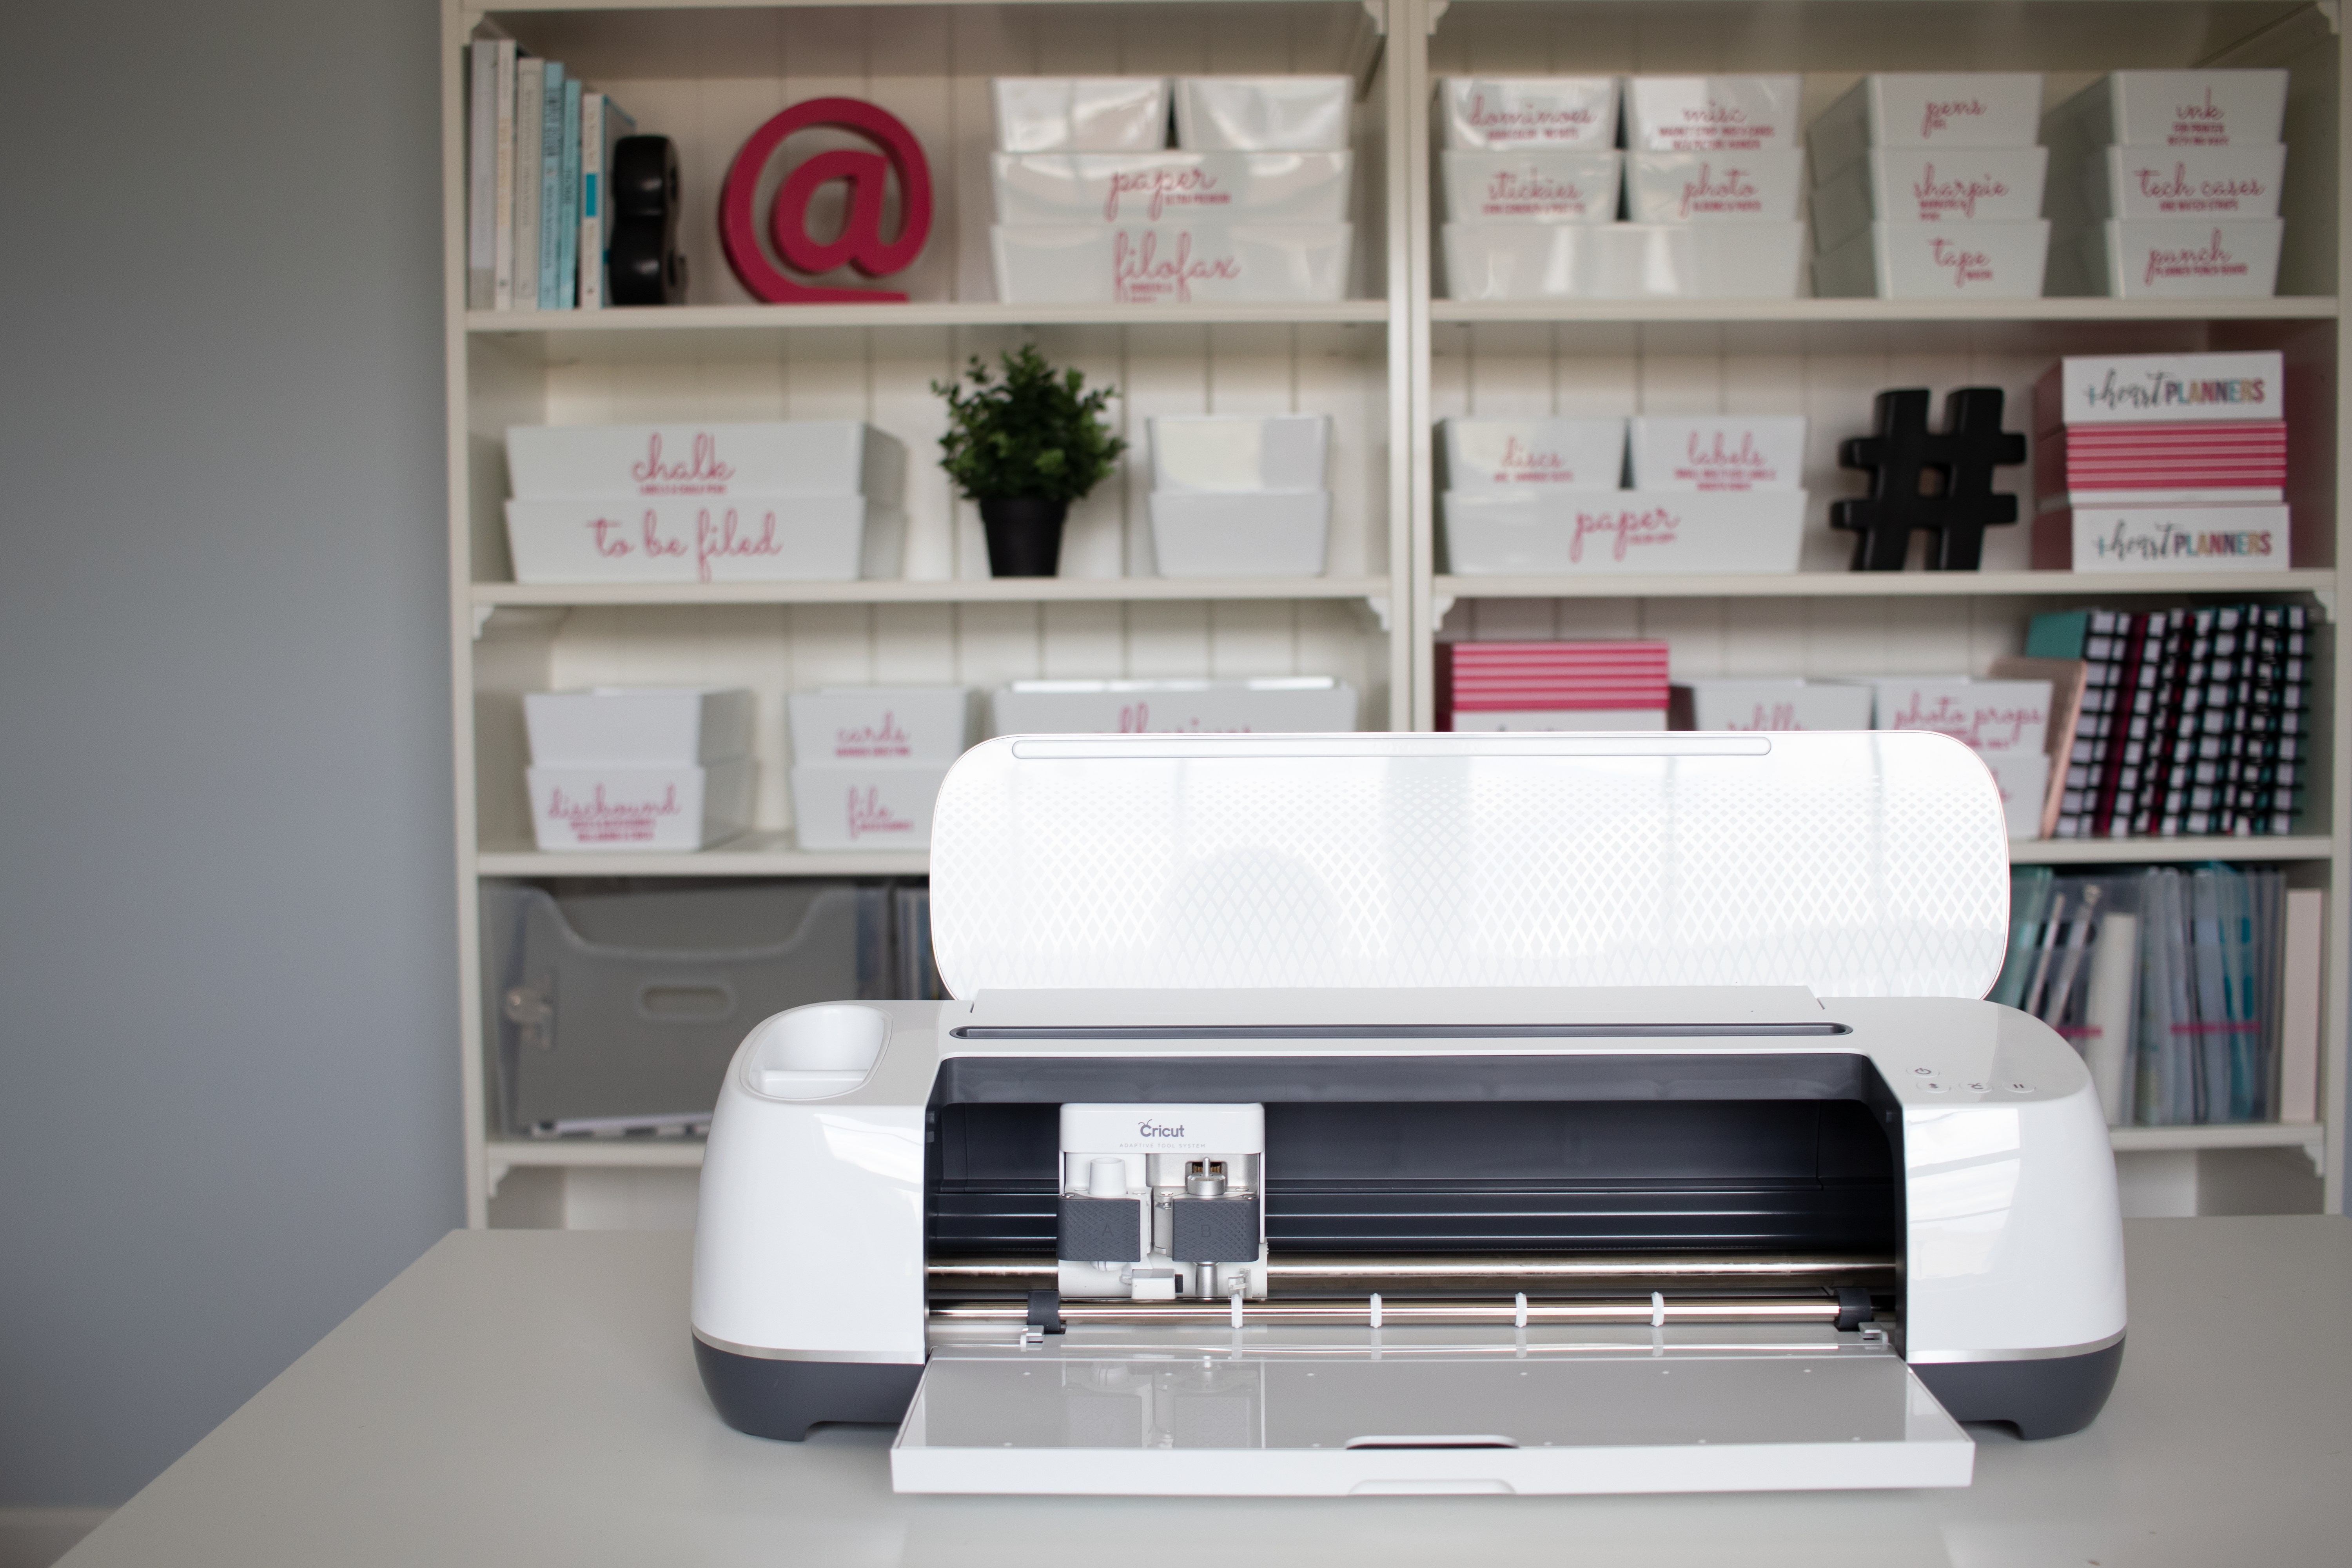
The Cricut Maker is a die cut machine (this means it will cut shapes out of various materials.) It has the capability to accurately cut over 300 different materials. Anything you would want to cut designs for, such as cards, labels, fabric, wood, you name it. I’ve seen fabric organization bins, purses, wedding cake toppers, hair bows, and so many other great ideas that the Cricut Maker can bring to life. The sky's the limit with the Cricut Maker! It truly is only limited by your own imagination.
HOW DOES THE CRICUT MAKER WORK
The Cricut Maker works with an app called Design Space and connects to your phone or laptop through a bluetooth connection. The Cricut Maker also comes with the possibility of a USB connection, but the bluetooth is how I tend to use mine.
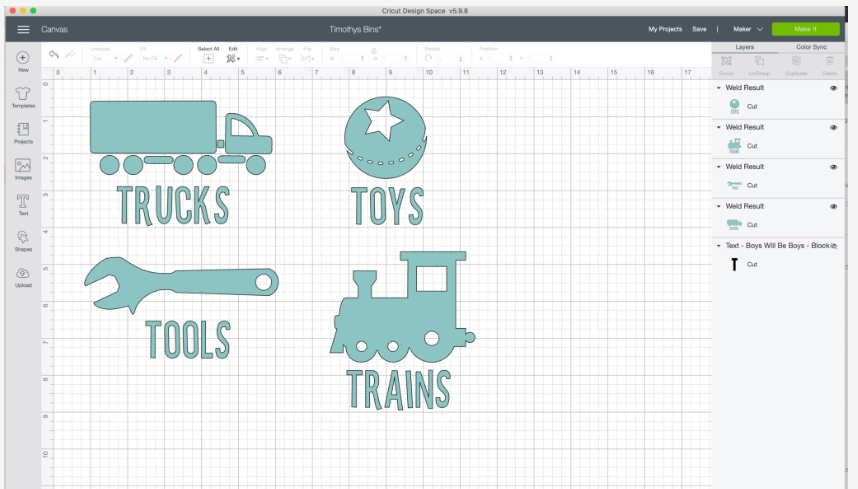
After you connect your Cricut Maker to your Design Space app, it will walk you through a couple set-up steps and then you’re ready to start designing! You can use the app to find hundreds of already-made designs and projects or design your own.
Now that you know a little more about what the Cricut Maker is and how it works, on to the fun part -the projects!
CRICUT MAKER PROJECT 1: TOY BIN LABELS
My son has a couple of toy bins in his room and he is definitely at the age where he can regularly put his toys away. I’ve wanted to make this process a little easier and I’ve known for a while now that I needed to get some labels on his toy bins. I know there are a lot of ways to create labels, but the Cricut Maker helped me find a solution that really worked for my toddler!
My son isn’t quite reading yet so I used the Cricut Maker to create both image and text labels for his toys so he could easily identify what goes in which bin. This has honestly been such a blessing because the day I added the labels to his toy bins, he felt so special and is now actually excited to put his toys back in their proper place. A child excited to clean? That’s every mother’s dream!
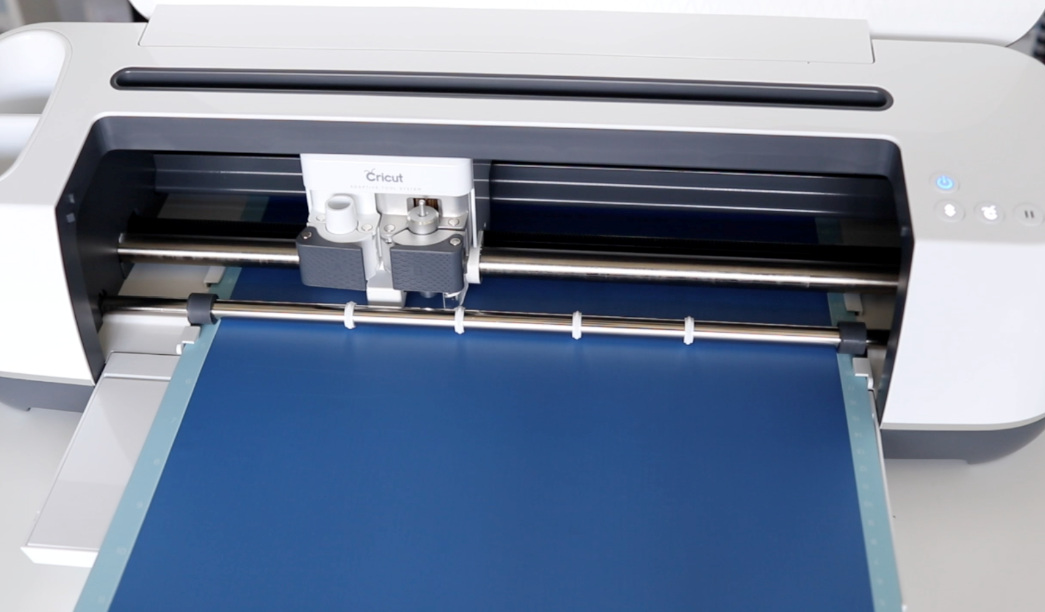
For this project, I needed to make iron-on labels that would stay on the canvas bins in my son’s room. I selected the blue iron-on transfer, placed it on the cutting mat, and input my design selection from the Design Space app from my phone. Then away the Cricut Maker went! I love watching the machine cut – it’s mesmerizing.
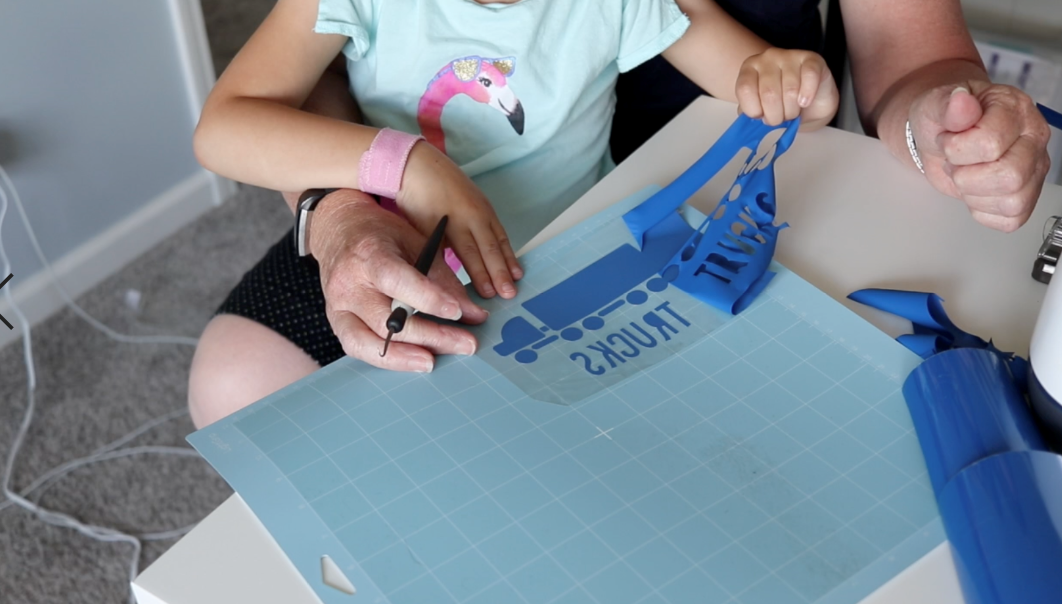
Once it was done cutting, my daughter helped me weed the designs (aka: get rid of all the scrap around the design). The best craft projects are ones you can do with your kids and I’m so excited my daughter likes the Cricut Maker as much as I do!
My design that I printed contained both the image and the text in one image. I did this so I wouldn’t have to try and line them up again – if it’s all one piece, I know the image and the text will be nice and straight.
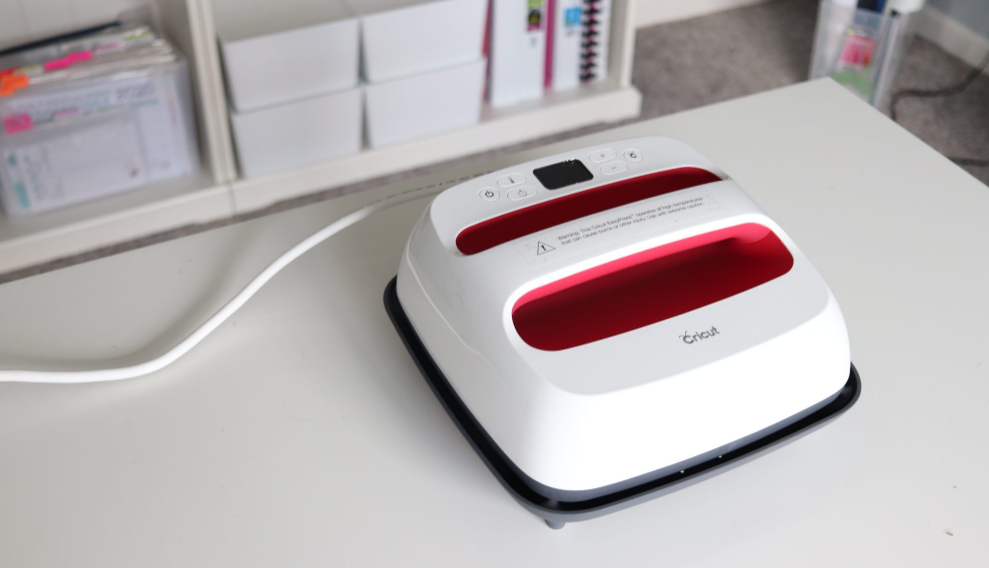
The final step in this project process was to apply the iron-on label to the bag. First, I used the Cricut EasyPress to heat up the canvas. Next, I placed the design on the bag right where I would want it. I didn’t receive the heat resistant tape, but I was able to easily press the design on by pressing straight down.
I held the heat press at a medium pressure for 45 seconds and that was all it took to firmly secure the label. I am always so surprised by how easy it is to put the label on and how secure it is. I don’t see that label slipping off or going anywhere in the near future.
I did this process four times in order to make a label for each bin.There are four bins in my son’s room for trains, tools, toys, and trucks. They fit perfectly on the low shelves of his dresser so he can easily slide them in and out as he wants to play with them. I loved this organization system, but since all the bins were uniform, it was hard to know for sure exactly where everything went. Plus, it’s easy to forget or mix them up when you’re playing! So, these labels really help keep toys where they need to go. Also, Timothy even likes finding a truck or train right when he needs it. Immediate toy results are a great way to get your kids on board with organization! ?
CRICUT MAKER PROJECT 2: COASTERS
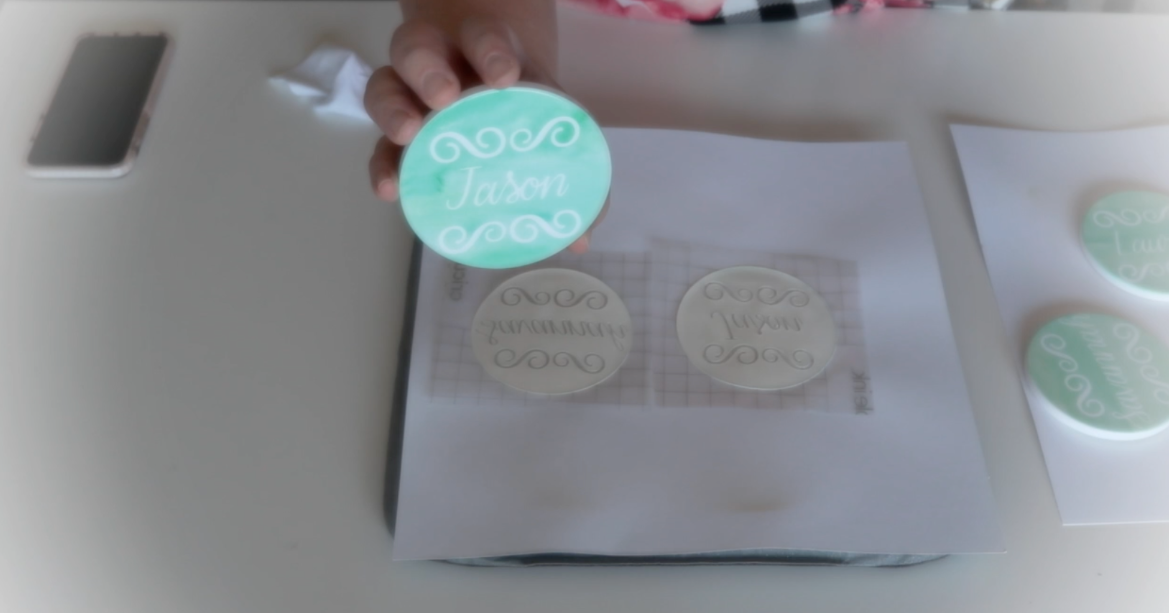
These little coasters started out as a fun project but ended up being super practical for my family. Each coaster has the name of one of our family members on it so when we’re all sitting at the table together or leaving our drinks in the same area, there’s no confusion whose drink is whose. Each person has their own coaster and knows exactly where to keep their cup. (It also has gotten my kids excited about using coasters! Who would have thought?!) I love that the Cricut Maker allows such a deep level of customization that I could make these coasters and design them myself all within minutes.
For this project, I used Cricut’s infusible ink. This actually puts the image onto whatever item you place the design on. I also used coasters from Cricut. In addition to coasters, they have tote bags, onesies, shirts, and other items – so you can really use the Cricut Maker on any creative project.
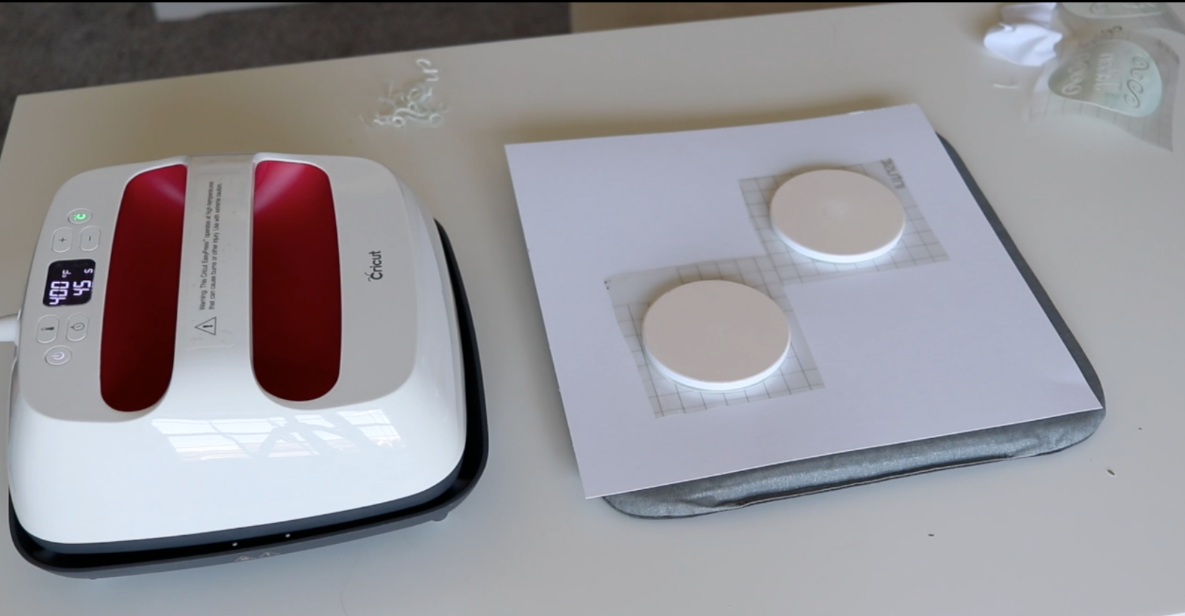
For the coasters, I was able to put the design under the coaster before applying the heat. Since the coasters are ceramic, when I apply heat, the entire coaster will get hot. This allowed me to put the design face down and heat the coasters from the bottom without messing up the image at all.
I added a bit more heat to this one – I set the EasyPress to 400 degrees and pressed on the coasters for 4 minutes on the EasyPress Mat. The coasters will get very hot so at the end of those 4 minutes, make sure you let the coasters cool before trying to touch or move them. Once the coasters are cool, lift straight up and take a look at your beautiful design!
I’ve just gotten started with my Cricut Maker and I’m already in love with it! I can’t wait to learn even more about what it can do. If you have a project you love completing with your own Cricut Maker, let me know in the comments! Or, if you’re ready to try out one for yourself, get your own Cricut Maker here.





 Copyright 2025, Get Organized HQ.