DIY Monthly Onesies
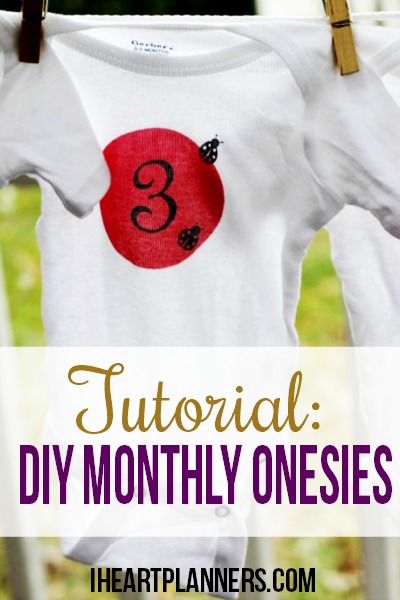
You may have seen this monthly onesie idea floating around Pinterest. I thought it was such a neat idea! I was so happy with they turned out when I made them, and I thought I’d share exactly how I did it.
If the whole DIY thing isn’t for you, I do offer these already made in my Etsy shop. If it’s a gift, I’m happy to mail with a card directly to the recipient.
Step 1: Gather and prep your supplies
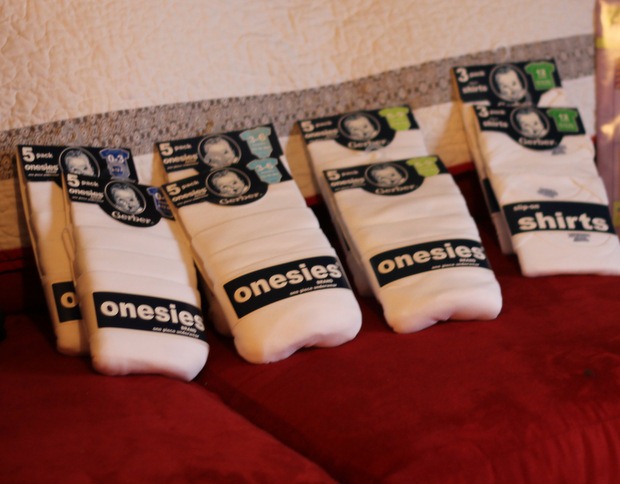
The hardest part of the whole project was actually finding the onesies! First, I went to Kohl’s, but they were so expensive that one set of 12 would have ended up costing around $80. Next stop was Babies R’ Us. They actually had packs of onesies similar to what I ended up with for a good price, but they were out of a couple sizes! I finally found what I needed at Target! What you see pictured is more than enough for two sets, and each pack was $10. The 0-3 months, 3-6 months, and 6-9 months sizes all had 5 to a pack. The 12 months only had 3 in each pack. (And they’re actually shirts because they were out of the onesies.) That means one set would be $40. However, there’s a lot leftover from that, so if you made several sets, it would be even cheaper.
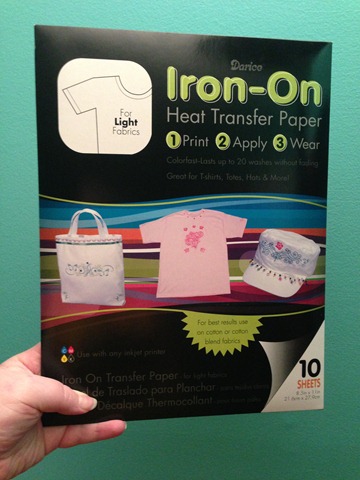
The only other thing I needed to purchase was iron on paper. I got Darice Iron Transfer Paper. I think it was about $8 for 10 sheets. I used 2 sheets for each set. You can print on it in a regular inkjet (not laser) printer.
I HIGHLY recommend washing the onesies first. If nothing else, this ensures that all the tape residue is off of them. If you do iron over any of the tape residue it will stain a little.
Step 2: Create your Design
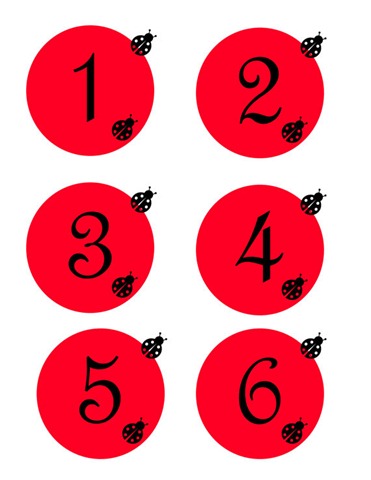
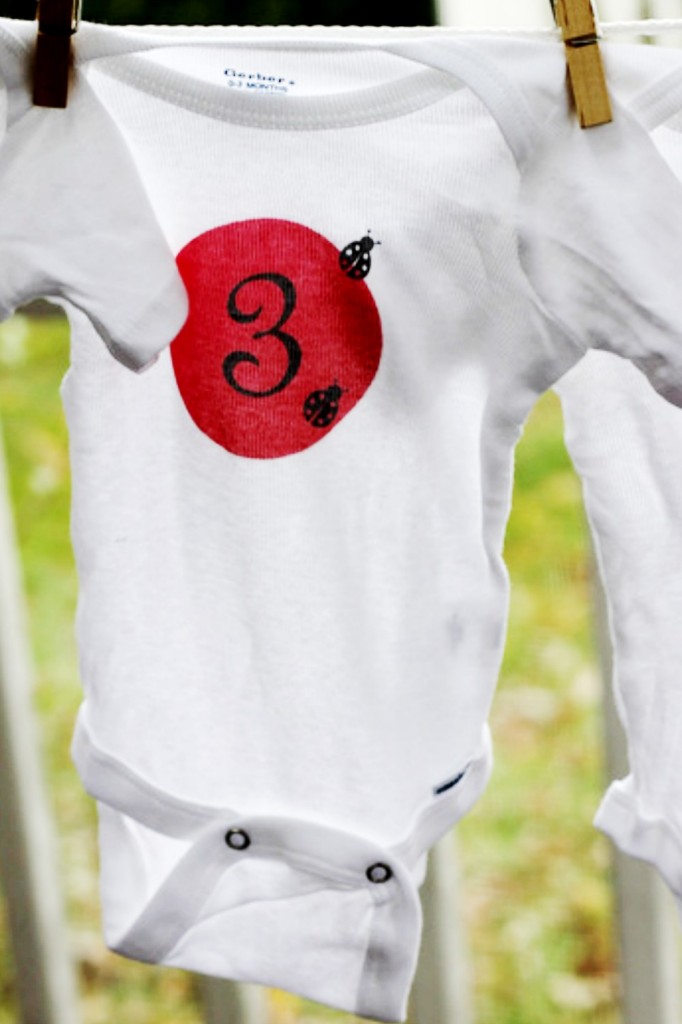
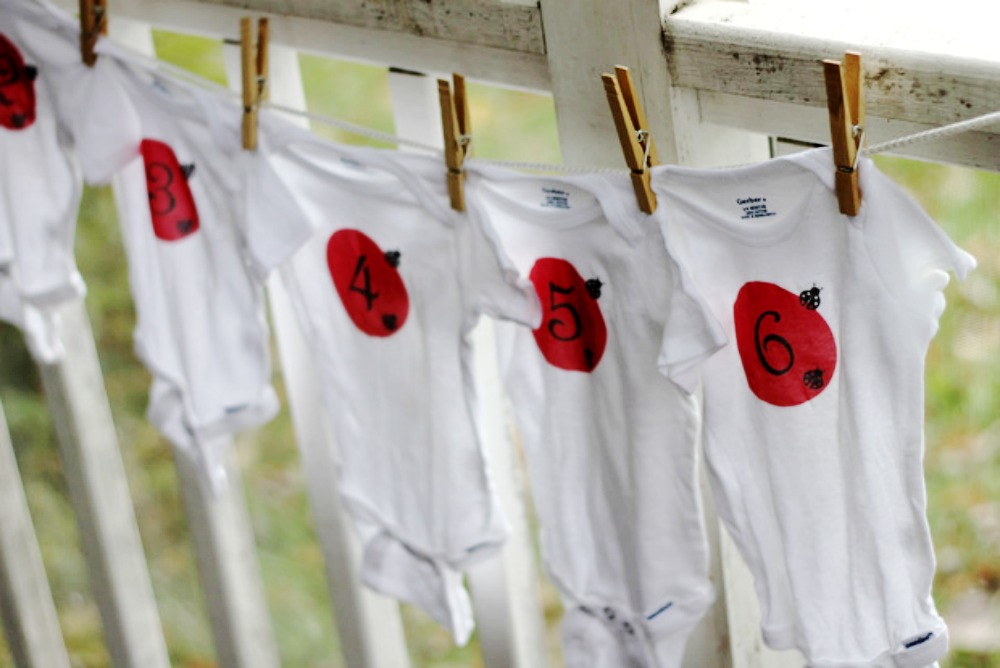
I recently made this set as a gift for my cousin who just had a baby. Her nursery is decorated with ladybugs, so I made this black and white design with ladybugs. You can create your own design in Photoshop or a similar program, you can probably find a generic free printable version floating around on-line, and I offer these monthly onesie printables in my Etsy shop.
Step 3: Flip, print, and cut your design
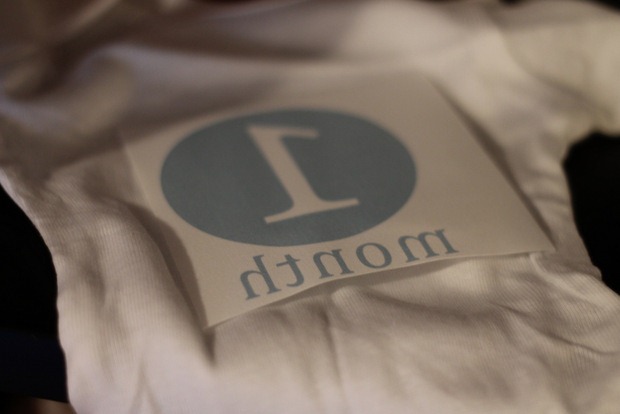
VERY IMPORTANT: If you create the design yourself, make sure you flip it before printing because when you iron it on face down, it will be reversed. (The design in my shop will be sent to you already flipped and ready for you print out.)
Print the design (using an inkjet printer) out onto your iron paper. Then cut each one out with scissors, cutting fairly close to the design. (Don’t try to cut right exactly at the line of the design, because the excess won’t show and any cutting errors would.)
Step 4: Time to iron on!
This is definitely the fun part! Heat up your iron. Then place the design face down on the onesie.
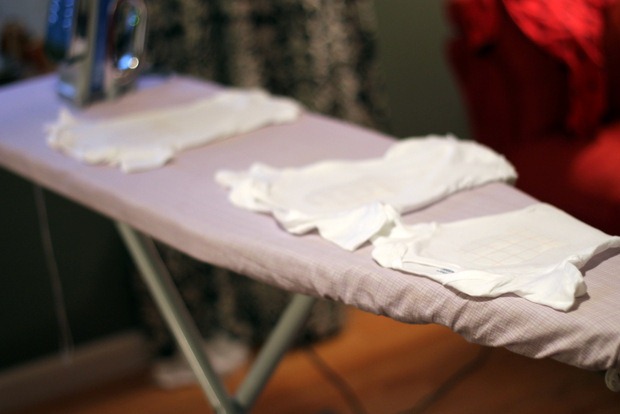
I ironed each one very slowly, making sure to also get the edges. I probably ironed each one for 1 to 2 minutes. Allow it to cool for a minute or so, and then remove the paper backing. Your onesie is complete!
Step 5: Pretty Packaging
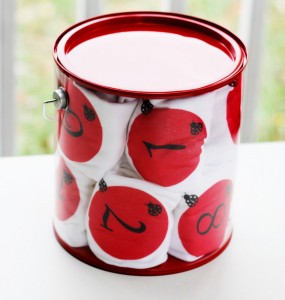
Now it’s time to package the onesies. I found this cute pail for about $3 at JoAnn’s. It went perfectly with this set. For another set, I used a colorful $2 photo box from JoAnn’s.
They’re all ready to go!






 Copyright 2025, Get Organized HQ.
tereasa Says
What an adorable idea! I have a friend who’s expecting, so I’ll have to keep this in mind! Pinning!
Kim @ Plumberry Pie Says
What a perfect gift this would make! Love it!
Sarah Says
When making your own, how big did you make them?
And for onesie buying, I never had kids. How do you know what size is which?