Building Your Important Documents Binder
Alright, friends, let’s talk important documents. Do you know where your birth certificate is? How about your passport? Or your marriage license? Would you be able to find them all in one place in case of emergency or do you dread the day you may need to quickly find any of your important documents?
If you’re not sure where your important documents are, where they should go, or how to even begin organizing them, that above paragraph can sure look scary. (I know it would scare me!) But you don’t have to sit in the back seat and let fear take the wheel. In fact, let’s change that today by creating an important documents binder!
I got this idea from my friend Megan Duesterhaus who runs the blog The Homes I Have Made. She has been a speaker at our Get Organized HQ events and she has even talked about this exact topic! If you’d like to hear her entire session, you can still gain access, but for now let’s dive in!
If you want to watch how I organized my important documents binder, check out the video below. Or, keep reading to get valuable step-by-step instructions on how to build your important documents binder from the ground up!
No more fear! Let’s get started organizing those important documents.
BUILDING YOUR IMPORTANT DOCUMENTS BINDER STEP 1: PICK THE BINDER
First things first, you need somewhere to keep your papers. Important documents should be kept together in a secure place that you will be able to easily access. This may be anything from a shelf in your home to a fire resistant safe. I suggest keeping them in a safe of some sort. When dealing with sensitive information, such as Social Security cards, there’s no such thing as too secure!
As far as how to keep the important documents together, a simple three ring binder will do the trick. This makes it effortless to add pages or move pages around AND the use of sheet protectors to keep the papers safe is the cherry on top. If you prefer some other method, such as an expandable folder or a folding cabinet, that’s fine too! Whatever is going to work best for you and your family is a-okay. I like to use a three ring binder because it’s easy to store as well as grab-and-go! For instance, if you were moving, your binder is an easy thing that you can grab and take with you instead of leaving those important papers to the shuffle of the moving truck.
I’ll continue giving step-by-step instructions for a standard three ring binder, since that is my personal favorite solution, but these steps can easily be adjusted to whatever method you choose.
BUILIDING YOUR IMPORTANT DOCUMENTS BINDER STEP 2: GATHER DOCUMENTS
Now that you have your binder, let’s focus on what will actually go into it! Brainstorm and gather your important documents. These are any documents that are irreplaceable or contain sensitive personal information.
Not all of these may be necessary or apply to you, but here’s a list to get you started:
- Birth certificates and adoption papers
- Social security cards
- Marriage license
- Copies of your ID or Driver's License
- Passports
- Vehicle information
- Deeds or proof of ownership documents
- Legal documents (wills, power of attorney papers, etc.)
- House or property appraisals
- Financial account information
- Important medical information (records, insurance card copies, etc.)
BUILDING YOUR IMPORTANT DOCUMENTS BINDER STEP 3: PICK THE SHEET PROTECTORS AND TABS
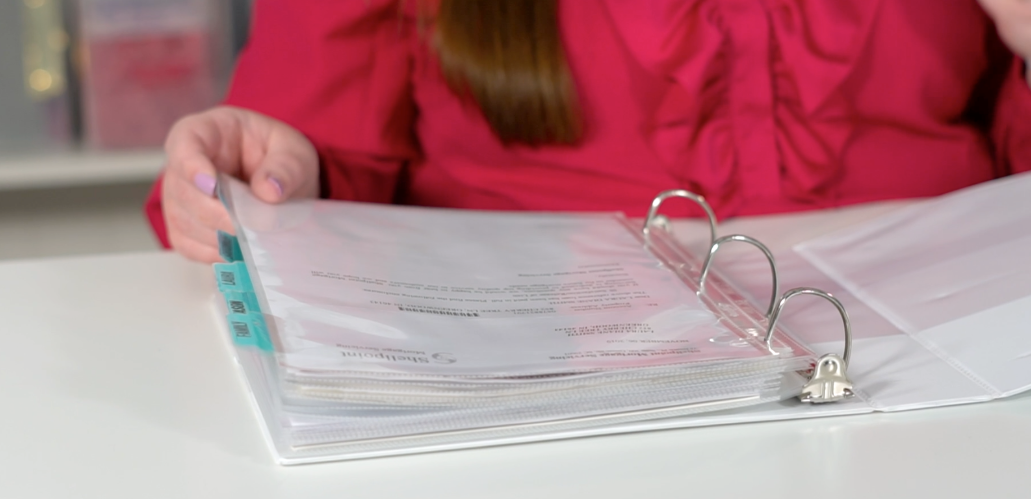
I use sheet protectors with tabs in my own three ring binder. There’s nothing quite like peace of mind and these two items work so well in tandem! The tabs let me flip right to the document while the sheet protectors make sure that my irreplaceable documents are covered – literally!
My personal recommendation is to get some sheet protectors that close at the top, like the sheet protectors I use in the video. Since this binder is made up of all your most important documents, you don’t want any to fall out if you pick up the binder upside down. Talk about a bad day!
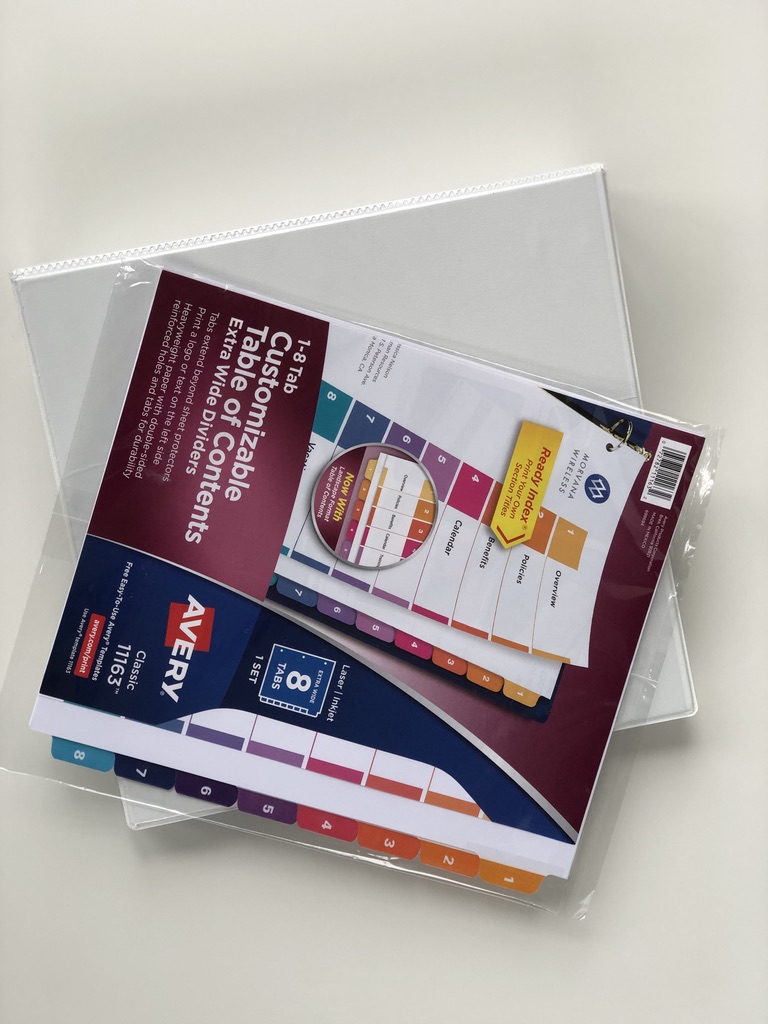
Tabs are simply the best organizing option in this scenario. They keep your documents labeled and make flipping right to the document you need a breeze. When using sheet protectors, extra wide tabs will be your best friend! This is going to ensure that the tabs are still completely visible and functional even with the added width of the sheet protectors. I recommend using the tabs that are a full sheet instead of the little labels that stick onto the document or sheet protector. These tabs are going to sit evenly on the first try and stay nice and pretty without any hassle.
Just to save you some time, I did try to use some sheet protectors with 4×6 slots. My thought was that they would be a good resource for sliding in smaller items like social security cards or passports. However, with no good way to seal them or close up the tops, it was way too easy for those important documents to get lost in the shuffle.
BUILDING YOUR IMPORTANT DOCUMENTS BINDER STEP 4: ORDER THE DOCUMENTS
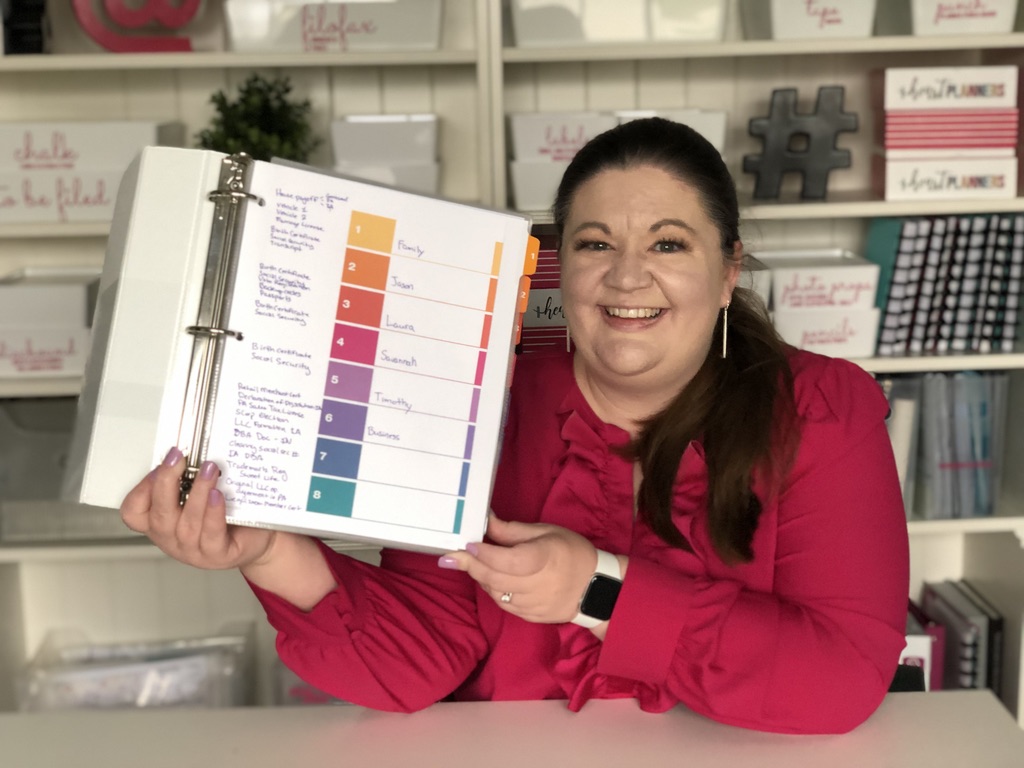
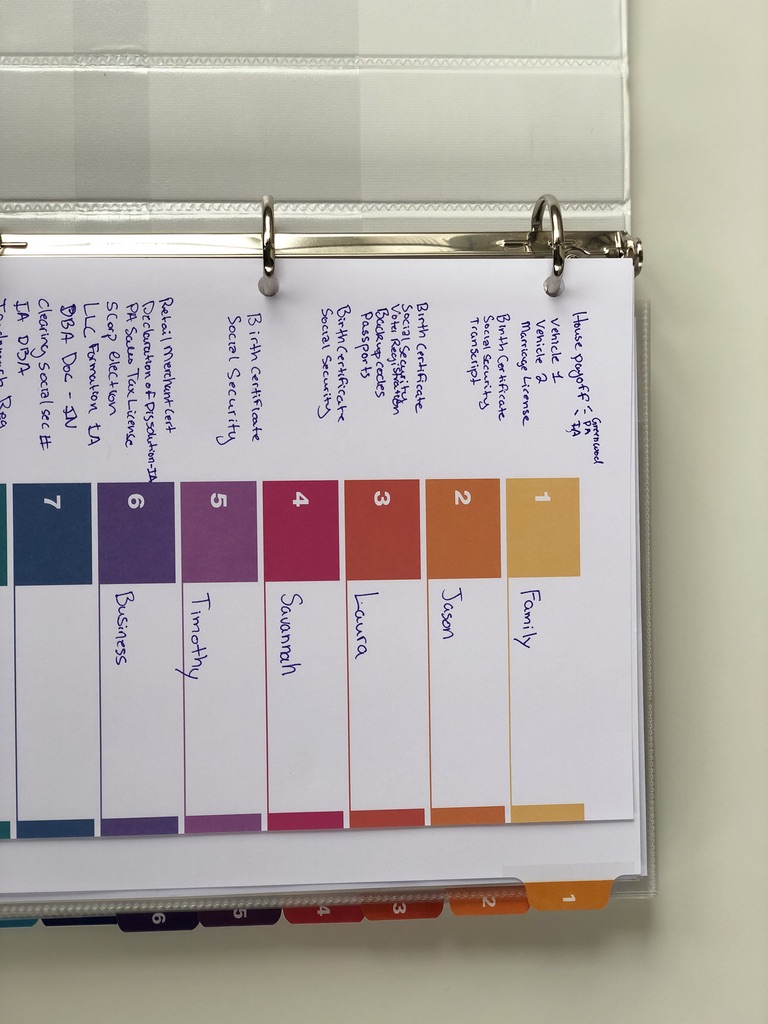
The next step is labeling your tabs and putting your documents in order. On my own important documents binder, I have a general family tab where I keep any document that applies to more than one person (marriage license, home finances, vehicle information, etc) and then a tab for each family member so their important papers are all in the same location. I just recently added a sixth tab for business.
I like having a designated tab for each family member – it’s what works for me. Your important documents binder should be the best it can be for you. I could have just as easily created tabs by subject. For example, a tab labeled birth certificates with all four of our birth certificates in one section. I thought it was easier to navigate and sort by creating fewer labels, so that’s why I chose the system I did. Just know that there isn’t a right or wrong answer! As long as you know how it is organized and it makes sense to you, that’s all you need.
BUILDING YOUR IMPORTANT DOCUMENTS BINDER STEP 5: CREATE A TABLE OF CONTENTS
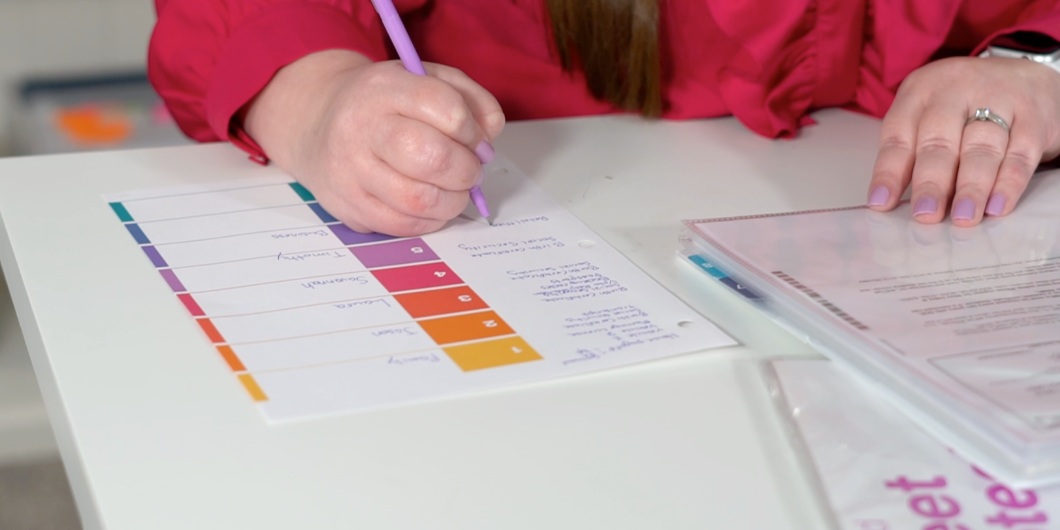
Once your binder is complete, the last step is to create a table of contents. It’s so important to know exactly what’s in your binder and a table of contents will let you know at a glance where each document lives.
Below is an example of my own table of contents. It may not look like yours, but it’s always helpful to see an example!
Tab 1: Family
- House payoff document
- Vehicle 1 information
- Vehicle 2 information
- Marriage license
Tab 2: Jason (my husband)
- Birth certificate
- Social security
- Transcript
- Voter registration
Tab 3: Laura (me!)
- Birth certificate
- Social security card
- Passport
- Voter registration
- Backup codes
- Old passports
Tab 4: Savannah (my daughter)
- Birth certificate
- Social security
Tab 5: Timothy (my son)
- Birth certificate
- Social security
Tab 6: Business
- Retail merchant certificate
- Trademark registration
- LLC formation
- Tax information
This process doesn’t have to be perfectly color coded or anything like that, but it certainly could be. I like to label my binder so I can see what I have at a glance, but feel free to take the time to make your binder easier to navigate by adding page numbers or indicating the color of the tab in the table of contents.
See? Creating an important documents binder wasn’t too hard! And, hopefully, a weight has been lifted from your shoulders. There’s no better feeling than being prepared!
If this has been helpful to you or if you want to share with me your own tips for organizing your important documents binder, leave a comment below!





 Copyright 2026, Get Organized HQ.
Allie Mathews Says
I’d think about adding Wills, POAs, life insurance info, and different banks/accounts you use. Not that you need to put full account numbers or anything; I’m working on gathering all of this now (just finished my will, and being only 31, that was super daunting, but dealing with my mom’s Estate a few years ago also helped me realize some things). It’ll help so much for the Executor of the estate to know you have a line of credit here, a life insurance policy here, main banking done here, credit cards are with xyz, etc. Unless you’re doing a different binder for stuff like that? How big is your fire resistant safe? I’ve also seen fireproof document holders/bags and was curious if you’ve looked at those?
Rebecca Ruddy Says
This is a wonderful idea. We have things in our safe deposit box, but we also have things in the house. I will definitely use your method.
Joyce Says
I have been keeping those things in file folders for years, but after doing all my mom’s stuff (lived with me 5 years, had Alzheimer’s, moved her from PA to MN…it’s a lot of folders. She passed away in 2018. Then my older brother just passed away 5-26-20, in GA, I in MN..he had most everything in folders EXCEPT the will was in the safe deposit box. I knew that and said you need to put my name so if something happened to you I could get to it. He also had mom’s will in there. I also suggested he change her name to someone else since she had Alzheimer’s.. He was single, never married, no kids. He had mom’s name and his lawyer’s name as executors.. both died. Because it was in the deposit box at the bank, we now have been dealing with Covid and shutdowns of courts and living over 1000 miles away and getting a GA Probate lawyer because I can’t get to the will in the box. So my suggestion is NOT to put wills in safety deposit boxes! Unless you have some names listed to be able to open them if something happens to you.. And please, please update your wills! He said he was going to put my name on it, but didn’t do it. He was 68. She is right about having it all in one place, Then there is the issue with doing online banking and not having physical papers or bills…It’s been a journey.. 🙂
Miesha S Jones Says
Just what I needed and Great information. Thank you so much!!
Betsy Says
I’ve been meaning to put together something like this for years, and your post inspired me to finally get to work! Having these things together is so important for so many reasons. Thank you for the great ideas, product links, and organizational tips!
Ed hiscoe Says
Thank you for your excellent guidelines in preparing a personal information binder. Much appreciated.