Getting Started with the Cricut Joy
I’ve showed you the Cricut Maker, now how about a Cricut Joy review?!
Anyone else love making labels? If you’ve seen any of my videos or pictures of my office, you know how much I adore labels. I’m an organizing girl at heart and labels are an important piece of that puzzle. And, if something has to be labeled, it might as well be pretty, am I right!?
When function meets beauty, that’s my happy place! One of my favorite ways to create these unique labels (and a ton of other projects I’ll share later on) is by using my Cricut Joy.
I’ve been using my Cricut Joy for a little while now and I love it so much I had to do a Cricut Joy review! If you’d like to see the Cricut Joy in action and learn the many types of projects it can bring to life, check out my video below.
CRICUT JOY REVIEW: WHAT IS A CRICUT JOY?
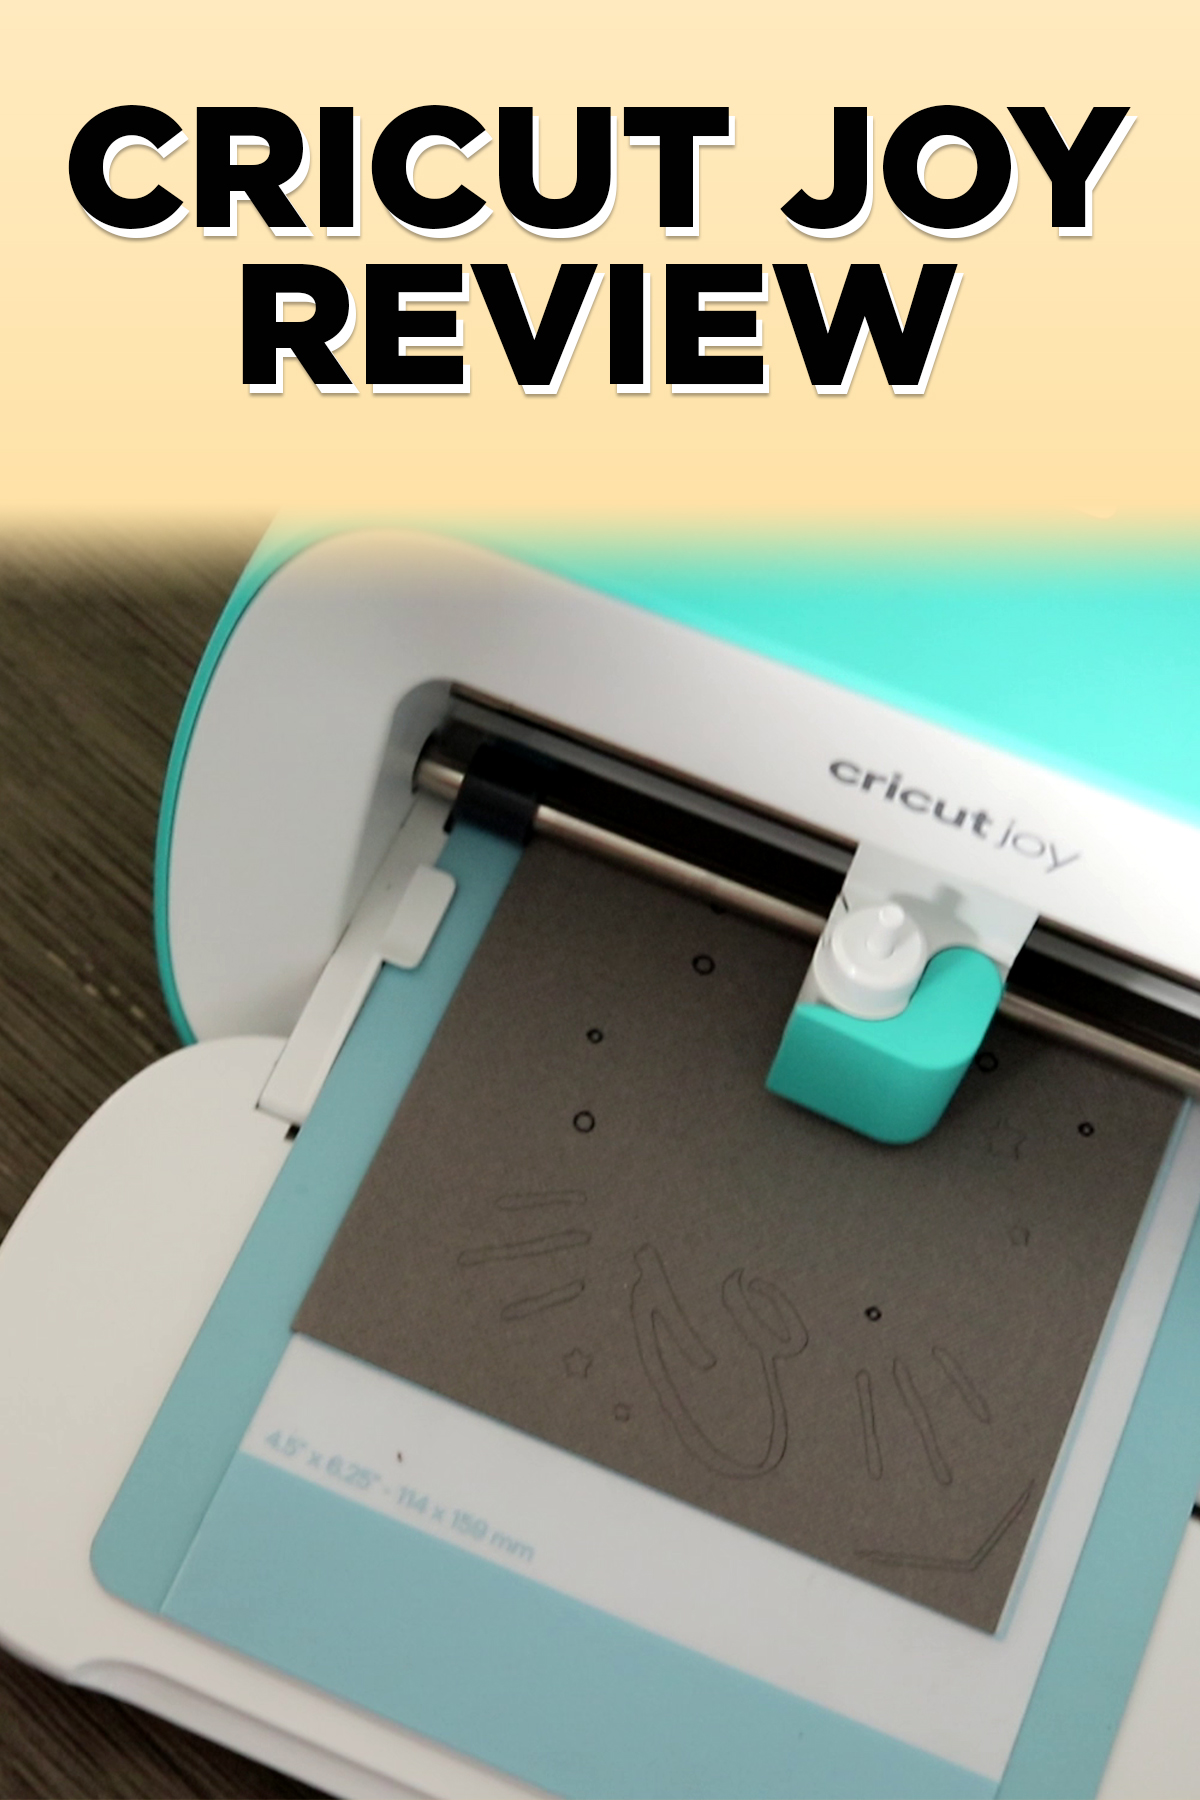
The Cricut Joy is a Bluetooth die cutting machine – this means it’s a machine that cuts shapes out of different materials such as cardstock or vinyl. It’s easy to cut premade designs or your own custom designs from the Cricut Design Space app. That’s right – it’s an app that can be used on your phone or your computer! Versatility at its finest!
The machine can be used to create labels, stickers, greeting cards, signs, or anything you can dream up! Some designs call for you to switch out the blade with the pen for a mixture of detailed drawings and cutting designs. (The blades and pens are not interchangeable with any other Cricut machine, so make sure when purchasing extras that you’re purchasing items specifically for the Cricut Joy)
The Cricut Joy is a little different from other die cutting machines because it has accessories that are called “smart”. These accessories, such as Smart Vinyl, you don’t need a cutting mat for. How great is that?!
Not only that, but the Cricut Joy can cut up to 20 feet of material! Just to be clear, what that really means is the Cricut Joy can cut 4 feet of unique design and then can repeat that design up to 20 feet. Still a cool feature!
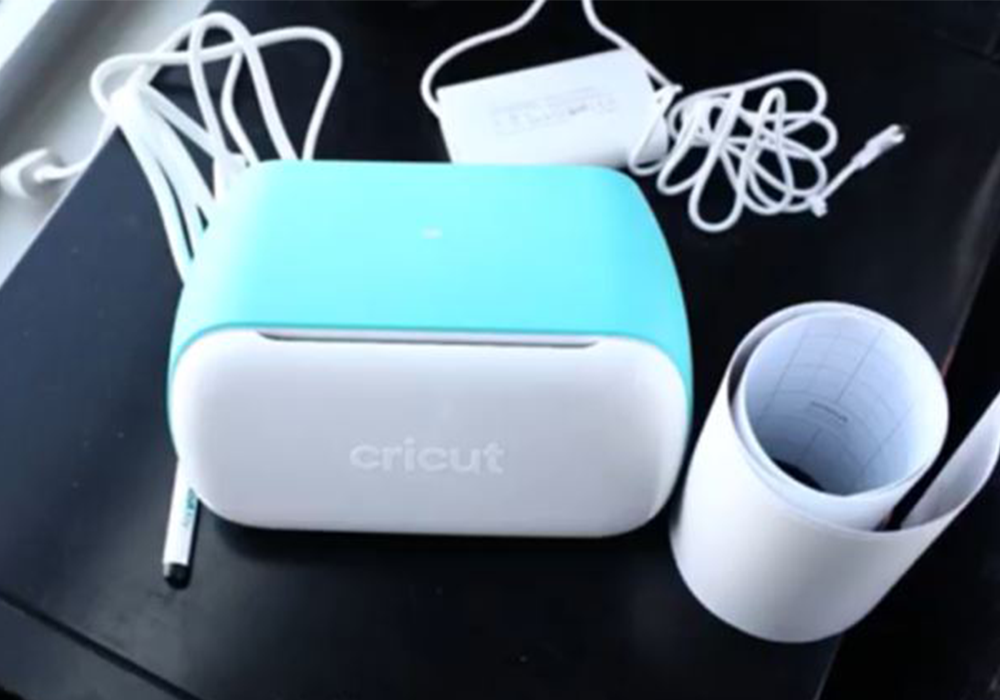
CRICUT JOY REVIEW: WHAT'S INSIDE THE BOX?
- Instructions for setup
- Smart Vinyl sample
- Blade (already installed)
- Pen
- Cardstock
- Standard and light grip mats
- Adhesive card mat
CRICUT JOY REVIEW: SETUP
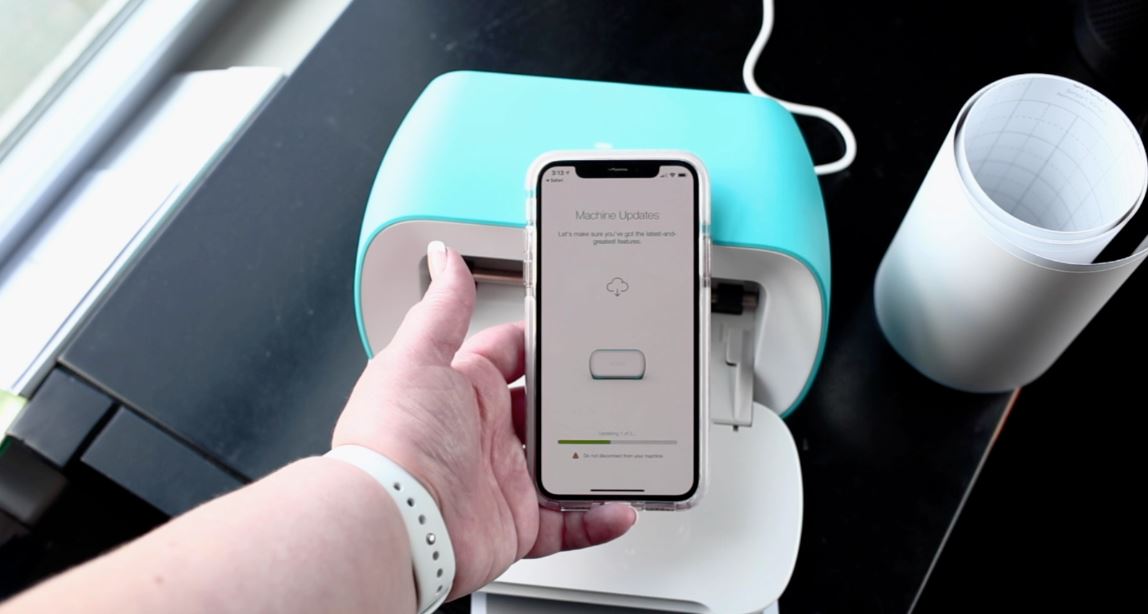
Starting the Cricut Joy is as easy as plugging it into an outlet. Seriously! Just plug it in and it’s ready to go. There are no buttons on the machine and the Cricut Joy is operated completely from a phone or computer via the Cricut Design Space app. Connect to the Cricut Joy through bluetooth and start crafting!
Whether the Cricut Joy is set up on a smartphone or laptop, there are a couple quick setup questions to answer the first time it’s plugged in. The Design Space app guides you through the whole process whether you’re using your phone or the website so there’s no guesswork – just follow the prompts and you’ll be crafting in no time! Most of the steps are pretty self explanatory, but they are as follows:
- Select your product: The first screen on setup will ask you to select your Cricut product. In this case, select the Cricut Joy.
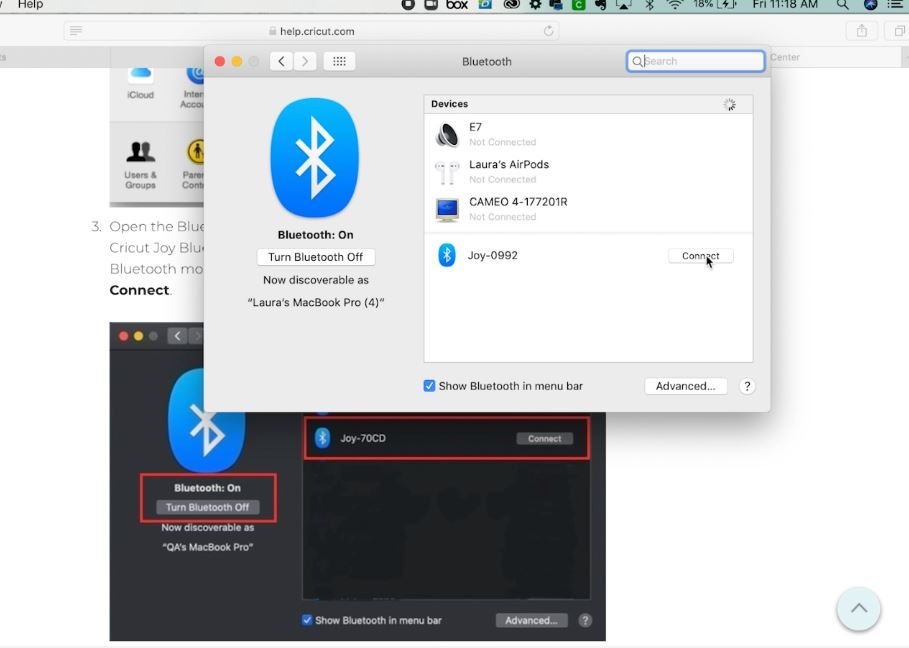
- Connect to your Cricut Joy via Bluetooth: Next, the app will search for and try to connect to your Cricut Joy. Make sure Bluetooth is enabled and select the Cricut Joy – the app will open your settings so all you have to do is click on it when it pops up! As long as the device is plugged in and your bluetooth is turned on, it should show up on your connect list with no problems.
- System update: Next, the machine will automatically search for system updates and install those. When I first opened mine, it updated to the latest version in under a minute!
- Register your device: This process happens automatically and will only happen once.
- Test the Cricut Joy: When the app is opened for the first time, a quick start to test out your cutting machine will pop up. You can follow this for an easy tutorial, or skip this step and start learning and playing around yourself!
Now that you’re all set up, let’s make a project (or two)!
CRICUT JOY PROJECT #1: MAKING A LABEL WITH THE PHONE APP
For my very first print, I used the smart vinyl that came with my Cricut Joy. I got the machine right out of the box, plugged it in, pulled out my phone, and I had a new label in minutes!
The first step on the Design Space app is to select your project. I was given the option to pick from a variety of different pre-sets (texts, images, cards, etc.) or to create a project from scratch. I chose “new project” to open up a blank project.
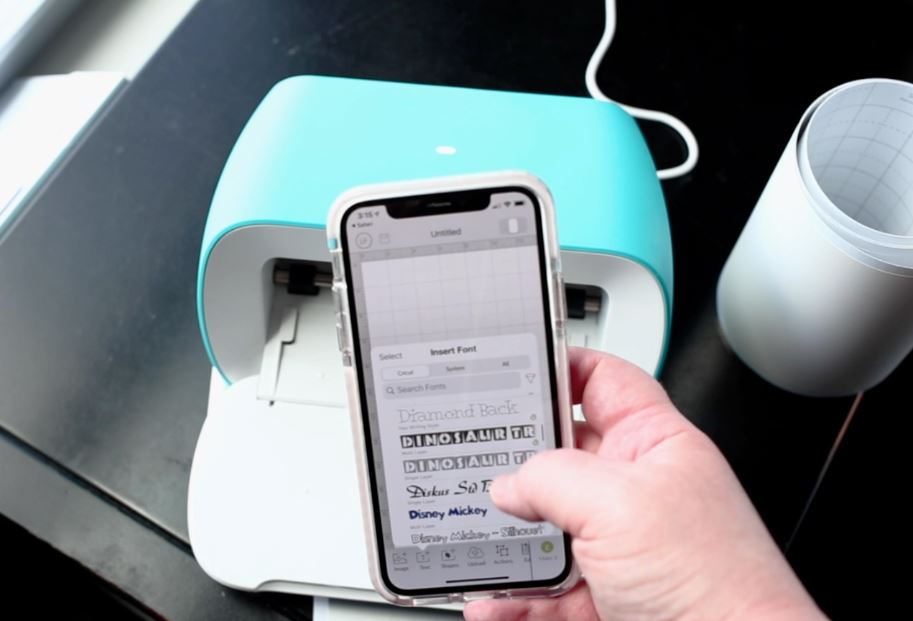
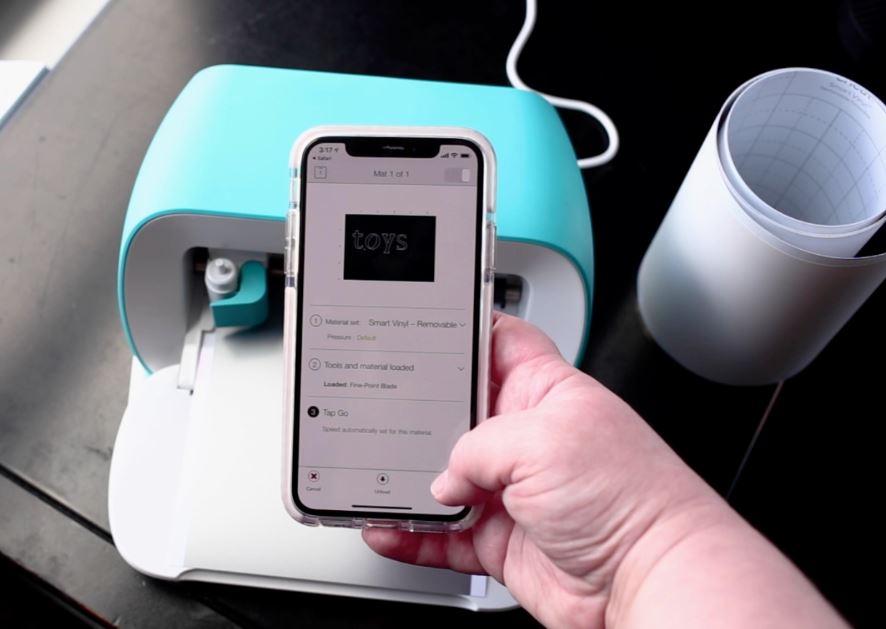
Once the project is open, access the toolbar along the bottom of the phone screen. Here is where you can add custom images, text, and other designs. If it’s your first project on the Circut Joy, start small! My kid’s toy bin could use a bright new label – so why not go for it?! I selected text, clicked to type the word “toys” and then selected my desired font. Within seconds I had the perfect looking label – what a win!
After an item is created, drag and drop that item to the desired place on the grid. Notches line the top and side of the project grid to indicate the measurement in inches so you know exactly how big the design will be. Once everything is in place, click next.
On the next page, select what type of material is being cut. I was using the smart vinyl to create my print, so I simply selected “smart vinyl”, loaded the vinyl into the Cricut Joy, confirmed the right tools were loaded into my machine, and tapped “continue”.
Once the machine is completely finished cutting, an option will appear on your phone to “unload”. This will make sure the vinyl or paper is safely ejected from the Cricut Joy.
And that’s all there is to it! I had a brand new vinyl label in minutes.
Throughout this whole process, all the typing and button-pressing happens on the smartphone. it was a little strange not pressing a single button on the machine itself, but I think it was straightforward and easy to use the app. There was no swapping between selections on the app and buttons on the machine – all my work was in one place. With one tap, a new label was cut out in seconds and completely hassle-free.
CRICUT JOY PROJECT #2: MAKING A CARD WITH A LAPTOP
Getting started with the Cricut Joy on the Laptop is just as easy as the phone! It connects the same way (via bluetooth) so make sure bluetooth is turned on. After that, navigation through the cricut software is so, so simple!
The Cricut Joy comes with a card mat so getting started with cardmaking is a breeze. The card mat is adhesive so that the cardstock doesn’t slip on the mat while cutting. It comes with a protective piece of plastic over the adhesive, so make sure you take that plastic off before placing your card in the mat. (I may have learned that the hard way – oops!) The mat also has grids so you can be sure your card will be straight and even.
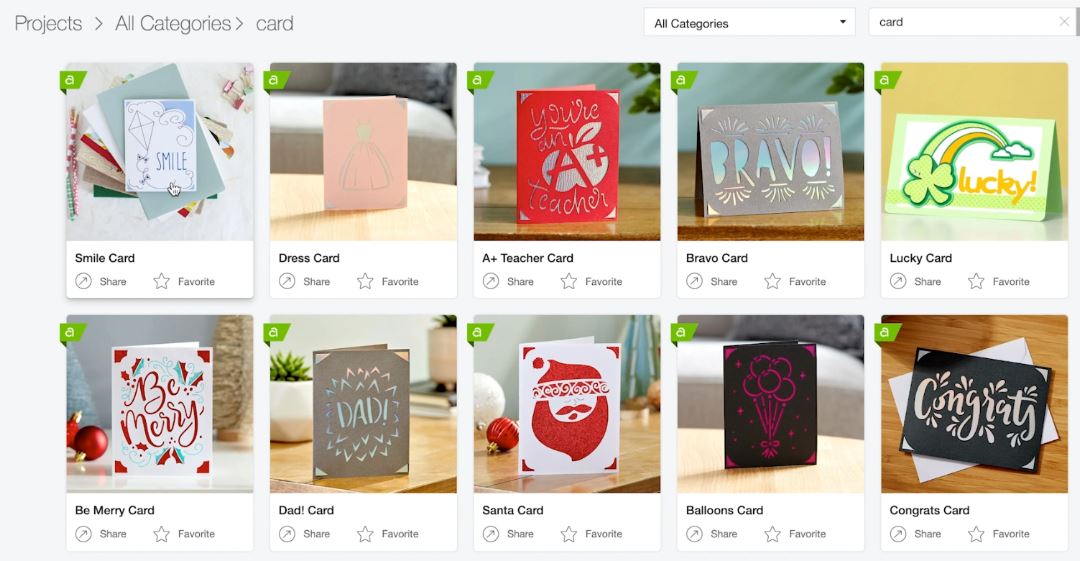
For my greeting card, I wanted to check out some of the designs Cricut offers through the Design Space app. I went to the tab on the vertical menu titled “projects” and scrolled through the hundreds of options. There is a card design for everything! I couldn’t believe how many cute options I had to choose from. Honestly, picking my design was the longest part of the process ?
Once you click on the design you want, all the specifications of that design pop up. This includes card size, materials needed, prep, and a help guide. Once you’re sure all the specifications for your card are right, go ahead and click “continue”. (At this point, if you haven’t connected via Bluetooth to your Cricut Joy, you’ll be asked to do so now. It will also quickly check for any system updates for the Joy.)
Before loading your card into the Cricut, you really want to press that card down on the adhesive part of the card mat. That adhesive is what is keeping the card in place. If your card isn’t held down when the Cricut starts to cut, you’ll end up with crinkled paper and a wonky design! (Take it from someone who made that mistake for you! If you want to see my blunder, be sure to check out the video!)
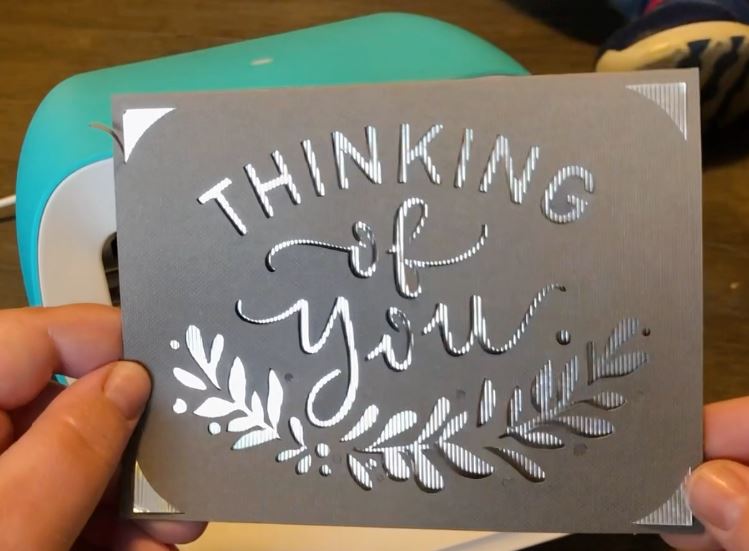
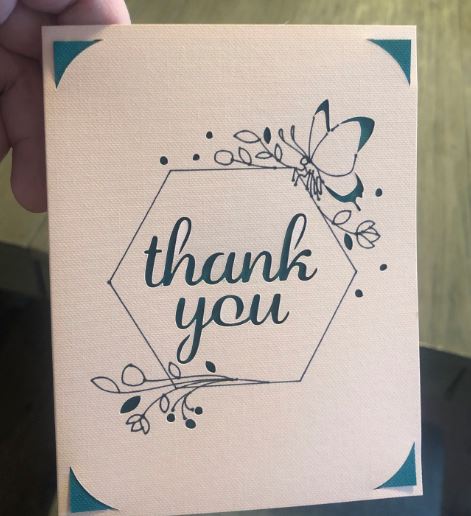
I chose a thank you card design that was printed in minutes. When you take the card off the adhesive, pull up slowly. This slow pull on the adhesive will keep the cut parts attached to the sticky parts so it self-weeds as you pull! The greeting card designs have 4 little slits in the corners that can be used to secure a colored piece of paper to bring some color to your cut!
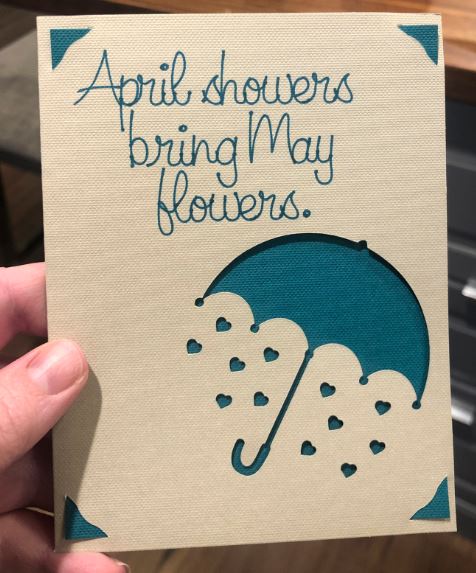
I thought I’d primarily use my Cricut Joy for labels, but after that first card, I just couldn't stop! I made a second card with another of Cricut’s default designs and then a third one with a design I made myself!
That’s it for my Cricut Joy Review! I’ve just gotten started with my Cricut Joy and I’m already in love with it! I can’t wait to learn even more about what this little guy can do. If you have a project you love completing with your own Cricut Joy, let me know in the comments! Or, if you’re ready to try out one for yourself, get your own Cricut Joy here.






 Copyright 2026, Get Organized HQ.